Physical Address
304 North Cardinal St.
Dorchester Center, MA 02124
Physical Address
304 North Cardinal St.
Dorchester Center, MA 02124
Whether you are a seasoned DIY enthusiast or a first-time tool user, knowing how to remove a drill bit is a fundamental skill that ensures both safety and efficiency. While electric drills are designed to be intuitive, different models—ranging from modern cordless drivers to heavy-duty industrial drill presses—employ various mechanical systems to secure a metal drill bit or masonry attachment.
A stuck or stubborn bit can stall your project, but with the right technique, drill bit removal is a straightforward process. This comprehensive guide covers every method available, explains the anatomy of a drill chuck, and provides expert troubleshooting tips for when your hardware won’t budge.
Before learning how to remove a drill bit, it is helpful to understand what it actually is. A drill bit is a detachable cutting tool used in conjunction with a drill to create cylindrical holes. They come in various shapes and sizes, each engineered for a specific material.
Most bits consist of a “shank” (the smooth end that goes into the drill) and the “body” (the spiral-ed cutting edge). When you purchase a drill bit set, you typically receive a variety of these tools, including twist bits for wood, masonry bits for brick, and the high-strength metal drill bit designed to shave through steel. Understanding the type of bit you are using helps you determine how much torque or pressure to apply during the removal process.
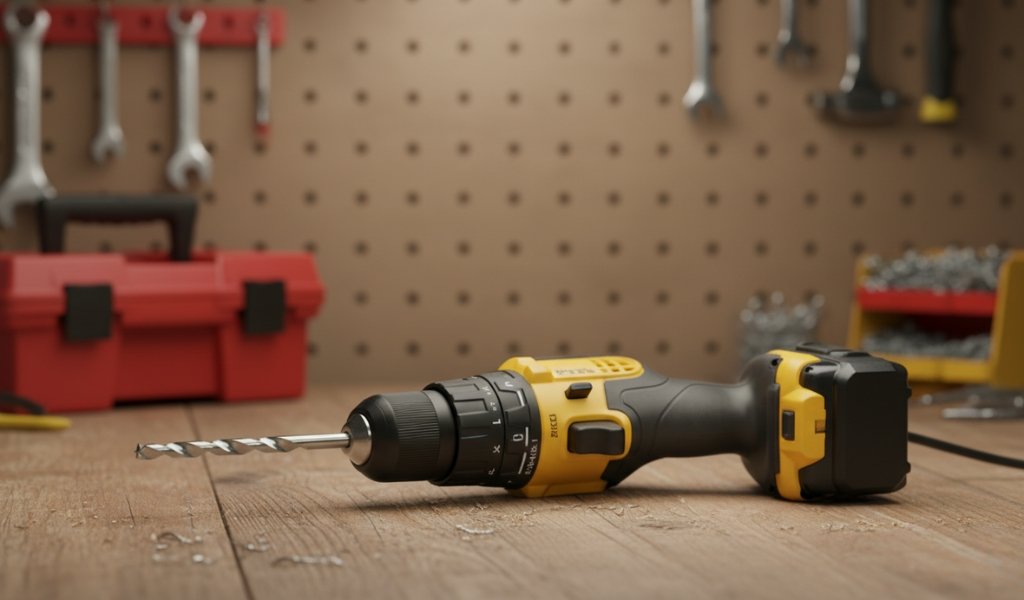
The drill chuck is the specialized clamp at the end of the drill that holds the bit in place. It acts as the interface between the motor’s rotational energy and the cutting tool.
Safety is paramount when handling power tools. A metal drill bit can reach temperatures exceeding 200°C after intensive use due to friction.
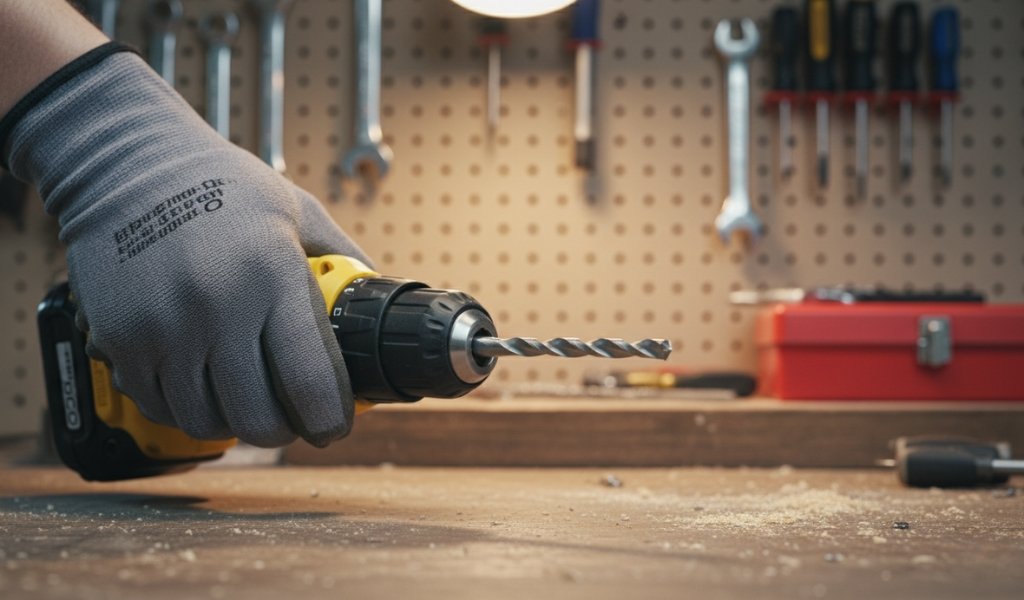
This is the standard procedure for most homeowners. Key-less chucks use internal “jaws” (usually three) that move inward or outward as you rotate the outer casing.
If the chuck is too tight for your hands alone, you can utilize the motor of the electric drill to facilitate drill bit removal.
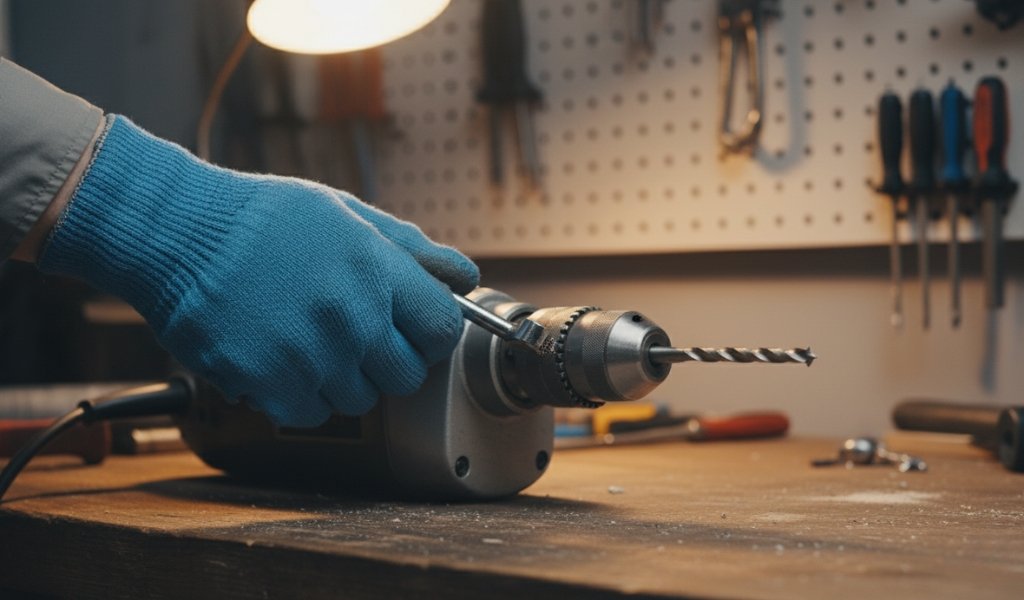
On heavy-duty equipment or older electric drills, you cannot remove the bit by hand. You must use the designated drill chuck key.
Sometimes, dust, rust, or “spinning” (where the bit turns inside the jaws) can cause a bit to become jammed. Here is how to remove a drill bit when it’s truly stuck:
Many key-less chucks have a security screw hidden deep inside the “throat” where the bit sits. If the chuck won’t rotate, use a Phillips-head screwdriver to turn this internal screw clockwise (note: these are often reverse-threaded). This can sometimes reset a jammed mechanism.
If your grip isn’t enough, use a pair of vice-grips or a pipe wrench on the chuck.
Apply a drop of penetrating oil (like WD-40) into the gaps of the jaws. Let it sit for 10–15 minutes. This helps dissolve any oxidized metal or sap that might be “gluing” the bit in place.
| Maintenance Task | Frequency | Benefit |
| Cleaning | After every project | Prevents wood sap and metal shavings from gunking up the chuck. |
| Lubrication | Monthly | Keeps the chuck jaws moving smoothly and prevents rust. |
| Shank Inspection | Before use | Ensures the metal drill bit isn’t buried, which causes jams. |
| Storage | Always | Keeping bits in their original case prevents damage to the cutting edges. |
To ensure easy drill bit removal in the future, follow these maintenance steps for your drill bit
Knowing how to remove a drill bit is a simple skill that prevents tool damage and keeps your projects moving. Whether you are dealing with a modern keyless electric drill or a classic keyed chuck, the process relies on understanding the counterclockwise release of the chuck jaws. By maintaining your drill bit set and keeping your drill chuck free of debris, you’ll ensure that your tools remain reliable for years to come.
This usually occurs if the bit has “spun” under high torque, creating a metal burr (a sharp ridge) on the shank. Use pliers to pull the bit out with force. Before putting it back in, file down the burr on the metal drill bit so it sits flat.
You can purchase keys at most hardware stores. You will need to know the chuck size (typically 3/8″ or 1/2″). Never try to force the chuck open with a screwdriver and hammer, as this will destroy the gear teeth.
Standard rule: “Lefty-Loosey.” Turn the chuck counterclockwise to open the jaws and remove the bit.
If the bit snapped off flush with the chuck, try using needle-nose pliers. If that fails, turn the drill nose-down and tap the side of the chuck with a rubber mallet; the vibrations often cause the fragment to slide out.
This happens if the bit isn’t cantered in the three jaws or if the chuck isn’t tightened enough. Ensure the bit is seated deeply and the jaws are clamped onto the flat sides of the shank if applicable.