Physical Address
304 North Cardinal St.
Dorchester Center, MA 02124
Physical Address
304 North Cardinal St.
Dorchester Center, MA 02124
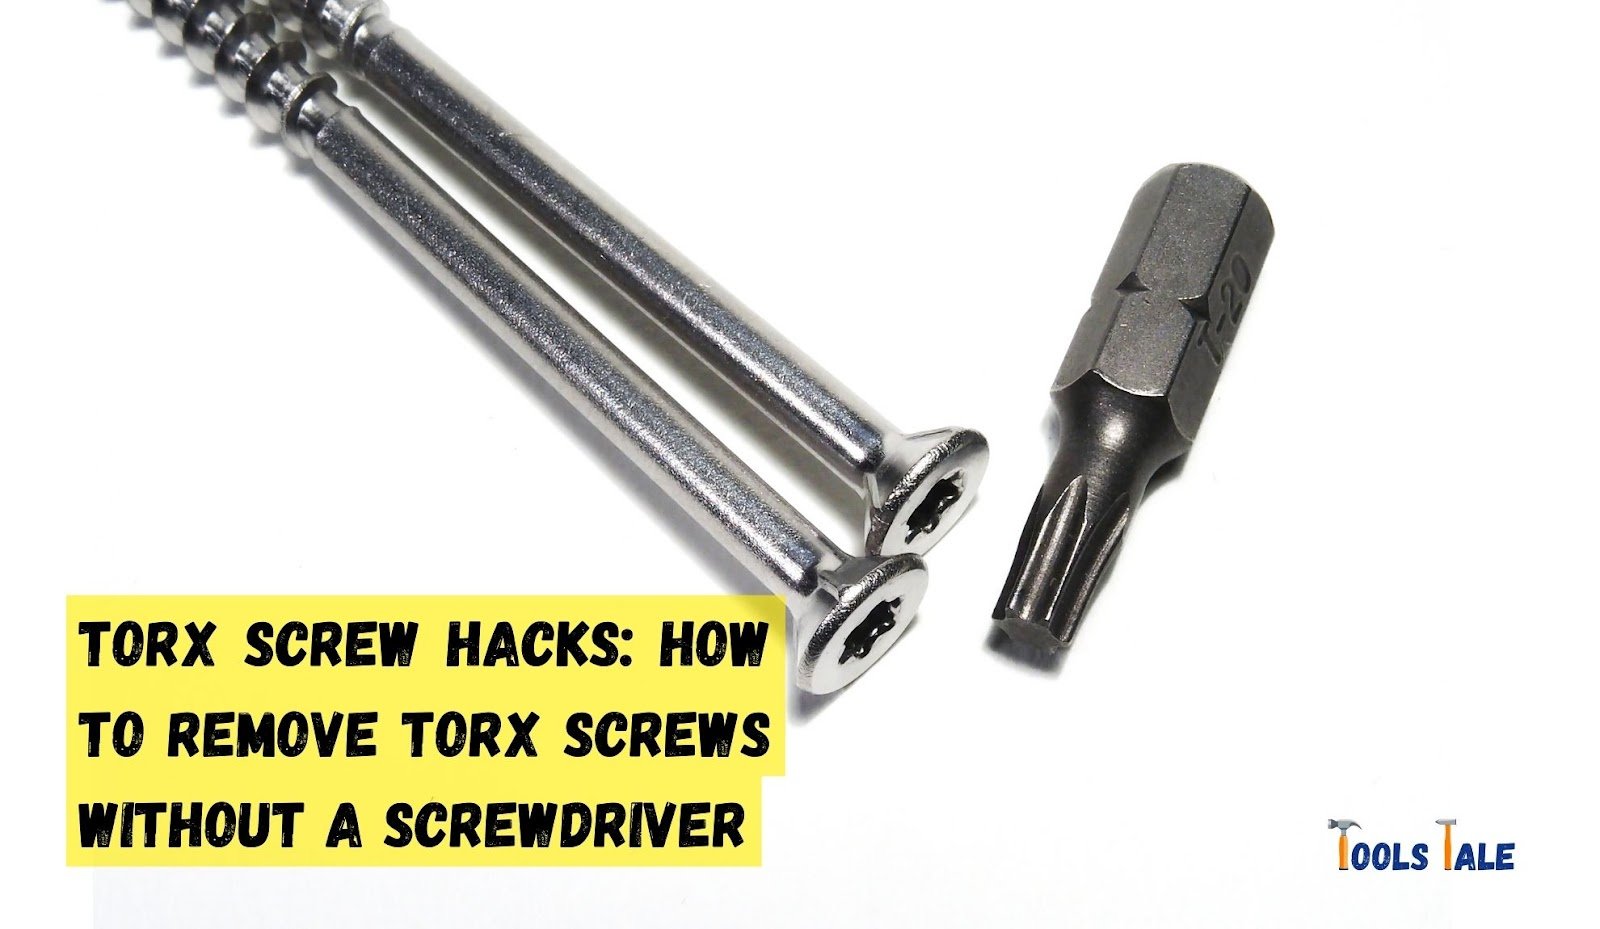
How to Remove Torx Screws Without a Screwdriver: No screwdriver? No problem! Discover clever hacks and ingenious methods to tackle those pesky Torx screws without the traditional tool. From rubber band tricks to DIY substitutes, this guide has got you covered.
Get ready to unleash your resourcefulness and bid farewell to screwdriver woes. Let’s dive into the world of creative solutions and conquer those Torx screws with a touch of ingenuity!
Key Summary: How to Remove Torx Screws Without a Screwdriver?
Effortlessly extract Torx screws sans screwdriver: Grip the screw head firmly using needle-nose pliers. Apply steady rotation, combining pressure. Alternatively, fashion a DIY grip with a rubber band for added traction. Swift solutions for tricky screws!
[amazon_auto_links id=”11426″]
Removing Torx screws without a screwdriver can be a daunting task, especially when you don’t have the right tools on hand. However, fear not, as there are ingenious methods that can come to your rescue. Whether you find yourself in a DIY project or faced with a challenging situation, these alternative approaches will empower you to conquer Torx screws with ease.
Understanding the unique star-shaped pattern of Torx screws and their common applications in various industries will provide valuable insights into the importance of finding efficient removal methods. These screws are commonly found in automotive components, electronics, appliances, furniture, and manufacturing, making them a crucial part of everyday life.
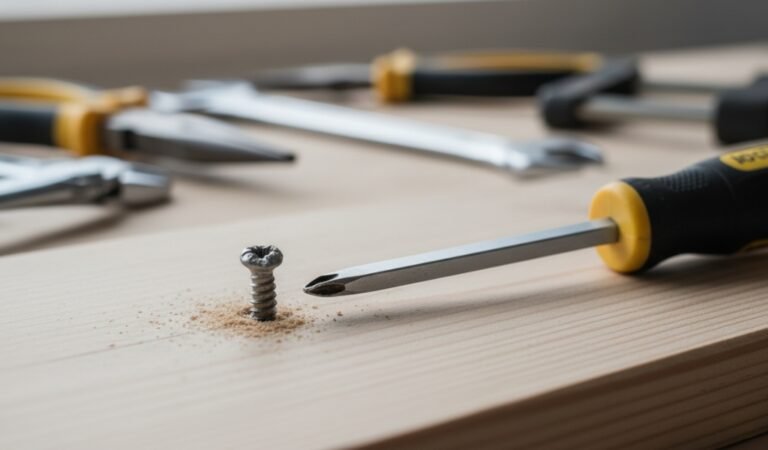
When you encounter a stubborn Torx screw and a dedicated screwdriver is nowhere to be found, don’t despair. You can employ common household tools like flathead screwdrivers and Allen wrenches as clever substitutes. By selecting a flathead screwdriver that closely matches the size of the screw’s star-shaped indentation and turning it counterclockwise, you can successfully loosen and remove the screw.
Similarly, using an appropriately sized Allen wrench will allow for a perfect fit into the screw’s pattern, ensuring effective removal. For a creative solution, consider the rubber band method. Lay a rubber band flat on top of the Torx screw and press down firmly with your screwdriver substitute.
The rubber band’s texture will enhance traction, providing better grip and preventing slippage during removal. Another innovative approach involves using super glue to craft a non-slip surface for your improvised tool. By applying a small amount of super glue to the tip of your screwdriver alternative and pressing it onto the screw’s star pattern, you create a makeshift grip surface.
Once the glue dries, your tool will have a secure hold, facilitating smooth removal. In times of ingenuity, you can make your DIY screwdriver using common household items. By shaping a flat piece of metal, such as a paperclip or an aluminum can cut-out, into a narrow, flat tip, you can insert it into the screw’s pattern and turn it with precision.
With these resourceful techniques at your disposal, removing Torx screws without a screwdriver becomes an achievable task. So, whether you’re a DIY enthusiast or just faced with an unexpected situation, you can confidently tackle Torx screws and accomplish your projects hassle-free.

Removing Torx screws without a dedicated screwdriver may seem like a challenging task, but with a bit of ingenuity and resourcefulness, it can be accomplished using common household items and tools. Below are some practical methods to tackle this situation:
One of the most straightforward alternatives to a Torx screwdriver is using a flathead screwdriver. While not an exact fit, a flathead screwdriver with a width that closely matches the size of the Torx screw’s star-shaped indentation can be effective.
Insert the flathead screwdriver into the grooves of the Torx screw and apply steady pressure while turning it counterclockwise. Be cautious to avoid slippage, as it may damage the screw head.
If you have an Allen wrench set, you’re in luck! Find an Allen wrench that closely fits the Torx screw’s pattern. Insert the wrench securely into the screw’s star-shaped indentation and rotate it counterclockwise to loosen and remove the screw. The precise fit of the Allen wrench minimises the risk of slippage and ensures a secure grip for effective removal.
The rubber band method offers a simple yet effective way to improve grip when removing Torx screws. Place a rubber band flat on top of the Torx screw and press down firmly with your chosen substitute tool, such as a flathead screwdriver or an Allen wrench.
The rubber band’s texture increases traction, allowing your tool to gain better purchase on the screw head. With improved grip, you can confidently turn and remove the screw without slippage.
Another inventive approach involves using super glue to craft a makeshift non-slip surface for your improvised tool. Apply a small amount of super glue to the tip of your chosen substitute tool, and carefully press it onto the star-shaped pattern of the Torx screw.
Allow the glue to dry completely, creating a textured surface that enhances grip. With this non-slip surface, your tool will maintain a firm hold on the screw, facilitating smooth removal.
In times of limited resources, you can create your DIY screwdriver using everyday items. Find a flat piece of metal, such as a paperclip or a cut-out from an aluminum can, and shape it into a narrow, flat tip. Insert this improvised tool into the Torx screw’s pattern and turn it counterclockwise to loosen and remove the screw.
Embrace your ingenuity and resourcefulness as you successfully tackle Torx screws without a dedicated screwdriver. With these practical methods, you can confidently remove Torx screws without a screwdriver and complete your projects with ease.
However, be mindful of the size and material of the substitute tool to prevent damage to the screw or surrounding materials. Always exercise caution and opt for the method that suits your specific situation best.
Encountering a Torx screw without the appropriate screwdriver can be a frustrating situation, but fear not, as there are alternative methods that can save the day. When you don’t have the right tool on hand, get creative and try these ingenious approaches to remove Torx screws:
The rubber band method is a simple and effective way to improve grip on a Torx screw. Place a rubber band flat on top of the screw head, and press down firmly with your screwdriver substitute, such as a flathead or Phillips screwdriver.
The rubber band’s textured surface enhances traction, allowing the tool to grip the screw securely. With improved grip, you can apply enough torque to turn the screw counterclockwise and remove it successfully.
Harness the power of super glue to create a makeshift grip on the Torx screw. Apply a small amount of super glue to the tip of your screwdriver substitute, such as a flathead screwdriver or an Allen wrench. Press the glue-coated tool onto the star-shaped indentation of the screw and hold it firmly in place until the glue sets. Once the glue dries, you’ll have a custom-fit grip on the screw, enabling easy removal.
In the absence of a proper Torx screwdriver, you can fashion your DIY tool using everyday items. Look for a flat piece of metal, such as a paperclip or a cut-out from an aluminum can. Shape one end of the metal piece into a narrow, flat tip that can fit into the Torx screw’s pattern. Insert the DIY screwdriver into the screw’s grooves and turn it counterclockwise to remove the screw.
When dealing with a Torx screw with an exposed head, you may use pliers or vice-grips as an alternative. Position the pliers or vice-grips over the screw head, ensuring a firm grip. Turn the pliers or vice-grips counterclockwise to loosen and remove the screw. While this method may not be suitable for screws in confined spaces, it can be handy for screws with accessible heads.
In extreme situations, a hammer and chisel can come to the rescue. Carefully place the chisel’s flat edge into the grooves of the Torx screw and tap it lightly with the hammer. The chisel’s force should turn the screw counterclockwise, allowing you to remove it. Exercise caution to avoid damaging the surrounding material or the screw head.
Remember, while these alternative methods can be effective, they may not always be suitable for all scenarios. Be cautious to avoid damaging the screw or surrounding materials, and ensure that the substitute tool you choose fits securely into the screw’s pattern. With a bit of creativity and resourcefulness, you can tackle Torx screws with confidence, even without a dedicated screwdriver.
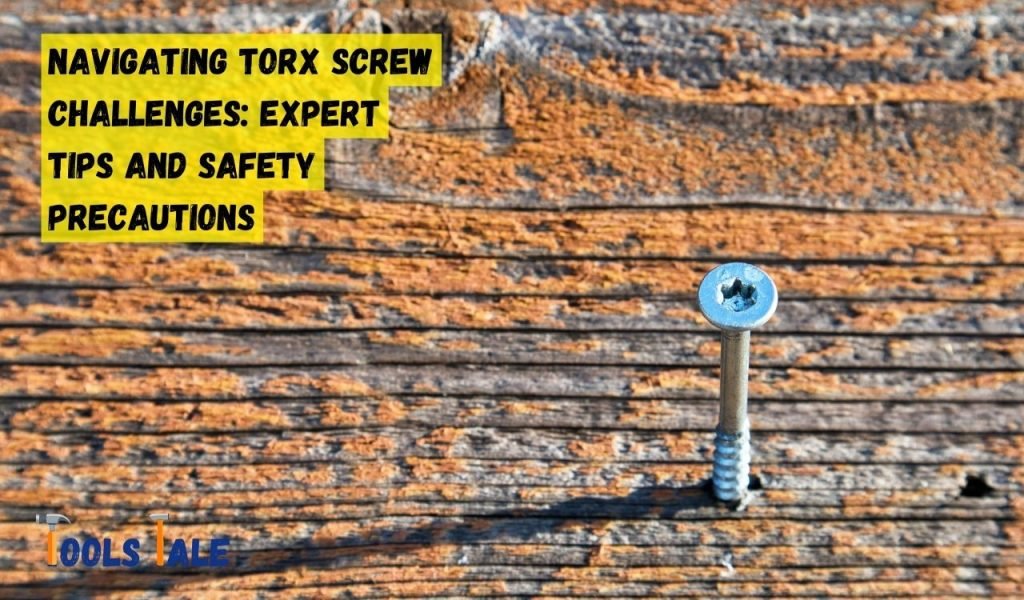
When it comes to tackling Torx screws without a screwdriver, employing expert tips and adhering to safety precautions is paramount. While alternative methods can yield successful results, it’s essential to approach the task with care and precision. In this section, we delve into a comprehensive array of strategies endorsed by experts to ensure your Torx screw removal endeavor is not only effective but also safe.
Before attempting Torx screw removal, gather the necessary tools and materials. Wear safety gloves to protect your hands from sharp edges and potential injuries during the process.
Create a stable and well-lit workspace. A clutter-free area reduces the risk of accidents and provides ample room to maneuver as you apply different techniques to remove the Torx screws.
For objects or surfaces where Torx screws are embedded, ensure proper stabilization. This minimizes movement during the removal process, preventing slips and potential damage.
When applying force to turn the Torx screw, exert steady and controlled pressure. Avoid sudden jerks that could lead to loss of grip or mishandling of tools.
If the Torx screw is resistant, apply gentle, incremental force while attempting to turn it. Gradually increase pressure, giving the material time to respond without sudden strain.
Inspect the Torx screw and surrounding area carefully before attempting removal. Identifying any damage or wear can help you tailor your approach for the best chance of success.
Combining techniques, such as using lubrication or heat in tandem with gripping tools, can enhance your ability to free stubborn Torx screws effectively.
In conclusion, removing Torx screws without a screwdriver doesn’t have to be a daunting task. With a little ingenuity and resourcefulness, you can overcome this challenge using everyday items found around the house. Whether it’s employing rubber bands for a better grip, utilizing a heated butter knife for extra leverage, or improvising a flathead screwdriver, these DIY hacks offer effective alternatives.
By mastering these techniques, you can confidently take on various projects without being hindered by the absence of a traditional tool. Remember, the key is to think outside the box and explore creative solutions.
With determination and a willingness to experiment, you’ll be well-equipped to handle Torx screws in any situation. So, embrace the DIY spirit, unleash your inner innovator, and enjoy the satisfaction of successfully completing tasks without a screwdriver.
A Torx screw is a type of fastener with a six-pointed star-shaped recess in its head. It is designed to provide better torque transmission and minimize stripping.
Torx screws are commonly used in electronics, automotive, and machinery industries. They offer improved stability and reduce wear, making them suitable for various applications.
To remove a Torx screw without a screwdriver, place a rubber band over the screw head and press down firmly with a flat rubber surface. Twist gently using pliers for grip.
Opening Torx screws without a screwdriver can be done by using an appropriately sized flathead or hex wrench to fit into the screw’s recess and turn it counterclockwise.
If tools are unavailable, try using a small, sturdy object like a coin or a butter knife. Insert it into the screw’s grooves and turn slowly to loosen the screw.
To remove a Torx screw, select the correct Torx screwdriver size and insert it into the screw’s recess. Apply steady pressure while turning counterclockwise to loosen and remove the screw.