Physical Address
304 North Cardinal St.
Dorchester Center, MA 02124
Physical Address
304 North Cardinal St.
Dorchester Center, MA 02124

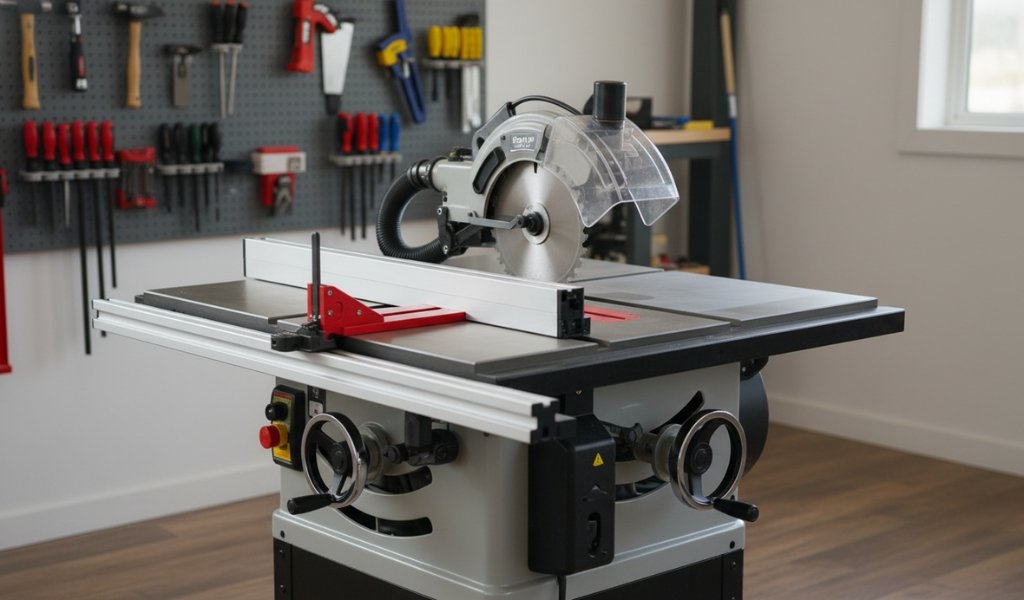
In most woodworking shops, the table saw is considered the central tool that drives nearly every project. Learning how to use a table saw properly is essential for achieving accurate, safe, and professional woodworking results. Whether you are a professional carpenter or a weekend DIY enthusiast, understanding how to use a table saw is the gateway to professional-grade results. It offers a level of power, repeatability, and accuracy that hand-held tools simply cannot match. However, as Aaron Barnett of BangingToolbox aptly puts it: “A table saw is big business; with higher risk comes a higher reward.”

To reap those rewards, you must respect the machine, understand its components, and master the fundamental techniques of the saw.
Before you flip the switch, you must be intimately familiar with the anatomy of your cutting tool. Understanding these components is a critical part of learning how to use a table saw safely and effectively. A table saw is an assembly of precision-engineered parts designed to work in harmony.
Power Button: Typically a large paddle switch. High-end industrial saws often feature a “knee-stop” at the lower end of the table saw bench. This is a critical safety feature: if both hands are occupied stabilizing a large sheet of plywood and an emergency occurs, you can bump the switch with your leg to kill the power instantly.
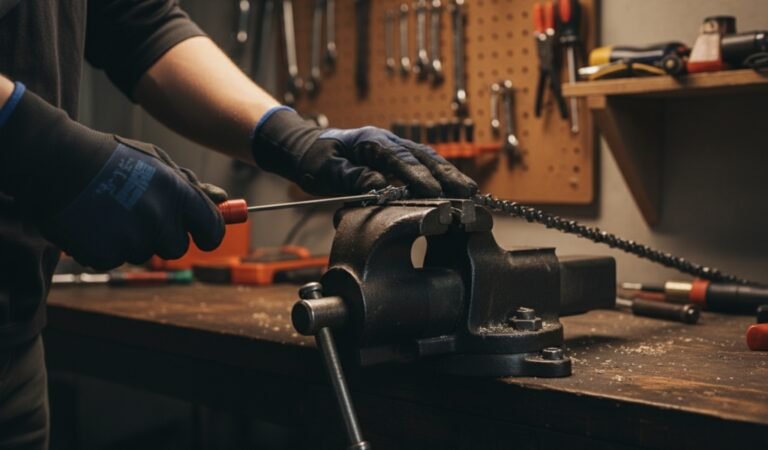
Not all saw blades are created equal. Using the wrong blade is like trying to cut a steak with a bread knife—it’s messy, inefficient, and potentially dangerous. The performance of your saw is directly tied to the quality and type of blade installed.
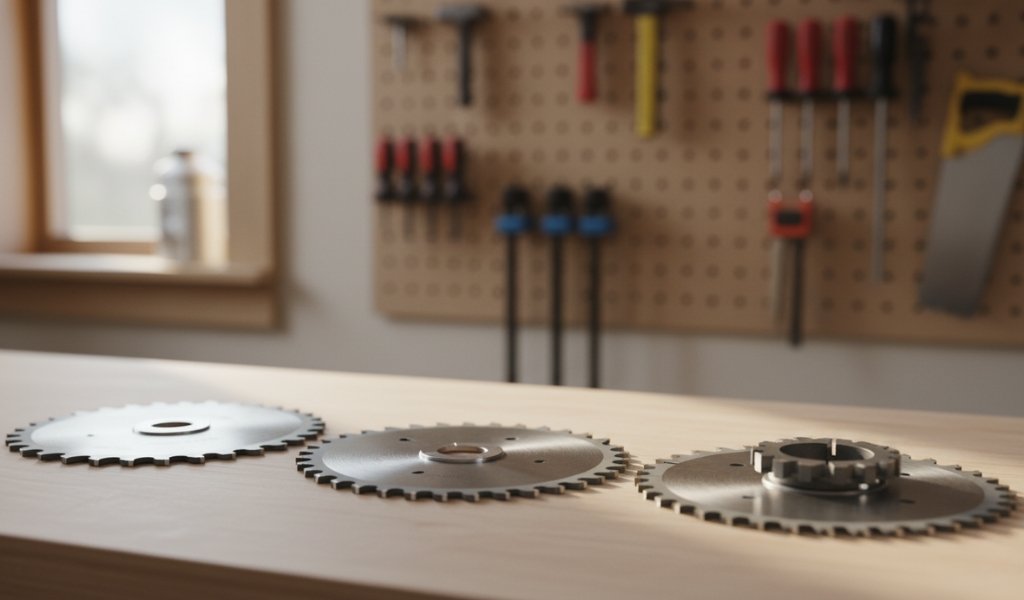
| Blade Type | Teeth (TPI/Total) | Best Use Case |
| Ripping Blade | 24T | Large gullets for fast, aggressive cuts along the grain. |
| Crosscut Blade | 60T–80T | Fine teeth for clean, smooth cuts across the grain. |
| Combination Blade | 40T–50T | A “jack-of-all-trades” for general shop work. |
| Dado Set | Stacked | Used for cutting wide grooves (rabbets/dadoes) for joinery. |
| Non-Ferrous Blade | 100T+ | High TPI for cutting Aluminum or thin plastics. |
Thin Kerf vs. Full Kerf: A standard full-kerf blade is 1/8 inch ($0.125$ inches) wide. A thin-kerf blade is approximately $0.094$ inches. If you have a lower-horsepower portable saw, a thin-kerf blade is often better because the motor doesn’t have to work as hard to remove material.
Safety isn’t just a section in a manual; it’s a lifestyle in the workshop. The table saw is one of the most powerful tools you will own, and it demands constant vigilance.
Kickback is the leading cause of table saw injuries. It happens when the workpiece snags on the back teeth of the blade. Because the blade is spinning toward the operator, it picks up the wood and launches it like a projectile.
Modern innovation has brought us the SawStop system. It uses an electrical signal to detect human skin. If you touch the blade, an aluminum brake springs into the teeth, stopping the blade in less than 5 milliseconds. The blade’s angular momentum carries it beneath the table, away from your hand.
Even an expensive professional saw will produce poor results if it isn’t calibrated correctly. Precision in woodworking starts with the setup.
A common beginner mistake is raising the blade as high as it will go. This exposes more of the spinning “cutting tool” than necessary.
Your fence must be perfectly parallel to the blade. If it’s even a fraction of a millimeter off, your cuts won’t be “square,” and you’ll struggle to assemble furniture.
Mastering these two cuts allows you to complete 90% of all woodworking projects.

In fact, mastering these techniques is one of the most important steps in learning how to use a table saw like a professional woodworker.
This is used to change the width of a board.
This is used to change the length of a board. CRITICAL SAFETY WARNING: Never use the fence and the miter gauge together for a crosscut. The offcut will get trapped between the blade and the fence, leading to a violent kickback.
Once you are comfortable with basics, you can unlock the table saw’s potential for complex joinery.
By tilting the blade using the blade angle adjuster, you can create “miters” or “bevels.” This is common for making boxes or French cleats.
The table saw is a master of joinery.
If you need to bend wood (for a curved bar front or a rounded corner), you can “kerf” the back. You make a series of shallow cuts (the depth of the “kerf”) every 1/4 inch. This removes the “bulk” of the wood, allowing the remaining thin layer to flex without breaking.
Your workspace setup dictates your efficiency and safety. A cramped shop leads to accidents.
When you cut a 4×8 sheet of plywood, most of the weight will be hanging off the back of the saw by the time you finish the cut. This causes the wood to tip, which can pull your hands into the blade.
If you have a small garage, put your saw on a mobile base. However, ensure the base has locking casters. A saw that “walks” or vibrates while you are mid-cut is extremely dangerous.
Woodworking is a game of millimeters. Here is how the pros get perfect results every time:
The table saw is the “King of the Workshop” for a reason. Once you truly understand how to use a table saw, you can perform a wide range of woodworking tasks with precision and confidence. Its ability to provide speed, versatility, and repeatable accuracy is unmatched by any other cutting tool. However, it is a tool that requires your full attention. By understanding the anatomy of the saw, choosing the right table saw blade, and adhering to strict safety protocols, you can take your DIY skills to a professional level.
Whether you are ripping framing lumber or cutting intricate joinery for a jewelry box, the principles remain the same: calibrate your fence, set your blade height correctly, and never, ever take your eyes off the blade.
Q: Can I cut metal with my table saw?
A: You can cut non-ferrous metals like aluminum, but you must use a specialized high-TPI blade designed for metal. Never attempt to cut steel or iron on a table saw, as the sparks and friction can cause fires or shatter the blade.
Q: Why is my wood burning during a cut?
A: Burning is usually caused by one of three things: a dull blade, a blade that isn’t parallel to the fence (causing friction), or feeding the wood too slowly.
Q: What is a “Zero-Clearance” insert?
A: It is a custom blade insert with an opening that is exactly the width of the blade. This supports the wood fibers right up to the edge of the cut, preventing “tear-out” or splintering.
Q: Is it okay to use a table saw without a riving knife?
A: It is highly discouraged. The riving knife is the single most effective tool for preventing kickback. Most modern saws come with one pre-installed for a reason.
Q: How do I know if my saw blade is dull?
A: If you see increased burning, feel more resistance when pushing the wood, or notice that the wood is “splintering” more than usual, it’s time for a sharpening or a replacement.