Physical Address
304 North Cardinal St.
Dorchester Center, MA 02124
Physical Address
304 North Cardinal St.
Dorchester Center, MA 02124
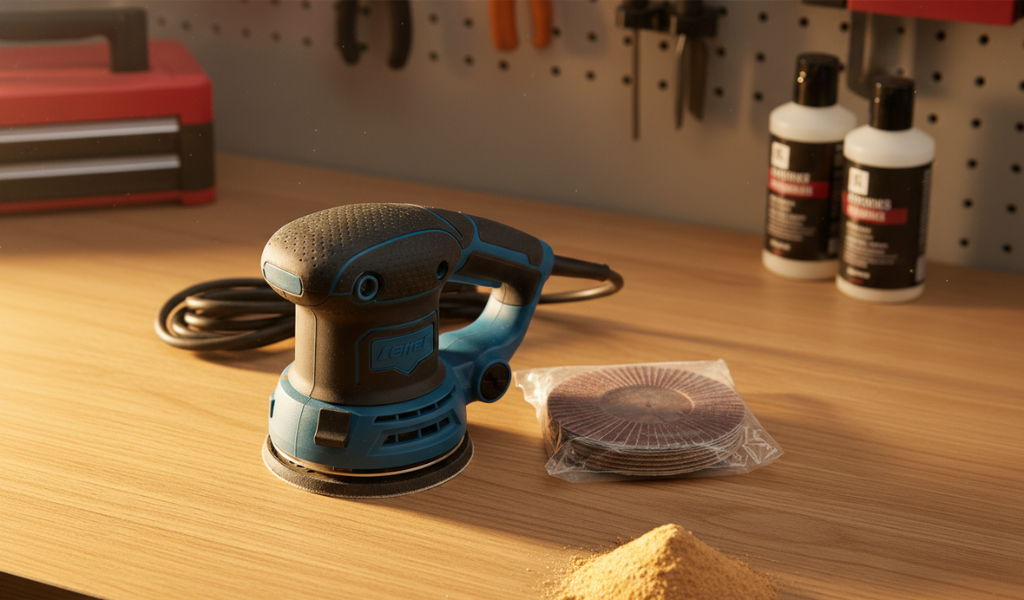
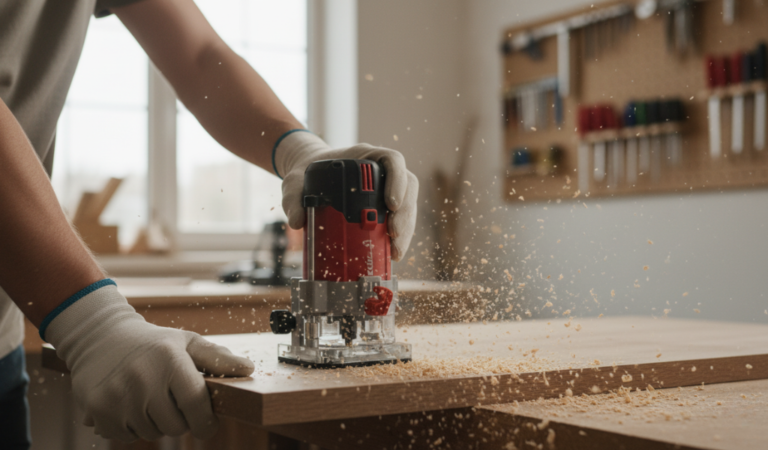
There is something deeply satisfying about watching a rough, splintered piece of wood transform into a surface as smooth as glass. Whether you are building a custom bookshelf, restoring a vintage dresser, or refinishing an old flea market find, the sander is undoubtedly your best friend in the workshop. It is the bridge between a raw, industrial-looking piece of lumber and a piece of fine furniture. However, even the most expensive, high-end power tool is only as good as the abrasive attached to its base.
If you’re wondering how to put sandpaper on a sander, you’re in the right place. Learning how to put sandpaper on a sander correctly is the foundation of quality woodworking. If the paper is loose, misaligned, or worn out, you aren’t just wasting your time—you are potentially ruining your project with swirl marks, uneven sanding, and heat damage.
To put sandpaper on a sander:
Now let’s go step-by-step 👇
Before we get into the mechanics of how to put sandpaper on a sander, it helps to understand what this material actually is and why it behaves the way it does. Despite the name, sand paper doesn’t actually use sand. In the modern woodworking tool world, it is a technical product consisting of a flexible backing (usually paper, cloth, or film) coated with sharp, abrasive mineral grains held in place by a strong resin or glue.
Sandpaper basically scrapes off tiny layers from the wood surface to make it smooth. Think of it like gently rubbing away rough spots until the surface feels clean and even. As you move the sander across the wood, it slowly evens out rough areas and makes the surface smoother. This creates sawdust and leaves behind a smoother surface. The reason we use different “grits” is that larger grains cut deeper and faster (leaving visible scratches), while smaller grains polish away those scratches until the wood feels perfectly flat to the touch.
Different types of sandpaper are available, but for most woodworking projects, standard sandpaper works perfectly fine. The key is choosing the right grit rather than worrying too much about the material type.
Not every sander is built for the same task. To get a professional finish, you need to match the tool to the specific phase of your project. Using the wrong tool for the job is a common cause of frustration.
The random orbit sander is the most popular choice for general woodworking today. Unlike a standard orbital sander that moves in a circle, the “random” version spins the disc while also moving it in a small ellipse. This dual-action motion prevents the tool from leaving repeating swirl marks on the wood. It is the best all-around tool for smoothing large, flat surfaces like tabletops and cabinet doors.
These tools use a square or rectangular base. They move in a very tight, fast vibration. Because they are square, they can get into 90-degree corners where a round orbital sander simply cannot reach. They are perfect for the “final sand” before you apply a finish, ensuring every inch of the surface is consistent.
If you have a massive amount of wood to remove—like leveling a tabletop made of reclaimed barn wood or stripping five layers of old paint—the belt sander is your “heavy lifter”. It uses a continuous loop of sand paper that moves like a tank tread. It is powerful but aggressive; if you aren’t careful, it can gouge a deep hole in your project in a matter of seconds.
These are specialized tools with small, triangular or finger-like pads. They are designed to get into the “tightest spots,” such as the intricate carvings on a chair leg, the inside of a window frame, or the crevices of a decorative crown molding.
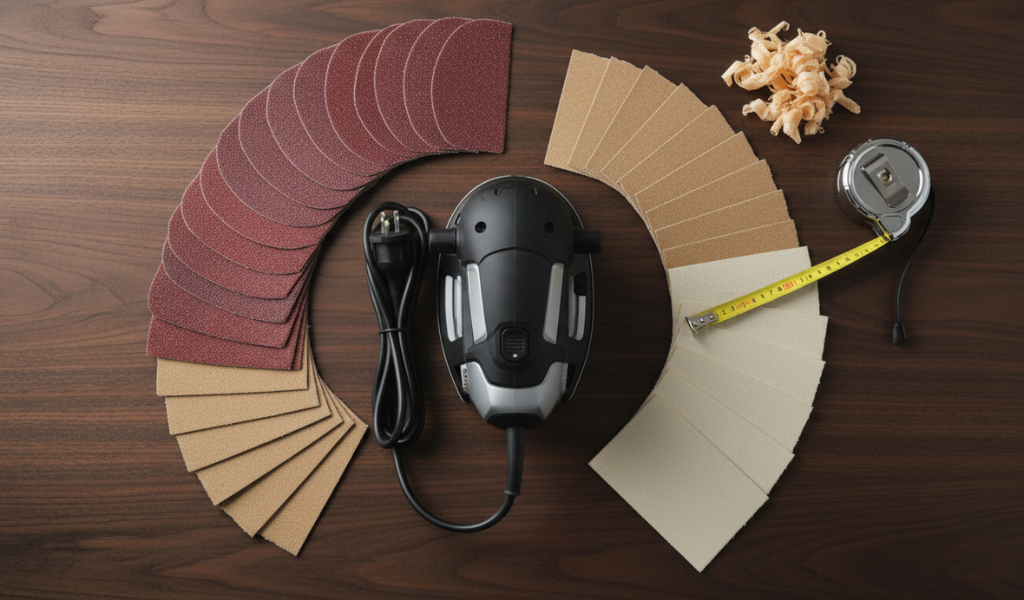
Before you learn how to put sandpaper on a sander, you need to know which paper to grab. Grits are numbered based on the size of the abrasive particles. The lower the number, the coarser the paper.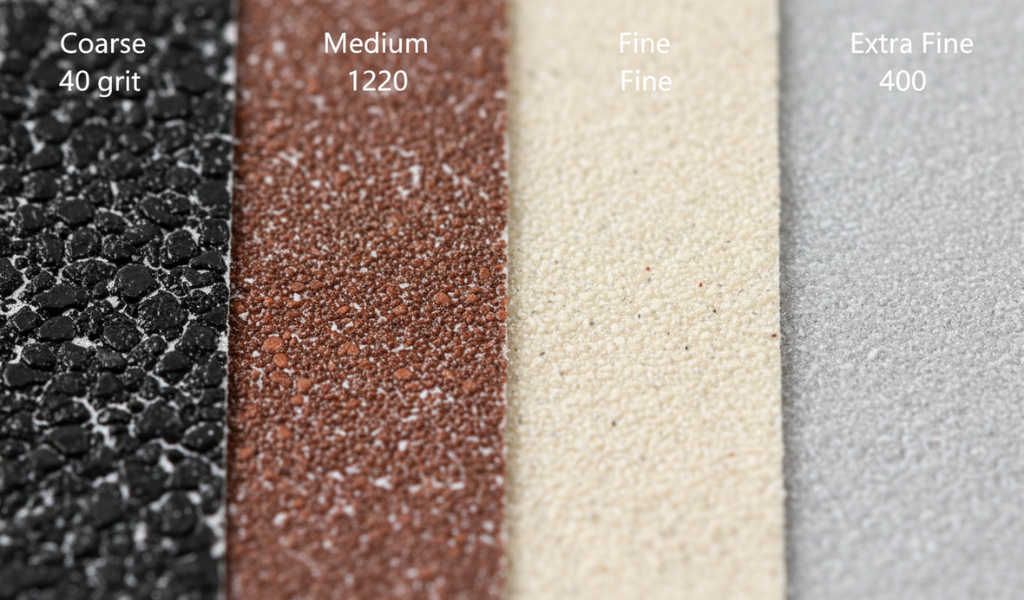
Knowing the exact moment to swap your sand paper is a skill that distinguishes a pro from an amateur. Many beginners make the mistake of trying to “stretch” the life of a single sheet to save money, but this actually wastes more time and produces a poorer finish.
A fresh sheet of paper will produce a fine cloud of “sawdust” almost immediately. If you are sanding and you don’t see dust flying, or if the dust is just clumping into small balls on the surface, your paper is likely “clogged” or dull.
Turn off your sander and run your fingers over the abrasive. If it feels relatively smooth or like a worn-down pebble, the sharp edges of the minerals have broken off. It is no longer cutting the wood fibers; it is just heating them up through friction.
If you see white or yellow “streaks” of wood resin or old paint stuck in the grit, this is called “loading”. Once the paper is loaded, the abrasive grains can’t reach the wood. You can sometimes clean this with a rubber stick, but often it’s a sign that you need a fresh piece.
If the wood starts to look “polished” or shiny rather than matte and clean, the paper is likely dull. Dull paper creates heat, which “burnishes” the wood fibers, closing them up so they won’t absorb stain properly.
Every woodworking tool has a specific mechanism for holding its abrasive. Let’s break down the most common ones step-by-step.
Most modern orbital sanders use a “Hook and Loop” system, which is essentially industrial-strength Velcro.
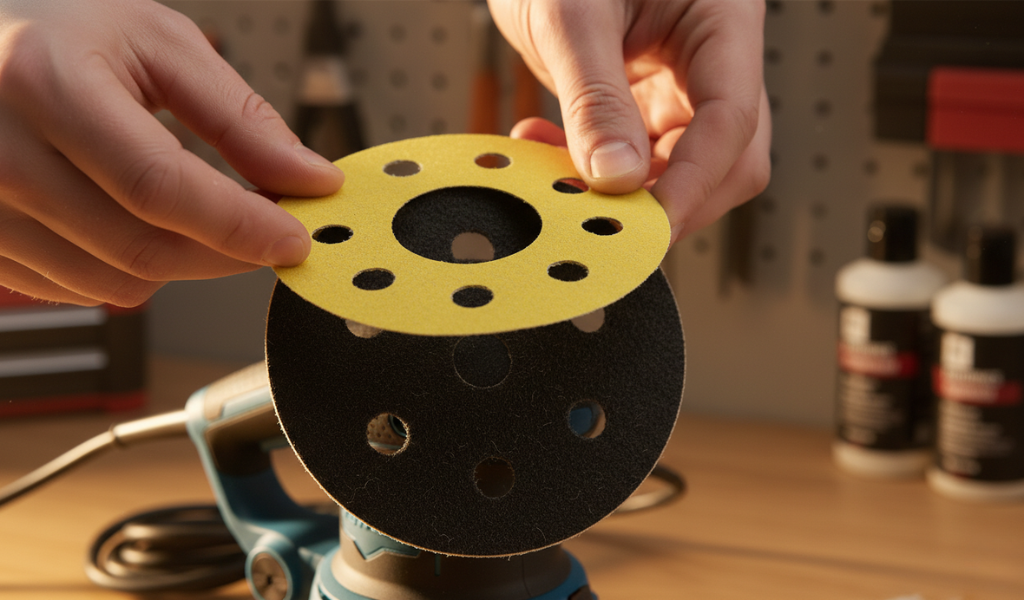 Align the holes in the sand paper with the holes in the tool. If they are blocked, the dust will stay under the disc, causing it to overheat and fail prematurely.
These use standard rectangular sheets (usually 1/4, 1/3, or 1/2 of a standard sheet) and a manual clamping system.
Changing a belt is a bit more mechanical, as the paper is a continuous loop.
These mistakes can reduce sanding efficiency and even damage your project surface.
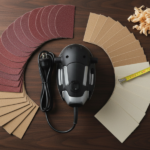
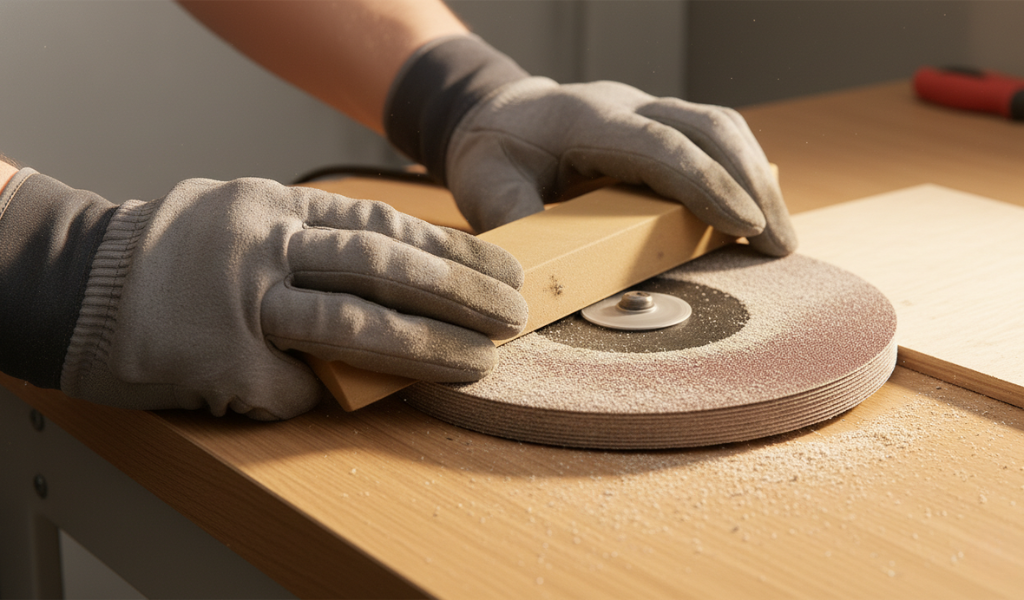
Even with the best power tools, sometimes you just need to use your hands for edges, narrow grooves, or delicate curves. Using your bare fingers can create “dips” in the wood because your fingertips aren’t perfectly flat. A “sanding block” provides a flat, hard surface to ensure you don’t round over edges you want to keep sharp.
When placing sand paper on a block:
Even if you know how to put sandpaper on a sander, problems can arise. Here is how to fix the most common “sanding headaches”:
These are the tiny “swirly scratches” that often only appear once you apply a stain. They are caused by a piece of loose grit or a wood chip getting trapped under the sander.
If your paper keeps snapping on a sheet sander, it is almost always due to “looseness.”
If your tabletop looks like the ocean when the light hits it, you were likely leaning on the sander or dwelling too long in one spot.
If your sand paper discs keep flying off like frisbees, your “hook and loop” pad is likely worn out.
Sanding can be the most expensive part of a project if you are wasteful. Use these tips to make your supplies last longer:
Knowing how to put sandpaper on a sander is a fundamental skill that separates the “weekend warriors” from the true craftsmen. It is the first step in ensuring that your hard work in cutting and assembly isn’t ruined by a poor finish. By taking the time to align your discs, troubleshoot your swirl marks, and choose the correct grit for the job, you ensure that your woodworking tool performs at its absolute peak.
Don’t let the “rubbing and scrubbing” of manual labor discourage you. With a well-maintained sander and fresh sand paper, your projects will have that professional, high-end feel that only comes from a perfectly prepared surface. A smooth finish is what makes people want to reach out and touch your work. Now, grab your gear, lock in a fresh sheet, and get to work!
Change it the moment you feel you have to “push down” to get it to cut. If the paper feels “smooth” rather than “gritty,” or if you see the wood surface getting shiny/burnished, it’s past its prime.
You “can,” but it’s not ideal. “Aluminum Oxide” is specifically designed for wood fibers. For metal, you want “Silicon Carbide” or “Zirconia,” which are harder and can withstand the heat generated by metal-on-metal friction.
Always sand “with the grain” (parallel to the wood fibers). Sanding against the grain creates deep, cross-grain scratches that act like “valleys” that trap stain, making them look like dark, ugly scars on your finish.
The “dust collection” system relies on a vacuum pulling air through those holes. If they are blocked, the sawdust stays between the paper and the wood. This “cushions” the abrasive, making it less effective and causing the paper to get hot and fly off.
Generally, no. Most paper used for a sander is paper-backed and will warp or disintegrate if it gets wet. However, “wet/dry” paper is plastic or cloth-backed and can be rinsed, but it’s still usually better to just use a “cleaning stick.”
“Cutting” from the back side with a utility knife is the professional way. If you tear it, you risk leaving ragged edges that can get caught in the clamps of a finishing sander, leading to a loose fit.
This is caused by heat. Either your sand paper is dull, or you are moving the sander too slowly. Keep the tool moving and swap to fresh paper to prevent scorching the wood fibers.