Physical Address
304 North Cardinal St.
Dorchester Center, MA 02124
Physical Address
304 North Cardinal St.
Dorchester Center, MA 02124
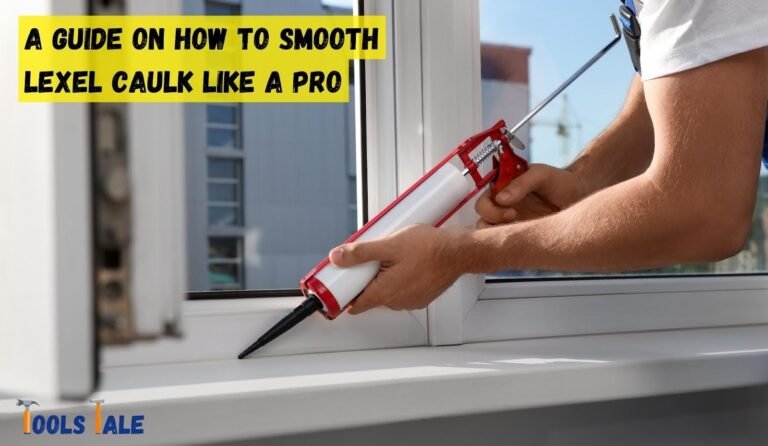
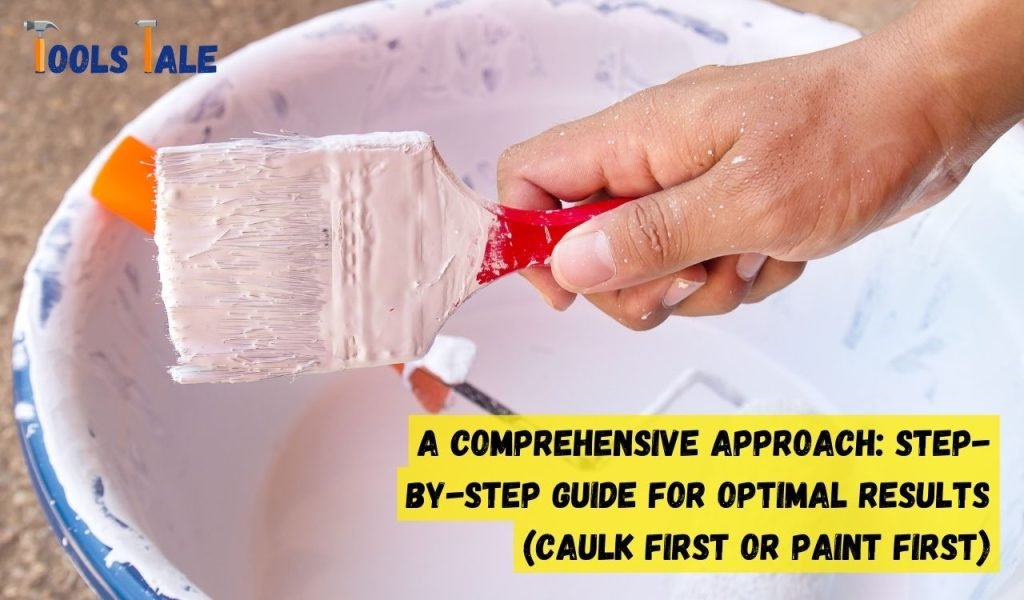
Should I caulk or paint first? It’s a common dilemma that homeowners and DIY enthusiasts face when embarking on a painting project. Making the right choice can make a significant difference in the outcome. In this concise guide, we’ll tackle this age-old question head-on, providing you with valuable insights and expert advice to help you make an informed decision.
Whether you’re sprucing up your interior, adding a fresh coat to your home’s exterior, or tackling any other painting project, we’ve got you covered. Get ready to unlock the secrets to achieving a professional finish that will leave your space looking its best. Let’s dive in and discover the ideal order for your painting and caulking project.
Key Summary: Should I Caulk or Paint First?
Start with caulk to seal gaps, crucial for preventing air and moisture infiltration. It enhances durability and aesthetics, ensuring a smooth surface for paint application. Caulking first is vital for a polished, long-lasting finish. Use high-quality products and allow caulk to dry thoroughly before painting.
[amazon_auto_links id=”11426″]
In the realm of home improvements, timing is everything. This is especially true when it comes to two fundamental processes: caulking and painting. The order in which these tasks are undertaken can make a substantial difference in the final outcome of a project. Let’s uncover the profound importance of choosing the right sequence for caulking and painting to master the art of home enhancement.
Caulking and painting are essential steps in home improvement, each serving distinct yet interdependent purposes. Caulk is a versatile material, primarily used to fill gaps, cracks, and seams.
It creates a seamless surface, improving structural integrity and preventing air and moisture infiltration. On the other hand, painting is about more than just aesthetics-it acts as a protective shield, enhancing durability and providing a polished finish.
Opting to caulk before painting can greatly improve the overall result. Caulking serves as a preparatory foundation, smoothing out any imperfections and providing a consistent surface. It prevents paint bleed and ensures the paint adheres better, ultimately leading to a polished and professional look. This order is particularly effective for achieving a seamless, finished appearance, especially on porous or uneven surfaces.
In certain situations, initiating the project with painting can also yield positive results. Painting first allows for better visibility of the surface and any imperfections that may need to be addressed. It’s particularly beneficial when dealing with surfaces that require extensive coverage, making subsequent caulking more precise and effective.
Understanding the intricacies of your specific project is crucial when deciding the order of caulking and painting. Factors such as surface type, project goals, and the desired level of perfection should all be taken into account. By carefully assessing these variables, you can tailor the order to best suit your project, ensuring a flawless finish and lasting results.
In essence, mastering the art of home improvement involves not only skillful execution but also strategic decision-making. The caulking and painting order may seem a minute detail, but its impact on the final product is profound. Choose wisely, and let your project reflect the precision and craftsmanship it deserves.
.In the realm of home improvement, deciding whether to caulk or paint first is akin to solving a puzzle; every piece fits together to create a seamless finish. This decision isn’t arbitrary but requires a thoughtful assessment of various factors. Understanding the dynamics of these factors is crucial in making an informed choice, ensuring the project progresses smoothly and yields a professional outcome.
The condition of the surface is a fundamental factor influencing the order of caulking and painting. Surfaces with significant gaps, cracks, or unevenness may benefit from caulking as the initial step. Caulking primes the surface, creating a smoother canvas for paint application. However, if the surface is relatively smooth and in good condition, starting with painting can be more efficient.
The aesthetic vision for the project plays a pivotal role in determining the order. If achieving a flawless, seamless finish is a priority, caulking before painting is recommended.
Caulking ensures any gaps or imperfections are addressed, providing a clean foundation for the paint. Conversely, if the project requires a more rustic or textured look, starting with painting may align better with the desired outcome.
Project timelines and efficiency are critical considerations. Starting with the process that demands more time is often a prudent approach. Caulking can be time-consuming, especially for extensive gap filling. Therefore, if time is a constraint, beginning with painting might expedite the project while still yielding satisfactory results.
The type of surface being worked on is a decisive factor. Wood, drywall, metal, and other materials have unique properties that influence the order. Porous surfaces like wood might benefit from caulking first to seal and prepare the surface adequately. Non-porous surfaces may be more receptive to paint initially, allowing for easier cleanup and paint adhesion.
The decision of whether to caulk or paint first is contingent upon various factors, each playing a significant role in achieving the desired finish. It’s essential to evaluate the surface condition, desired aesthetic, project timeline, and surface type to make an informed decision. Striking the right balance ensures a successful home improvement project, with both caulking and painting contributing harmoniously to the final, impressive result.
Now that you’ve made the crucial decision of whether to caulk or paint first in your home improvement project, it’s time to roll up your sleeves and get to work. Whether you’ve opted for the meticulous approach of caulking before painting or the efficiency of painting first, a well-executed step-by-step guide is your ticket to achieving a professional finish.
Let’s dive into the details of each method, ensuring you’re equipped with the knowledge and techniques to tackle your project with confidence.
Whether you’ve chosen the meticulous “caulk first” approach or the efficient “paint first” method, following a well-structured step-by-step guide is essential for success. By carefully executing each step, you’ll be well on your way to achieving a professional finish that enhances the aesthetics and durability of your home improvement project.
Remember that patience, attention to detail, and the right tools are your allies in creating a transformation you can be proud of.
Whether you opt to caulk first or paint first, achieving a professional finish in your home improvement project is the ultimate goal. The order you choose is essential, but there are universal tips and techniques that can elevate the quality of your work, ensuring a polished and lasting result.
In this guide, we’ll explore key tips to help you achieve a professional finish, regardless of the order you’ve selected for your caulking and painting project.
Regardless of your chosen order, thorough surface preparation is paramount. Clean the surface to remove dirt, dust, and debris. Repair any imperfections, such as cracks or holes, before starting either caulking or painting. Smooth, well-prepared surfaces are the foundation of a professional finish.
Invest in high-quality caulking and paint materials. Premium caulk adheres better, lasts longer, and provides a more seamless finish. Similarly, quality paint offers better coverage and durability. It may cost more initially, but the results will be well worth it in the long run.
Selecting the appropriate tools can make a significant difference in the outcome of your project. Invest in good-quality brushes, rollers, caulking guns, and other equipment. Using the right tools ensures smoother application and a more professional look.
Proper technique is crucial for both caulking and painting. When applying caulk, maintain a steady hand and consistent pressure on the caulking gun. Smooth the caulk with a finishing tool or a wet fingertip to create a neat finish. For painting, use even strokes, follow the grain of the surface, and avoid drips and streaks.
It’s the little details that can truly make a difference. Be meticulous in your work. Check for missed spots, uneven application, or smudges. Address any imperfections immediately to ensure a flawless finish.
Patience is essential when working on a home improvement project. Allow caulking and paint to dry fully between coats and before moving on to the next step. Rushing can lead to a less-than-professional finish.
For a smooth and even finish, consider sanding between coats of paint. Use fine-grit sandpaper to gently remove imperfections and create a polished surface. Always clean the surface thoroughly after sanding before applying another coat.
In some cases, applying a primer before painting can significantly improve adhesion and coverage. If you’re working with a porous surface or making a significant color change, using a primer is often a wise choice.
Before committing to a full paint job, test your chosen paint colors on a small, inconspicuous area. This allows you to see how the color looks in your specific lighting and environment and ensures you’re happy with the choice.
When painting or caulking, be diligent in protecting adjacent surfaces that shouldn’t be affected. Use painter’s tape, drop cloths, or plastic sheeting to prevent unintentional splatters or smudges.
To maintain a professional finish over time, conduct regular maintenance. Inspect your painted or caulked surfaces periodically for signs of wear, damage, or deterioration. Address any issues promptly to prevent further damage.
If you’re unsure about techniques or color choices, seek inspiration from home improvement resources, such as magazines, websites, or professional advice. Learning from experts and enthusiasts can provide valuable insights.
Regardless of whether you choose to caulk first or paint first in your home improvement project, these tips can help you achieve a professional finish that will stand the test of time.
Preparation, attention to detail, and the use of high-quality materials and tools are key factors in creating a polished and lasting result. With the right approach and a commitment to excellence, your home improvement project will not only meet but exceed your expectations.
The decision to caulk or paint first in a home improvement project can significantly impact the final outcome. While both approaches have their merits, determining the ideal sequence requires careful consideration and assessment.
Expert tips and insights play a vital role in guiding this decision-making process. In this guide, we’ll delve into key expert advice to help you make an informed choice, ensuring a successful and professional finish for your project.
Assess the surface condition to determine the appropriate order. If the surface has visible gaps, cracks, or unevenness, caulking first is often recommended. Caulking smooths the surface, providing an even canvas for paint application and a polished final look.
Different projects may warrant different approaches. For projects involving detailed trims, intricate woodwork, or crown molding, painting first might be more efficient. Conversely, if you’re working on a project where gaps and seams are prevalent, caulking first can lead to a more refined and seamless result.
Consider your project’s timeline and efficiency requirements. If you’re looking for a quicker and more straightforward approach, starting with painting might be the right choice. Painting first can save time, especially when working on extensive areas with minimal gap filling needed.
Aesthetic goals are crucial in determining the order. If achieving a seamless, flawless finish is a priority, caulking first is recommended. The smooth, gap-free surface resulting from caulking enhances the final paint application, creating a more visually appealing outcome.
Consider your skill level and comfort with both caulking and painting. If you’re more confident in your caulking abilities or have more experience with it, starting with caulking can set the tone for a successful project. However, if you’re more adept at painting or find it easier, beginning with painting might be the better choice for you.
Consulting with professionals, such as painters or contractors, can provide valuable insights. Professionals with extensive experience can assess your project’s unique needs and advise on the most effective order based on the specific conditions and requirements.
If uncertain, conduct a small-scale experiment. Try both approaches on a limited area, evaluate the results, and choose the method that aligns best with your project goals and expectations.
Climate can influence the order as well. In humid environments, caulking first may be more beneficial, as it ensures a sealed surface before applying paint. Assess the weather conditions and how they may affect the drying and curing times for both caulking and paint.
The decision to caulk or paint first is a critical step in any home improvement project. It sets the stage for the entire process and significantly impacts the quality of the final finish.
Considering surface condition, project type, time constraints, aesthetic goals, skill level, seeking professional advice, experimenting, and accounting for weather conditions are crucial expert tips to guide you towards making an informed choice. By carefully weighing these factors, you’ll be able to choose the right order and achieve a professional and lasting finish for your project.
In the “caulk or paint first” conundrum, both paths lead to a professional finish. Assess your project’s needs, prioritize aesthetics or efficiency, and consider your expertise.
Whether you start with a smooth canvas through caulking or begin with a splash of color, meticulousness and precision at each step will ultimately define the success of your home improvement endeavor. Choose wisely, embrace the process, and enjoy the transformation of your space.
Yes, painting over caulk is possible. Allow the caulk to cure completely, then choose a paint suitable for the caulk type. Apply the paint evenly for a seamless finish.
Allow at least 24-48 hours for the paint to dry completely before caulking. Applying caulk to freshly painted surfaces can lead to adhesion issues and affect the quality of the caulk. Waiting ensures that both the paint and caulk perform optimally.
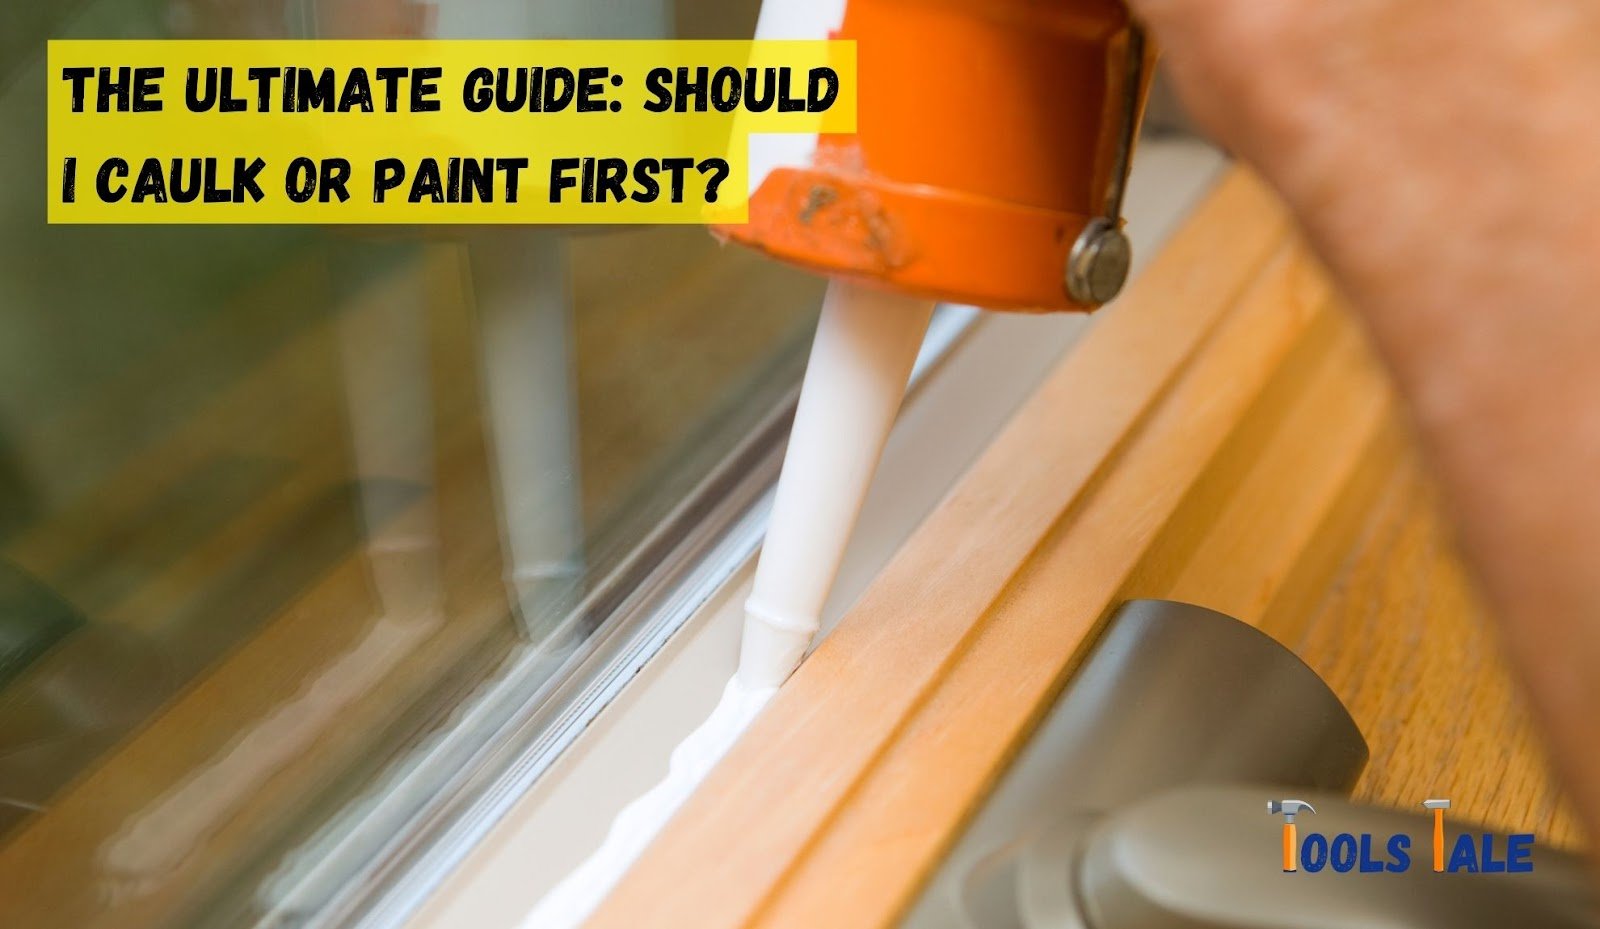
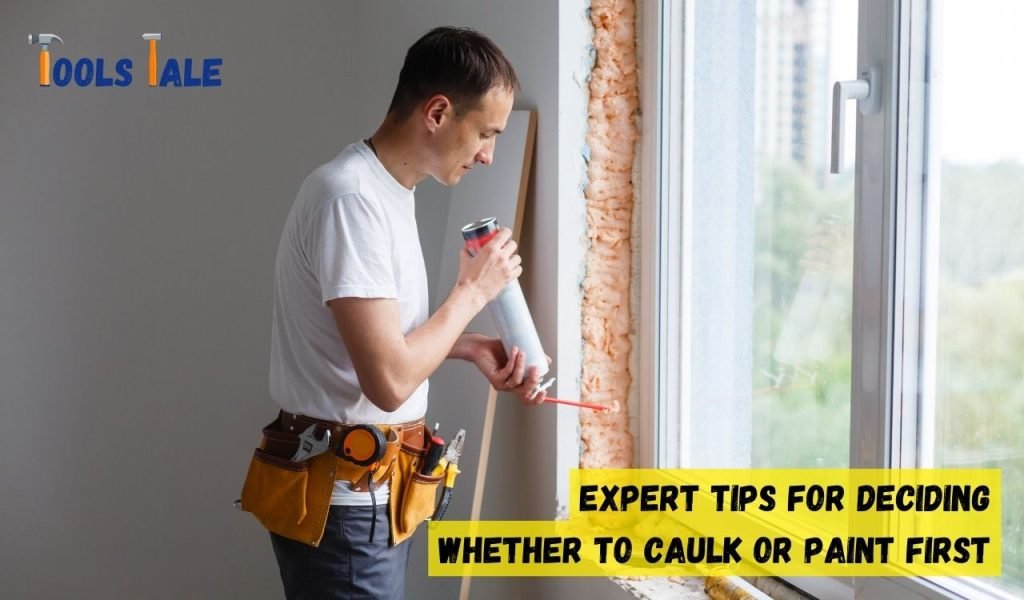
It’s advisable to caulk windows before painting. Caulking first helps create a smooth and sealed surface, allowing for more efficient and polished painting.
Caulking after painting can be challenging but not impossible. Carefully apply the caulk to gaps or seams, being cautious not to smudge or damage the freshly painted surface. It’s crucial to maintain a steady hand and use a caulk that matches the paint color to achieve a seamless look.
Reversing the paint/caulk order can result in an uneven and less professional finish. Caulking after painting can lead to visible caulk lines, impacting the aesthetics.
Caulk before painting the exterior. Caulking first ensures a sealed surface, preventing moisture and providing a smooth canvas for paint, resulting in a lasting finish.
To caulk your home before painting, start by cleaning the surface and removing any old caulk or debris. Select the appropriate caulk type for your project (silicone, latex, etc.). Apply the caulk evenly to gaps, seams, or joints, using a caulk gun. Smooth the caulk with a finishing tool or a wet fingertip for a neat finish. Allow the caulk to dry before proceeding with painting.
Wait until the caulk is completely cured before painting, typically 24 hours. Use paint compatible with caulk to achieve the desired final look.