A Guide on How to Smooth Lexel Caulk Like a Pro

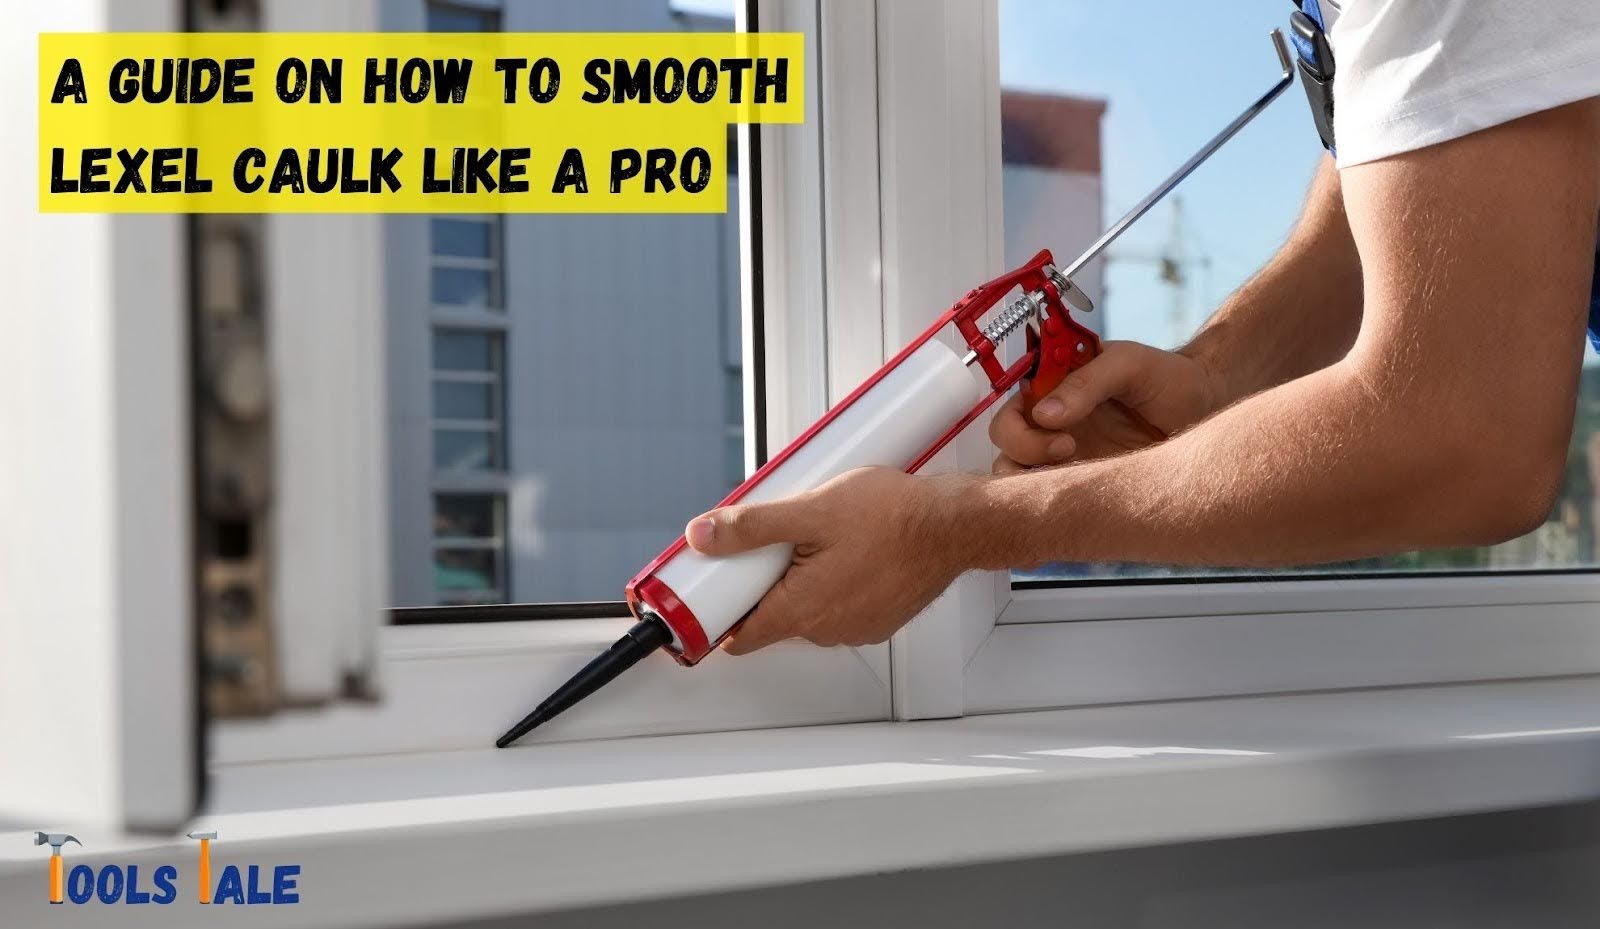
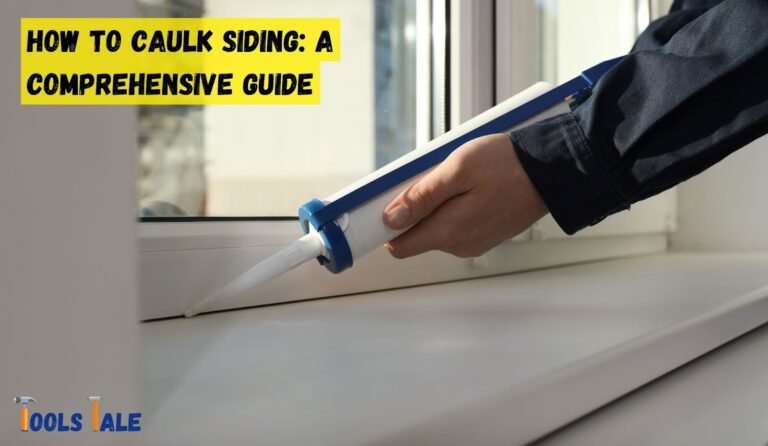
Want to master the art of DIY caulking? Look no further. In this guide, we’ll show you how to smooth Lexel caulk like a pro. Say goodbye to uneven finishes and hello to seamless results. Whether you’re a seasoned DIY enthusiast or just starting, our quick and easy tips will have you caulking like a pro in no time. Get ready to transform your projects with a smooth, professional touch!

Key Summary: How to Smooth Lexel Caulk?

To achieve a professional finish with Lexel caulk, start with a clean surface. Apply the caulk evenly with a caulk gun. Smooth it using a wet finger or a plastic spatula, feathering the edges for a seamless look. Wipe away excess caulk with a damp cloth and allow it to cure for 24 hours for the best results.

Hand Tools Suggestion for Your Home

How to Smooth Lexel Caulk?

You’ve decided to tackle a home improvement project, and Lexel caulk is your trusted companion in sealing gaps and joints. But the true art of using Lexel lies not just in applying it but in ensuring a smooth, professional finish. In this guide, we’ll take you through the steps of perfecting your Lexel caulk application. From understanding Lexel’s unique properties to mastering the art of smoothing, we’ve got you covered.

Understanding Lexel Caulk

Before you embark on your caulking journey, let’s dive into what makes Lexel caulk stand out. Lexel is renowned for its exceptional properties. It’s a clear, elastic sealant that maintains flexibility over time, making it an excellent choice for both indoor and outdoor projects.

Properties of Lexel Caulk

Lexel’s resistance to water makes it ideal for sealing bathroom and kitchen fixtures, as well as outdoor applications. Another standout feature is its paintability. You can seamlessly integrate it into your interior or exterior color schemes. Plus, Lexel’s enduring flexibility ensures a long-lasting seal, even as surfaces expand and contract.

Essential Materials and Tools for Perfecting Lexel Caulk Finish

Essential Materials and Tools for Perfecting Lexel Caulk Finish

To achieve a polished Lexel caulk finish, you’ll need the right materials and tools at your disposal. Here’s a list to ensure you’re well-prepared:

Materials

  1. Lexel Caulk: The first and most crucial material is Lexel caulk itself. Ensure you choose the right type for your specific project. Lexel comes in variations suitable for indoor, outdoor, and various surfaces like wood, concrete, or metal.
  2. Painter’s Tape: This essential tool is used for masking off the area you’re caulking. It helps maintain clean, straight lines and prevents caulk from spreading where it’s not wanted.
  3. Mineral Spirits or Rubbing Alcohol: These materials come in handy for cleaning up excess caulk and smoothing out the caulk line.
  4. Caulk Smoother Tool: While you can use your finger for smoothing, a caulk smoother tool provides a more uniform finish and professional appearance.
  5. Disposable Gloves: These protect your hands and make the cleanup process easier. They are especially useful when you need to handle caulk remover or cleaning agents.
  6. Damp Cloth or Sponge: This is essential for wiping away surplus caulk and for achieving a smooth, even finish.
  7. Caulk Gun (if applicable): If you’re working with Lexel caulk in a tube, a caulk gun provides precision during application.

Tools

  1. Utility Knife: You’ll need this for cutting the caulk tube tip to the desired size. It’s an essential tool for a clean, controlled application.
  2. Caulk Smoother Tool (if not included in your materials): If your Lexel caulk package doesn’t include a caulk smoother tool, it’s worth having one on hand for achieving that professional finish.
  3. Rags and Paper Towels: These are essential for cleaning up any caulk spills, wiping away excess, or for general cleanup during and after the project.

With these materials and tools, you’ll be well-prepared to perfect your Lexel caulk finish.

Preparing the Surface

The foundation of a seamless caulk finish begins with proper surface preparation. Follow these steps to ensure a clean and effective seal:

  1. Clean the Surface: Start by cleaning the surface where you intend to apply Lexel caulk. Use a mild detergent and water to remove dirt, grease, and debris, then allow it to dry completely.
  2. Remove Old Caulk: If there’s old, cracked caulk in the area, remove it with a caulk removal tool or a putty knife. Ensure the surface is clean and free of any remnants.
  3. Mask Off the Area: Use painter’s tape to mask off the area you’re caulking. This ensures clean, straight lines and prevents excess caulk from spreading where it’s not wanted.
  4. Prime the Surface: In some cases, you might need to apply a primer before caulking. Follow the manufacturer’s recommendations for the specific primer you’re using.

Properly preparing the surface sets the stage for a successful Lexel caulk application. Now, let’s explore the process of applying Lexel caulk and achieving that smooth, professional finish.

Applying Lexel Caulk

With your surface prepared and your materials ready, it’s time to apply Lexel caulk. Here’s a step-by-step guide to ensure a smooth application:

  1. Cut the Tip: If you’re using a caulk tube, cut the tip at a 45-degree angle. The size of the cut should match the width of the gap you’re caulking.
  2. Load the Caulk Gun: If you’re using a caulk gun, load the tube into the gun and squeeze the trigger slightly to apply pressure.
  3. Begin Caulking: Apply the caulk in a steady, consistent motion. The goal is to create an even bead along the gap or joint you’re sealing.
  4. Maintain a Steady Motion: Avoid starting and stopping, as this can result in inconsistencies. Keep the caulk gun or your hand moving smoothly.
  5. Press the Caulk In: After applying the caulk, use a caulk smoother tool or your finger to press it into the gap. This ensures good adhesion.
  6. Smooth It Out: Once the caulk is applied, use a caulk smoother tool, a damp cloth, or your finger to create a smooth and uniform finish. Wipe away any excess caulk.
  7. Remove the Tape: If you used painter’s tape, carefully remove it while the caulk is still wet. This will leave you with clean lines.

Smoothing Techniques for Lexel Caulk

Smoothing Techniques for Lexel Caulk

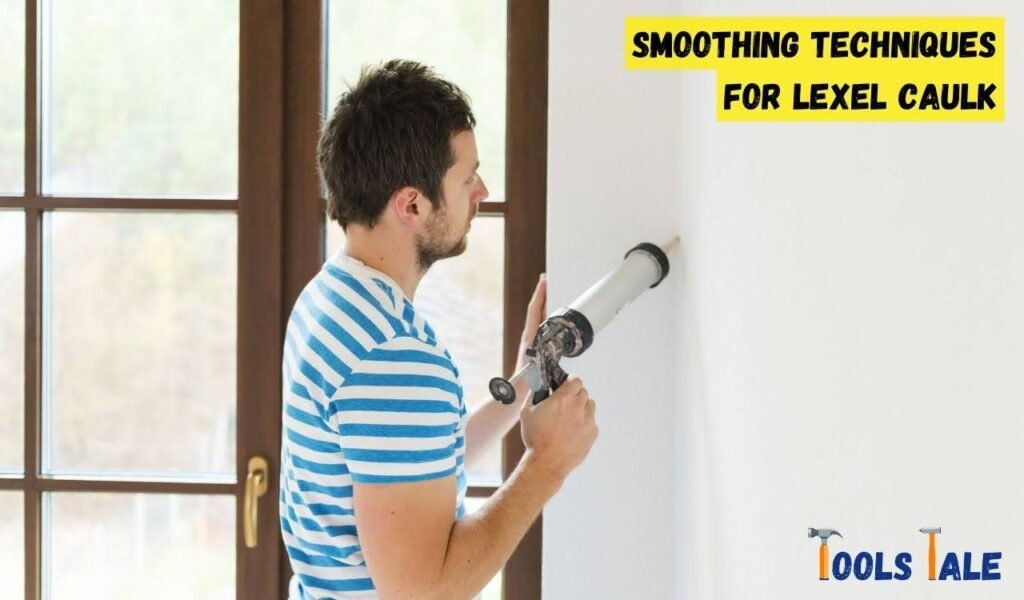
Smoothing Lexel caulk is an essential step in achieving a professional and polished appearance for your home improvement projects. Here, we’ll delve into various techniques that will help you master the art of creating a smooth finish with Lexel caulk:

1. Use a Caulk Smoother Tool

A caulk smoother tool is a specialized tool designed for the precise application and smoothing of caulk. It’s an excellent choice for achieving a consistent and professional finish. Here’s how to use it:

  • Load your caulk gun with Lexel caulk and apply the caulk to the joint or gap you want to seal.
  • Immediately follow with the caulk smoother tool. Run the tool along the caulk bead at a consistent speed to ensure a uniform finish.
  • The caulk smoother tool is particularly useful for creating straight lines and clean edges, making it a top choice for professional-looking results.

2. Damp Cloth or Sponge

Another effective method for smoothing Lexel caulk involves using a damp cloth or sponge. This technique is particularly useful for curved or irregular surfaces. Here’s how to do it:

  • Dampen a clean cloth or sponge, ensuring it’s not soaking wet but adequately moist.
  • Gently wipe the damp cloth or sponge along the caulk bead. Apply light pressure and use smooth, continuous strokes.
  • The dampness of the cloth or sponge allows you to control the caulk, creating a smooth and even surface.

3. Your Finger

Believe it or not, your finger can be a valuable tool for smoothing Lexel caulk. The warmth of your finger aids in ensuring good adhesion. Here’s how to use your finger effectively:

  • Slightly wet your finger with a soap and water solution to prevent the caulk from sticking to your skin.
  • Run your moistened finger along the caulk bead, applying even pressure. Use a continuous and smooth motion to create a uniform surface.
  • The 45-degree angle between your finger and the surface ensures a concave finish. This not only looks professional but also helps with proper water drainage.
  • Have a paper towel or cloth nearby to wipe off any excess caulk from your finger as you work.

4. Practice

While the above techniques provide various options for smoothing Lexel caulk, the key to mastering this skill is practice. Experiment with different tools and methods to find the one that works best for your specific project.

Troubleshooting and Common Mistakes

Even with the best preparation, issues can arise. Here are some common problems and how to troubleshoot them:

  1. Caulk Won’t Stick: If the caulk isn’t adhering well, ensure the surface is clean and dry. Sometimes, using a primer can improve adhesion.
  2. Irregular Bead: If your caulk bead is uneven, it can affect its appearance. Work on maintaining steady pressure when applying the caulk.
  3. Excess Caulk: If you’ve applied too much caulk, don’t worry. Use a caulk smoother tool, a damp cloth, or your finger to remove the excess.
  4. Caulk Not Drying: If the caulk is taking longer to dry, ensure the area is well-ventilated. Sometimes, increased humidity can slow down the drying process.

Drying and Curing

Drying and Curing

Understanding the drying and curing process of Lexel caulk is essential for ensuring the longevity and effectiveness of your caulking project. Drying and curing are distinct phases, and it’s crucial to differentiate between the two. Drying typically occurs within the first 20-30 minutes after application, creating a touch-dry surface. During this time, it’s important to provide adequate ventilation to expedite the drying process.

However, it’s essential to avoid putting any significant pressure on the caulk or exposing it to water during this period. On the other hand, curing is a more extended process, spanning from 7 to 14 days. This is when the caulk achieves its maximum strength and durability, forming a complete bond.

Disturbing the caulk during the curing phase should be avoided to ensure an even finish and uncompromised adhesion. Always follow the manufacturer’s recommendations for the specific Lexel product you’re using to achieve the best results in your caulking project.

Maintenance and Longevity

A well-done caulk job can last for many years, but to ensure the longevity of your work, consider the following maintenance tips:

  • Routine Inspections: Periodically inspect the caulked areas to check for signs of wear, damage, or separation. Address any issues promptly to prevent larger problems.
  • Reapplication: Over time, caulk can deteriorate or separate from surfaces. If you notice cracks, gaps, or areas where the caulk has pulled away, it’s a sign that it’s time for reapplication.
  • Cleaning: Regular cleaning of caulked areas, especially in wet or humid environments like bathrooms, can help prevent mold and mildew growth.
  • Painting: If you’ve painted over caulked areas, follow the paint manufacturer’s recommendations for touch-ups and repainting as needed.
  • Weatherproofing: If you’ve caulked outdoor areas, consider rechecking and resealing them seasonally. Outdoor caulk can be exposed to harsh weather conditions and may require more frequent attention.

By following these maintenance practices, you can prolong the life of your caulked surfaces and ensure that your Lexel caulk continues to perform effectively for years to come.

Conclusion

In conclusion, mastering the art of how to smooth Lexel caulk can truly elevate your DIY projects. With the right techniques and tools, achieving a professional finish is well within reach. Say goodbye to uneven caulk lines and welcome the satisfaction of seamless results.

Whether you’re a seasoned DIY enthusiast or just starting, these tips have empowered you to become a pro caulker. So, go ahead, take on those home improvement projects with confidence and enjoy the seamless, flawless results you deserve.

Frequently Asked Questions

Can Lexel be smooth?

Lexel caulk can be smoothed to achieve a seamless finish. Using a caulk-smoothing tool or a wet finger, gently press and shape the caulk within a few minutes of application.

How long does it take for Lexel to cure?

The curing time for Lexel caulk varies with temperature and humidity. Generally, it takes 7 to 14 days for Lexel to fully cure and achieve its maximum strength.

How long until Lexel is waterproof?

Lexel caulk becomes water-resistant once it’s dry to the touch, which typically occurs within 20-30 minutes after application. However, full waterproofing may take a few days.

How can I achieve a smooth finish when using Lexel caulk?

To achieve a smooth finish, apply Lexel caulk in a steady bead, then use a caulk-smoothing tool or a wet finger to create an even surface. Avoid interruptions during the application process.

What is Lexel caulk used for?

Lexel caulk is a versatile sealant used for a wide range of applications, from sealing gaps and cracks in windows and doors to filling joints in bathrooms and kitchens. It offers excellent adhesion and flexibility.

Share your love!
Tools Tale

Tools Tale

Disclaimer: This site is owned and operated by Tools Tale. toolstale.com is a participant in the Amazon Services LLC Associates Program, an affiliate advertising program designed to provide a means for sites to earn advertising fees by advertising and linking to Amazon.com. This site also participates in other affiliate programs and is compensated for referring traffic and business to these companies.

Articles: 179

Leave a Reply

Your email address will not be published. Required fields are marked *