Physical Address
304 North Cardinal St.
Dorchester Center, MA 02124
Physical Address
304 North Cardinal St.
Dorchester Center, MA 02124

Want to become a tape measure pro? Look no further than the “How to read a tape measure worksheet”! In this guide, we’ll unlock the secrets of precise measurements, helping you tackle DIY projects with confidence. Say goodbye to guesswork and hello to accuracy!
Whether you’re a seasoned DIY enthusiast or just starting, this worksheet will demystify the art of reading a tape measure in a snap. Get ready to measure like a pro and impress yourself with your newfound skills. Let’s dive in and embark on a measuring adventure together!
Key Summary: How to Read a Tape Measure Worksheet?
To effortlessly grasp the skill of reading tape measures, explore our detailed worksheet. Decode markings, understand fractions, and gain expert measuring insights. Tailored for DIYers and skilled professionals. Begin your journey to accurate measurements now!
[amazon_auto_links id=”11426″]
Learning how to read a tape measure is a valuable skill that empowers you to take on a wide range of projects with confidence and accuracy. This comprehensive worksheet is designed to guide you through the process of reading a tape measure, step-by-step. The worksheet begins by introducing the basics of tape measures, providing an understanding of the tool’s construction and its various units of measurement.
From there, you’ll dive into reading inch measurements, learning how to identify whole inches and account for fractions accurately. Next, the worksheet transitions to centimetre measurements, simplifying the process of reading metric units. You’ll discover how to read whole centimetres and determine millimetres, all while grasping the metric system with ease.
Expert tips are interwoven throughout the worksheet, sharing valuable insights to help you elevate your measuring skills to the next level. You’ll learn about maintaining a steady hand and eye, using a pencil for markings, double-checking calculations, and measuring twice before cutting.
By the end of the worksheet, you’ll have mastered the art of reading a tape measure like a pro. Armed with knowledge and practice, you’ll be prepared to tackle DIY projects, home improvements, and various tasks that demand precise measurements.
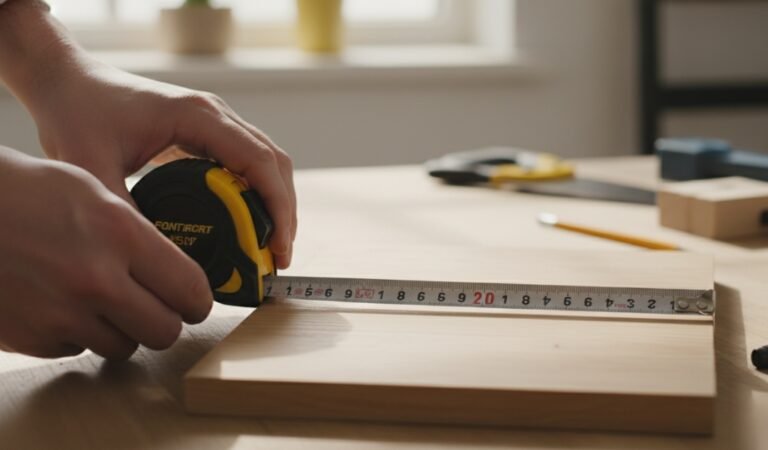
Before we delve into the nitty-gritty, let’s start with the basics. A tape measure is a flexible ruler used to measure the length, width, and height of various objects. It typically comes in various lengths, but the most common ones are 25 feet and 16 feet. Tape measures can have both imperial and metric units, so we’ll cover both inches and centimetres in this guide.
Each inch on the tape measure is divided into 16 smaller markings. The longer markings indicate whole inches, while the shorter ones represent fractions of an inch.
Locate the nearest whole-inch marking to the left of the object’s end. Make sure to read the measurement from the start of the tape, not from the hook.
If the object extends beyond the nearest whole-inch marking, check the closest fraction line it aligns with. For example, if the end of the object aligns with the third shorter marking, it’s 3/16 inch beyond the whole inch.
If the tape measure’s end isn’t at zero, take this into account when measuring. For instance, if the tape starts at 1/8 inch, add this to your final measurement.
Measure various objects around you to practice reading inch measurements. Verify your readings by remeasuring the same objects to build accuracy and confidence.
Centimetres are slightly simpler to read than inches. Each centimetre on the tape measure is divided into 10 smaller units, making it easier to obtain precise measurements.
Just like with inches, place the start of the tape measure at one end of the object, ensuring it’s aligned with zero.
Identify the nearest centimetre marking to the left of the object’s end. This is your whole centimetre measurement.
If the object goes beyond the nearest centimetre marking, observe the smaller lines to determine the millimetre measurement. Each small line represents one millimetre.
Measure various objects using centimetres and millimetres to get comfortable with the metric system. Practice makes perfect, so don’t hesitate to measure repeatedly for accuracy.
When it comes to measurements, two of the most commonly used units are inches and centimeters. Understanding how to convert between these units is essential for various tasks, from woodworking to international travel. In this article, we will demystify the process of converting measurements from inches to centimeters, allowing you to navigate between these systems with ease.
Inches and centimeters are units of length used to measure the size or distance of objects. The inch is primarily used in the United States and some other countries following the imperial system, while centimeters are widely used in the metric system, employed by most of the world.
To convert inches to centimeters, you’ll need to know the conversion factor: 1 inch is equal to 2.54 centimeters. To convert, simply multiply the number of inches by 2.54. For example, if you have a measurement of 5 inches, the conversion would be:
5 inches * 2.54 centimeters/inch = 12.7 centimeters
Conversely, to convert centimeters to inches, you divide the number of centimeters by the conversion factor (2.54). For instance, if you have a measurement of 20 centimeters, the conversion would be:
20 centimeters ÷ 2.54 centimeters/inch ≈ 7.87 inches
Knowing how to convert between inches and centimeters opens up a world of practical applications. For instance, if you’re planning a trip and the weather forecast indicates 25 centimeters of snowfall, you can easily convert it to inches (approximately 9.84 inches) to get a better sense of the snow accumulation.

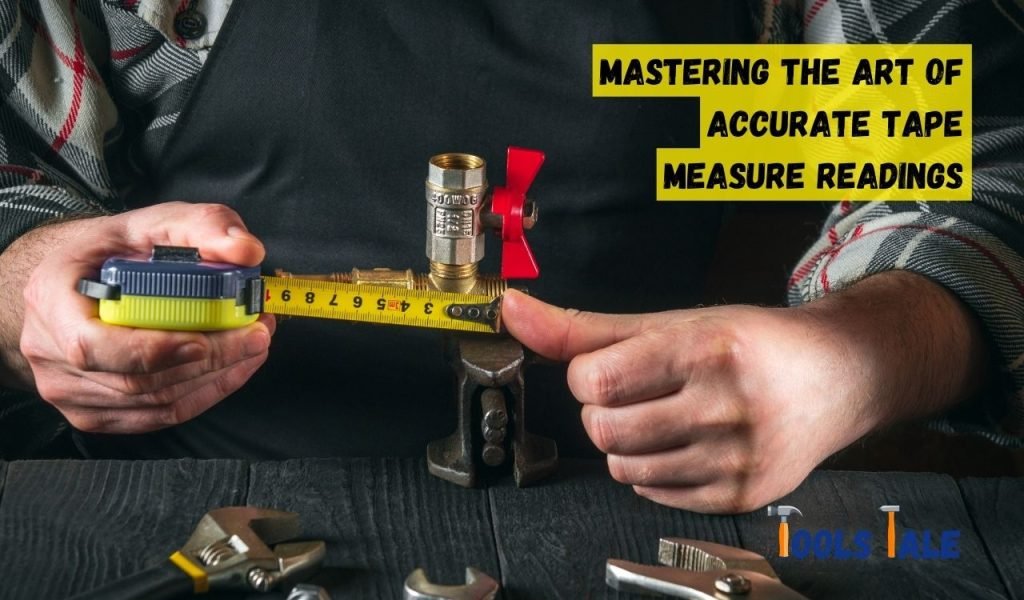
Mastering the art of using a tape measure goes beyond simply reading the markings on the tool. It involves developing a keen eye, understanding various measurement techniques, and ensuring precision in your work. Here are some expert tips to help you become a tape measure pro:
One of the key aspects of accurate measurements is maintaining a steady hand and eye. Hold the tape measure firmly and keep it level when taking readings. Avoid tilting or angling the tape, as this can lead to parallax errors, resulting in inaccurate measurements.
When marking measurements on materials, always use a pencil rather than a pen. Pencil marks are easily erasable, allowing you to make adjustments or corrections if needed. Pen marks, on the other hand, can be permanent and lead to mistakes in your project.
After taking measurements, double-check your calculations. Even a small arithmetic error can have significant consequences in the final outcome of your project. Taking a few moments to verify your math can save you time and materials in the long run.
This timeless advice is a golden rule in the world of measurements. Always measure the same dimension twice before making any cuts or adjustments. This extra step ensures that your measurements are accurate and reduces the likelihood of costly mistakes.
Keep your tape measure in good condition and properly coiled when not in use. Avoid kinks or twists in the tape, as they can affect the accuracy of your measurements. A well-maintained tape measure provides consistent and reliable readings.
For repetitive measurements, such as cutting multiple pieces of the same length, use a stop block. A stop block is a fixed block or piece of wood clamped to your work surface. It acts as a reference point, allowing you to quickly and precisely measure and cut without remeasuring each time.
When measuring an object’s length, extend the tape measure from the “hook” end. The “hook” is the small metal tab at the end of the tape. It accounts for its own thickness, ensuring accurate measurements when measuring from an edge or corner.
When measuring from an inside edge, such as the inside of a box or frame, take into account the width of the tape measure itself. Align the beginning of the tape measure with the inside edge for precise measurements.
Explore advanced measurement techniques, such as measuring diagonals, finding the center of a board, or measuring angles. These skills come in handy for complex projects and tasks that require utmost accuracy.
The key to becoming a tape measure pro is practice. Regularly measure various objects, test your calculations, and seek opportunities to apply your measuring skills. The more you practice, the more confident and precise you’ll become.
Incorporating these expert tips into your measuring routine will elevate your craftsmanship and ensure top-notch results in your projects. As you hone your skills, you’ll find that measuring becomes an intuitive and rewarding part of your DIY endeavors.
In conclusion, with the help of our comprehensive “How to read a tape measure worksheet,” you can confidently master the art of tape measure reading. The step-by-step instructions, practical exercises, and visual aids provided in the worksheet ensure accurate measurements.
Empower yourself with this essential skill and elevate your projects to new levels of precision and success. Start your journey now and unlock the potential of precise measurements with our unique resource.
The easiest way to grasp tape measure reading is by breaking it into inch and centimeter segments. Understand whole inches and fractions for inches, and read whole centimeters plus millimeters for centimeters.
To read a tape measure, find the nearest marking to the object’s end, considering whole units and fractions for inches. For centimeters, identify the closest centimeter and any additional millimeters.
A tape measure is a flexible ruler used for measuring length. Look for a slender, flat, retractable tool with measurements marked on it. Some have both inch and centimeter units.
A tape measure extends from a housing, displaying units for measurement. It features markings corresponding to inches or centimeters, allowing you to measure length easily.
Tape measures typically come with both inch and centimeter units. Inches are divided into smaller markings, while centimeters have larger markings for whole centimeters and smaller lines for millimeters.
Centimeters are often present on the reverse side or bottom edge of an inch tape measure. Locate the side that displays centimeter units, which will be opposite the inch markings.