Physical Address
304 North Cardinal St.
Dorchester Center, MA 02124
Physical Address
304 North Cardinal St.
Dorchester Center, MA 02124
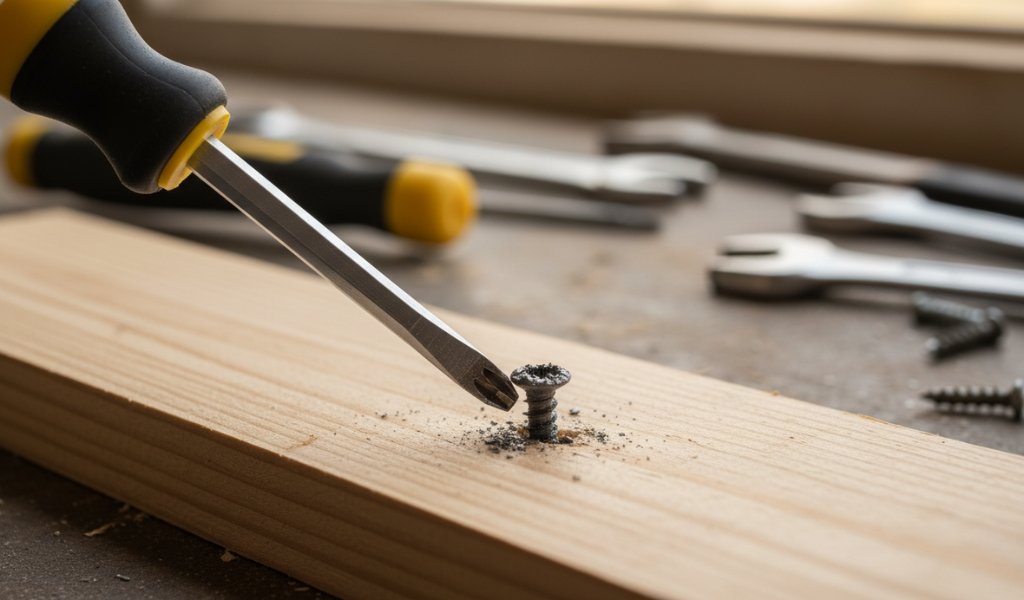
It is a scenario every DIY enthusiast, woodworker, and homeowner knows too well. You are in the flow of a project, the finish line is in sight, and then it happens—the sickening “zzzzt” sound of a metal bit spinning fruitlessly inside a screw head. You try again with more pressure, but the screwdriver just slips, carving out a shiny, silver crater where a functional notch used to be.
You now have a stripped screw, and the more you fight it with standard methods, the worse it gets. Whether the head is buried flush in hardwood or snapping out of a metal bracket, there are professional-grade tactics to get it out. This guide will walk you through every method, from the “rubber band trick” to the heavy-duty stripped screw extractor.
To remove a stripped screw, try using a rubber band for extra grip, switch to a flat-head screwdriver, use pliers, or drill it out with a screw extractor. For stubborn screws, advanced methods like left-handed drill bits or cutting a new slot can be used. Most people struggle with how to remove a stripped screw without damaging the surface. These proven methods will help you remove even the most stubborn stripped screws without damaging your material.
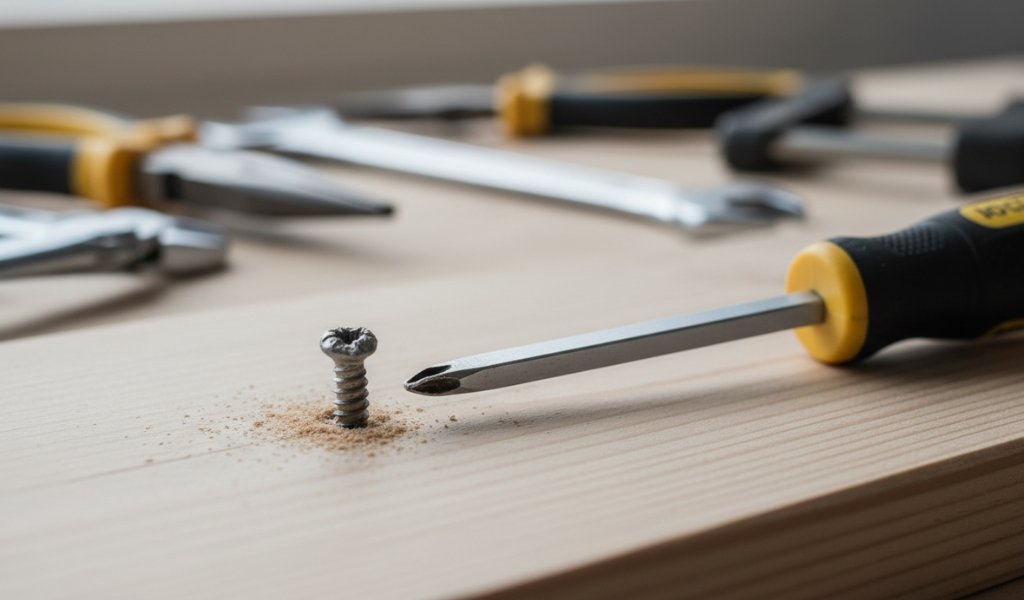
A stripped screw is a fastener whose drive—the indentation in the head where the screwdriver or drill bit sits—has been worn away, rounded off, or “bored out.” Instead of a crisp Phillips cross, a square Robertson, or a Star/Torx shape, the head becomes a smooth, shallow bowl.
When a screw is stripped, the driver can no longer find the shoulders or edges required to provide torque. This means that no matter how hard you turn, the bit simply spins in place, often generating heat and removing even more metal until the screw becomes impossible to turn with standard tools. This often happens because the metal of the screw is softer than the hardened steel of the driver bit.
A screw doesn’t strip by accident; it’s usually a combination of physics and tool choice. Understanding these factors can help you identify the moment a screw is about to strip so you can stop before it’s too late.
Removing a damaged fastener involves high friction, metal-on-metal contact, and sometimes flying debris. Never underestimate the potential for injury during a “simple” extraction.
Immediate First Steps (Before You Do More Damage)
When you realize a screw is starting to strip, STOP. The biggest mistake is trying “one more time” with the same tool. Each failed attempt removes more of the “meat” of the screw head, leaving you with less to work with.
If the screw is only mildly damaged, you might just need a bit more “bite.” This is the least invasive way to unscrew a stripped screw because it doesn’t require drilling or cutting.
These techniques work as effective stripped screw remover solutions for lightly damaged screws.
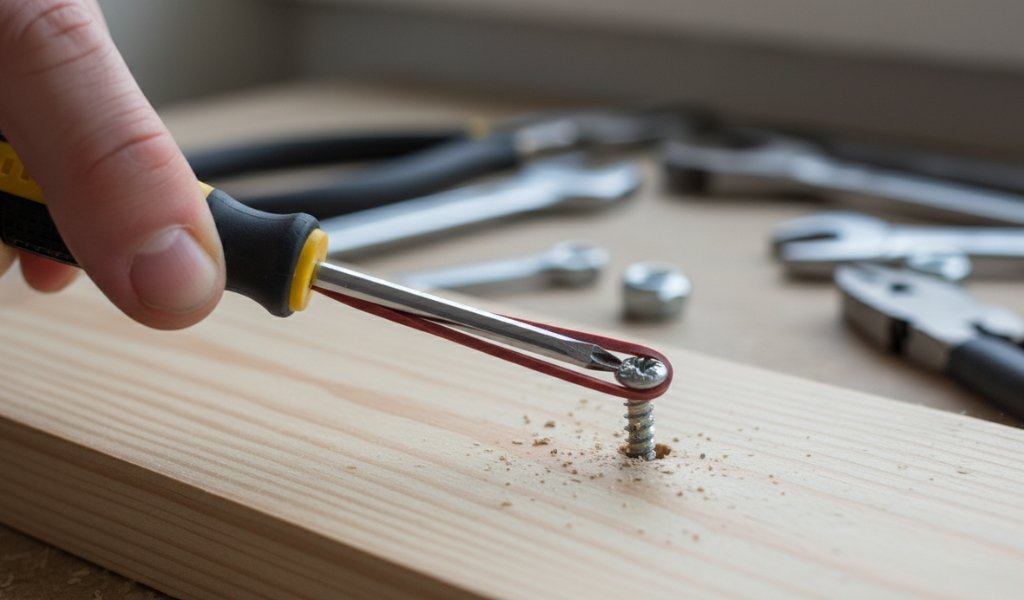
Find a wide, flat rubber band (the kind used on broccoli or mail bundles). Place it over the head of the stripped screw. Insert your screwdriver tip firmly into the hole, pressing the rubber into the crevices. The rubber acts as a gasket, filling the gaps where the metal has been worn away and providing the friction necessary to grip the bit.
If a rubber band isn’t available, a pinch of abrasive cleaning powder (like Comet or Ajax) or a small tuft of fine steel wool can be placed in the screw head. The grit acts like tiny teeth, gripping both the bit and the screw. There are also professional “friction drops” sold in hardware stores specifically for this purpose.
Sometimes, the best stripped screw remover isn’t a specialized tool—it’s just a different perspective and a bit of brute force.
If a Phillips head is totally rounded out, a Flat-head screwdriver might actually perform better. Find a flat-head bit that fits tightly across the widest diagonal of the damaged hole. By angling the flat-head, you may catch on the outward corners that the Phillips bit can no longer reach. If it’s close but won’t fit, you can sometimes tap the flat-head into the screw with a hammer to “set” it.
This is the most reliable method if the screw head is sitting slightly above the surface. Use a pair of locking Vise-Grip pliers rather than standard pliers. Clamp them onto the sides of the screw head as tightly as possible—so tight that you can barely lock the handle. Once locked, the pliers become a handle for the screw itself. Turn slowly to break the initial tension.
Standard drill bits cut while turning clockwise (forward). Left-handed drill bits cut while turning counter-clockwise (reverse). This is a professional secret for removing stripped screws.
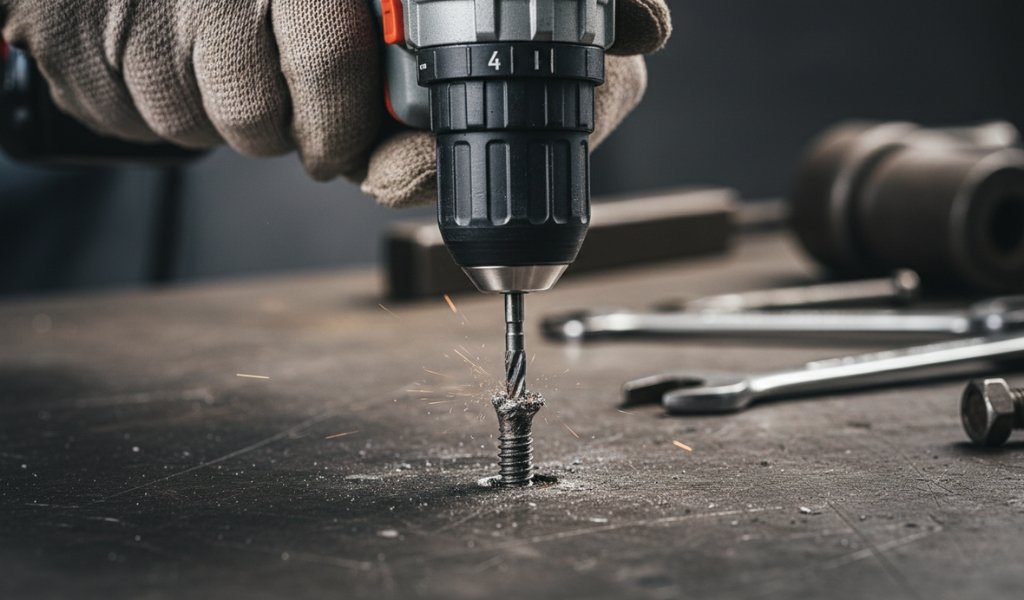
When the head is completely “vacant,” it’s time for a dedicated stripped screw extractor (often called a “Grab-it” or “Easy-Out”). These tools are made of extremely hard tool steel and feature reverse-spiral threads. A screw extractor is one of the most reliable tools to unscrew a stripped screw when other methods fail.
How to use an extractor:
If the screw head is so damaged that no bit can find a grip, you can manually create a new drive. This is common for small electronics or recessed screws where you can’t reach the sides with pliers.
Sometimes a screw isn’t just stripped; it’s stuck. Vibration can break the surface tension of the threads, making removal much easier.
This is the “last resort” for professional mechanics or metalworkers. It requires specialized equipment but is nearly 100% effective for large, frozen bolts or screws.
Prevention is always easier than extraction. By making a few small changes to your workflow, you can avoid the frustration of a stripped screw entirely.
| Feature | Best Practice | Detailed Explanation |
| Bit Selection | Use the “Snug Test” | Before driving, put the bit in the screw by hand. If there is any wiggle, try a different size or drive type. |
| Pilot Holes | Drill Before Driving | A pilot hole removes material, so the screw threads only have to “cut” their path rather than displacing all the wood. |
| Drive Type | Switch to Torx/Star | Phillips was designed to “cam out” to prevent over-tightening. Torx and Robertson (Square) were designed to never slip. |
| End Load | Lean Into It | Keep your arm and the drill in a perfectly straight line with the screw. Any angle increases the chance of slipping. |
| Lubricant | Use Wax or Soap | Rubbing a bit of beeswax or bar soap on the screw threads reduces friction significantly, allowing the screw to go in with less torque. |
Learning how to remove a stripped screw is one of those skills that transforms you from a novice to a seasoned DIYer. It’s about having a toolkit of different strategies—ranging from simple rubber bands to high-speed extractors—and knowing when to apply them. The next time you hear that dreaded grinding sound, don’t panic. Take a breath, assess the damage, and pick the method that fits your situation.
Q: Can I use a regular drill bit to remove a stripped screw?
A: Not effectively. A standard drill bit turns clockwise, which actually tightens the screw. If you drill all the way through, you’ll just destroy the threads in the hole. You need a left-handed drill bit or an extractor.
Q: What if the head of the screw snaps off?
A: This is called a “broken stud.” You will need to drill a small pilot hole into the remaining shaft using a very hard Cobalt bit and use a fine-pointed extractor to back it out.
Q: Does WD-40 help with stripped screws in wood?
A: No. WD-40 is a “penetrating oil” designed for metal. In wood, it can actually cause the wood fibers to swell, potentially making the screw even tighter. Use it only for metal-to-metal applications.
Q: Why does my drill keep slipping even on new screws?
A: Check your bit. If the tip is even slightly rounded, it’s done. Also, ensure you aren’t using a “high speed” setting on your drill; for driving screws, you want the “1” setting (high torque, low speed).
Q: Can I reuse a stripped screw?
A: No. Once a screw is removed, throw it in the trash immediately. If you try to use it again, you are guaranteed to strip it even worse, making it much harder to remove the second time.