Physical Address
304 North Cardinal St.
Dorchester Center, MA 02124
Physical Address
304 North Cardinal St.
Dorchester Center, MA 02124
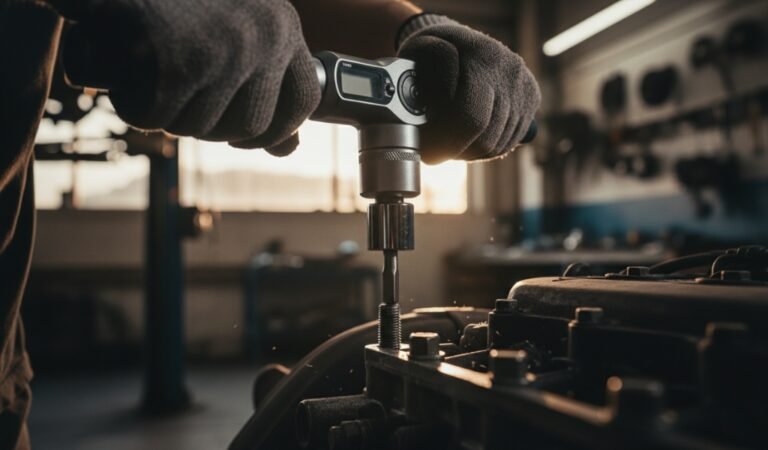
In the vast landscape of mechanical engineering and home maintenance, few tools command as much respect and utility as the socket wrench. Often the crown jewel of any professional’s toolbox, this tool represents the perfect marriage of simple physics and sophisticated ratcheting technology. Whether you are performing a routine oil change, assembling complex industrial machinery, or simply tightening a loose bolt on a backyard swing set,using a socket wrench transforms a grue-ling, hand-cramping chore into a streamlined and efficient process.Many users search for how to use a socket wrench properly to avoid damaging bolts and improve efficiency.
What is a socket wrench and how do you use a socket wrench?
A socket wrench is a tool used to tighten or loosen nuts and bolts using interchangeable sockets. To use a socket wrench, attach the correct socket size, set the direction, place it on the fastener, and apply steady force while using the ratcheting motion.Now that you understand the basics, let’s explore how this tool works in more detail.
To truly master how to use a socket wrench, you need to understand how force, leverage, and tool design work together. These factors allow the tool to handle high pressure without breaking or slipping. This guide serves as an exhaustive deep dive into everything from the basic wrench anatomy to the professional nuances of a high-end socket wrench set.
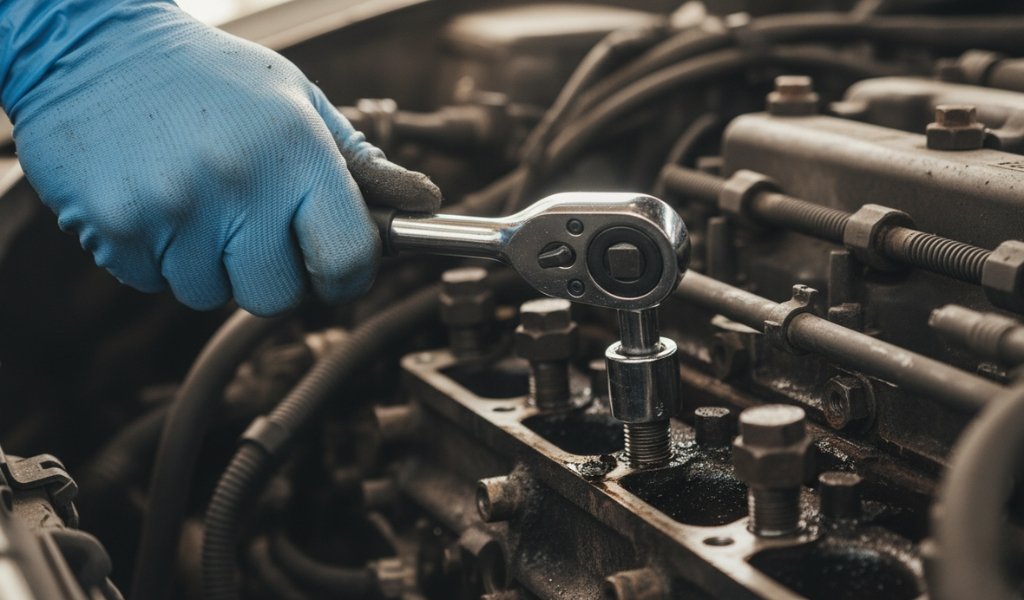
At its most fundamental level, a socket wrench is a hand tool designed to turn fasteners, specifically nuts and bolts, by utilizing a detachable cylindrical head known as a socket. Unlike a standard open-ended wrench, which only contacts two sides of a fastener, the socket completely encloses the head of the bolt or the nut. This 360-degree contact provides a significantly more secure grip, drastically reducing the likelihood of the tool slipping and “rounding off” the corners of the hardware. This enclosure is particularly vital when dealing with high-torque applications where a slip could result in damaged components or personal injury.
The defining characteristic of the modern socket wrench is its internal ratcheting mechanism. This mechanical marvel allows the user to apply force in one direction (to tighten or loosen) while the handle freely clicks back in the opposite direction. This eliminates the need to remove the tool from the fastener after every turn—a common frustration when using traditional wrenches in cramped quarters. Because the tool stays seated on the bolt, you can maintain a continuous rhythm,making a socket wrench one of the fastest manual tools for fastening.The internal “pawls” or teeth within the head catch the gear to provide movement and release to allow the reset, providing that iconic clicking sound that signifies a tool is ready for another stroke.
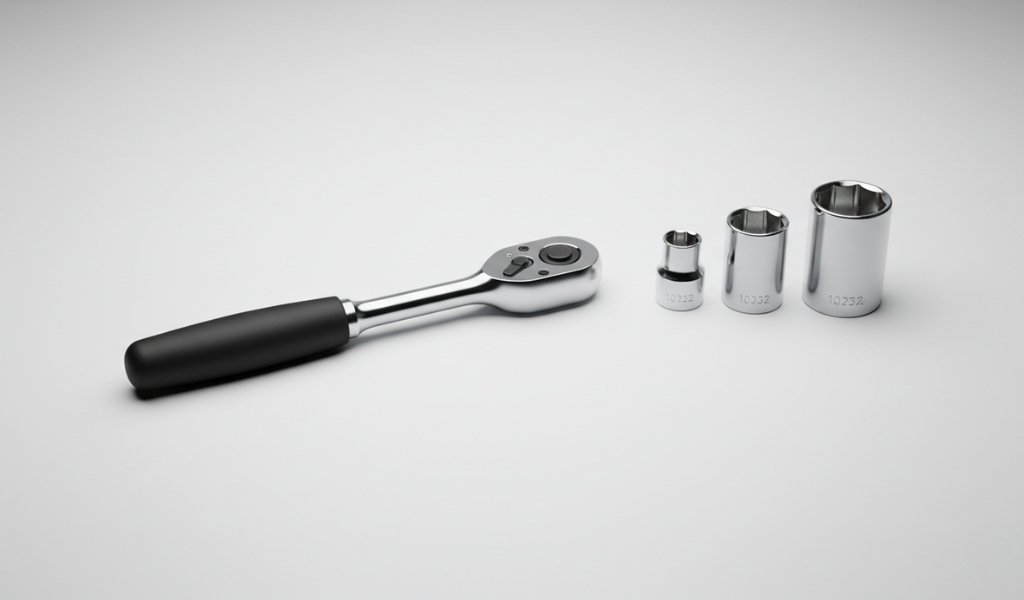
While casual users often use the terms interchangeably, there is a technical distinction. A “ratchet” refers specifically to the handle containing the geared drive mechanism. A “socket” is an interchangeable attachment. Together, they form the socket wrench system. Understanding this distinction is helpful when you are looking to expand your socket wrench set, as you can often buy high-end ratchets separately from the sockets themselves to customize your leverage and grip. Furthermore, the ratchet handle can often be used with other accessories, such as screwdriver bits or Allen keys, making the handle the central hub of a modular tool system.
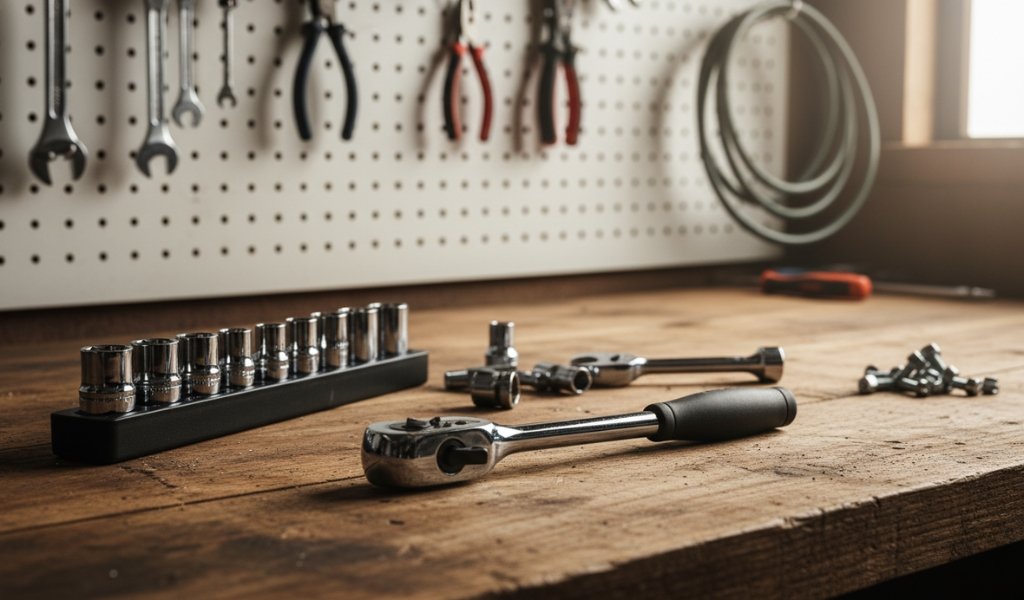
To understand how to use socket wrench tools effectively, you must be familiar with the individual components that make the system function. High-quality sets are engineered with precision tolerances to ensure that every click of the gear translates into movement of the fastener.
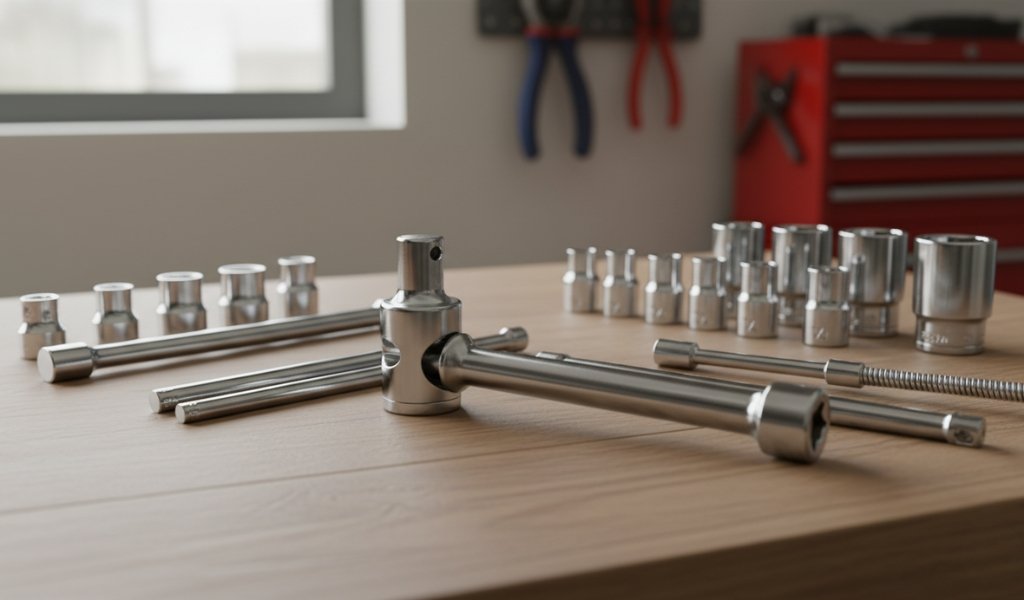
The diversity of a socket wrench set can be overwhelming for beginners. Manufacturers offer various “depths” and “points” to accommodate the millions of different bolt configurations found in modern engineering. Selecting the right one for the job is the difference between a five-minute fix and a ruined Saturday. Modern sets often come in blow-molded cases that provide a specific home for every piece, helping you audit your tools at the end of a job to ensure nothing was left inside a machine.
A complete socket wrench set typically includes a ratchet handle, multiple socket sizes, and essential accessories for handling different types of bolts and tasks.
| Socket Type | Detailed Description | Primary Application |
| Standard (Shallow) | Short profile; the most common type. It allows for the most torque transfer because there is less “flex” in the metal. | General assembly where clearance is not an issue and the bolt isn’t too long. |
| Deep Well | Elongated cylinders designed to reach nuts on long threaded studs where a standard socket would “bottom out.” | Spark plugs, exhaust manifold bolts, and recessed nuts found in deep recesses. |
| 6-Point Sockets | Sockets with six thick internal walls. They contact the flat sides of the bolt rather than the corners. | High-torque applications where you want to avoid stripping or “rounding” a bolt. |
| 12-Point Sockets | Double the internal teeth. They are easier to slip onto a bolt in tight spots because they require less alignment. | Light-duty household repairs or specialized aerospace and high-performance bolts. |
| Metric Sockets | Measured in millimeters (8mm, 10mm, 19mm, etc.). Used globally as the standard measurement system. | Japanese/European cars and almost all modern machinery produced today. |
| SAE Sockets | Measured in fractions of an inch (1/2″, 9/16″, etc.). Also known as “Imperial” or “Standard” in the US. | Vintage American cars, farm equipment, and older US home plumbing. |
Mastering the use of socket wrench equipment requires a blend of physical strength and tactical precision. If you follow these detailed steps, you will protect your hardware, your tools, and your knuckles. Operating a ratchet is not just about raw power; it’s about the “feel” of the bolt—understanding when it is starting to stretch or when it is about to snap.
The most common mistake is using a socket that is slightly too large (e.g., using a 13mm socket on a 1/2-inch bolt). While it may seem to fit, the small gap allows the socket to spin and shave off the corners of the bolt. To ensure a perfect match, take the socket alone and press it onto the bolt head. It should have zero “wobble.” If you are unsure whether the bolt is Metric or SAE, always start with a size you think is too large and work your way down until you find the “snug” fit. This “trial and error” approach is safer than stripping a bolt with a socket that is too loose.
Before you even touch the bolt, hold the ratchet handle and spin the drive square with your thumb. If you want to loosen a bolt, flip the switch until the ratchet “grips” when you pull it counter-clockwise. To tighten, it should grip when moved clockwise. A pro tip for beginners: remember “Righty-Tighty, Lefty-Loosey,” but always verify the click before applying force. This prevents you from accidentally tightening a bolt you meant to loosen, which can lead to snapping the head off.
Place the socket firmly over the fastener. Ensure the ratchet handle is perpendicular to the bolt.
If the tool is tilted at an angle, you lose leverage and increase the risk of the socket slipping off. In professional settings, this is known as “squaring the tool.” Use one hand to press the head of the ratchet against the bolt to keep it seated, while the other hand handles the lever. This prevents the socket from “climbing” off the fastener as you apply pressure.
Do not jerk the wrench. Sudden impacts can break the internal ratcheting teeth. Apply steady, increasing pressure. If the bolt is extremely tight, it is safer to pull the handle toward your body rather than pushing it. If you push and the bolt suddenly breaks loose, your momentum will carry your hand directly into the sharp metal parts of the machine. By pulling, you have better control over your follow-through and can use your larger back and bicep muscles rather than just your triceps.
Once the bolt has started moving and the initial friction is broken, use the ratcheting feature. Swing the handle back and forth in short, rapid strokes. This is where the socket wrench truly shines, allowing you to work in a 30-degree arc if necessary, which is common in crowded engine bays or under sinks where a full 360-degree rotation is impossible. If the bolt is so loose that the ratchet won’t “click” back (due to lack of resistance), hold the socket with your fingers while you swing the handle to engage the gears.
Sometimes, a standard socket wrench set isn’t enough to reach a hidden fastener. Mechanical engineering often places bolts in “impossible” locations, and these accessories are the secret to reaching them.
To get the most out of your investment, treat your wrench and sockets as precision instruments. High-end tools can last a lifetime, often being passed down through generations, but only if they are protected from the elements and misuse.
The socket wrench is more than just a piece of metal; it is a gateway to self-sufficiency. From the moment you pick up your first socket wrench set, you gain the ability to maintain your own vehicle, repair your home, and understand the mechanical world around you. By following the proper techniques for the use of socket wrench tools—matching sizes carefully, maintaining your gear, and respecting the limits of the tool—you ensure that your toolkit remains a reliable partner for decades to come. Whether you are building a custom car or fixing a leaky pipe, the right tool used the right way makes all the difference.
Q: Can I use a standard socket on an impact driver?
A: No. Standard sockets are made of chrome-vanadium steel, which is brittle. Under the vibration of an impact driver, they can shatter. Use specific “impact sockets,” which are made of softer, more ductile chrome-molybdenum.
Q: What does “drive size” mean?
A: Drive size refers to the size of the square connector on the ratchet. 1/4-inch is for small, delicate work; 3/8-inch is the most common for automotive use; 1/2-inch is for heavy-duty suspension and industrial work.
Q: Why is my ratchet slipping?
A: Slipping usually means the internal gears are worn down or clogged with debris. You can often buy a “rebuild kit” for high-quality ratchets to replace the internal springs and pawls.
Q: Is a 6-point socket better than a 12-point socket?
A: For heavy-duty work, 6-point sockets are superior because they have thicker walls and contact the flat sides of the bolt, making them less likely to strip the corners. 12-point sockets are easier to slip onto a bolt in tight spaces but are more prone to slipping under high torque.
Q: How do I know if I need a metric or SAE set?
A: If you are working on a Japanese, European, or modern American car (post-1980s), you will primarily need Metric. If you are working on vintage American machinery or lawn equipment, you may need SAE. Most modern homeowners should own a “universal” set that contains both.