Physical Address
304 North Cardinal St.
Dorchester Center, MA 02124
Physical Address
304 North Cardinal St.
Dorchester Center, MA 02124
How to change blade on Ryobi table saw? Ever found yourself in a blade-switching conundrum with your trusty Ryobi table saw? Fear not, the solution’s simpler than you think. A sharp blade is a woodworker’s best friend, and we’ve got the quick, savvy scoop on swapping it out hassle-free. Imagine smoother cuts, less hassle.
It’s the table saw tune-up that’ll level up your woodworking game. Stay tuned for a swift guide that’ll have you slicing through wood like a pro in no time. Let’s keep that saw spinning and those cuts sharp! Ready to level up your table saw game? Let’s dive in.
Key Summary: How to Change Blade on Ryobi Table Saw?
Changing the blade on a Ryobi table saw is easy. First, unplug the saw for safety. Locate the blade lock and loosen the arbor nut. Remove the old blade, insert the new one with the teeth facing down, and tighten the nut. Re-plug and test for smooth cuts!
[amazon_auto_links id=”11426″]
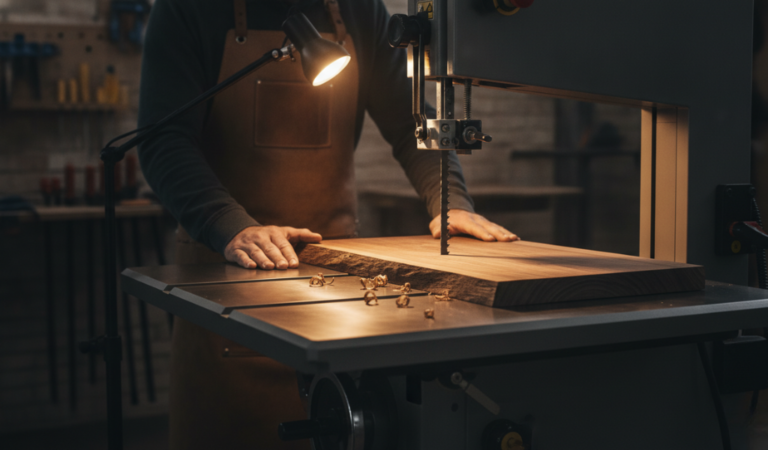
The table saw blade is the engine of your woodworking projects, impacting the quality, safety, and efficiency of your cuts. Knowing when and why to change your table saw blade is pivotal in achieving optimal performance and ensuring safety throughout your woodworking journey.
The blade’s sharpness directly correlates with the quality of your cuts. Over time, blades can become dull or worn, affecting their ability to cut smoothly and accurately. By changing to a sharp blade, you optimize the performance of your table saw, ensuring each cut is precise and clean.
A dull or damaged blade can be hazardous. It increases the likelihood of kickbacks, binding, and material defects, posing a significant safety risk to the woodworker. Changing the blade when it starts showing signs of wear or damage is a safety precaution that cannot be overlooked.
Different projects require different blades. A blade suitable for cutting through hardwood may not be ideal for softwood. Changing your blade according to the task at hand ensures efficient cutting and prevents unnecessary strain on both the blade and the table saw.
Regularly changing and properly maintaining your blade can extend its lifespan. A sharp blade reduces stress on the saw’s motor, potentially leading to a longer operational life for both the blade and the saw itself. Proper care, including timely replacements, can save you money in the long run.
While investing in new blades may seem like an expense, it’s an investment in quality and efficiency. A sharp blade cuts through materials with less effort, minimizing waste and potential errors. Additionally, using the appropriate blade for each task prevents premature wear and tear, making your blades last longer.
Knowing when to change your table saw blade depends on the intensity and frequency of use, the types of materials you work with, and the blade’s overall condition. Regular inspections and a proactive approach to blade maintenance are key. Replace your blade as soon as you notice signs of wear, dullness, or inefficiency to maintain top-notch performance and safety in your woodworking endeavors.
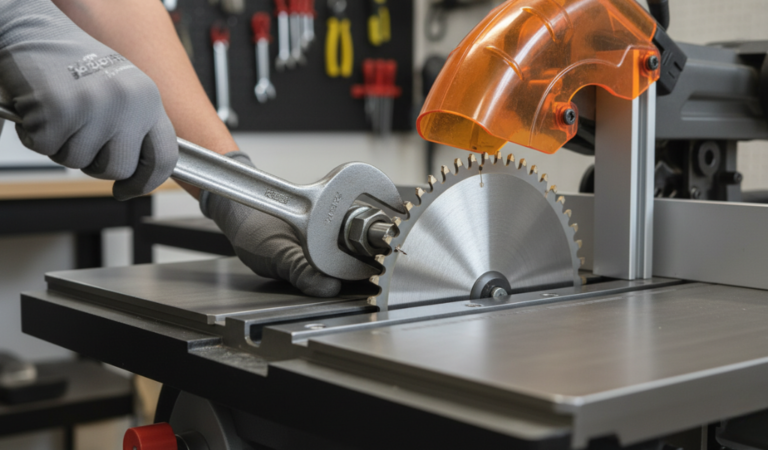
A smooth blade change on your table saw requires the right tools and materials. Having the correct equipment at your disposal ensures a seamless process, minimizes challenges, and maximizes safety. Here’s a list of essential tools and materials you’ll need for a painless blade change:
By having these essential tools and materials ready, you set yourself up for a hassle-free blade change process. Safety should always be a priority, so ensure you have all the necessary protective gear and follow the manufacturer’s instructions for your table saw model. A well-prepared and well-executed blade change ensures optimal performance and safety for your woodworking projects.
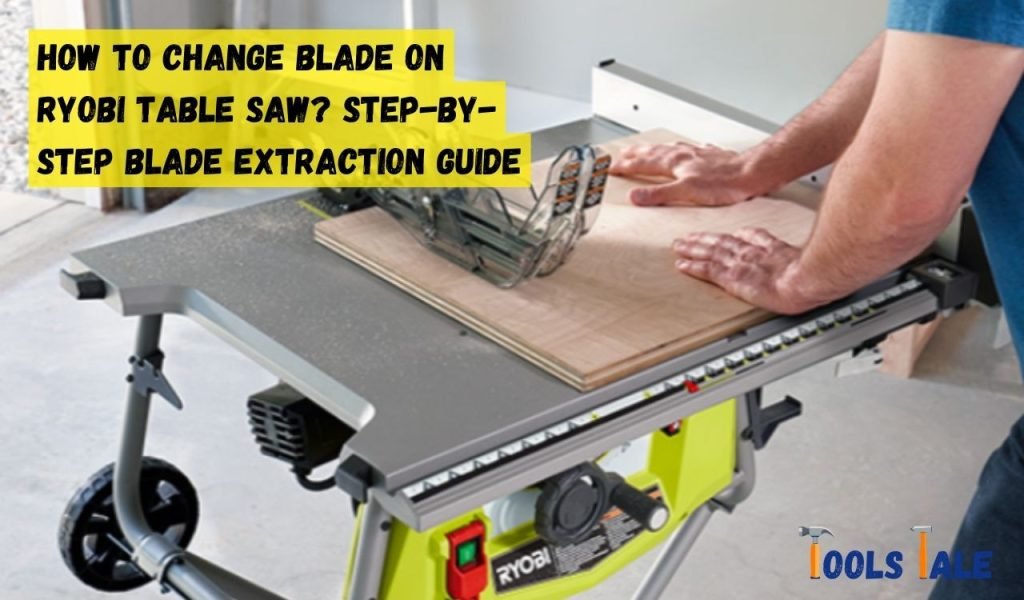
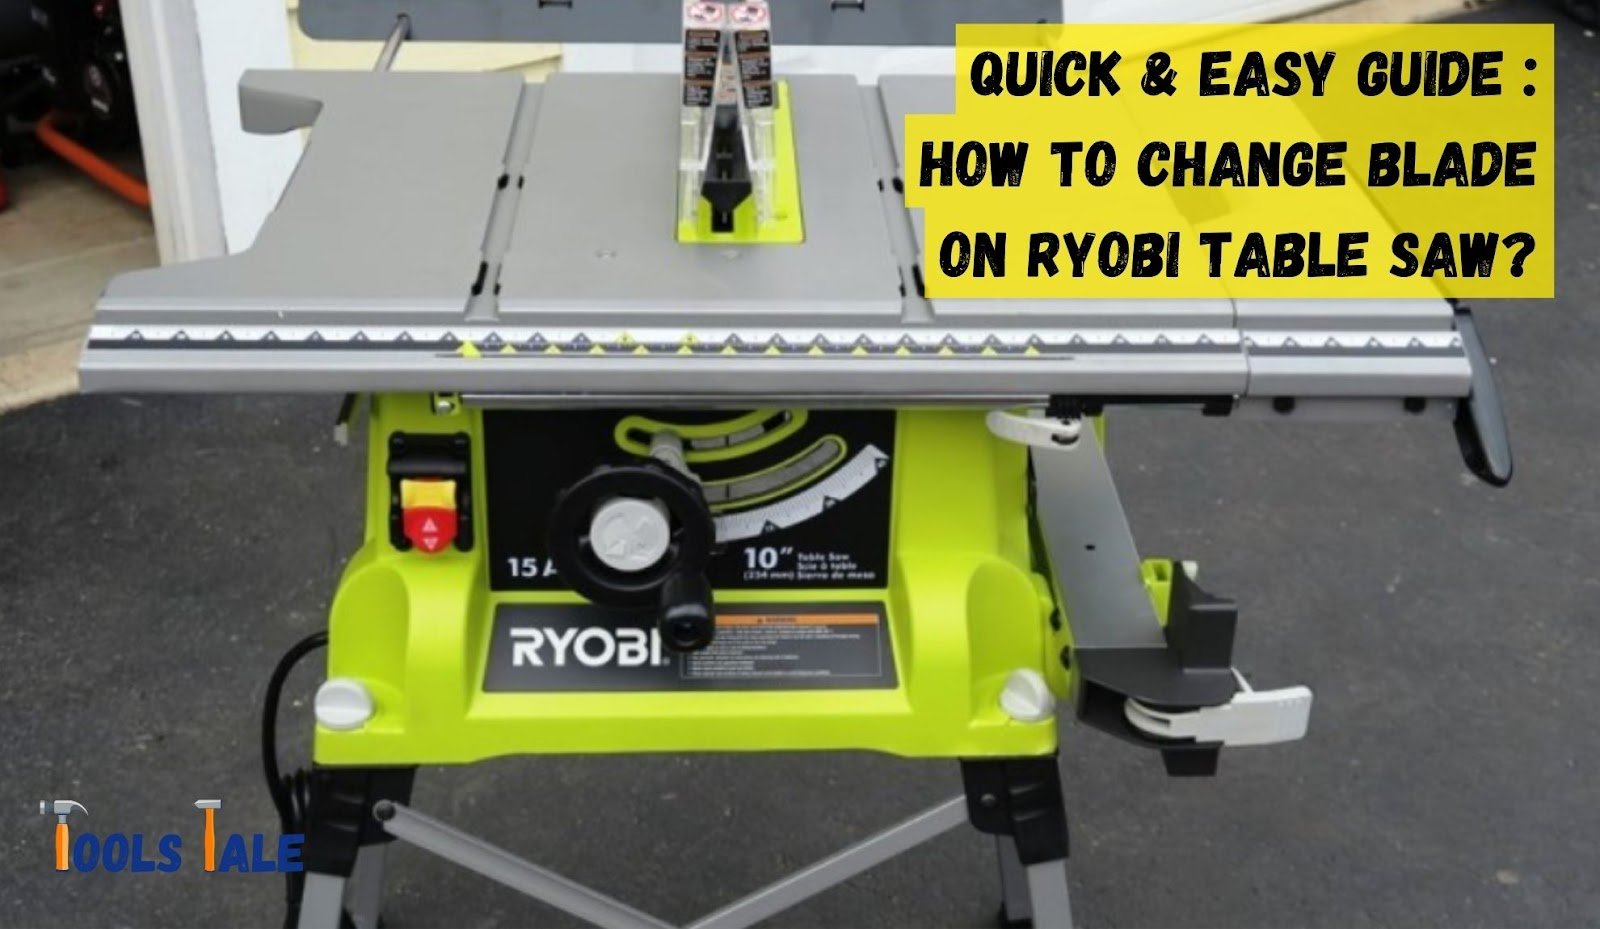
Changing the blade on your Ryobi table saw is a crucial maintenance task that ensures your saw continues to perform at its best. Whether you’re upgrading to a new blade or replacing a dull one, here’s a step-by-step guide to help you safely and efficiently change the blade on your Ryobi table saw:
By following these step-by-step instructions, you can change the blade on your Ryobi table saw efficiently and safely. Regular blade maintenance and replacements not only enhance the quality of your cuts but also contribute to a safer and more productive woodworking experience.
Changing the blade on your table saw is a fundamental task that requires careful attention to safety measures. Prioritizing safety ensures not only a successful blade replacement but also protects you from potential accidents. Here are crucial precautions to take before tackling the blade change:
Always start by turning off the table saw and unplugging it from the power source. This step eliminates the risk of accidental start-up during the blade change, keeping you safe from severe injuries.
Equip yourself with the right personal protective equipment (PPE) to safeguard against potential hazards. Wear safety goggles to shield your eyes from debris, ear protection to minimize noise exposure, and gloves to protect your hands from sharp edges or the blade.
Clear the immediate work area around the table saw. Remove any unnecessary items, tools, or debris to create a clean and organized workspace. A clutter-free environment reduces the risk of accidents and ensures smoother movement during the blade change.
Ensure that all moving parts, such as the blade guard and riving knife, are securely in place. Properly adjusted and secured guards and knives are crucial for safety, preventing accidental contact with the blade.
Thoroughly inspect the table saw and the existing blade for any signs of damage or wear. Replace any damaged components before proceeding with the blade change to maintain optimal safety and performance.
Refer to the manufacturer’s manual or guidelines specific to your table saw model. Understanding the manufacturer’s recommendations and guidelines for blade changes is essential to ensure you follow the correct procedure and use the appropriate tools.
Plan your blade change process step by step and follow a systematic approach. Visualize each step, ensuring you understand the sequence and potential risks associated with each action. This careful planning minimizes the likelihood of errors.
Maintain focus and a calm demeanor throughout the blade change process. Avoid rushing or taking shortcuts. Your undivided attention and a methodical approach are key to a safe and successful blade replacement.
Prioritizing safety in any woodworking task, especially blade changes on a table saw is paramount. Adhering to these safety precautions helps establish a safe working environment, setting the stage for a smooth and secure blade change process. Always remember, safety is the foundation of a successful woodworking experience.
After successfully changing the blade on your Ryobi table saw, it’s essential to test the new blade to ensure it’s functioning at its best and providing the desired results. Testing allows you to validate the blade’s sharpness, alignment, and overall performance, giving you confidence in its capabilities for your woodworking projects. Here’s a step-by-step guide to testing your upgraded blade:
Regularly conducting these tests on your upgraded blade ensures it’s functioning optimally. Should you encounter any issues during testing, adjustments, realignments, or potentially sharpening the blade might be necessary to enhance its performance. A well-tested and properly functioning blade is key to achieving exceptional results in your woodworking endeavors.
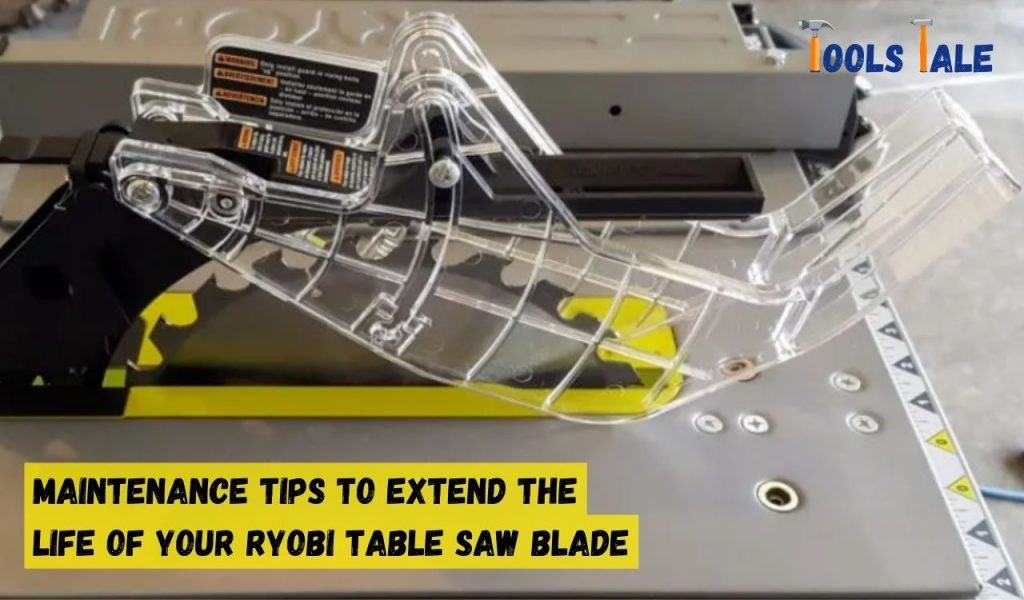
Preserving the longevity and efficiency of your Ryobi table saw blade is crucial for optimal woodworking results. Here are essential maintenance tips to extend its lifespan:
Implementing these maintenance tips will keep your Ryobi table saw blade sharp, efficient, and in prime working condition for a prolonged period, saving you both time and money.
Changing the blade on your Ryobi table saw is a straightforward process when done with caution and the right tools. Prioritize safety, follow the step-by-step guide meticulously, and ensure thorough testing to guarantee the upgraded blade operates at its peak. Regular maintenance will prolong the blade’s life and maintain its cutting prowess, ensuring your woodworking projects always meet the mark.
To change the blade on a Ryobi table saw, first, ensure the saw is unplugged. Loosen the arbor nut, remove the old blade, replace it with the new one, and securely tighten the nut.
Installing a Ryobi table saw blade guard involves attaching it to the riving knife or spreader pawls, aligning it properly, and securing it according to the saw’s user manual instructions.
To lower the blade on a Ryobi table saw, locate the blade height adjustment wheel or lever, usually on the front of the saw. Turn the wheel counterclockwise or move the lever to lower the blade to the desired height.
As of the last update in September 2021, there were no recent recalls reported for Ryobi table saws. However, it’s advisable to regularly check with the official Ryobi website or the Consumer Product Safety Commission (CPSC) for the most current and accurate information.
Ensure you wear appropriate safety gear including goggles and gloves. Maintain proper blade alignment and sharpness, adjust blade height as needed for the cut, use push sticks for close cuts, and always follow safety guidelines provided in your saw’s manual.
Alternatives to dado blades for a Ryobi table saw include using a router with a straight bit, a stacked dado set if your model supports it, or making multiple passes with a standard blade to achieve the desired width for the dado cut. Always prioritize safety and accuracy in your approach.