Physical Address
304 North Cardinal St.
Dorchester Center, MA 02124
Physical Address
304 North Cardinal St.
Dorchester Center, MA 02124
Unleash your tapping skills with “How to use a tap wrench“! This quick guide will show you the ropes! Whether you’re a metalworking enthusiast or a DIY hobbyist, a tap wrench is your trusty companion for creating precise threads in no time. No more struggling with manual tapping or uneven threads – with a tap wrench in hand, you’ll be threading like a pro.
From choosing the right size to nailing the technique, we’ve got you covered. So, grab your tap wrench and get ready to conquer metalworking projects with confidence! Let’s dive in and tap into the world of effortless threading.
Key Summary: How to Use a Tap Wrench?
Efficiently use a tap wrench: 1. Choose correct tap size. 2. Align tap with hole, perpendicular. 3. Firmly grip wrench. 4. Apply steady downward pressure, rotate a half-turn forward, then a quarter-turn back. 5. Clear debris. 6. Repeat until desired thread depth. Practice ensures smooth threading.
[amazon_auto_links id=”11426″]
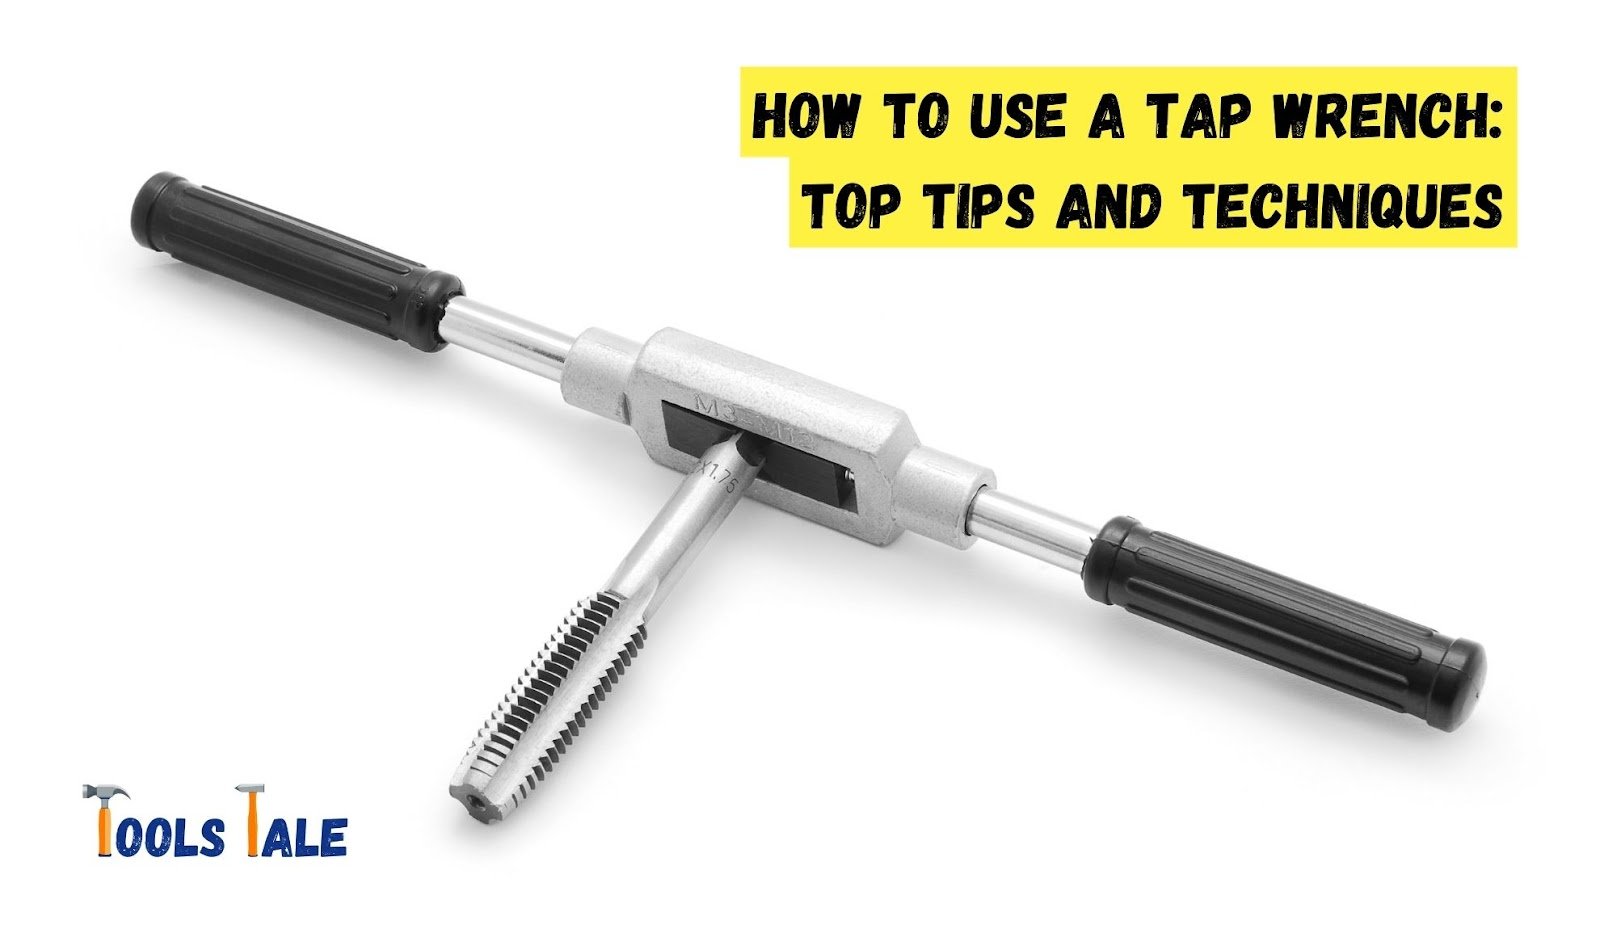
A tap wrench is a versatile tool used for threading screws into holes, commonly employed in metalworking and woodworking projects. Mastering the use of a tap wrench is crucial for achieving precise and durable threaded connections. This guide will provide a comprehensive overview of how to effectively use a tap wrench.
Using a tap wrench effectively begins with understanding the different types available. Each tap wrench serves a specific purpose, catering to various tasks and materials. Let’s explore the key types of tap wrenches:
To tap with confidence, it’s essential to familiarize yourself with the key components of a tap wrench. Let’s take a closer look:
Selecting the right tap wrench for your project is essential for a successful tapping experience. Consider the following factors when making your choice:
Tapping wrenches are indispensable tools for creating precise internal threads in various materials. Whether you’re a seasoned metalworker or a DIY enthusiast, mastering the tapping wrench process is essential for achieving accurate and functional threading. Let’s explore the step-by-step tapping wrench process in detail:
Begin by marking the center of the hole where you intend to create the threads. A center punch or scribe can create a small indentation to serve as your guide throughout the tapping process.
Next, measure the depth of the hole to determine the required thread length. This measurement ensures that your threads will match the corresponding bolts or fasteners, providing a secure and reliable fit.
In some cases, pre-drilling a hole is necessary, especially when working with harder materials or larger taps. Pre-drilling provides a guide for the tap and facilitates smoother threading.
Select an appropriate drill bit size that matches the tap you’ll be using. Align the drill bit with the center mark from Step 1 and gently drill a hole to the required depth. Take care not to drill too deep, as it may compromise the threads’ integrity.
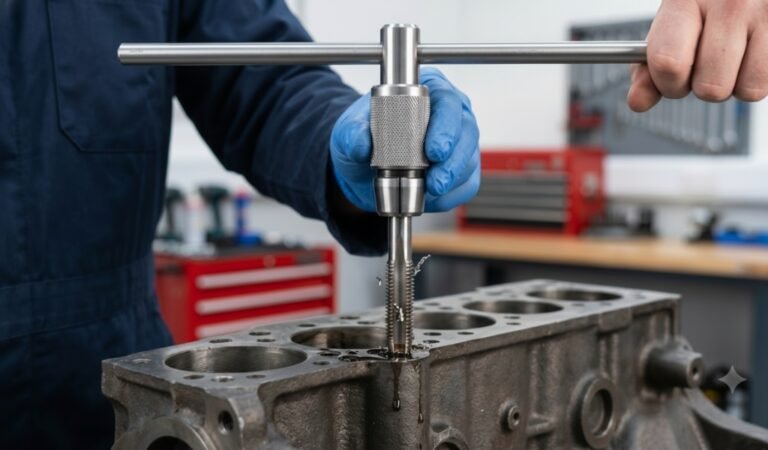
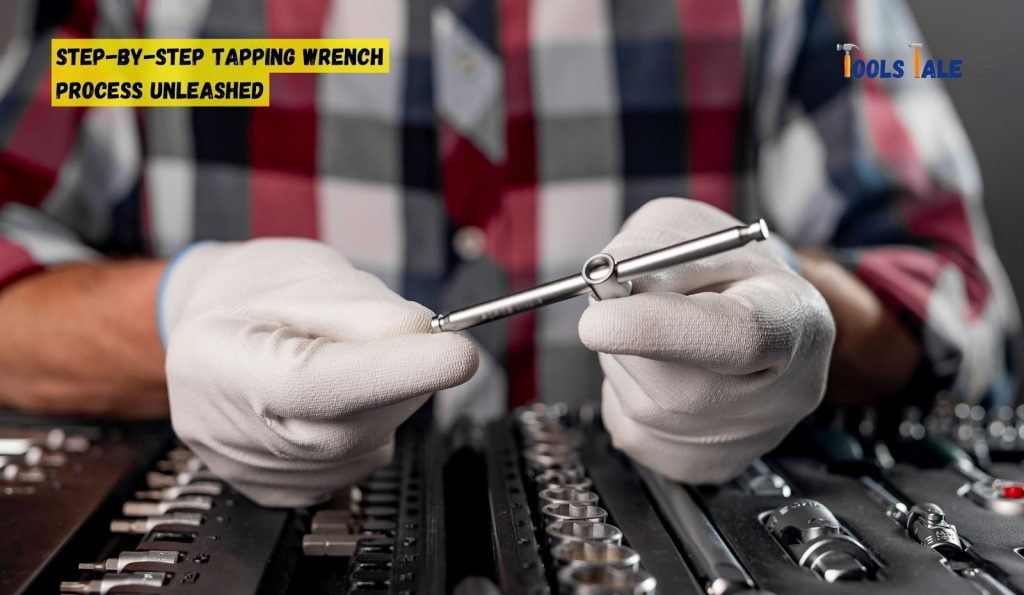
Now, it’s time to securely insert the tap into the tapping wrench. Most tapping wrenches come equipped with jaws or clamps to firmly grip the square end (shank) of the tap. Slide the tap into the jaws and adjust the tension using the thumbscrew to ensure a snug fit.
Achieving precise alignment is crucial for successful tapping. Position the tap perpendicular to the workpiece’s surface, ensuring it enters the hole straight and at a right angle. Proper alignment guarantees evenly cut and well-aligned threads. Hold the tapping wrench firmly, but not too tightly, to apply a consistent amount of pressure while turning the tap.
With the tap aligned correctly, initiate the tapping process. Turn the tapping wrench clockwise for right-hand taps or counterclockwise for left-hand taps, depending on your threading direction. Maintain smooth and steady rotations, avoiding excessive force that may lead to tap breakage or uneven threads. If you encounter resistance, stop immediately and inspect the hole for possible obstructions or debris.
As you proceed with tapping, you’ll notice the tap cutting threads into the material. Continue turning the tapping wrench with a controlled and even pace. Patience is key during this stage, as the quality of the threads depends on smooth and consistent movements. Pay close attention to the tap’s cutting action, feeling for a gradual increase in resistance as the threads form.
Once the tap reaches the desired depth, gently reverse the tapping wrench counterclockwise to back off the tap from the newly formed threads. This step is crucial for preserving thread integrity and preventing any potential damage. Exercise caution during the back-off process to maintain the quality of your threaded hole.
Using a tap wrench can be a rewarding experience, but like any metalworking process, it may come with its challenges. Let’s explore some common troubleshooting tips and pro advice to help you navigate potential issues and enhance your tapping prowess:
During tapping, chips may accumulate in the flutes of the tap, hindering the cutting action and affecting thread quality. To prevent chip clogging, periodically reverse the tap to remove accumulated chips. This simple step will ensure smooth and efficient threading throughout the process.
When tapping hard materials, such as stainless steel or titanium, consider using cutting fluid or tapping lubricant. Lubrication reduces friction and heat buildup, extending the tap’s life and preventing premature wear. Additionally, it facilitates smoother threading, resulting in cleaner and more precise threads.
Applying excessive force or encountering an obstruction while tapping may lead to tap breakage. Be mindful of the pressure you exert and avoid forcing the tap beyond its capabilities. If you encounter significant resistance, back off, and investigate the issue. Remember, patience and steady progress yield the best results.
Maintain a steady and controlled pace while turning the tap wrench during the tapping process. Consistency in speed and pressure ensures even threads and reduces the risk of over-torquing or tap breakage. A smooth, continuous motion will yield professional-grade results.
Consider using a tap guide or pilot tap wrench, especially when working on critical projects or delicate materials. A tap guide provides precise alignment and centers the tap over the pre-drilled hole, resulting in accurate threading. It’s a valuable tool for achieving professional-level craftsmanship.
To prolong the life of your tap wrench, store it properly in a clean and dry environment. Avoid placing heavy objects on top of the wrench, which could damage the jaws or other components. Regularly clean and lubricate the wrench to ensure smooth operation.
To prevent backlash, a phenomenon where the tap wrench reverses without turning the tap, maintain consistent forward pressure during the tapping process. Minimize sudden directional changes, which can lead to backlash, and ensure a steady, unidirectional motion.
In conclusion, mastering how to use a tap wrench opens up a world of possibilities in metalworking. With the right techniques and safety precautions, you can achieve precise and professional threading. From choosing the correct tap wrench size to incorporating cutting fluid, this versatile tool empowers you to tackle complex projects with ease.
So, grab your tap wrench and embark on a journey of creativity and craftsmanship. Whether you’re a seasoned enthusiast or a DIY beginner, the knowledge gained from this guide will empower you to thread like a pro.
A tap wrench is a hand tool used to turn taps, which are cutting tools used for creating threads in holes. It provides leverage and control during the tapping process, ensuring precise thread formation.
To use a tap wrench, insert the tap into the hole and adjust the jaws of the wrench to securely grip the tap. Hold the wrench and turn it clockwise to cut threads into the material. Reverse the process for counterclockwise turns.
A tap wrench is used for manually tapping holes in materials to create internal threads. It’s commonly employed in metalworking, woodworking, and various industrial applications to produce threaded holes for screws, bolts, or fittings.
While a tap wrench is useful for many tapping tasks, certain situations may require specialized tools, such as tapping machines or power tools. Smaller taps or delicate materials might benefit from alternative tapping methods.
Select a tap wrench that comfortably accommodates the tap’s square or rectangular shank. A proper fit ensures effective torque transmission and minimizes slipping during the tapping process.
Yes, using cutting fluid or lubricant is recommended. It helps dissipate heat, reduces friction, and prolongs tap life. Apply lubricant to the tap and workpiece regularly to enhance the cutting action and achieve smoother threads.
Yes, a tap wrench can be used for both right-hand and left-hand taps. Simply reverse the direction of the tap wrench to match the threading direction of the left-hand tap.
Always wear appropriate protective gear, such as safety glasses and gloves, to shield yourself from metal shavings. Secure the workpiece properly and maintain a firm grip on the tap wrench to prevent accidents.