Physical Address
304 North Cardinal St.
Dorchester Center, MA 02124
Physical Address
304 North Cardinal St.
Dorchester Center, MA 02124
Can you hammer a screw? You might be surprised by the answer! In this quick guide, we’ll uncover the truth behind this intriguing question. Whether you’re a seasoned DIY enthusiast or just curious about handy hacks, we’ve got you covered.
Get ready to explore an unconventional approach to screw installation that might just change the way you look at hammers and screws. So, grab your tools and let’s embark on this adventurous journey together. Buckle up and prepare to discover a unique twist in the world of DIY projects!
Key Summary: Can You Hammer a Screw?
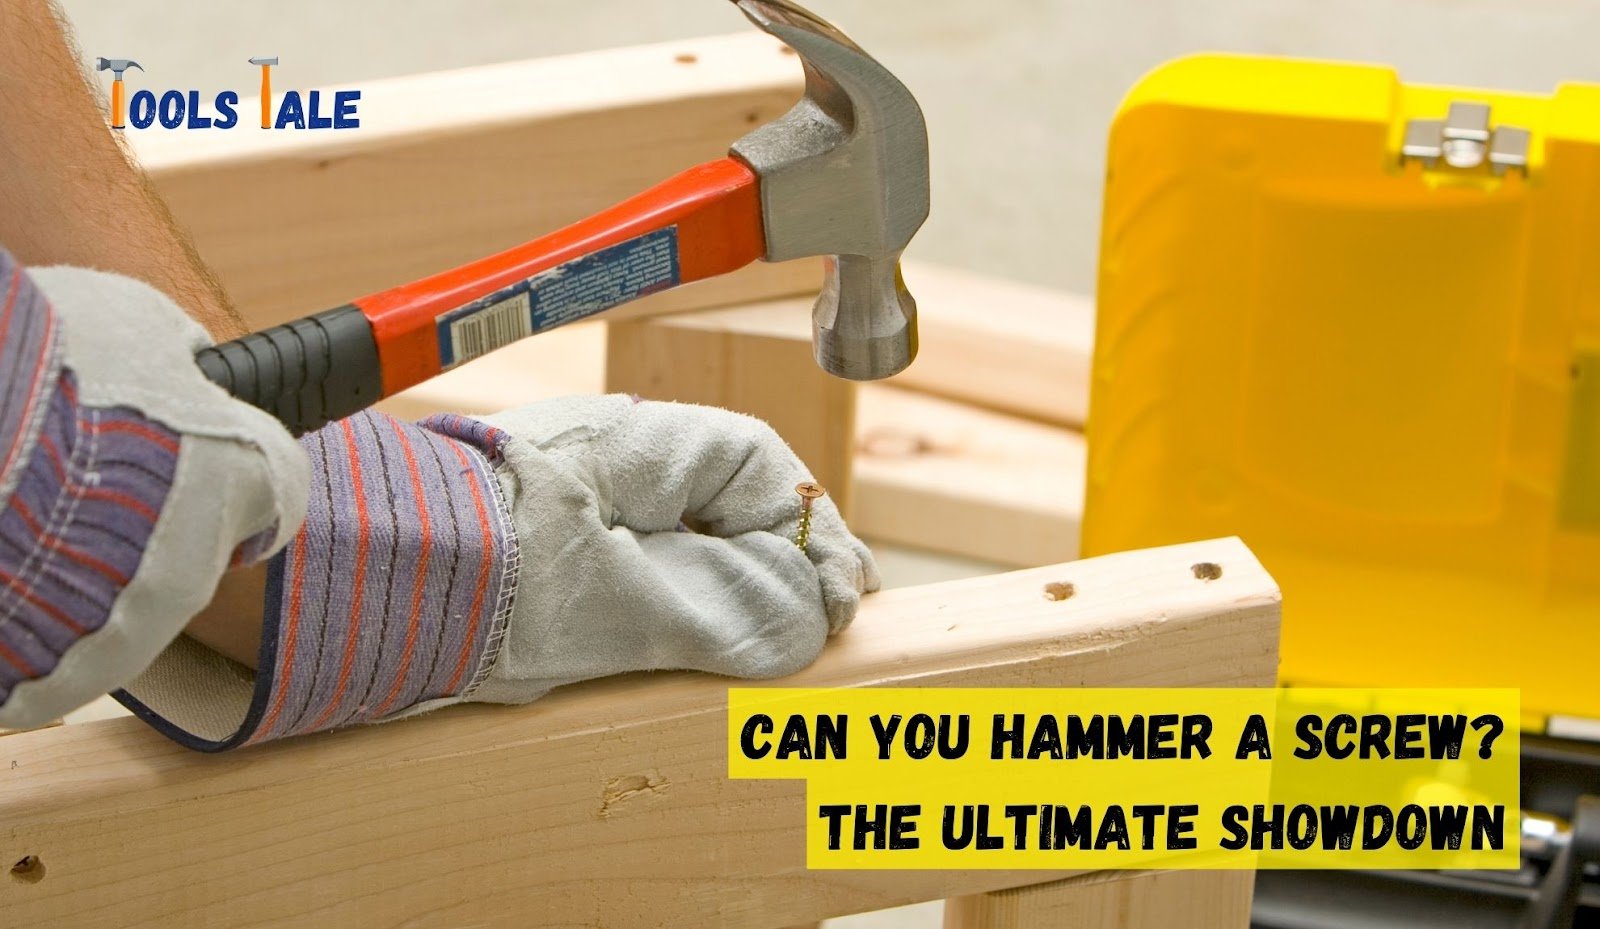
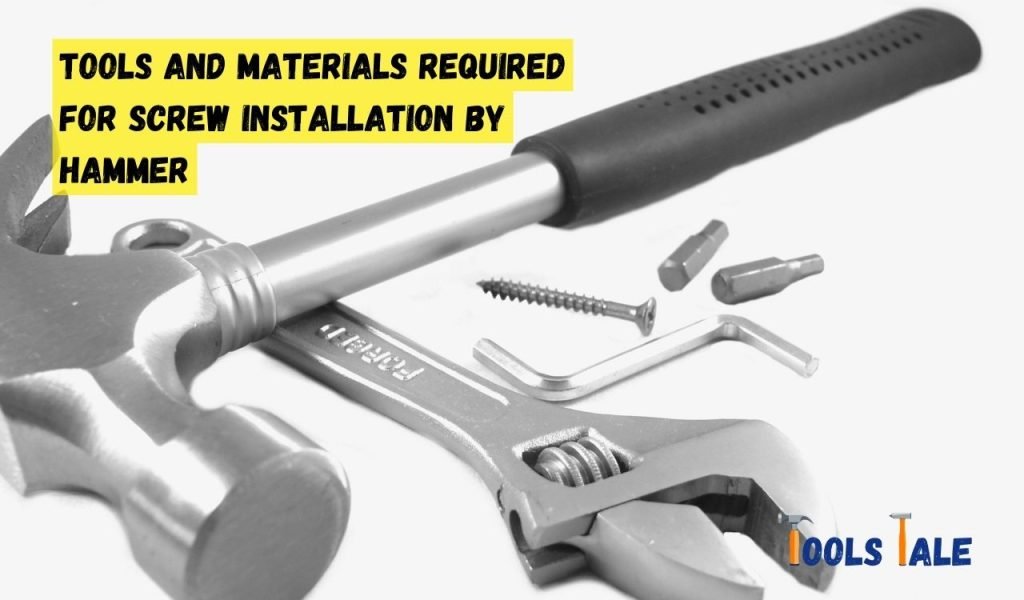
Hammering screws unconventionally: viable but careful. Steps – mark, pilot hole, position, tap gently, increase force, align, secure flush. Verify stable connection. Hammering a screw is not recommended. Use the right tools for the job to ensure proper results.
Can you hammer a screw? It’s a common question that often arises when you find yourself without a power drill during a DIY project. The idea of using a hammer to drive a screw into place might seem like a quick and convenient solution. However, the truth is that while hammering a screw is technically possible, it’s not the best practice for proper screw installation.
Unlike nails, screws require a different approach for effective installation. The threads of a screw need to grip the material firmly to create a secure and long-lasting connection. Hammering a screw can lead to shallow penetration, resulting in a loose and unstable attachment.
Moreover, excessive force can cause the screw to bend or break, rendering it ineffective. To ensure the success of your DIY endeavours and the durability of your projects, it’s essential to learn the proper method of screw installation. This involves using the right tools, such as a power drill, and having the appropriate drill bits and screwdriver bits on hand.
In this article, we will explore the crucial importance of proper screw installation and guide you through a step-by-step process to achieve flawless results. By the end, you’ll be equipped with the knowledge and skills to confidently handle screw installations without relying on hammering. Let’s delve into the world of effective screw installation and make your DIY projects a resounding success.
Keep in mind that while it is technically possible to install a screw using a hammer, this method is not recommended for most projects. Using the appropriate tools, such as a screwdriver or power drill, offers greater precision and stability, leading to a secure and long-lasting installation.
When it comes to screw installation by a hammer, it’s crucial to approach the process with caution and precision. While using a hammer for this task is not the recommended method, we’ll provide a step-by-step guide for those curious to experiment with this approach. Keep in mind that this is an unconventional method and may not yield the best results compared to using the appropriate tools like a screwdriver or power drill.
Identify the exact location where you want to install the screw. Use a pencil or marker to make a clear mark on the material, ensuring accurate placement. This mark will act as a guide during the installation process.
For smoother installation, consider creating a small pilot hole using a nail or awl. This will provide a starting point for the screw and reduce the chances of the material splitting. If you choose to create a pilot hole, ensure it is slightly smaller than the diameter of the screw.
With the pilot hole ready (if applicable), position the screw’s head into the hole or place it on the marked spot on the material. Hold the screw firmly in place to keep it steady during the next steps.
Using a hammer, gently tap the screw’s head to start the installation process. Exercise caution to avoid applying excessive force, as this may cause the screw to bend or the material to crack. The goal at this stage is to get the screw started in the material.
Continuing to tap, gradually increase the force applied to the screw. The screw should begin to grip the material and slowly make its way into the surface. It’s essential to maintain a steady rhythm and avoid erratic hammering.
Throughout the process, ensure the screw remains straight and aligned with the material’s surface. Any tilting or angling may lead to an insecure connection. If you notice the screw deviating from its path, reposition it and continue tapping.
Continue tapping and driving the screw until it is secure and flush with the material’s surface. Take your time to ensure the screw is stable and properly seated. This step requires patience and precision, as driving the screw too far may damage the material.
After installation, inspect the connection for any signs of instability or wobbling. A secure screw should hold the material firmly without any wiggling. Test the screw’s grip by gently applying pressure and checking for any movements.
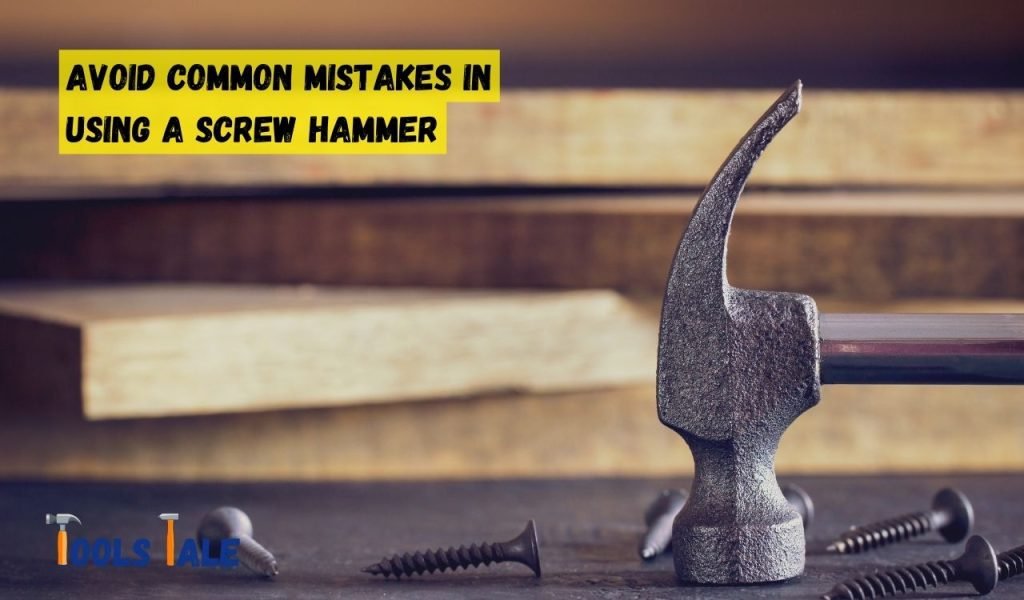
As we venture into the realm of using a hammer for screw installation, it’s crucial to be aware of common mistakes that may occur during this experiment. Keep these tips in mind to avoid potential pitfalls and ensure a safer process.
One of the most common mistakes is overdriving the screw by applying excessive force. This can cause the screw to penetrate too deeply, damaging the material or breaking the screw. To avoid this, monitor the screw’s progress closely and stop tapping once it’s flush with the material.
Using the wrong screw size for the material can lead to an insecure connection. Ensure the screw’s length and diameter match the material’s thickness and the intended application. If the screw is too short, it may not provide enough grip, while an excessively long screw can damage the material.
Failure to keep the screw straight while tapping it with the hammer can result in a crooked installation. A misaligned screw may not hold securely and could compromise the overall integrity of the project. Pay close attention to the screw’s alignment throughout the installation.
Skipping the pilot hole may lead to difficulty in starting the screw’s insertion or cause the material to split, especially in harder materials. If you choose not to use a pilot hole, take extra care during the initial tapping to prevent the screw from slipping.
Using a hammer with an inappropriate size or weight may make it difficult to control the force applied, leading to imprecise installations. Select a hammer that suits the size of the screw and allows for comfortable handling.
Without the proper grip on the screw, the hammer may slip during the installation, leading to injuries or damage to the material. Hold the screw securely with your fingers or consider using pliers for better grip and control.
Failing to hold the screw steady during the tapping process may result in a loose connection and an unreliable installation. Maintain a stable grip on the screw and avoid unnecessary movements.
In conclusion, the importance of proper screw installation cannot be overstated in DIY projects and constructions. By following the step-by-step guide and using the right tools and materials, you ensure sturdy connections and longevity for your creations. Avoid using hammers in place of drills, as it may damage screws and compromise their strength.
Remember that screws are not meant to be used as nails, as their design and function are different. Adhering to best practices and troubleshooting common mistakes will lead to professional-looking results that enhance both the aesthetics and safety of your projects. With each screw carefully installed, you can take pride in your craftsmanship, knowing that your DIY endeavours will endure the test of time.
A screw hammer is a tool used to drive screws into surfaces. Unlike traditional hammers, it has a specialized head designed to grip and turn screws, providing an alternative to using a screwdriver.
While a hammer can be used to drive screws in certain situations, using a drill is recommended for efficient and secure screw installation, especially in harder materials.
Yes, screws can be installed without a screwdriver by using alternative tools such as pliers or a screw hammer. However, using the appropriate tools ensures better results.
To screw in without a screwdriver, position the screw and use a screw hammer or pliers to gently tap and turn the screw until it’s securely in place. Exercise caution to avoid damage.
Yes, a hammer can be used instead of a screwdriver, but it requires careful tapping and turning to prevent damage to the screw or material. Using a screwdriver is generally more effective.
Position the screw on the material, hold it firmly, and gently tap the screw’s head with a hammer while applying rotational force. Gradually increase force to drive the screw in securely.