304 North Cardinal St. Dorchester Center, MA 02124
To provide the best experiences, we use technologies like cookies to store and/or access device information. Consenting to these technologies will allow us to process data such as browsing behavior or unique IDs on this site. Not consenting or withdrawing consent, may adversely affect certain features and functions.
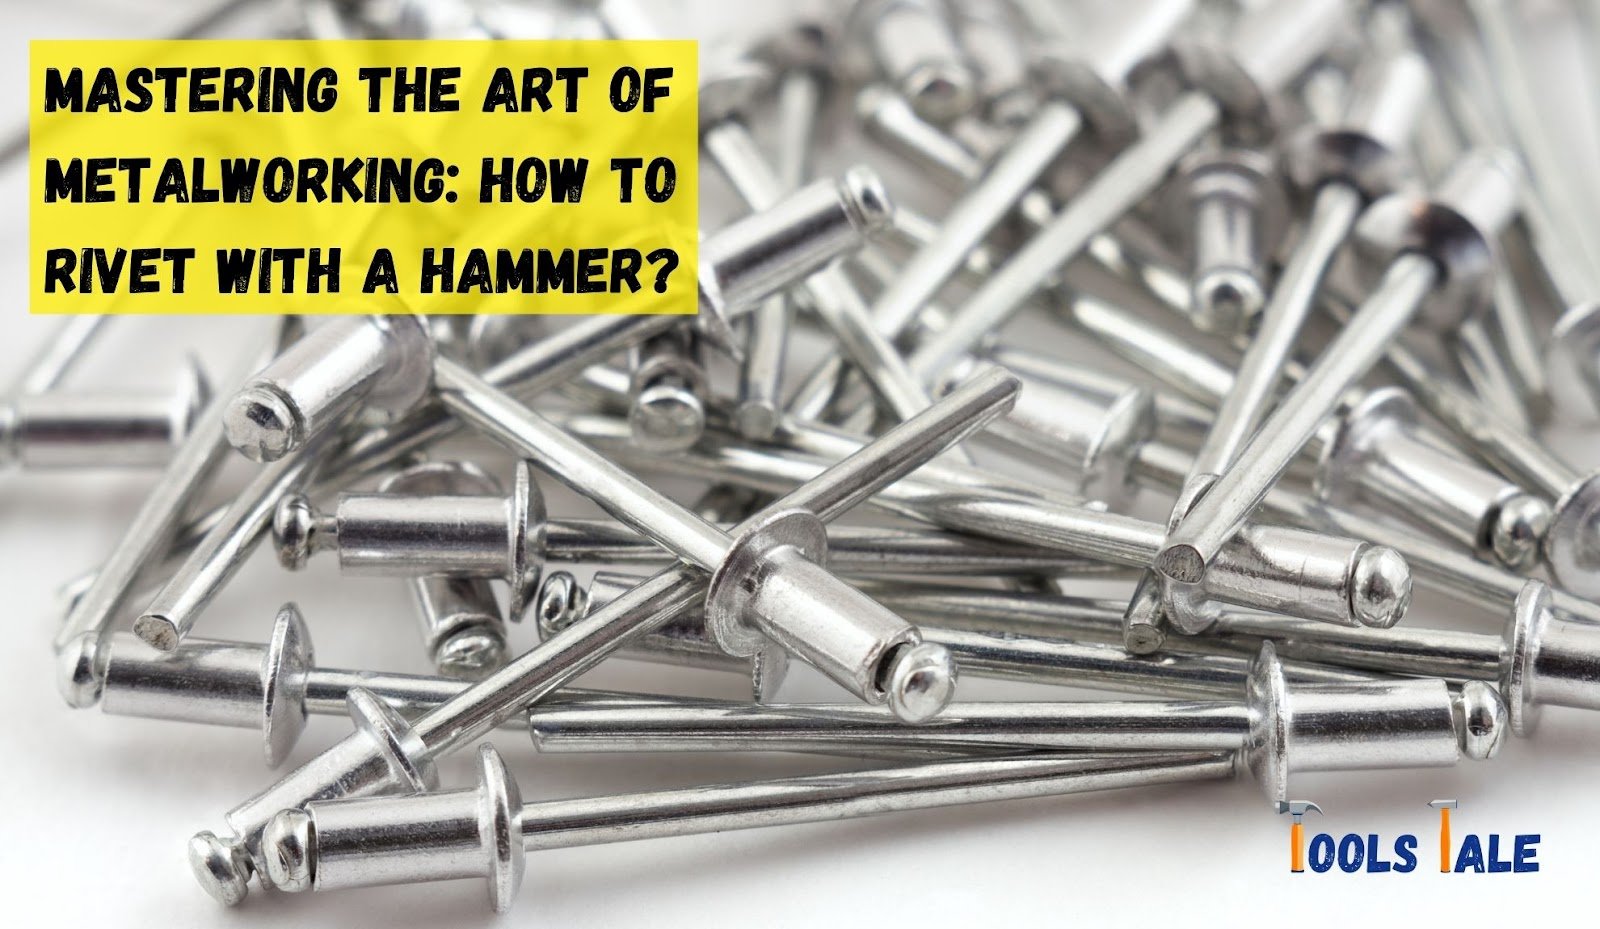
Mastering the Art of Metalworking: How to Rivet with a Hammer?
How to rivet with a hammer? It’s the classic, hands-on approach to forging connections that last. Imagine having the power to create bonds that hold strong under pressure, all with the swing of a hammer. Whether you’re a DIY enthusiast or a beginner, this guide is your ticket to mastering this fundamental technique.
With a hammer as your trusty sidekick, you’ll learn to shape and secure materials like a pro, no fancy machinery required. So grab that hammer, prep those rivets, and let’s dive into the satisfying world of hammer riveting. Get ready to hammer home the basics and leave your projects rock-solid and impeccable.
Key Summary: How to Rivet with a Hammer?
Riveting with a hammer involves aligning, striking, and deforming the rivet for a strong joint. Prioritize safety with appropriate gear. It’s versatile and effective for various materials. Routine maintenance ensures the hammer is always up to the task. Keep it safe, reliable, and robust for lasting connections.
Hand Tools Suggestion for Your Home
[amazon_auto_links id=”11426″]
Understanding Riveting and Its Applications
Riveting is a mechanical fastening process that involves joining materials together by using a permanent mechanical fastener called a rivet. This method has been employed for centuries and is still widely used today due to its reliability and strength. The basic principle of riveting involves inserting a rivet into a pre-drilled hole in the materials to be joined and then deforming the end of the rivet to create a strong, lasting bond.
Understanding the Riveting Process
Material Preparation: The materials to be joined are prepared by drilling precise holes to accommodate the rivets. The hole’s diameter is critical to ensure a snug fit for the rivet, allowing for a strong connection.
Rivet Insertion: The rivet, typically a cylindrical shaft with a head on one end, is inserted into the hole through the materials being joined. The head of the rivet sits on one side, and the other side is ready for deformation.
Deformation: The rivet’s exposed end, known as the tail, is then deformed. This can be achieved through various methods, including hammering, compression, or specialized riveting machines. Deforming the rivet creates a second head, firmly securing the materials in place.
Locking: The deformed end forms a “lock” that holds the materials together, distributing the load and providing a sturdy joint. This process ensures the materials do not separate under stress or load.
Applications of Riveting
Aerospace Industry: Riveting is extensively used in the aerospace sector to join lightweight and high-strength materials, such as aluminum and titanium, in aircraft construction. It provides exceptional structural integrity, vital for ensuring the safety and durability of aircraft components.
Automotive Manufacturing: Riveting is a common technique in automotive manufacturing, used to assemble various parts of vehicles like body panels, frames, and chassis. The robust joints created by riveting contribute to the overall safety and stability of the vehicle.
Construction: Riveting finds applications in the construction industry for joining structural components like steel beams and columns. The method’s durability and ability to withstand heavy loads make it ideal for building large-scale structures.
Shipbuilding: Riveting has been historically employed in shipbuilding, although modern ship construction often uses welding. However, riveting is still used in specific cases, especially in repair and maintenance work for vessels.
Riveting is a versatile and enduring method of joining materials, making it a crucial technique in various industries. Its applications in aerospace, automotive, construction, and shipbuilding highlight its enduring relevance and effectiveness in modern engineering and manufacturing processes.
How to Rivet with a Hammer? Step-By-Step Riveting Process
Riveting with a hammer is a traditional and effective method for joining materials using rivets. It’s a technique that has been utilized for centuries and is still valuable in many applications today. Here’s a step-by-step guide on how to rivet using a hammer:
Step 1: Gather the Materials and Tools
Before you begin the riveting process, make sure you have all the necessary materials and tools:
Rivets: Choose the appropriate type, size, and material of rivets based on your project and the materials being joined.
Workpieces: These are the materials you want to join using rivets. Ensure they are prepared with pre-drilled holes of the appropriate size for the rivets.
Rivet gun or rivet setter: This is used to support the rivet while hammering and to provide a consistent surface for the rivet head.
Hammer:Choose a hammer that is comfortable to hold and has a flat, smooth striking face.
Step 2: Insert the Rivet
Place the rivet through the holes in the workpieces you intend to join.
The head of the rivet should be on one side of the materials, and the tail (the unformed end) should be on the side where you will strike with the hammer.
Step 3: Position the Rivet Gun
On the tail side of the rivet, place the rivet gun or rivet setter against the exposed end of the rivet. The rivet gun will support the rivet and provide a flat surface for hammering.
Step 4: Hammer the Rivet
Hold the rivet gun securely against the rivet tail to prevent it from moving during hammering.
Using a hammer, strike the exposed end of the rivet (the tail) firmly and evenly. Start with a moderate force and gradually increase the force until the rivet is properly deformed.
Hammer the rivet until the tail is flattened and forms a second head, creating a secure and strong connection between the workpieces.
Step 5: Check and Adjust
After hammering, inspect the rivet to ensure it’s properly deformed and securely holding the workpieces together.
If needed, give additional strikes with the hammer to make adjustments and ensure a tight, secure connection.
Tips for Successful Riveting with a Hammer
Use the Right Rivet Size: Ensure the rivet’s diameter and length are appropriate for the holes in the workpieces. The rivet should fit snugly without being too loose or too tight.
Proper Hole Alignment: Precisely align the holes in both workpieces to ensure a clean, secure fit for the rivet.
Steady Strikes: Maintain a consistent and steady rhythm while hammering to create even deformation of the rivet.
Check for Flushness: Ensure the rivet heads are flush with the surface of the workpieces on both sides, indicating a properly formed rivet joint.
Practice and Experience: Like any skill, riveting improves with practice. Start with simple projects and gradually take on more complex ones to enhance your riveting technique.
Riveting with a hammer is a versatile and accessible method of joining materials. It’s an essential technique that has stood the test of time, offering a durable and reliable solution for various applications, from DIY projects to professional metalworking and beyond.
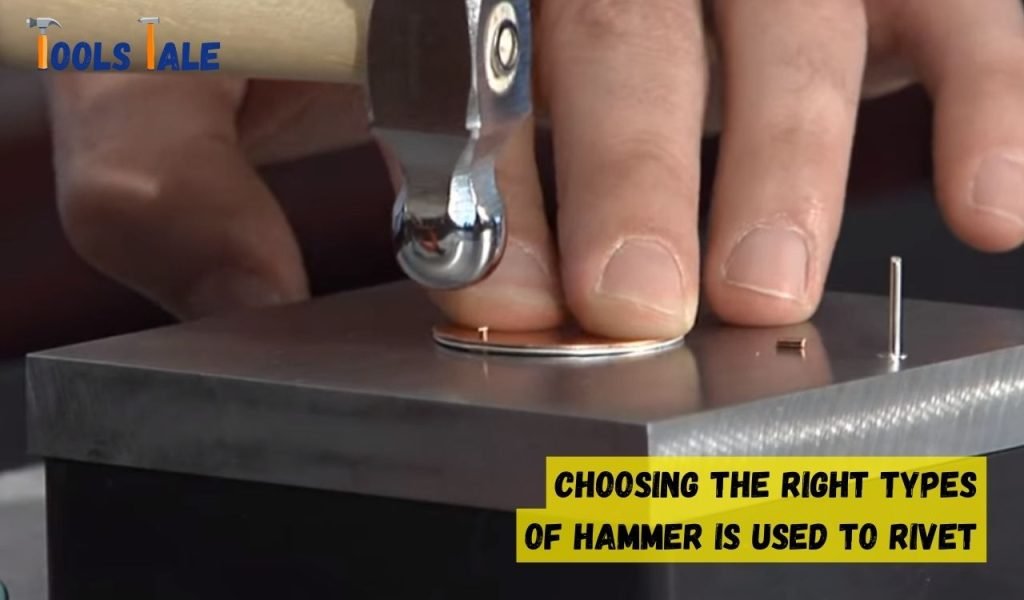
Choosing the Right Types of Hammer Is Used to Rivet
Selecting the appropriate type of hammer for riveting is crucial for achieving a successful and efficient riveting process. Different hammers have distinct features and designs tailored for specific applications. Here are some common types of hammers used in riveting and their advantages:
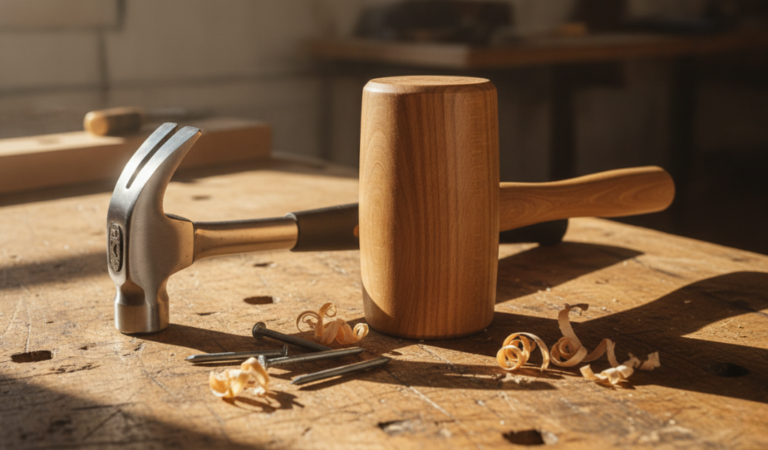
Ball-Peen Hammer: This hammer has a flat striking surface on one end and a rounded “ball” on the other end. The ball end is ideal for forming rivet heads, especially in confined spaces. It’s commonly used in metalworking and blacksmithing for shaping and setting rivets due to its versatile design.
Cross-Peen Hammer: Similar to the ball-peen hammer, the cross-peen hammer has a flat striking surface and a peen, but the peen is perpendicular to the handle rather than rounded. The cross-peen end is useful for spreading the rivet’s tail and creating a broader head, making it beneficial for larger rivets and heavier applications.
Straight-Peen Hammer: This hammer has a straight, chisel-like peen on one end, offering a flat striking surface and a sharp peen for more precise rivet work. It’s useful for riveting in tight spaces and achieving a clean, defined rivet head.
Riveting Hammer: Specifically designed for riveting, this hammer typically has a flat, broad head on one end and a rounded peen on the other. The broad head is excellent for striking rivets squarely and evenly, while the rounded peen aids in forming the rivet head accurately.
Setting Hammer: A setting hammer, also known as a setting mallet, has a soft, non-marring head made of materials like rubber or plastic. It’s used to strike the rivet without damaging or marring the surface, ensuring a clean finish on the rivet head.
Considerations for Choosing the Right Hammer
Material and Rivet Size: Choose a hammer that matches the material and size of the rivet. Larger rivets may require hammers with broader striking surfaces to deform the rivet effectively.
Accessibility: Consider the space and accessibility where you’ll be riveting. For confined spaces, hammers with smaller heads or unique peen designs like the ball-peen hammer are advantageous.
Precision vs. Strength: Determine whether you need precision in forming the rivet head or if strength and force to set larger rivets are more critical. Select the hammer accordingly, focusing on the peen design and striking surface.
Skill Level and Comfort: Choose a hammer that you can comfortably handle and maneuver based on your experience and skill level. A well-balanced and comfortable grip is essential for accurate and controlled strikes.
By carefully considering the type of hammer that suits your specific riveting needs, you can enhance the efficiency and quality of your riveting projects, ensuring strong and secure connections.
Benefits of Riveting with a Hammer
Riveting with a hammer is a traditional yet highly effective method of joining materials using rivets. Despite advancements in technology and alternative joining techniques, this age-old approach continues to offer numerous benefits, making it a preferred choice in various applications. Here are the key advantages of riveting with a hammer:
Simplicity and Accessibility
Riveting with a hammer is straightforward and does not require specialized equipment or complex machinery. This accessibility makes it an excellent choice for DIY enthusiasts, hobbyists, and those without access to sophisticated tools.
Cost-Effective
The basic tools required for riveting with a hammer—such as a hammer and rivets—are relatively inexpensive compared to advanced riveting machines or welding equipment. This cost-effectiveness makes it an economical choice, especially for small-scale projects.
Portability and Flexibility
Hammers and rivets are portable, allowing riveting to be performed in various locations. This flexibility is advantageous for field repairs, on-site construction, or projects where mobility is essential.
Suitability for Small-Scale Applications
Riveting with a hammer is ideal for smaller projects, repairs, or prototypes. It enables secure fastening of materials without the need for expensive machinery, making it well-suited for crafting, jewelry making, and model building.
Versatility in Material Compatibility
The hammer riveting technique is compatible with a wide range of materials, including metals, plastics, leather, and even some types of wood. This versatility makes it a versatile joining method across diverse industries and applications.
Controlled Deformation
The hammer allows for precise control over the deformation of the rivet, ensuring a secure and tight fit. By carefully hammering the rivet, the desired shape and strength of the rivet head can be achieved, resulting in a reliable joint.
Strength and Durability
Riveting with a hammer creates a strong and durable connection between the materials. The rivet’s deformed head on one side and tail on the other form a mechanical lock, distributing the load and enhancing the joint’s strength and longevity.
Non-Heat-Producing
Unlike welding, riveting with a hammer does not generate heat during the process. This is advantageous for materials sensitive to high temperatures, ensuring that their properties remain unaffected.
Historical Reliability
The use of hammer riveting dates back centuries, and its historical reliability and endurance validate its effectiveness. It has been a staple technique for joining materials and constructing various structures throughout human history.
Riveting with a hammer offers a blend of simplicity, affordability, versatility, and durability. Its ability to create secure, lasting connections across a wide array of materials makes it a preferred choice in various applications, showcasing the enduring value of this traditional joining method.
Troubleshooting Common Riveting Issues
Riveting, while a reliable method for joining materials, can sometimes present challenges during the process. Understanding and troubleshooting these common riveting issues is essential to achieve strong and secure connections. Here are some prevalent problems and their solutions:
Misalignment of Holes
Issue: Misaligned holes can result in a rivet that is not properly seated or a joint that is weaker than desired.
Solution: Ensure precise alignment of holes in the materials before inserting the rivet. Use proper marking tools and guides to maintain accuracy.
Rivet Head Deformation Issues
Issue: Rivet heads may not form properly, leading to an uneven, malformed, or too small rivet head.
Solution: Ensure that you’re using the appropriate hammer and technique for the rivet size and material. Use the right rivet setter or rivet gun for consistent head formation.
Rivet Shaft Bending
Issue: The rivet shaft may bend instead of forming a secure connection, weakening the joint.
Solution: Use proper rivet size and material, and ensure the hole diameter matches the rivet. Opt for a thicker or stronger rivet if needed.
Rivet Tail Not Fully Deformed
Issue: The tail of the rivet may not deform completely, resulting in a weak connection.
Solution: Apply consistent and sufficient force while hammering to ensure the tail fully deforms and creates a secure lock.
Cracking or Splitting of Materials
Issue: Excessive force or incorrect rivet size can cause the materials to crack or split during the riveting process.
Solution: Choose the appropriate rivet size, ensure the materials are compatible, and use controlled force to avoid damaging the materials.
Difficulty in Holding the Rivet
Issue: Keeping the rivet steady during hammering can be challenging, leading to inaccurate strikes or misplaced rivets.
Solution: Use a rivet gun or rivet setter to hold the rivet in place securely. Alternatively, have a helper hold the rivet in place while you hammer.
Inconsistent Rivet Heads
Issue: The rivet heads may have varying sizes or shapes, compromising the aesthetics and strength of the joint.
Solution: Practice your hammering technique to achieve consistent strikes and form uniform rivet heads. Use a flat and smooth striking surface on the hammer.
Loose Rivets
Issue: Rivets may become loose over time due to inadequate deformation during the riveting process.
Solution: Ensure a tight fit by deforming the rivet properly and making necessary adjustments before the rivet cools and hardens.
By recognizing and addressing these common riveting challenges, you can enhance the quality and reliability of your riveted joints, achieving strong and lasting connections between the materials. Practice, proper tools, and attention to detail are key to successful riveting.
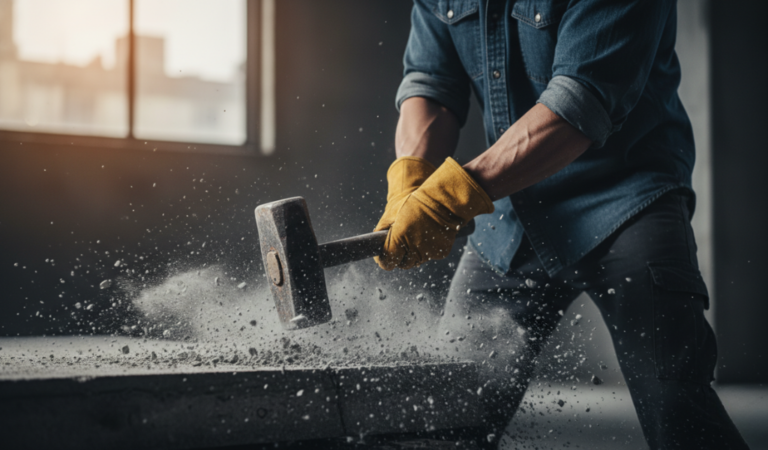
Safety Precautions During Riveting with a Hammer
Riveting with a hammer, while a traditional and effective method, requires careful attention to safety to prevent injuries and ensure a successful riveting process. Here are essential safety precautions to follow during riveting with a hammer:
Personal Protective Equipment (PPE): Always wear appropriate PPE, including safety goggles to protect your eyes from debris, gloves to shield your hands, and ear protection if using power tools. A dust mask may also be necessary to prevent inhaling particles.
Workspace Preparation: Clear the workspace of any clutter or hazards. Ensure good lighting and proper ventilation for a safe working environment.
Tool Inspection and Maintenance: Regularly inspect and maintain riveting tools, such as hammers and rivet guns, to ensure they are in good working condition. Address any malfunctions or damage promptly.
Material Selection: Choose rivets and materials that are appropriate for the specific project and application. Ensure compatibility to maintain the strength and integrity of the joint.
Proper Handling of Tools: Handle hammers, rivet guns, and other tools with care, keeping a firm grip and maintaining control during use. Avoid unnecessary force that could lead to accidents.
Secure Workpieces: Securely clamp or hold the workpieces in place to prevent movement during riveting. This ensures accurate and safe rivet placement.
Mindful Rivet Placement: Be mindful of the rivet’s placement and trajectory to prevent accidental injuries. Keep fingers and hands away from the area where the rivet will be struck.
Correct Hole Preparation: Drill holes of the appropriate size and depth for the rivets. Avoid overdrilling, as this can weaken the material and compromise the rivet’s hold.
Focus and Concentration: Maintain focus and concentration during riveting to avoid mistakes or accidents. Avoid distractions and interruptions while working.
Communication: Communicate effectively with any team members or helpers involved in the riveting process to coordinate actions and prevent accidents.
First Aid and Emergency Preparedness: Have a well-stocked first aid kit on hand and know how to administer basic first aid. Ensure all individuals involved are aware of emergency procedures and escape routes.
Training and Skill Development: Ensure that individuals performing riveting are adequately trained and skilled in the proper techniques, tools, and safety precautions related to riveting.
Know the Material Properties: Understand the properties and behavior of the materials you are working with. Different materials may require specific precautions and handling techniques.
Prioritizing safety in riveting operations is vital to prevent accidents and injuries. By following these safety precautions, individuals can create a secure and hazard-free work environment, ensuring the successful completion of riveting tasks.
Final Word
In mastering how to rivet with a hammer, precision is key. Proper alignment, choosing the right hammer, controlled strikes, and understanding the materials are vital.
Secure the workpiece, mind the rivet’s position, and practice until you achieve a consistent and secure rivet head. Always prioritize safety and protective gear. With focus and practice, riveting with a hammer becomes a skillful craft, delivering durable and enduring connections.
Frequently Asked Questions
Can you set rivets with a hammer?
Yes, rivets can be effectively set with a hammer, making it a versatile and accessible method for joining materials. The process involves deforming the rivet’s tail to form a strong, lasting bond.
How do hammer rivets work?
Hammer rivets work by striking the exposed end (tail) of the rivet with a hammer. The force applied causes the tail to deform, creating a second head that locks the materials in place, forming a secure joint.
How to do rivets without a tool?
You can set rivets without specialized tools by using a hammer and a solid surface to support the rivet. Simply place the rivet in the pre-drilled hole, hold it in position, and strike the tail with a hammer until properly deformed.
Can you use a hammer for rivets?
Yes, a hammer is a commonly used tool for riveting. It is versatile and widely available, making it suitable for various riveting applications. Choosing the right hammer and employing proper techniques ensures effective riveting.
How do you install a solid rivet with a hammer?
To install a solid rivet with a hammer, align the rivet with pre-drilled holes in the materials. Place the rivet on a sturdy surface, strike the exposed end (tail) with a hammer, and deform it until a secure connection is achieved.
What type of hammer is used to rivet?
Various hammers can be used for riveting, including ball-peen, cross-peen, and riveting hammers. The choice depends on the rivet size, material, and desired rivet head formation, with each type offering specific advantages.
How do you fix a hammered rivet?
If a hammered rivet is not deformed correctly or needs adjustment, carefully reposition the workpiece and strike the rivet tail again with a hammer until the desired rivet head shape and strength are achieved.
Can I set rivets without a rivet setter?
Yes, you can set rivets without a rivet setter. A hammer and a solid surface can effectively deform the rivet’s tail to form a secure joint. Proper technique and care are essential to achieve the desired rivet head formation.
Share your love!
Tools Tale
Disclaimer: This site is owned and operated by Tools Tale. toolstale.com is a participant in the Amazon Services LLC Associates Program, an affiliate advertising program designed to provide a means for sites to earn advertising fees by advertising and linking to Amazon.com. This site also participates in other affiliate programs and is compensated for referring traffic and business to these companies.