Physical Address
304 North Cardinal St.
Dorchester Center, MA 02124
Physical Address
304 North Cardinal St.
Dorchester Center, MA 02124
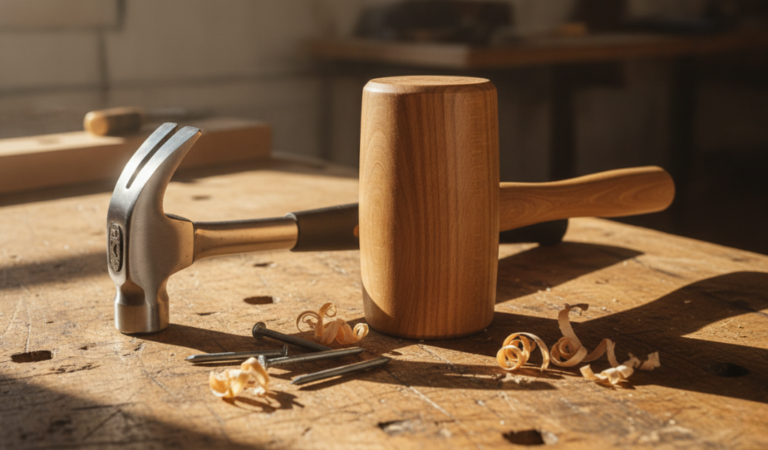
How to fix a bent rim with hammer has got you covered. This guide is your DIY solution to tackling those pesky deformations. No need to panic or head to the repair shop just yet – with a little hammer magic, you’ll be back on the road in no time. Get ready to roll up your sleeves and reshape that rim like a pro.
From safety tips to step-by-step instructions, we’ve got all the juicy details you need. So, let’s hammer out this rim repair adventure together and get your wheels back in top-notch shape!
Key Summary: How to Fix a Bent Rim with Hammer?
Learn how to fix a bent rim with a hammer in simple steps. Loosen lug nuts, elevate car, use rubber mallet, tap gently, check for balance, and seek professional help if unsure. Caution: Extreme damage may require replacement. Always prioritise safety and precision.
[amazon_auto_links id=”11426″]
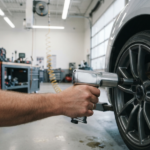
If you find yourself dealing with the frustrating issue of a bent rim on your car, fear not! There’s a DIY solution that might just do the trick – fixing it with a hammer. While it might sound unconventional, this method can be effective for minor bends and save you a trip to the repair shop. However, before diving into the repair process, it’s essential to exercise caution and ensure your safety throughout the task.
Fixing a bent rim with a hammer requires some basic tools, including a hydraulic jack, jack stands, lug wrench, rubber mallet, tape measure, portable air compressor, and torque wrench. With these in hand, you’ll be well-equipped to tackle the repair at your own pace and convenience.
In this guide, we’ll take you through a step-by-step process to assess the damage, reshape the bent areas, and get your rim back to its original form. Keep in mind that this method is best suited for small bends, and severe damage may require professional assistance. So, gear up, grab your hammer, and let’s embark on this DIY rim repair adventure together!
Bent rims can be a frustrating and even potentially dangerous issue for drivers. When your vehicle’s rims become bent, it can lead to problems like uneven tire wear, vibration while driving, and even compromised handling. Understanding the causes of bent rims can help you take preventive measures and maintain the overall health of your vehicle. Let’s delve into the key culprits behind bent rims:
Potholes are a common menace on roads, especially after harsh weather conditions. When your vehicle’s tire strikes a pothole, the impact force is transferred to the rim. This force can be substantial, especially if you’re driving at higher speeds.
The sudden jolt from hitting a pothole can cause the rim to deform or bend, leading to an unbalanced and wobbly tire. It’s essential to be cautious when navigating pothole-riddled roads, slowing down when you encounter one to minimize the impact on your rims.
Parking mishaps are a common scenario that can result in bent rims. Accidentally brushing against a curb while parking or making a tight turn can lead to a direct impact on the rim’s edge. Even a minor collision with a curb can cause the rim to bend out of shape.
It’s crucial to pay attention to your vehicle’s positioning and distance from curbs to avoid such impacts. Maintaining a safe distance while parallel parking and being aware of your surroundings can prevent curb-related rim damage.
While speed bumps are designed to slow down vehicles, hitting them too hard or at an awkward angle can be detrimental to your rims. The abrupt force generated when your tires encounter a speed bump can cause the rim to bend, resulting in an uneven tire surface.
To prevent bent rims from speed bumps, slow down significantly when approaching them. Gradually navigate over the bump to distribute the impact more evenly across the tire and rim.
Debris on the road, such as metal fragments, rocks, or tree branches, can act as hidden hazards for your rims. When your tire strikes a piece of debris, the impact can be concentrated on a specific area of the rim. This focused force can lead to bending or warping of the rim. Staying alert while driving and avoiding debris-laden areas can help protect your rims from such unexpected impacts.
Collisions, even minor ones, can have a domino effect on various components of your vehicle, including the rims. The impact from a collision can transmit force to the rims, causing them to bend or deform. While you might not always have control over accidents, ensuring that your vehicle is properly maintained and promptly repaired after a collision can help mitigate potential rim damage.

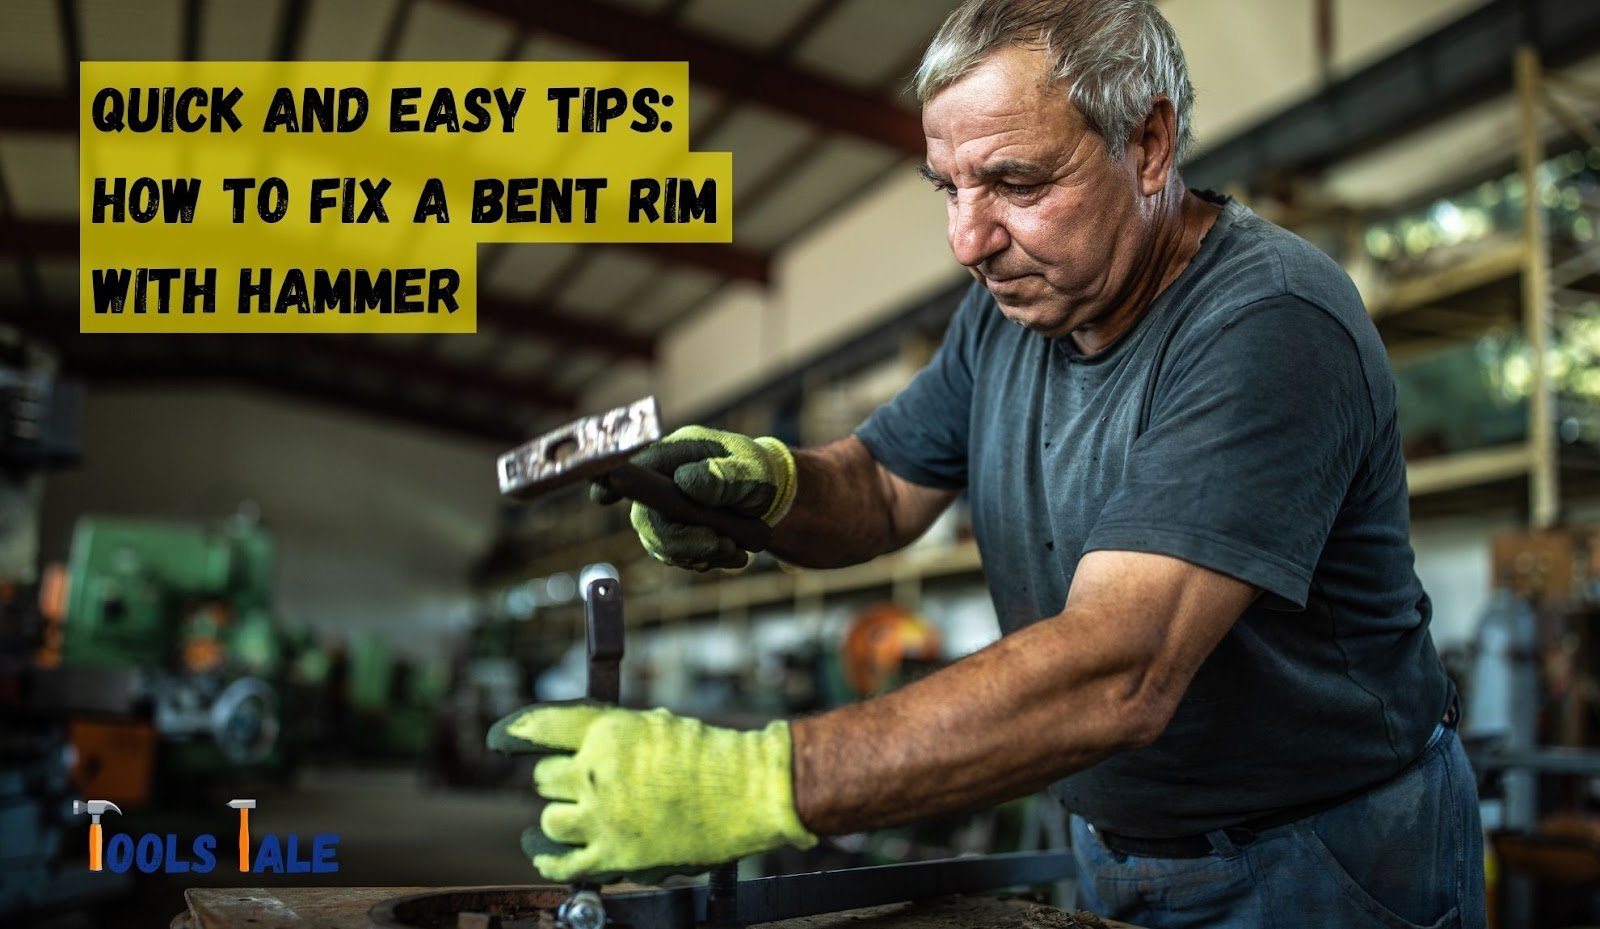
The prospect of fixing a bent rim with a hammer might sound intimidating, but fear not! With the right techniques and precautions, you can transform this task into a rewarding DIY adventure. In this section, we will unveil the step-by-step hammering techniques to straighten a bent rim successfully.
Before grabbing your hammer, assess the extent of the damage. Inspect the rim closely for visible signs of bending. Identify the precise location and severity of the bend to strategize your hammering approach effectively.
Creating a safe and organised work environment is crucial for a successful repair. Clear the work area of any obstructions and ensure adequate lighting. Position the rim securely on a flat surface, making it stable for the hammering process.
Selecting the appropriate hammer is essential for precision and control during the repair. Opt for a rubber or dead-blow hammer to avoid causing further damage to the rim’s surface. These hammers distribute force evenly and minimise the risk of dents.
Begin the hammering process with gentle taps around the edges of the bent section. Gradually work your way towards the centre, applying consistent pressure. Avoid excessive force, as it may lead to unintended deformations.
Pause periodically to evaluate your progress. Assess if the bend is gradually diminishing and the rim is returning to its original shape. Be patient; hammering is a gradual process that demands precision.
If you encounter stubborn bends or uneven progress, consider adjusting your hammering technique. Experiment with different angles and pressures to achieve the desired results.
Once you’ve straightened the rim, the work doesn’t end there. Ensuring the rim’s balance is critical for a smooth and safe ride. Use a wheel balancer to check for any remaining imbalances and make necessary adjustments.
With the bent rim now straightened and balanced, it’s time to reunite it with the tire. Carefully reinstall the tire according to the manufacturer’s guidelines, ensuring proper alignment and securing it firmly in place.
Before celebrating your victory, take your car for a test drive. Monitor its performance and handling to ensure everything is in order. Additionally, inspect the rim closely for any signs of further damage or issues.
You’ve mastered the art of straightening a bent rim with a hammer. By following these step-by-step techniques and exercising caution, you’ve restored your rim’s shape and saved on costly repairs. Embrace the satisfaction of a job well done and drive confidently with your fixed and balanced rim.
Repairing a bent rim with a hammer can be a rewarding DIY project, but it’s essential to prioritise safety at every step. In this section, we will explore the crucial precautions to observe when embarking on this repair journey.
Begin by equipping yourself with appropriate safety gear. Wear safety goggles to protect your eyes from debris and gloves to shield your hands from potential hazards.
Create a stable and clutter-free work environment. Ensure you’re working on a flat and secure surface, free from obstacles that might interfere with the hammering process.
Hammering requires patience and precision. Avoid rushing through the process, as haste can lead to unintended damage. Exercise controlled force and monitor your progress closely.
Start with gentle taps on the edges of the bent section and progress gradually towards the centre. Avoid using excessive force, as it can cause further deformation or dents.
If you encounter challenges during the hammering process, be open to adjusting your technique. Experiment with different angles and pressures to achieve optimal results.
After straightening the rim, verify its balance using a wheel balancer. A balanced wheel is crucial for a smooth and safe driving experience.
During the tire reinstallation, ensure proper alignment and secure the tire firmly in place. Follow the manufacturer’s guidelines to prevent potential issues.
Before hitting the road, take your car for a test drive to assess its performance and handling. Additionally, thoroughly inspect the fixed rim for any signs of remaining issues.
By adhering to these essential precautions, you can approach the bent rim repair with confidence and ensure a successful outcome. Remember, your safety and the integrity of your vehicle are of utmost importance.
In conclusion, fixing a bent rim with a hammer can be a practical DIY solution for minor deformations, but it requires careful execution and adherence to safety guidelines. Assessing the damage, utilising the right tools, and employing proper techniques are crucial for a successful repair.
Remember, safety should always be the top priority, and seeking professional assistance for severe damage is recommended. By following the step-by-step process and incorporating the provided tips and best practices, you can embark on your rim repair adventure with confidence.
Fixing a bent rim with a hammer is a possible DIY solution for minor bends. With caution and the right tools, you can reshape the rim to its original form.
Yes, a hammer can be used to bend a metal bent rim back into shape, particularly for minor bends. Careful and controlled hammering techniques can help reshape the rim, restoring it to its original form.
However, it’s important to exercise caution and follow proper procedures to avoid causing further damage or compromising the structural integrity of the rim. Severe damage or complex bends may require professional assistance or replacement.
To fix a bent rim at home, assess the damage, prepare a safe work area, use a rubber mallet, and gently tap along the bent edges. Progress gradually and monitor the progress closely.
Repairing a bent aluminum rim at home involves evaluating the damage, creating a safe work environment, and using a rubber mallet to gently tap the bent areas back into shape. Balance the rim and tire afterward.
Yes, you can fix a bent rim using careful hammering techniques for minor bends. However, severe damage may require professional assistance or replacement.
A bent rim can affect vehicle performance, cause vibrations, and lead to tire and suspension issues. Addressing it promptly is important to ensure a safe and smooth ride.
Yes, a bent rim can be reshaped using a rubber mallet and precise hammering techniques. Gradually working from the edges towards the center can help restore the rim’s original shape.