How to Use a Wood Router: Complete Beginner’s Guide to Router Bits, Cuts, and Techniques

Master the Cut: A Comprehensive Guide on How to Use a Wood Router

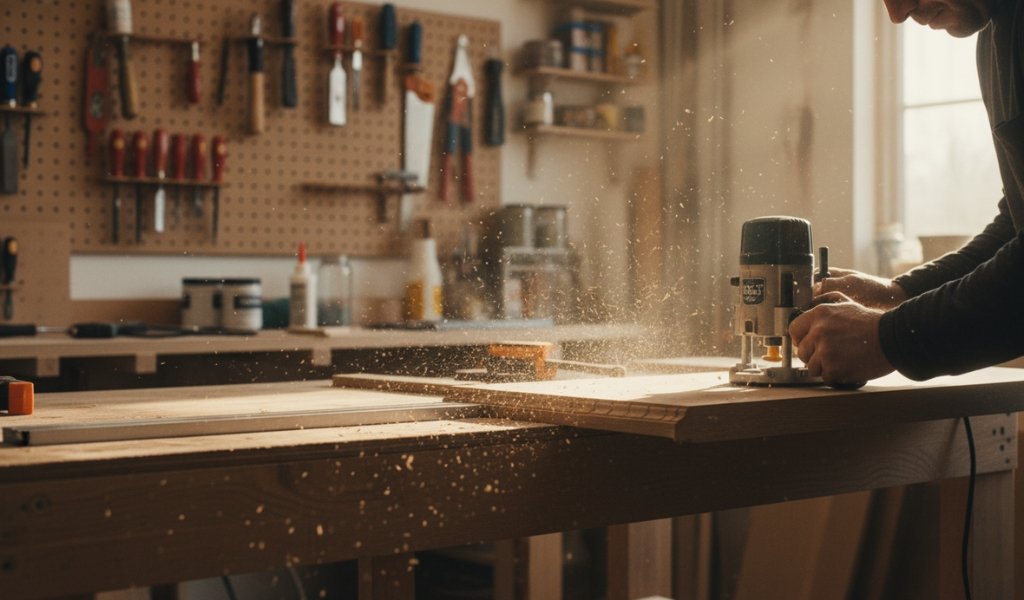
Woodworking is an art form that balances raw power with delicate precision. If there is one tool that embodies this balance perfectly, it is the wood router. Often described as the “Swiss Army Knife” of the workshop, learning how to use a wood router opens up a world of joinery, decorative edging, and complex carving that simply isn’t possible with other handheld power tools.

Whether you are a hobbyist looking to add a professional touch to your furniture or a DIYer aiming to edge-route custom shelving, this guide provides a deep dive into wood router use,
Woodworker using an electric wood router to shape a wooden board in a workshop
essential
router bits, and the techniques required to master this versatile machine.

Why the Wood Router is Woodworking’s Most Versatile Tool

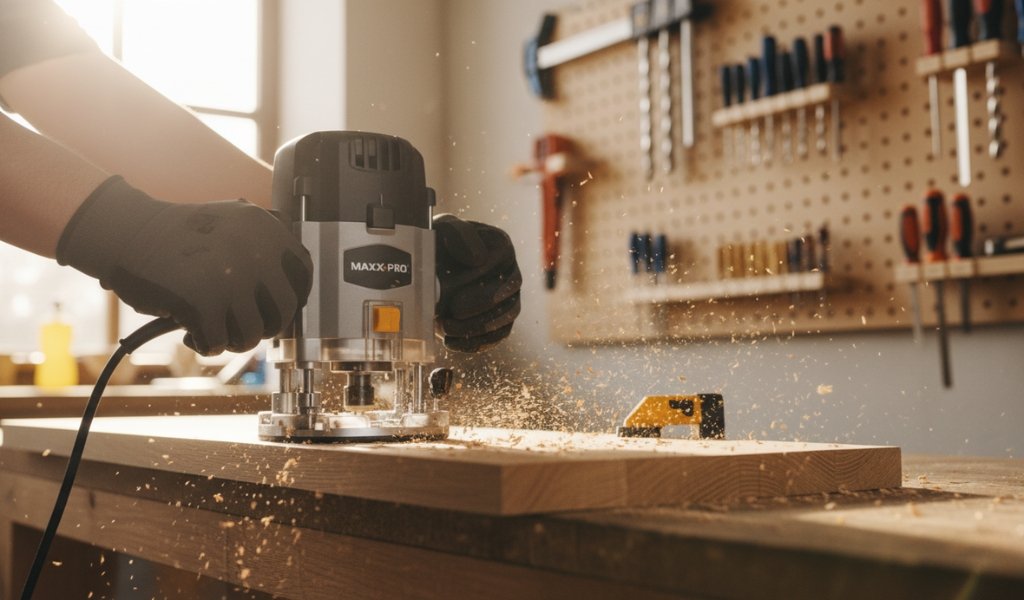
The wood router is a high-speed motor that spins a cutting bit at rates often exceeding 20,000 RPM. Its versatility stems from its ability to perform three distinct types of work:

  • Edge Profiling: Adding decorative shapes (like ogees or rounds) to the perimeter of a board.
  • Joinery: Cutting the slots, grooves, and notches (rabbets and dados) needed to fit two pieces of wood together.
  • Surface Carving: Hollowing out areas in the middle of a board for signs, hinges, or inlay work.

Because of the massive variety of wood router bits available, a single tool can transform from a precision joiner into a decorative shaper in a matter of seconds.

Fixed Base vs. Plunge Base: Which Should You Choose?

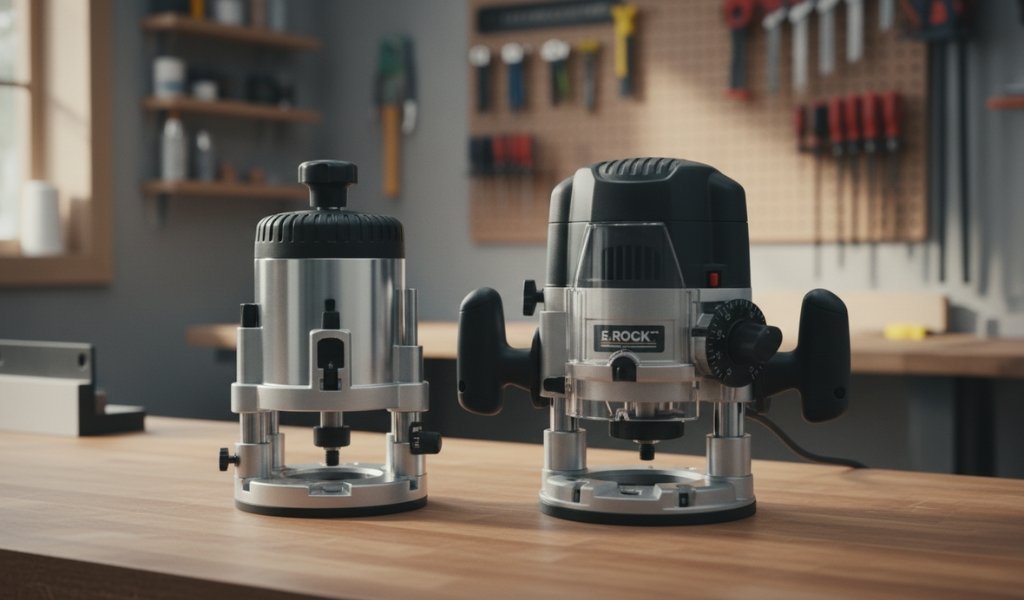
Before you begin, you must understand the two primary configurations:
Fixed base router and plunge base wood router on a workbench in a woodworking workshop

  1. Fixed Base Router: The depth of the bit is set before you turn the tool on and remains constant. This is the gold standard for edge-route work where consistency is key.
  2. Plunge Base Router: The motor sits on spring-loaded poles, allowing you to “plunge” the bit into the wood while the tool is running. This is essential for cutting holes or channels that don’t start at the edge of the board.

Essential Wood Router Bits You Should Know

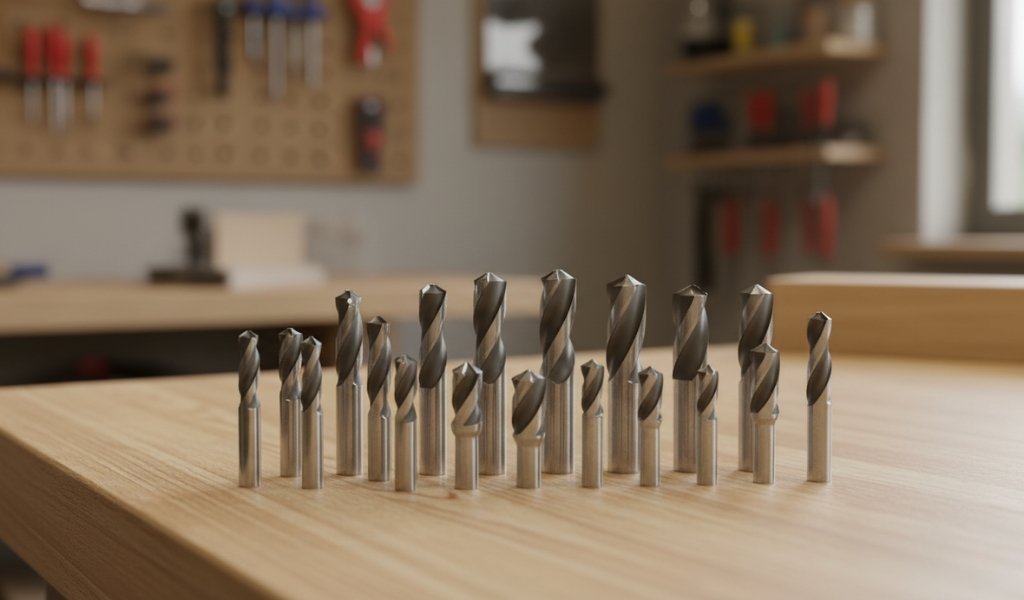
The bit does the actual work; the router is just the engine. Understanding router bits is the first step toward successful wood router use.
Different types of wood router bits arranged on a wooden workbench in a woodworking workshop

1. Grooving Bits

These are designed to cut into the face of the wood.

  • Straight Bits: Used for cutting square-bottomed channels (dados) or slots.
  • V-Groove Bits: Perfect for engraving letters or decorative lines.
  • Core Box Bits: These create a U-shaped groove, often used for fluting on columns or juice grooves on cutting boards.

2. Joinery Bits

These bits make strong structural connections.

  • Rabbeting Bits: Specifically designed to cut a notch along the edge of a board, often used for cabinet backs.
  • Dovetail Bits: Essential for creating the classic interlocking dovetail joint.

3. Edge-Forming Bits

Most of these feature a “pilot bearing”—a small wheel at the tip that rides along the edge of the wood to control the depth of the cut.

  • Round-over Bits: Softens sharp 90-degree edges into a smooth curve.
  • Chamfer Bits: Cuts the edge at an angle (usually 45°).
  • Cove Bits: The opposite of a round-over; it creates a concave radius.

Step-by-Step: How to Install Router Bits

Safety is paramount when handling sharp router bits.

  1. Unplug the Tool: Never change a bit while the tool has power.
  2. Clean the Collet: Ensure the collet (the “chuck” that holds the bit) is free of sawdust.
  3. The “Gap” Rule: Insert the bit into the collet until it bottoms out, then pull it back out about 1/8 of an inch ($3 \text{ mm}$). This prevents the bit from getting stuck due to heat expansion.
  4. Tighten Securely: Use the provided wrenches to snug the collet. It should be tight, but don’t use excessive force that might strip the threads.

Dialing It In: Selecting the Correct Speed

Most modern wood routers feature variable speed dials. A common mistake for beginners is running every bit at maximum speed.

  • Small Bits (< 1 inch): High Speed ($20,000+ \text{ RPM}$).
  • Medium Bits (1–2 inches): Medium Speed ($16,000–18,000 \text{ RPM}$).
  • Large Bits (2+ inches): Low Speed ($10,000–12,000 \text{ RPM}$).

Pro Tip: If you see smoke or burn marks on the wood, your speed is likely too high, or you are moving the router too slowly across the material.

Mastering the Edge: How to Edge-Route

To edge-route successfully, you must understand the direction of rotation.
Woodworker using a wood router to cut and shape the edge of a wooden board
A router bit spins clockwise (from the operator’s perspective).

  1. Direction of Travel: Always move the router against the rotation of the bit.
    • For the outside of a workpiece: Move Counter-Clockwise.
    • For the inside of a workpiece (like a hole): Move Clockwise.
  2. Securing the Work: Use clamps that don’t interfere with the router’s path. A “router mat” (a high-friction rubber mat) can also hold pieces in place.
  3. The Three-Pass Rule: Never try to remove all the material in one go. Set the bit to a shallow depth for the first pass, and gradually lower it for subsequent passes. This prevents wood “tear-out” and extends the life of your router bits.

Advanced Cuts: Channels, Slots, and Square Holes

How to Cut a Channel or Groove

A channel is essentially a long straight cut in the middle of a board.

  • Setup: Use a straight-edge guide or the router’s fence.
  • Technique: If using a fixed-base router, you must tip the tool into the wood (carefully!) or start from the edge. A plunge router is much safer here; just position it, turn it on, and plunge to your depth.

Cutting a Square Hole

Routers naturally cut round corners because the bit is a spinning cylinder. To get a perfectly square hole:

  1. Route the hole using a template or fence.
  2. The corners will be rounded.
  3. Finish the job: Use a sharp hand chisel to square off the corners manually.

Creative Applications: Lettering and Circles

Cutting Letters

For professional-looking signage, use lettering templates. These are plastic stencils that a “bushing” (a metal ring on the router base) follows.

  • Freehand: If you have a steady hand, a V-groove bit can be used for “freehand” sign carving. Always draw your design in pencil first.

Cutting Circles

To cut a perfect circle, you need a circle-cutting jig.

  • This is a long arm that attaches to the router base.
  • One end is pinned to the center of your circle, and the router swings around it like a compass.
  • This is the best way to make circular table tops or speaker holes.

Precision Aids: Templates and Custom Guides

When you need to make the same cut ten times, or if you are cutting a complex curve, a template is your best friend.

How to Make a Custom Template

  1. Material: Use 1/4″ or 1/2″ MDF or Baltic Birch plywood. It’s stable and easy to sand smooth.
  2. Shape: Cut and sand your template to the exact shape you want your final piece to be.
  3. The Bit: Use a Flush-Trim Bit. This bit has a bearing that is the exact same diameter as the cutters. The bearing rides the template while the cutters shave the workpiece to match.

Common Problems and Troubleshooting

  • Bit Slipping: Usually caused by a dirty collet or not tightening the bit enough. If the bit moves during a cut, stop immediately.
  • Burn Marks: Caused by a dull bit, too high an RPM, or moving the router too slowly.
  • Vibration: Check if the bit is bent or if the collet is worn out. High vibration is dangerous and leads to poor finishes.
  • Lead Entanglement: Always drape the power cord over your shoulder to keep it away from the spinning bit.

The Golden Rules: Dos and Don’ts

DoDon’t
Wear eye and ear protection.Never perform a “climb cut” (moving with the rotation).
Use a vacuum or dust extractor.Don’t start the motor with the bit touching the wood.
Check for nails/screws in the wood.Don’t force the tool; let the bit do the work.
Keep your hands 6 inches away from the bit.Don’t change bits while the tool is plugged in.

Conclusion: The Rewarding Path of Router Mastery

Learning how to use a wood router is a milestone for any woodworker. It marks the transition from basic construction to fine craftsmanship. While the tool can be intimidating at first due to its speed and noise, respecting the physics of the bit and practicing on scrap wood will quickly build your confidence.

From the first time you edge-route a decorative profile onto a tabletop to the day you cut your first set of dovetails, you’ll find that the wood router is truly the most rewarding tool in your arsenal.

Frequently Asked Questions (F.A.Q.)

Q: Can I use a wood router on materials other than wood?

A: Yes, with the correct bits and speed settings, you can route plastics (like Acrylic or HDPE) and soft metals like aluminium. However, always use bits specifically rated for those materials.

Q: What is a “climb cut” and why is it dangerous?

A: A climb cut is when you move the router in the same direction the bit is spinning. Instead of the bit cutting the wood, the wood “grabs” the bit and pulls the router out of your hands. This can cause the tool to “run away” across your work-piece, leading to injury or damage.

Q: How do I know if my router bit is dull?

A: If you have to push harder than usual, if the wood is burning excessively, or if the bit makes a high-pitched screaming sound rather than a clean whirring sound, it’s time to sharpen or replace it.

Q: Do I need a router table?

A: While not strictly necessary for learning how to use a wood router, a table makes working with small pieces much safer and more accurate. It essentially turns the tool upside down, allowing you to move the wood against the tool rather than the tool against the wood.

Q: What size shank should I get: 1/4″ or 1/2″?

A: If your router accepts both, always choose 1/2″ shanks. They are stiffer, vibrate less, and have more surface area for the collet to grip, making them safer and more precise.


Share your love!
Tools Tale

Tools Tale

Disclaimer: This site is owned and operated by Tools Tale. toolstale.com is a participant in the Amazon Services LLC Associates Program, an affiliate advertising program designed to provide a means for sites to earn advertising fees by advertising and linking to Amazon.com. This site also participates in other affiliate programs and is compensated for referring traffic and business to these companies.

Articles: 193

Leave a Reply

Your email address will not be published. Required fields are marked *