Physical Address
304 North Cardinal St.
Dorchester Center, MA 02124
Physical Address
304 North Cardinal St.
Dorchester Center, MA 02124

To use an electric planer safely and accurately, you must master the delicate balance of setting the correct cutting depth, maintaining a perfectly flat orientation, and moving the tool steadily along the wood grain. Whether you are shaving down a stubborn door that sticks in the winter or squaring up rough-swan lumber for a fine furniture project, the electric hand planer is your most efficient ally.
An electric wood planer makes light work of smoothing, levelling, and trimming wood—but only if used correctly. A single lapse in technique can lead to “snipe” (gouges at the end of the wood) or uneven surfaces that require hours of sanding to fix. This guide shows you how to handle, adjust, and maintain this powerful planer machine with total confidence. With a few professional tips and the right rhythmic approach, you can turn rough, splintered boards into smooth, precise surfaces worthy of a master joiner.
In the world of woodworking, the manual hand tool has long been the symbol of craftsmanship. However, in the modern DIY and construction landscape, the electric hand planer is the undisputed king of efficiency. While a manual jack plane requires significant physical exertion and a steep learning curve to master the “feel” of the iron against the wood, the electric version uses a high-speed motor to do the heavy lifting.
The primary advantage of this power-tool is speed. If you are working on large-scale projects like levelling floor joists, thinning out decking boards, or smoothing down a tabletop, an electric wood planer can accomplish in five minutes what would take an hour by hand. It effectively bridges the gap between a rough piece of timber and a finished product.
An electric planer is not just for smoothing; it is a precision instrument for:
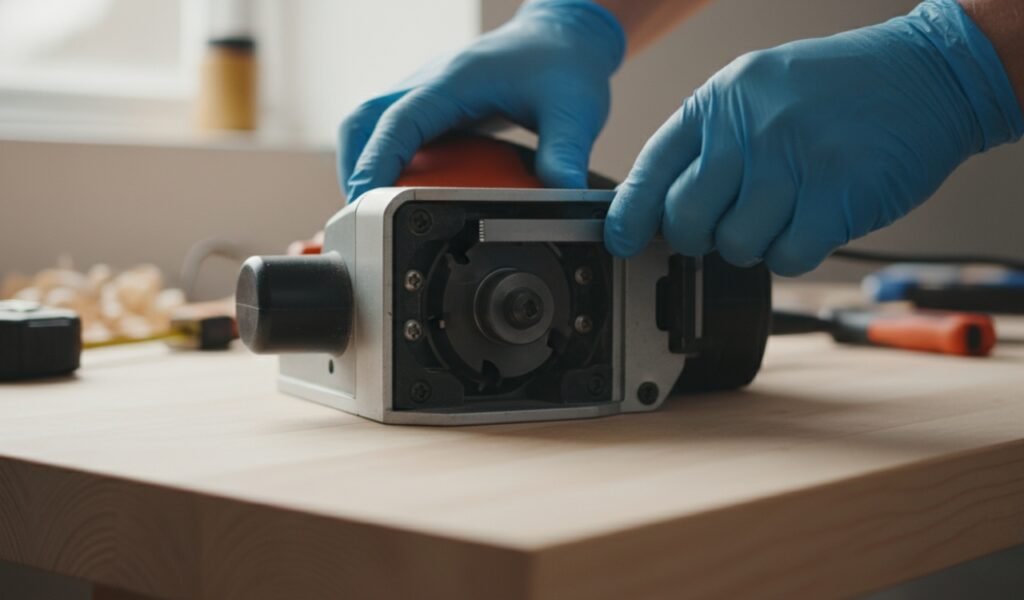
Understanding the internal mechanics of your wood working tool is the first step toward using it safely. Unlike a sander, which uses abrasion, the electric hand planer is a linear cutting tool.
At the heart of the machine is a fast-spinning cylindrical drum,
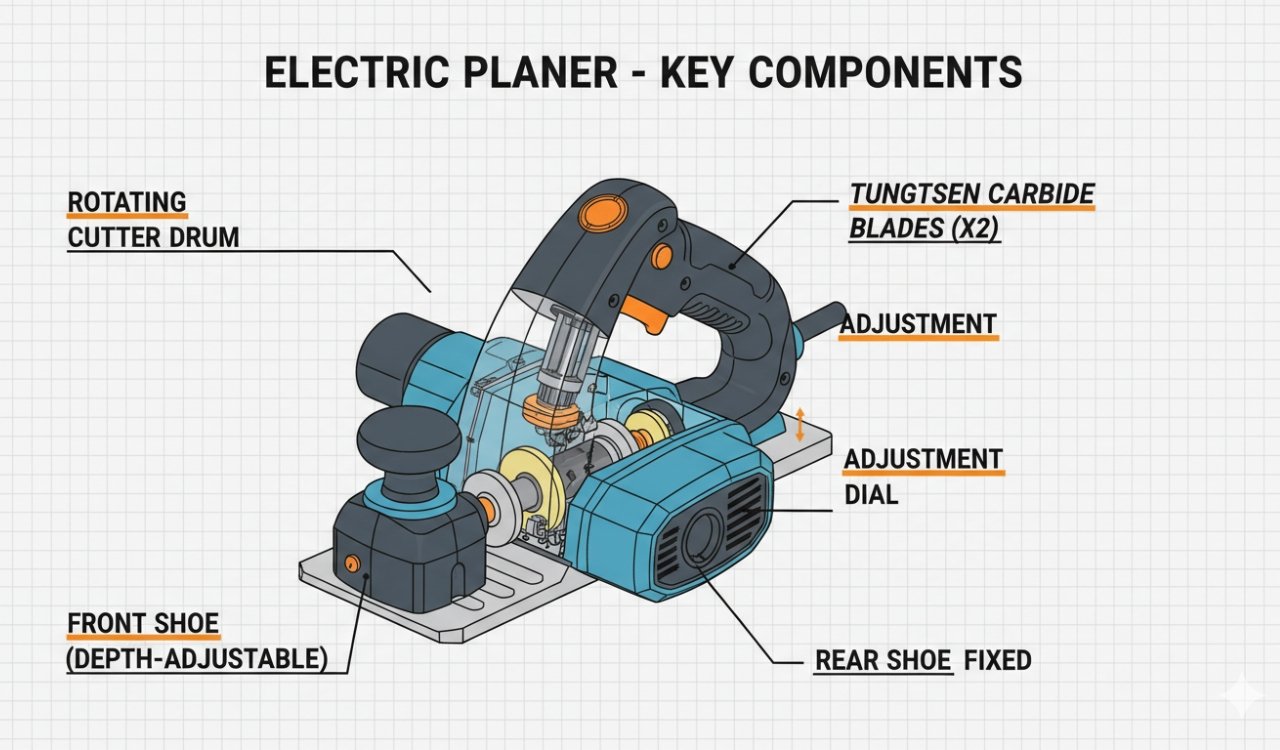
usually rotating at speeds between 10,000 and 16,000 RPM. This drum is fitted with two (or sometimes three) tungsten carbide blades. As you move the tool forward, these blades act like tiny chisels, slicing off thin ribbons of wood.
The base of the planer machine is split into two distinct parts:
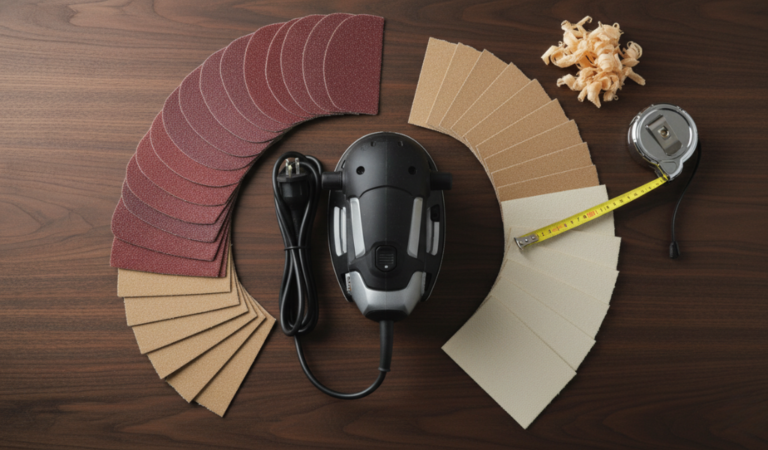
Choosing the right planer machine improves accuracy and comfort. Depending on your project, you might choose from:
| Type | Best For | Key Advantage |
| Corded Electric Planer | Workshops & heavy levelling | Consistent power for long sessions |
| Cordless Electric Planer | Site work & trimming doors | Portability; no cables to trip over |
| Compact/Mini Planer | Light DIY & edging | Easy to handle for beginners |
Success in woodworking is 90% preparation and 10% execution. Before the blades of your electric wood planer ever touch the timber, you must ensure the environment and the tool are perfectly calibrated.
Never assume a power-tool is ready out of the box. Unplug the power source and flip the planer machine over.
Rotate the drum manually (carefully!) to inspect the blades.
The biggest mistake beginners make with an electric hand planer is trying to remove too much material at once.
An electric wood planer exerts significant forward force. If your wood isn’t clamped, it will become a projectile. Use Bench Dogs or heavy-duty G-clamps. If you are trimming a door, use a “door buck” to hold it vertically.
If using a corded hand tool, drape the lead over your shoulder. This prevents the electric planer from running over its own cord—a dangerous accident that can result in electric shock.
Cutting depth is the foundation of a successful project. With an electric hand planer, it is better to be conservative.
Planning is a rhythmic activity.

It requires a “dance” of weight distribution to ensure the board remains flat from start to finish.
Stand with your feet shoulder-width apart, balanced. You should be able to walk alongside the board as you use the electric wood planer. Do not reach out with your arms; move your whole body.
Place the front shoe firmly on the wood. Ensure the blades are not touching the wood yet. Squeeze the trigger and let the motor of the planer machine reach full speed.
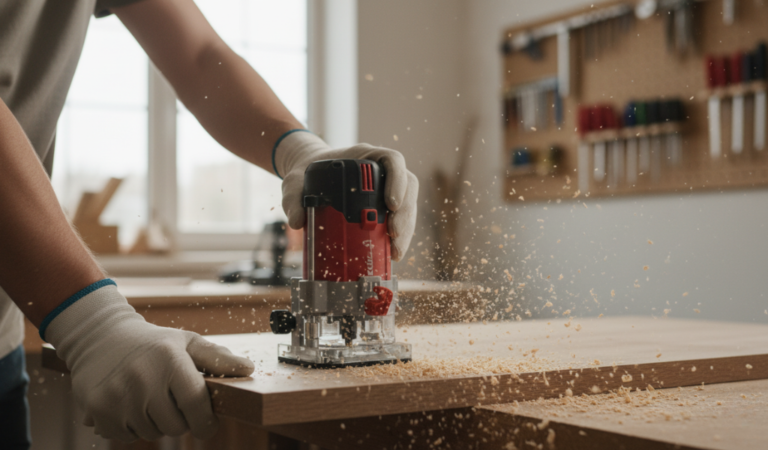
Always move the electric wood planer in the direction of the grain. Planing against the grain catches the fibers and “tears” them out, leaving a fuzzy, rough surface.
The electric planer is one of the louder and more aggressive tools in the workshop.

A well-maintained electric wood planer is a safe tool.
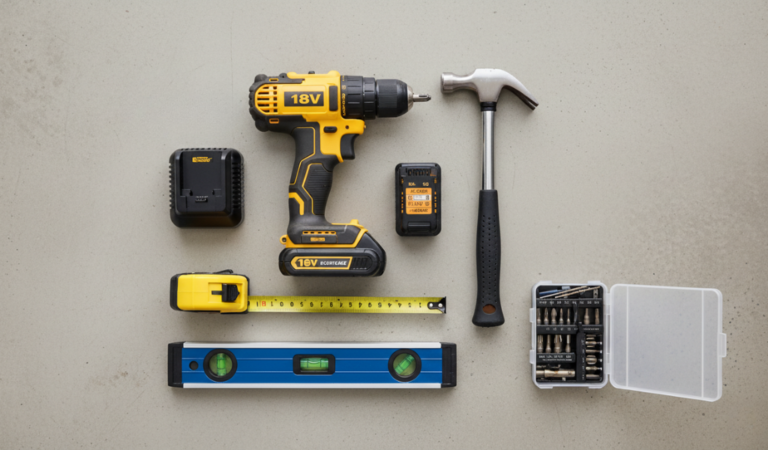
While the electric hand planer is an incredible wood working tool, it works best as part of a kit:
Mastering the electric hand planer is about developing a “feel” for the tool. It is a loud, powerful power tool, but in the hands of a patient user, it is capable of extreme delicacy. Start by practising on scrap pieces of 2×4 pine before moving to your main project.
Once you’ve mastered your electric wood planer, you’ll be amazed at how professional your DIY projects start to look. You’ll no longer be limited by the rough dimensions of timber from the hardware store; you’ll have the power to shape wood to your exact needs with your new favourite planer machine.
It is not recommended. Wet wood fibres tear rather than cut, leading to a fuzzy finish and a clogged dust port. Always use seasoned, dry timber for the best results.
Always start the motor and let it reach full speed before the blades touch the wood. Never start the tool while the blades are resting on the work-piece.
For a professional, smooth finish, set your depth to 0.5mm or less. Save deeper cuts (1mm+) only for the initial bulk removal of material.
This usually happens if the blades are nicked or if you aren’t overlapping your passes. Ensure you overlap each stroke by about 20mm to blend the surface.
No. A planer removes bulk material and levels wood, while a sander refines the surface. Use the planer to get the wood flat and a sander to prep it for staining or painting.
To avoid “breakout” at the end of a door, plane from the outer edges toward the centre of the door, or clamp a piece of scrap wood to the end to support the fibres.
If your planer uses disposable carbide blades,
they must be replaced or flipped. If it uses High-Speed Steel (HSS) blades, they can be sharpened using a honing jig and whetstone.
Switch to a vacuum extraction system.
If the wood is slightly damp or the shavings are very long, the internal fan won’t be strong enough to push them through the small port.
If the wood looks “fuzzy” or chunks are being lifted out (tear-out), you are going the wrong way. Turn the board around and plane from the opposite direction.
No. Always use two hands—one on the trigger handle and one on the front depth knob. This provides the balance needed for an even cut and keeps your hands away from the blades.