Physical Address
304 North Cardinal St.
Dorchester Center, MA 02124
Physical Address
304 North Cardinal St.
Dorchester Center, MA 02124
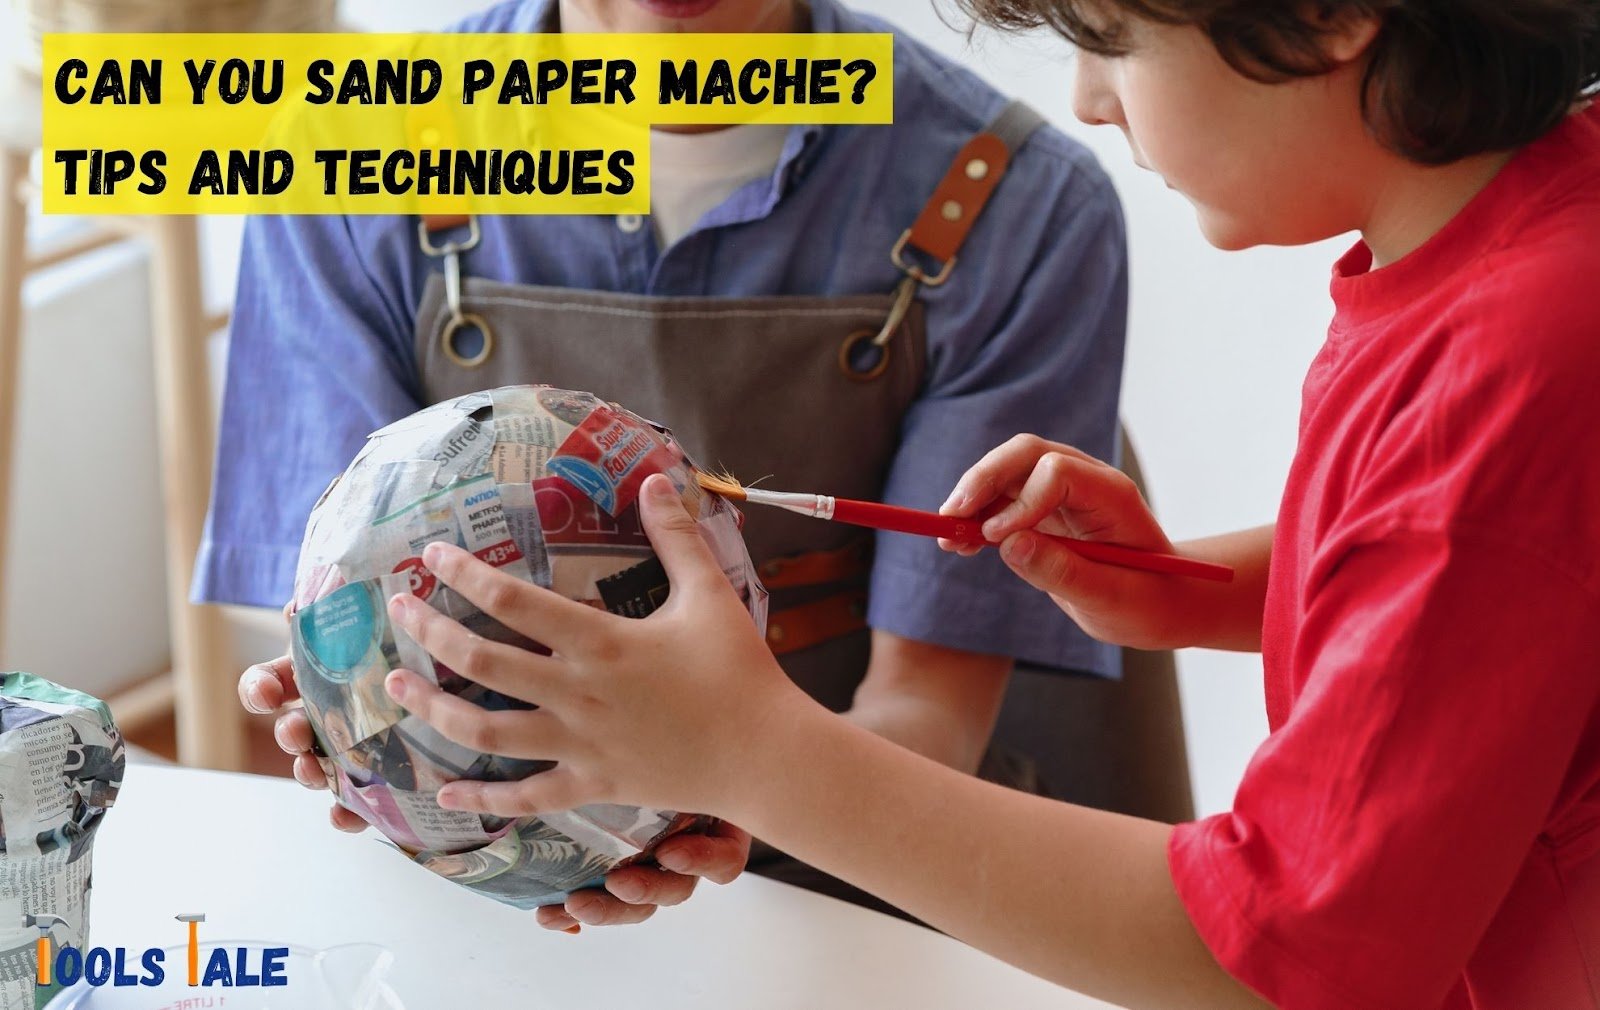
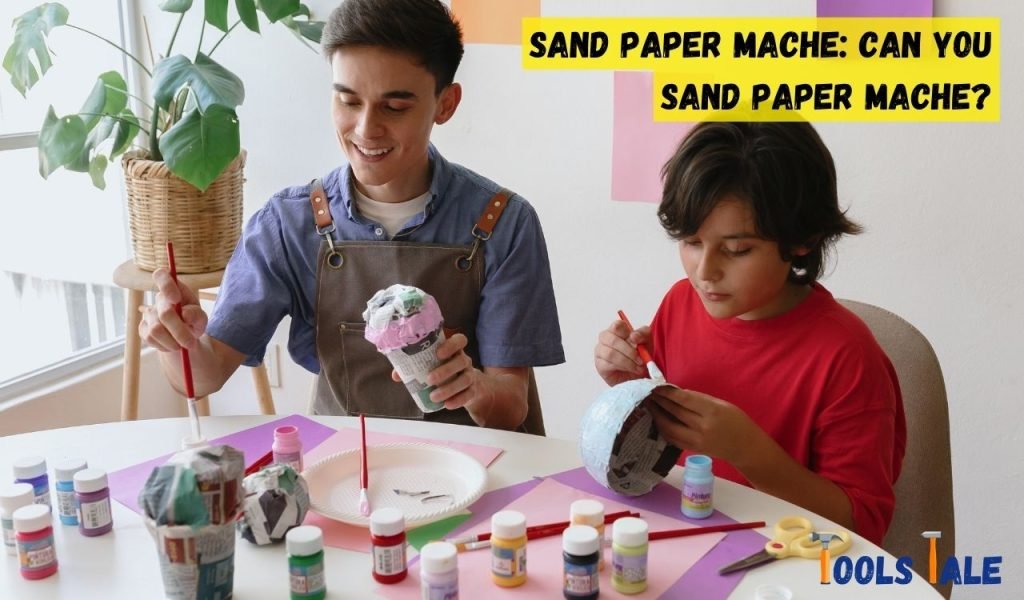
Can you sand paper mache? The answer might surprise you! Sanding paper mache opens up a world of creative possibilities and fine-tuning for your projects. Whether you’re a crafting enthusiast or a seasoned artist, this guide will unlock the secrets of achieving that perfect finish.
From smoothing rough surfaces to preparing for paint, sanding paper mache is a game-changer. Get ready to dive into the art of paper mache like never before!
Key Summary: Can You Sand Paper Mache?
Sanding paper mache is a common technique used to refine and smooth paper mache projects. To do it, allow your paper mache creation to dry completely, then use sandpaper (medium-grit is ideal) to gently sand the surface. This helps achieve a polished finish, making it easier to paint or decorate.

Paper mache, pronounced “pap-ay mash-ay” and derived from the French words for “chewed paper,” is a centuries-old craft that continues to captivate artists and crafters alike. At its core, paper mache involves the art of creating objects by layering pieces of paper with an adhesive. This adhesive is typically a mixture of glue and water, and it plays a pivotal role in binding the paper together, forming a sturdy and versatile material.
One of the remarkable qualities of paper mache is its versatility. This craft transcends the boundaries of age, skill level, and imagination. Whether you’re a young child creating your first piñata or a seasoned artist crafting intricate sculptures, paper mache provides a canvas for creativity like no other.
Common Uses:
Now, let’s address the central question: Can you sand paper mache? The short answer is an unequivocal yes. Sanding paper mache is not only possible but also a valuable technique that can enhance the quality and appearance of your projects. However, understanding when and how to sand paper mache is crucial to achieving the desired results.
Paper mache creations can sometimes develop rough or uneven surfaces during the crafting process. These imperfections can be caused by wrinkles in the paper, uneven application of adhesive, or other factors. Sanding provides a solution by allowing you to smooth out these rough spots, resulting in a polished finish.
If your paper mache project includes intricate details or fine textures, sanding can help you achieve precision. It’s a valuable technique when crafting masks, sculptures, or any project where fine details matter.
Smooth surfaces are essential when it comes to painting or decorating your paper mache creation. Sanding ensures that your chosen colors adhere evenly, creating a more professional and aesthetically pleasing final product.
Sanding offers the opportunity to add a personal touch to your project. Depending on the grit of sandpaper used and the technique applied, you can create various textures that make your creation truly unique.
Sanding paper mache is not a one-size-fits-all approach. Understanding when to sand depends on the specific project and your desired outcome. Here are some scenarios where sanding paper mache is particularly beneficial:
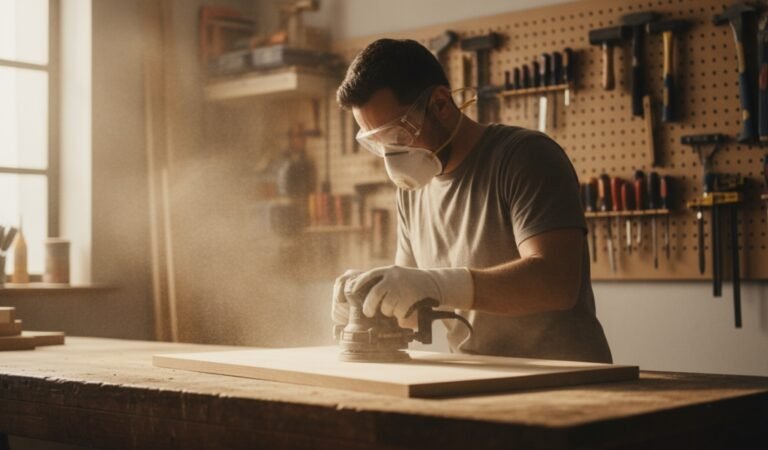
Sanding paper mache is a crucial step in achieving a smooth and polished finish for your creative projects. Whether you’re crafting decorative sculptures, masks, or piñatas, the sanding process can enhance the quality and appearance of your creations. In this comprehensive guide, we’ll walk you through the steps of how to sand paper mache effectively.
Before you start sanding, it’s essential to gather all the necessary supplies. Here’s what you’ll need:
Ensure that your paper mache creation is completely dry before you begin sanding. Attempting to sand damp paper mache can lead to clumping and damage. Inspect your project for any rough areas or imperfections that require attention. Identifying these spots in advance will help you target them during the sanding process.
Now, it’s time to get down to business. Follow these steps for effective sanding:
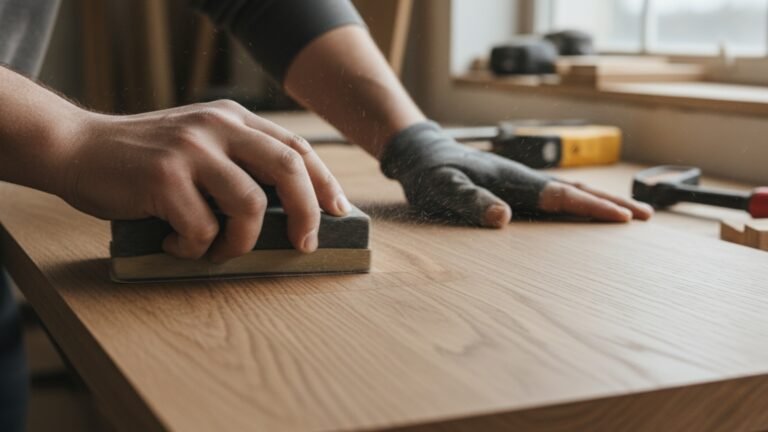
Start with the coarsest sandpaper in your collection (around 80 to 120 grit). This grit is excellent for removing larger imperfections and rough surfaces. Hold the sandpaper firmly but not too aggressively. Sandpaper in the direction that aligns with your desired texture.
Apply light to moderate pressure when sanding. Avoid pressing too hard, as excessive pressure can create uneven surfaces or even thin out the paper mache layers.
Pause periodically during the sanding process to assess your progress. Run your fingers gently over the sanded areas to feel for smoothness. If you encounter rough spots, it’s an indication that further sanding is required.
As you work your way through the sanding process, gradually transition to finer grit sandpaper. The finer grits (220 to 400 grit) will help you achieve a smoother and more polished finish.
If your paper mache project includes curved or rounded surfaces, consider using sanding sponges or pads. These tools are flexible and can conform to the shape of your project while maintaining the desired texture.
After you’ve completed the sanding process, it’s crucial to remove any dust or debris from your paper mache project. A damp cloth or a soft brush can help you achieve a clean and pristine surface. Proper cleaning ensures that your project is ready for the next steps, such as painting or decorating.
Once you’re satisfied with the level of smoothness, your paper mache creation is ready for the finishing touches. This is where your creativity can shine. Apply paint, decorations, or any other enhancements that align with your artistic vision. Smooth surfaces are not only easier to decorate but also provide a professional canvas for your creative ideas.

Sanding paper mache is a craft that requires precision and attention to detail to achieve the best results. Whether you’re smoothing rough edges, refining intricate details, or preparing your project for painting, these tips will help you master the art of successful sanding.
Choosing the appropriate sandpaper grit is essential for successful sanding. Here’s a general guideline:
Start with coarse grit sandpaper and gradually work your way to finer grits as needed. Using the right grit for each stage ensures efficient and effective sanding.
Maintaining even pressure while sanding is crucial to avoid creating uneven surfaces. Apply consistent pressure across the entire area you’re sanding. Uneven pressure can result in dents or divots in your paper mache project, which can be challenging to correct.
When sanding curved or rounded surfaces in your paper mache project, it’s essential to be gentle. Using sanding sponges or pads that conform to the shape of the curve can help you maintain the desired texture while avoiding over-sanding. Sanding blocks with rounded edges can also be useful in achieving a uniform texture on curved surfaces.
Over-sanding can lead to thinning of the paper mache layers or even create holes in your project. To avoid over-sanding:
Always prioritize safety when sanding paper mache. Here are some safety measures to consider:
Sanding can be a time-consuming process, especially for projects with intricate details. Exercise patience and take breaks as needed to maintain precision and avoid fatigue. Rushing through sanding can lead to unsatisfactory results, so take your time to achieve the desired smoothness.
Sanding offers an opportunity to experiment with different textures for your paper mache project. Depending on the grit of sandpaper used and the technique applied, you can create unique textures that add character and personality to your creation. Don’t be afraid to explore different textures to achieve your artistic vision.
Now that you have a solid grasp of the sanding process and essential tips, let’s explore some real-world examples and projects where sanding paper mache plays a pivotal role.
Crafting a piñata for a birthday party is a classic project that benefits greatly from sanding. Smoothing the surface ensures that your piñata looks flawless, and the paint adheres evenly. The end result? A piñata that’s not only fun to break but also visually stunning.
For theater enthusiasts or costume designers, crafting masks is an art form in itself. Sanding allows you to achieve a refined and professional look for your masks. The ability to smooth out rough edges and create intricate details makes a significant difference in the final appearance.
For those who sculpt intricate figurines or decorative sculptures with paper mache, sanding is the secret to elevating your work to the level of fine art. It transforms rough forms into polished pieces that exhibit a high degree of craftsmanship and attention to detail.
By applying these tips and techniques, you’ll not only be prepared to sand paper mache effectively but also to take on a variety of creative projects with confidence.
Through this guide, we’ve explored the techniques, tools, and safety precautions needed to sand paper mache effectively. Whether you’re a beginner or a seasoned crafter, sanding paper mache opens up a world of creative possibilities.
So, dive into your next paper mache project with confidence, knowing that you have the skills to achieve a smooth and polished finish. Let your imagination soar, and turn your paper mache creations into works of art that truly shine.
To sand paper mache effectively, you’ll need sandpaper with varying grits (coarse and fine), a dust mask to protect against dust particles, safety glasses for eye protection, and a well-ventilated workspace. Sanding sponges or pads can be useful for curved surfaces.
Sanding paper mache is typically done after your creation has dried. It’s beneficial when you want to smooth rough surfaces, refine details, prepare the project for painting, or add texture. Assess your project’s condition and your desired outcome to determine when sanding is necessary.
Yes, you can use regular sandpaper for paper mache. Start with coarse grit sandpaper (around 80 to 120 grit) for initial sanding to remove imperfections. Transition to finer grits (220 to 400 grit) for achieving a smoother finish. Regular sandpaper works well for most paper mache projects.
You’ll know you’ve sanded enough when the surface feels smooth to the touch, and any rough spots or imperfections have been removed. Trust your sense of touch to assess the level of smoothness.
Sanding wet paper mache is not recommended. Ensure your paper mache project is completely dry before sanding. Sanding damp paper mache can lead to clumping and damage.
Yes, prioritize safety. Wear a dust mask to protect against inhaling fine dust particles, and safety glasses to shield your eyes from debris. Work in a well-ventilated area to minimize dust concentration and take breaks as needed to avoid fatigue.