Physical Address
304 North Cardinal St.
Dorchester Center, MA 02124
Physical Address
304 North Cardinal St.
Dorchester Center, MA 02124
Investing in a paint sprayer is a game-changer for any DIY enthusiast or professional contractor. Whether you are using a high-powered airless paint sprayer for a home exterior or a versatile Wagner paint sprayer for indoor furniture, the speed and finish quality are unmatched by traditional brushes.
However, that professional-grade finish comes with a trade-off: maintenance. The most common cause of equipment failure isn’t a motor breakdown; it’s dried paint. Learning how to clean a paint sprayer properly is the single most important skill you can acquire to protect your investment. Whether you’re learning how to clean a paint sprayer after use or maintaining an airless paint sprayer for long-term performance, following the right cleaning process ensures optimal results and longer tool life.
A paint sprayer is a specialized tool that atomizes paint, stain, or clear coats into a fine mist to provide smooth, even coverage on a variety of surfaces. Unlike brushes or rollers that rely on physical contact to transfer material, a sprayer uses pressure to propel the coating through a small nozzle.
There are three primary types you will encounter:
A paint sprayer works by forcing material through incredibly small orifices at high pressure. Even a microscopic speck of dried latex or oil-based enamel can disrupt the spray pattern, causing tails (uneven lines) or total blockages.
If you leave paint in a Graco paint sprayer overnight, the internal valves can seize, and the hose can become permanently restricted. Frequent cleaning doesn’t just make the next job easier; it prevents corrosive damage to the internal seals and prevents the hiccoughing effect that ruins a smooth finish.
Essential Supplies for Cleanup
 Before you start your project, ensure you have your cleanup station ready. You don’t want to be hunting for these items while paint is drying inside your machine.
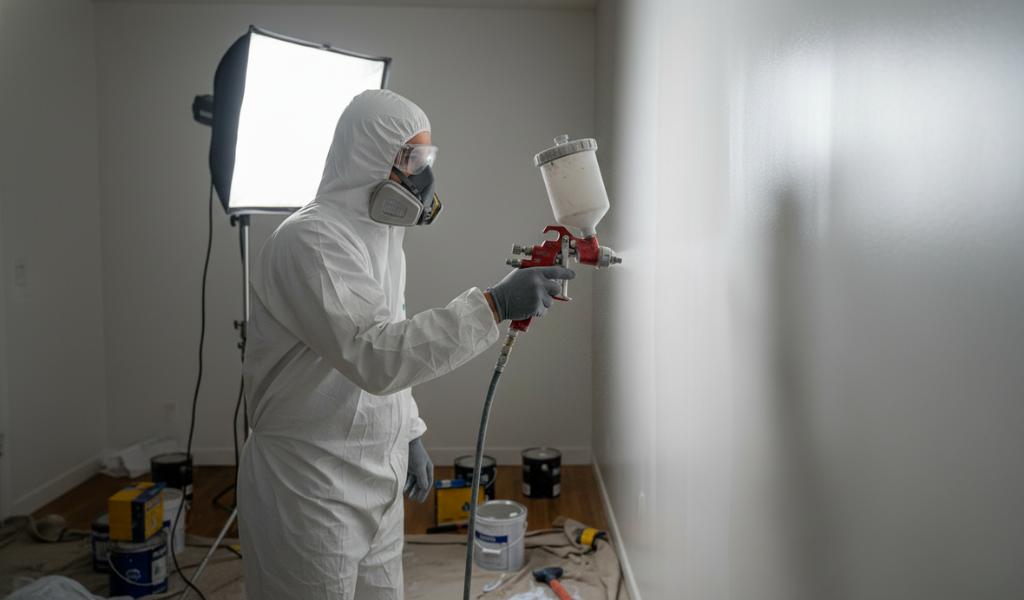
Before you begin the cleaning process on any airless paint sprayer, you must relieve the built-up pressure. This prevents accidental injection injuries and messy blowbacks.
Using a Graco paint sprayer as our primary example, follow these steps to ensure every internal component is flushed clean.
Unlock the trigger and unscrew the tip guard and the reversible spray tip. Drop these into a small container of cleaning fluid (water or solvent). Do not attempt to poke a needle or wire through the tip orifice, as this can distort the spray pattern. Use a soft brush to gently clear away residue.
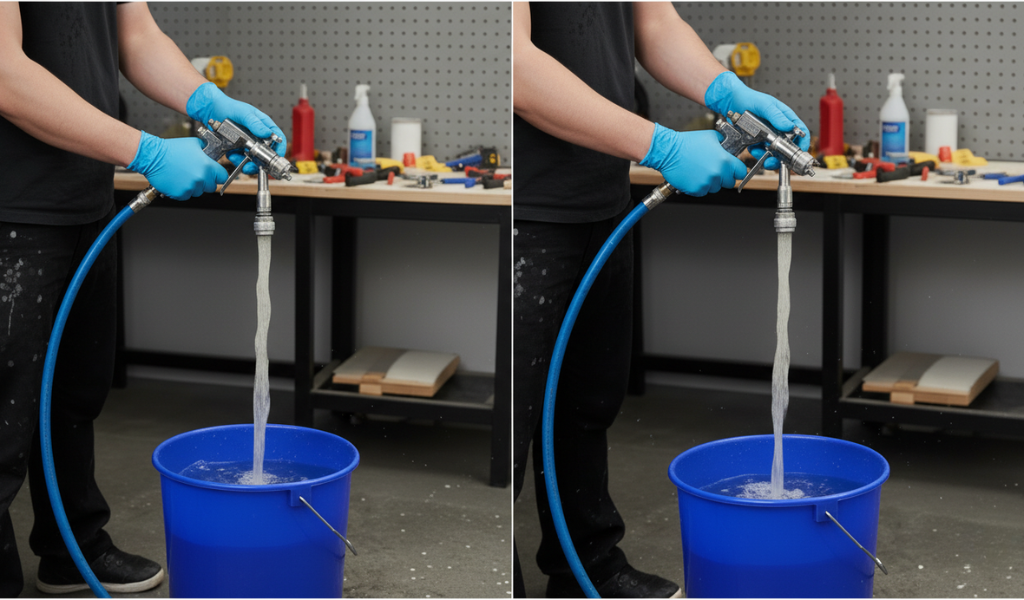
Place the large suction tube into your bucket of clean fluid and the smaller return (drain) tube into the waste bucket. Turn the Prime/Spray valve to Prime and turn the power on. Let the machine run until the fluid coming out of the return tube is clear and free of paint tint.
Now it’s time to clear the main line.
Pro Tip: If your sprayer features a PowerFlush port (common on many Graco models), you can attach a garden hose directly to the unit to blast out latex paint with high-volume water flow, saving significant time.
For the most thorough clean, cycle fresh, clean water through the system one last time. If you see any flecks of paint, repeat the process.
If you are using a Wagner paint sprayer (typically an HVLP or handheld airless model), the process is slightly different because these units often lack a long hose or a prime loop.
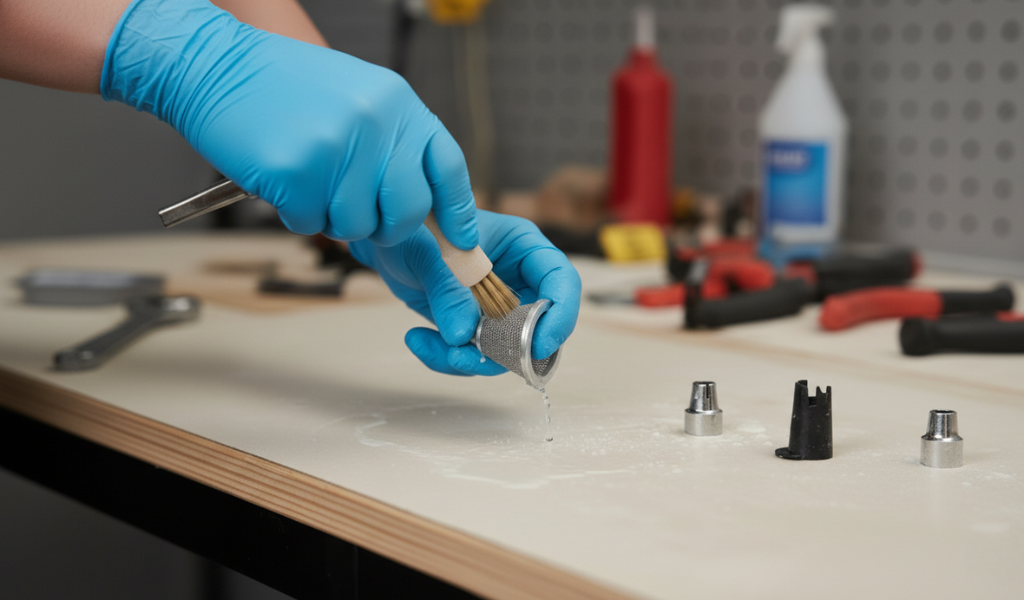
A common mistake is cleaning the pump but forgetting the filters. A paint sprayer usually has three layers of filtration:
Unscrew these components and use a soft brush to remove any trapped debris. If a filter is dented or the mesh is clogged with hardened paint, replace it. Using a dirty filter is the fastest way to cause a clogged tip mid-project.
Water is the enemy of metal over time. If you store your airless paint sprayer with just water inside, the internal valves can rust or stick.
Environmental Responsibility: Proper Waste Disposal
Knowing how to clean a paint sprayer also involves knowing how to get rid of the mess.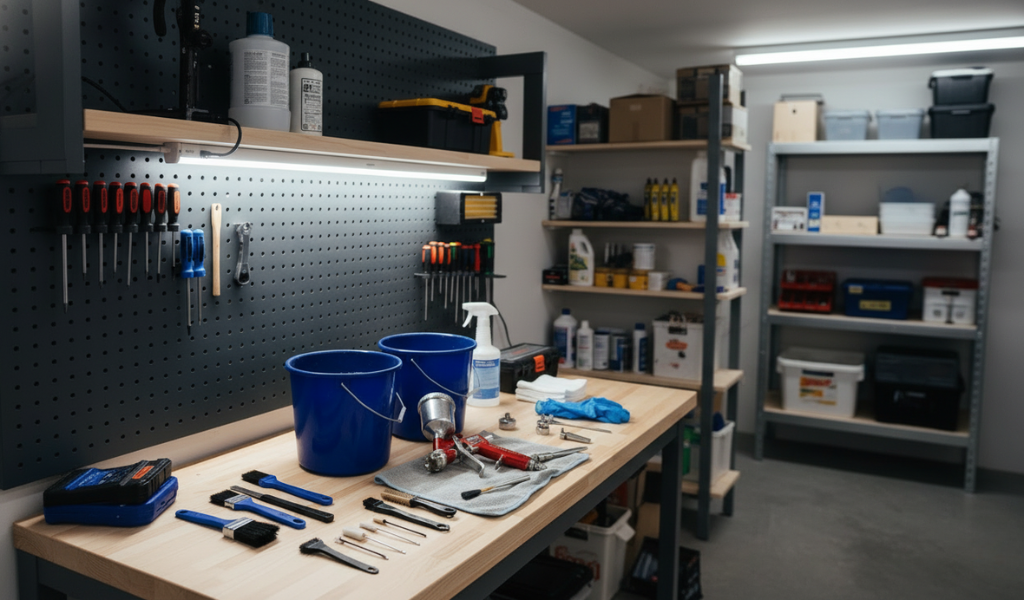
If your sprayer loses pressure or the pattern becomes streaky even after cleaning:
A paint sprayer is a precision instrument. While the cleanup process adds 20–30 minutes to your workday, it saves you hundreds of dollars in repair costs and hours of frustration on your next project. Whether you’re utilizing a Wagner paint sprayer for small crafts or a professional airless paint sprayer for a full house remodel, a clean tool is the mark of a true craftsman.
Take the time to flush the lines, scrub the filters, and protect the pump. Your equipment—and your next paint job—will thank you.
Q: Can I leave paint in my sprayer for a few hours while I take a lunch break? A: Yes, but you must prevent the paint from drying at the tip. Wrap the spray gun tightly in a damp rag or a plastic bag to keep air away from the nozzle. For an airless paint sprayer, ensure the unit is powered down and pressure is relieved if you’re leaving it for more than an hour.
Q: Do I really need a special storage fluid? A: If you want your Graco paint sprayer to last, yes. Storage fluid (like Pump Armor) contains lubricants and anti-corrosive agents that water lacks. It also prevents the internal check balls from sticking to their seats.
Q: Can I use a wire brush to clean the spray tip? A: No. The orifice of a paint sprayer tip is precision-engineered. Even a small scratch from a wire brush can ruin the spray pattern. Use a soft-bristled nylon brush and specialized cleaning needles if absolutely necessary.
Q: How often should I replace the filters? A: Inspect your gun and manifold filters every time you clean the unit. If the mesh is frayed, dented, or cannot be cleaned back to its original color, it’s time for a replacement.
Q: Why is my Wagner paint sprayer spitting instead of a steady stream? A: This is usually caused by a partial clog in the nozzle, air leaking into the suction tube, or the material being too thick. Ensure your paint is strained and that all connections on the sprayer are airtight.
Q: Is it okay to clean my sprayer in the kitchen sink? A: It is not recommended. Paint solids can clog your household plumbing, and the chemicals in oil-based thinners are toxic. It is best to use a dedicated work area with buckets.