304 North Cardinal St. Dorchester Center, MA 02124
To provide the best experiences, we use technologies like cookies to store and/or access device information. Consenting to these technologies will allow us to process data such as browsing behavior or unique IDs on this site. Not consenting or withdrawing consent, may adversely affect certain features and functions.
Top 5 Methods: How to Unscrew a Star Screw Without a Screwdriver?
How to unscrew a star screw without a screwdriver? No worries, we’ve got some creative tricks up our sleeves! Don’t fret if you find yourself without the conventional tool – this guide will unveil some ingenious alternatives.
From clever flat head screwdriver hacks to the magic of rubber bands and more, we’ll show you how to tackle star screws like a pro. Get ready to discover the unlocking secrets and impress your friends with your DIY skills. Let’s dive in and make unscrewing star screws a breeze!
Key Summary: How to Unscrew a Star Screw Without a Screwdriver?
Learn how to unscrew a star screw without a screwdriver! Place a wide rubber band over the screw head and apply firm pressure. Turn counterclockwise to loosen the screw effortlessly. Quick and hassle-free star screw removal hack!
Hand Tools Suggestion for Your Home
[amazon_auto_links id=”11426″]
Unlocking Secrets: How to Unscrew a Star Screw Without a Screwdriver
View Expert Video from wikiHow on How to Unscrew a Star Screw Without a Screwdriver
Have you ever encountered a stubborn star screw that refuses to budge, only to realize you don’t have a screwdriver that fits? Fret not, as there’s a nifty solution to this common DIY dilemma. While traditional screwdrivers may be the go-to tool for loosening star screws, there’s an ingenious alternative that requires nothing more than a common household item.
In this guide, we’ll reveal a simple and effective method to unscrew star screws without the aid of a screwdriver. All you need is a rubber band and a bit of determination. With this clever hack, you can effortlessly remove star screws and tackle various repair and DIY projects around your home without the need for specialized tools.
Whether you’re a seasoned DIY enthusiast or a casual tinkerer, learning how to navigate these pesky screws without a screwdriver can save you time, frustration, and the hassle of searching for the right tool. The technique is easy to grasp, making it accessible to anyone faced with a star screw challenge.
Get ready to expand your DIY skills and unlock a world of possibilities. Let’s delve into this quick guide and empower ourselves to conquer those star screws, one rubber band at a time!
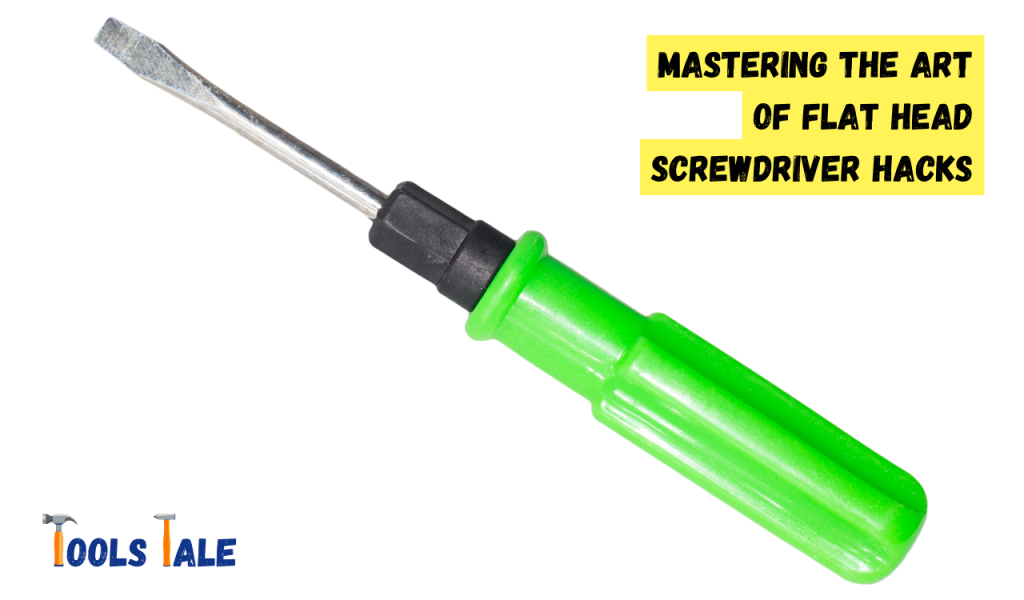
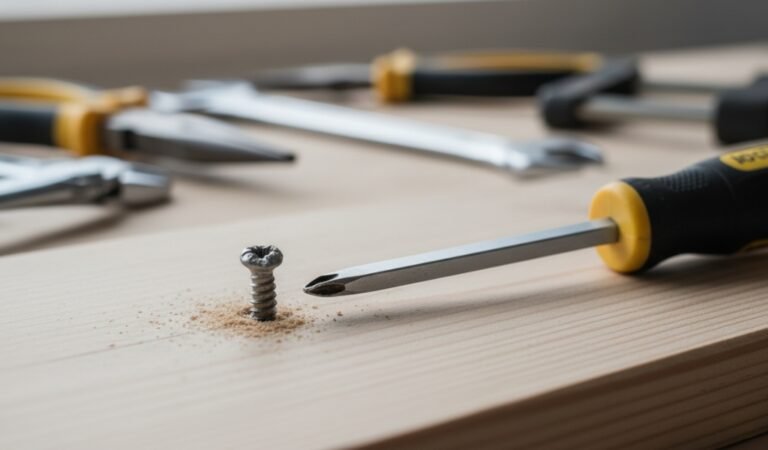
Method 1: Mastering the Art of Flat Head Screwdriver Hacks
When you find yourself facing a star screw without a star screwdriver, don’t fret! A trusty flat head screwdriver can be your saviour with a little know-how and finesse.
What You’ll Need
A flat head screwdriver (preferably with a blade width close to the star screw’s width)
Step-by-Step Guide
Align the Blade: Choose a flat head screwdriver that fits the star screw’s width as closely as possible. Position the flat head’s blade at an angle to engage the star screw’s ridges.
Apply Steady Pressure: Firmly grip the flat head screwdriver with one hand, and with the other hand, apply steady downward pressure. While maintaining consistent force, turn the screwdriver counterclockwise.
Beware of Slippage: Take care to avoid slipping off the screw head, as this can lead to damage or injury. To enhance grip, consider wrapping a rubber band around the screw and the screwdriver’s blade.
Additional Tips
If the flat head screwdriver does not perfectly fit the star screw, try different angles and positions to find the most secure grip.
Use caution and finesse to prevent damaging the screw or surrounding materials.
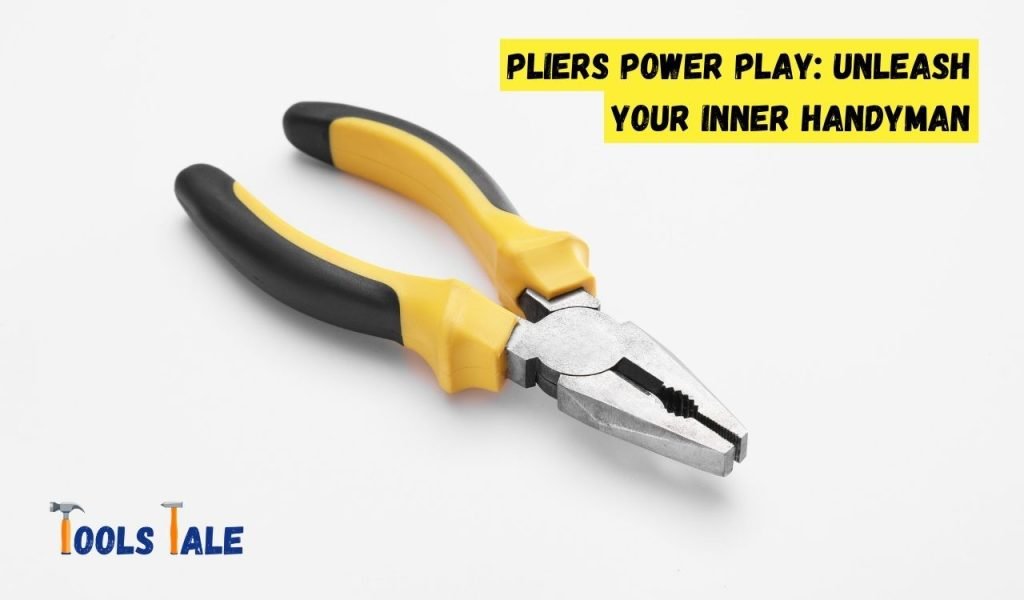
Method 2: Pliers Power Play- Unleash Your Inner Handyman
Pliers are versatile tools that can prove invaluable when dealing with star screws without a screwdriver. Let’s dive into how you can utilise pliers to your advantage.
What You’ll Need
Needle-nose or locking pliers (providing better control and grip)
Step-by-Step Guide
Choose the Right Pliers: Select needle-nose or locking pliers, as they offer better control and can grip the star screw firmly. Make sure the pliers’ jaws fit snugly around the star screw head.
Find Your Angle: Position the pliers’ jaws on the ridges of the star screw. Ensure they grip the screw securely, providing a strong foundation for the unscrewing process.
Twist and Turn: With a firm grip, begin turning the pliers counterclockwise. The stronghold of the pliers will effectively loosen the star screw, making it easier to remove.
Additional Tips
If using locking pliers, set them in the appropriate position to maintain a consistent grip.
Take your time during the process to avoid overexertion and potential slippage.
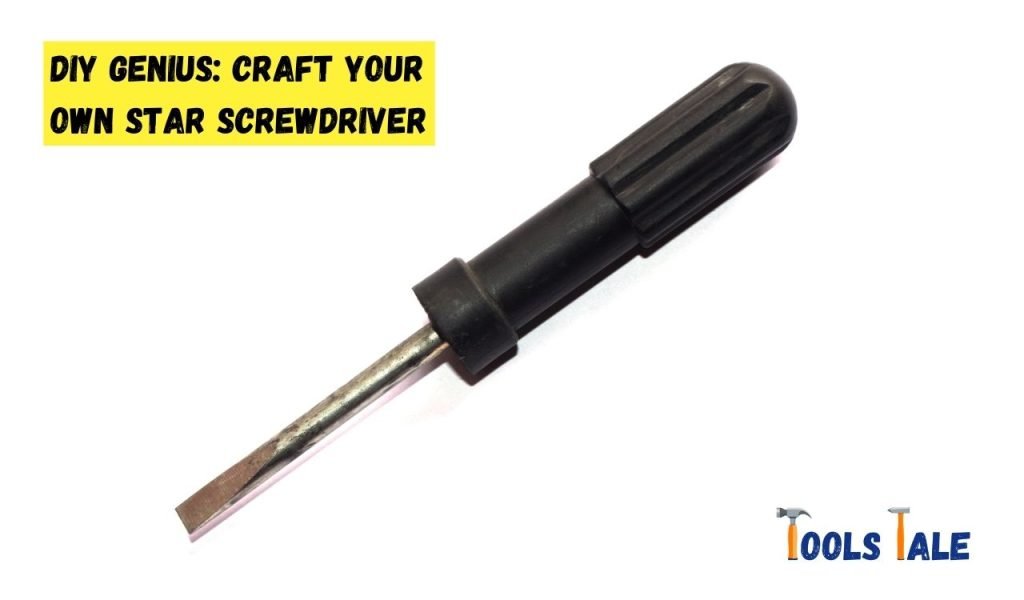
Method 3: DIY Genius- Craft Your Own Star Screwdriver
When ingenuity meets necessity, crafting your own star screwdriver becomes an impressive feat. Get ready to embrace your inner DIY genius!
What You’ll Need
A small, flat object with a pointed end (e.g., a butter knife or a metal file)
Step-by-Step Guide
Choose a Sturdy Tool: Find a small object with a flat, pointed end that can fit into the star screw’s ridges. A butter knife or metal file can be suitable options.
Align and Adjust: Position the chosen tool at an angle to engage the star screw’s ridges. You may need to make slight adjustments to achieve a secure fit.
Rotate with Care: Once the makeshift tool is securely in place, begin turning it counterclockwise. Take your time and apply gentle force to prevent slippage and potential damage.
Additional Tips
Be patient and persistent, as crafting your own star screwdriver may take some trial and error.
Remember to use caution when working with makeshift tools to avoid injury or damage.
Method 4: Rubber Band Wizardry- Unravelling Star Screws with Ease
When you think all hope is lost, here comes the rubber band to save the day! This simple yet effective method can provide the grip needed to tackle star screws without a screwdriver.
What You’ll Need
A rubber band (preferably thick and wide)
The star screw you need to remove
Step-by-Step Guide
Wrap the Rubber Band: Take the rubber band and wrap it around the star screw head. Ensure it fits snugly and covers as much of the star-shaped ridges as possible.
Enhance the Grip: To amplify the rubber band’s grip, you can wrap it around the screwdriver’s blade (if available) before inserting it into the star screw. This technique works well if you have a flat head screwdriver.
Turn Counterclockwise: With the rubber band providing extra traction, turn the screw counterclockwise. You’ll be amazed at how much easier it is to unscrew the star screw with this simple hack.
Additional Tips
If you don’t have a rubber band, you can use a piece of rubber cut from an old bicycle inner tube or any other source of thick rubber material.
Make sure the rubber band is not too loose, as it may slip off during the unscrewing process.
Method 5: Heat It Up! The Fiery Approach to Star Screw Removal
This method involves adding a touch of heat to loosen the star screw and make it easier to unscrew. However, it’s crucial to exercise caution and follow safety measures when using heat.
What You’ll Need
A heat source (e.g., a hairdryer)
The star screw you need to remove
Step-by-Step Guide
Heat the Screw: Direct the heat source (hairdryer) towards the star screw for about 30-60 seconds. The heat will cause the metal around the screw to expand slightly.
Check the Temperature: Before touching the screw, ensure it’s not too hot to handle. Use protective gloves or wait for a moment if needed.
Unscrew Counterclockwise: Once the screw is warm, insert the screwdriver into the star screw and turn counterclockwise. The slight expansion of the metal should make it easier to unscrew.
Additional Tips
Be cautious not to overheat the screw or surrounding materials, as excessive heat can cause damage.
Do not use an open flame as the heat source, as it can be hazardous.
This method is particularly useful for screws that may be stuck due to rust or other factors.
Remember to approach each technique with care and choose the method that suits your specific situation best.
Conclusion
In conclusion, armed with the unlocking secrets we’ve explored, unscrewing star screws without a screwdriver becomes feasible and convenient. From clever flat head screwdriver hacks to the power of pliers and resourceful DIY methods, you now have a variety of solutions at your disposal. Embrace the creativity and ingenuity behind rubber band wizardry and the fiery approach of adding heat.
Remember to exercise caution and finesse, ensuring safety during the unscrewing process. With these versatile techniques in your toolbox, facing a star screw without a screwdriver no longer poses a challenge. Feel confident and equipped to tackle any star screw situation that arises. Happy unscrewing, and may you now handle star screws with ease and expertise!
Frequently Asked Questions
What is a star screwdriver?
A star screwdriver, also known as a Torx screwdriver, features a star-shaped tip with multiple points. It’s commonly used to tighten or loosen screws with corresponding star-shaped slots.
What can I use if I don’t have a screwdriver?
In the absence of a screwdriver, you can try using a coin, butter knife, or any flat, sturdy object that fits into the screw’s slot. Be cautious to avoid damaging the screw or injuring yourself.
How do you unscrew a screw without a screwdriver?
To unscrew a screw without a screwdriver, you can use pliers or vice grips to grip the screw head and rotate it counterclockwise. Ensure a firm grip to prevent slipping and causing damage.
How do you unscrew a tight screw without a screwdriver at home?
For a tight screw without a screwdriver, try using an adjustable wrench or socket wrench. Place the wrench around the screw head and turn it gently but firmly in the loosening direction.
How do you unscrew a star nail?
To unscrew a star nail, which likely refers to a screw with a star-shaped head, you can use a star screwdriver (Torx) or improvise with a flat, sturdy tool like pliers. Apply steady pressure while turning counterclockwise to remove the screw.
Share your love!
Tools Tale
Disclaimer: This site is owned and operated by Tools Tale. toolstale.com is a participant in the Amazon Services LLC Associates Program, an affiliate advertising program designed to provide a means for sites to earn advertising fees by advertising and linking to Amazon.com. This site also participates in other affiliate programs and is compensated for referring traffic and business to these companies.