Physical Address
304 North Cardinal St.
Dorchester Center, MA 02124
Physical Address
304 North Cardinal St.
Dorchester Center, MA 02124
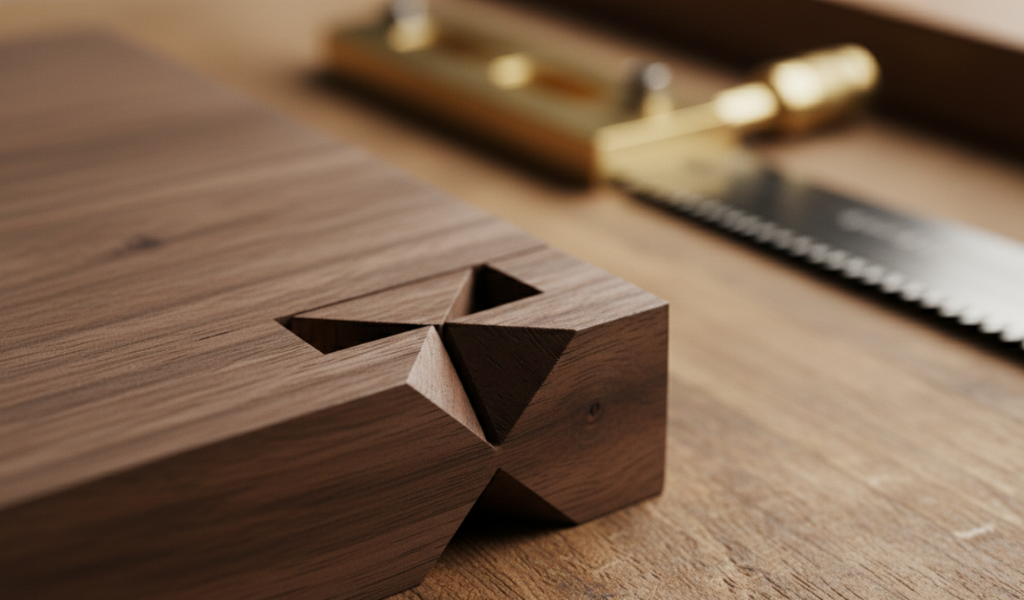
There is something undeniably magical about a perfectly executed dovetail joint. It is the hallmark of a master craftsman, signaling both strength and beauty. But when you shrink that joint down for a jewelry box, a small tote, or a delicate drawer, the game changes entirely. Learning how to cut tiny dovetails isn’t just about doing the same thing on a smaller scale; it’s about adapting your mindset and your woodworking tools to handle a much more delicate process.
In this guide, we will dive deep into the eccentricities of small-scale joinery. Whether you are working with soft basswood or a figured hardwood, these techniques will help you achieve gap-free results every time.
How To Cut Tiny Dovetails
To cut tiny dovetails, use thin stock, mark baselines carefully, saw the tails with short controlled strokes, remove waste with a coping saw, transfer the layout to the pin board, cut the pins precisely, then dry fit and glue the joint carefully.
If you’ve ever cut dovetails for a large blanket chest, you know it requires physical stamina and bold saw strokes. However, when you pivot to tiny dovetails, those big movements become your enemy.
At this scale, the thickness of your saw kerf matters more, and a single heavy-handed chisel strike can split your workpiece in half. As expert woodworker Phil Huber notes, it is like comparing a dining table to a cattle barn—the basic geometry is the same, but the execution is a completely different world. Precision is no longer a goal; it is a ‘strict requirement’.
When we talk about Tiny Dovetails, the proportions matter immensely. In a standard drawer, you might have a 1:6 slope for softwoods and 1:8 for hardwoods. However, in miniature work, many craftsmen prefer a steeper 1:4 or 1:5 ratio.
Why? Because visually, a steeper angle makes the “tail” shape pop on a small surface. If the angle is too shallow, the joint can look like a simple finger joint from a distance. However, be careful—too steep an angle creates “short grain” at the tips of the tails, which can break off under the slightest pressure. Finding that ‘sweet spot’ is the first step toward aesthetic mastery.
Before you make your first mark, you need to audit your toolbox. Standard woodworking tools are often too bulky for delicate work. To master how to cut tiny dovetails, you need tools that offer high feedback and extreme sharpness.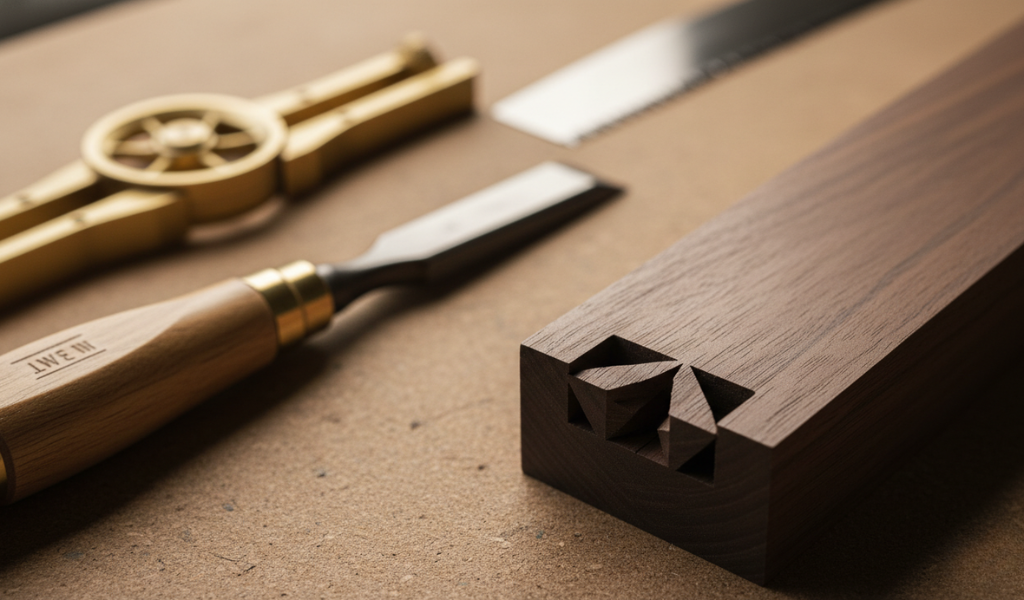
The wood you choose significantly impacts your success. For beginners learning how to cut tiny dovetails, a wood like basswood is excellent because it is soft and forgiving. However, it also crushes easily.
If you move into hardwoods like cherry or walnut, the wood is more stable but requires even sharper tools to prevent splintering. Regardless of the species, ensure your stock is perfectly square and milled to a consistent thickness. Even a fraction of a millimeter of “twist” will be magnified when you try to seat those tiny joints.
While some prefer “pins first,” cutting the tails first is often more intuitive for small-scale projects. It allows you to use the tail board as a physical template for the pins later on.
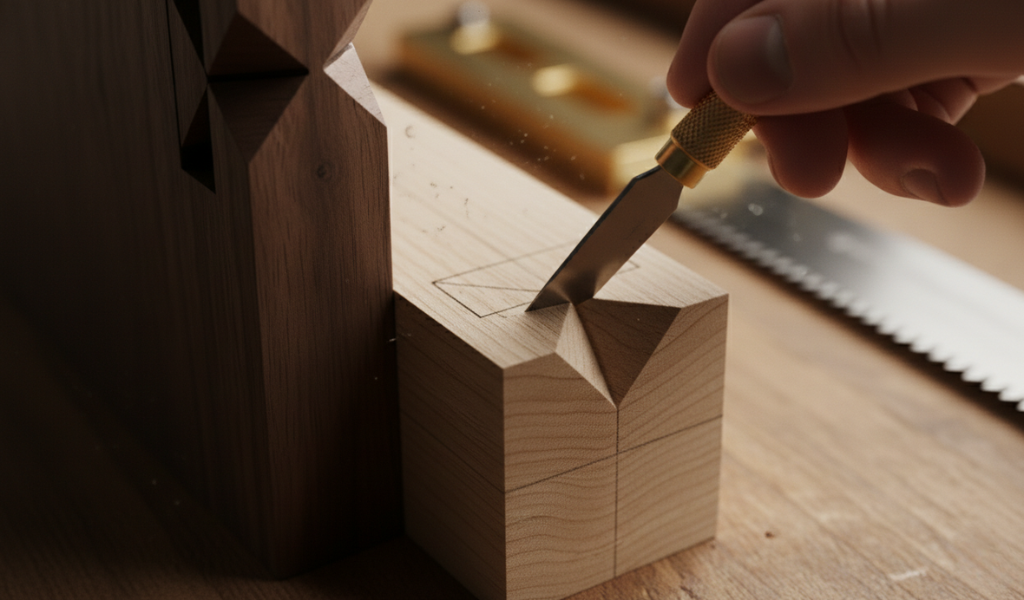
Set your marking gauge to the exact thickness of your mating board. Scribe a baseline on all four sides of your workpiece.
Pro Tip: Use several light passes rather than one heavy one. In soft woods like basswood, a heavy line can become “ragged” and ruin your reference point.
Use your dovetail marker and a sharp pencil (or a marking knife for even more precision) to layout your tails. Because these are tiny dovetails, space them closer together than you would on a full-sized drawer.
When sawing, avoid the instinct to take long, sweeping strokes. Use short “nibbles” to stay in control. 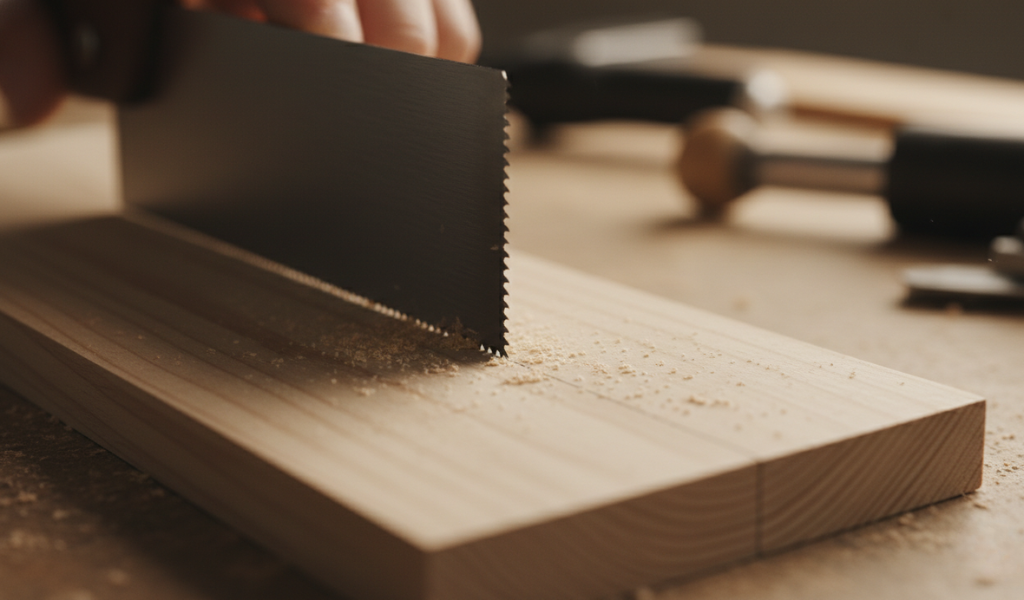 You want to stop exactly at the baseline. If you over-shoot, the structural integrity of the joint is compromised.
Use a coping saw to remove the bulk of the waste. Stay about 1/16″ away from your baseline. Then, use your sharpest chisel to pare back to the line. Work from both sides toward the center to avoid “blowout” on the back face of the wood.
This is the most critical phase of how to cut tiny dovetails. The pins must be a perfect mirror image of the tails you just cut.
When you move back to the saw, remember: Stay on the waste side of the line. If you saw through the line itself, the joint will be loose. For tiny dovetails, there is no room for error.
After sawing, use your coping saw again to remove the waste, then pare down to the baseline with your chisel. This is where your woodworking tools really show their worth—a dull chisel will crush the fibers here, leading to a messy fit.
You’ve done the hard work, but the assembly can still make or break the project.
One of the biggest pitfalls when learning how to cut tiny dovetails is ignoring grain runoff. If the grain of your wood runs at a slight diagonal through the thickness of the board, your pins will be incredibly weak.
When selecting wood for small boxes, look for “straight-grained” stock. If the grain lines run parallel to the edges of the board, your dovetails will be much stronger. In figured woods like bird’s eye maple or curly walnut, the grain is “wild,” which makes it beautiful but dangerous for tiny joinery. In these cases, you must ensure your woodworking tools are sharp enough to cut through the changing grain directions without lifting a chip.
Even the pros make mistakes. If you cut on the wrong side of the line and your tiny dovetails are loose, don’t throw the project away.
Learning how to cut tiny dovetails is a rewarding journey that forces you to slow down and appreciate the nuances of wood. By choosing the right woodworking tools, maintaining extreme sharpness, and practicing a “measure twice, cut once” philosophy, you can create joinery that lasts for generations.
The secret isn’t in having a steady hand—it’s in having a ‘methodical approach’. So, grab your marking gauge, sharpen your chisels, and start practicing your tiny dovetails today. Your future jewelry boxes and tea chests will thank you!!