Physical Address
304 North Cardinal St.
Dorchester Center, MA 02124
Physical Address
304 North Cardinal St.
Dorchester Center, MA 02124
If you have ever worked with sheet metal, you know that a nibbler is an absolute lifesaver. It breezes through metal without distorting the edges, making it a favorite for DIYers and professional contractors alike. However, even the best tools eventually lose their edge. When your cuts start looking ragged, your edges appear burred, or your motor sounds like it’s struggling, it’s a clear sign that you need to know how to replace the punch and die blade.
Think of your nibbler like a high-performance car; you wouldn’t drive on bald tires, and you shouldn’t cut with a dull punch. In this comprehensive guide, we will walk you through the entire process step-by-step so you can get back to clean, precise cutting in no time. We will cover everything from identifying wear to the technical nuances of the die holder.
How to Replace the Punch and Die Blade?
To replace the punch and die blade, unplug the nibbler tool first. Remove the die holder, loosen the set screw, take out the old punch, install the new punch, replace the die, tighten all parts securely, and test alignment before cutting metal.
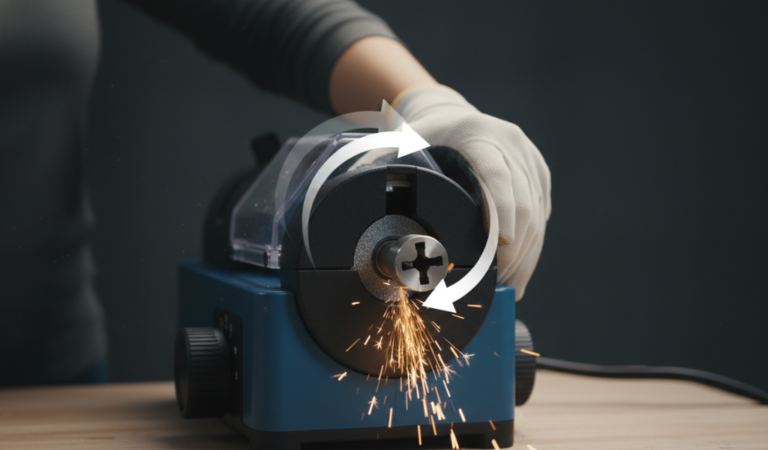
Before we jump into the technicality of how to replace the punch and die blade, let’s break down what these parts actually do. A nibbler operates differently than a pair of shears. While shears “slice” through metal, a nibbler “nibbles” it—removing small, crescent-shaped pieces of metal (often called slugs) as it moves.
When these three components work in perfect harmony, you get a cut that is ‘smooth and clean’. When one is off, the whole system fails.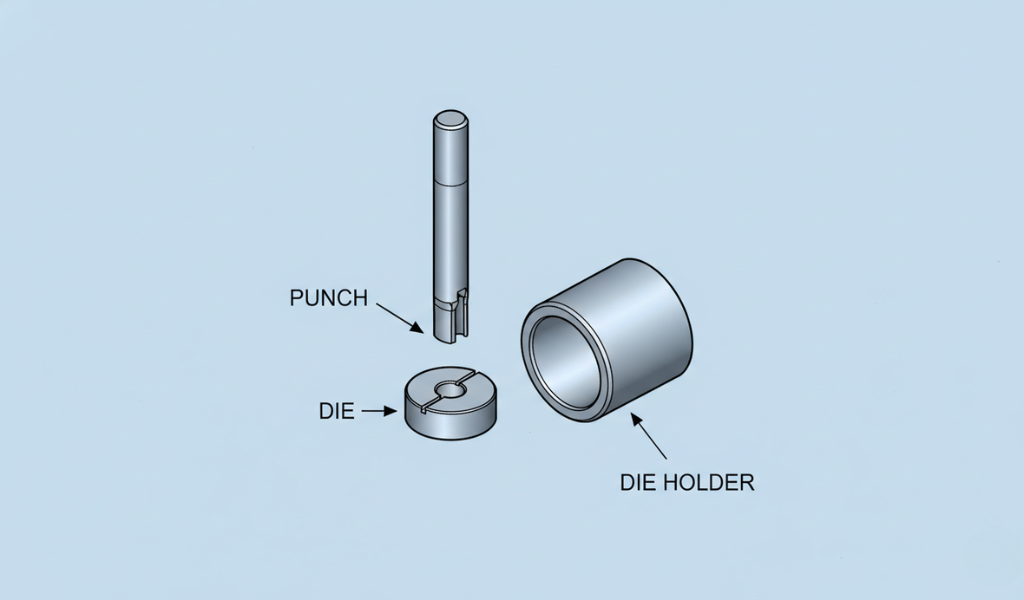
Why Maintenance Matters for Your Nibbler
According to industry veterans, replacing a punch and die blade on a nibbler tool isn’t rocket science, but it is the single most important maintenance task you can perform. When the cutting components become dull, the tool requires significantly more force to bite through the metal.
This “extra force” isn’t just a workout for your arms; it puts immense strain on the nibbler’s motor. The motor has to work twice as hard to maintain its RPMs against the resistance of a blunt blade. If you ignore a worn-out blade, you aren’t just getting bad cuts—you are risking a total motor burnout. Learning how to replace the punch and die blade properly ensures that your tool remains ‘efficient and safe’ for years to come.
Furthermore, a dull blade is a safety hazard. It is more likely to snag, kick back, or leave razor-sharp burrs on the metal that can easily slice through a pair of work gloves.
Identifying wear before it leads to tool failure is the hallmark of a pro. You don’t want to wait until the tool stops working entirely. Look for these red flags:
If your metal sheets look like they’ve been gnawed on by a rodent rather than cut by a precision tool, the punch is likely dull. A sharp punch and die blade should leave a crisp line that requires very little sanding or filing.
A healthy nibbler has a rhythmic, clicking sound. As parts wear down, you will notice a change in the “pitch” of the tool. If it starts to groan or produces a high-pitched grinding noise, the friction levels have reached a critical point.
If the body of the tool feels excessively hot to the touch after only a few minutes of use, the motor is overcompensating. This is often the final warning sign before a permanent electrical failure.
Take a close look at the punch. Over time, the constant impact against hard steel causes the tip of the punch to chip or wear down. If it looks visibly shorter than a new one, it won’t be able to reach far enough into the die to complete a full “nibble.”
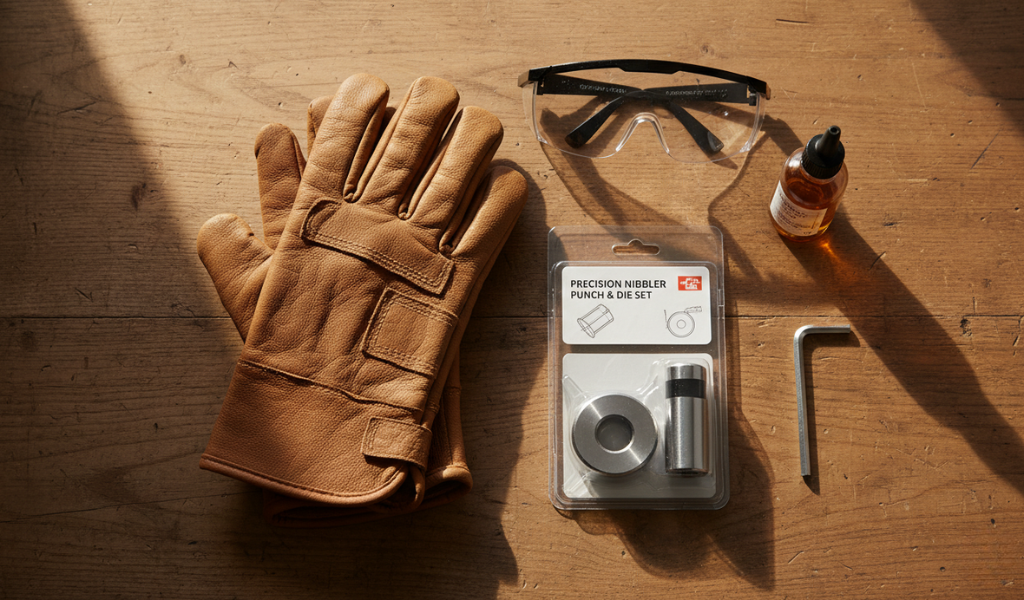
Most modern nibbler kits come with basic maintenance tools, but it’s helpful to have a dedicated setup in your shop:
Ready to get your hands dirty? This process generally takes about 10 to 15 minutes once you are familiar with the tool. Follow these steps to ensure a smooth transition.
This is the most critical step. Unplug the tool or remove the lithium-ion battery. Never, under any circumstances, perform maintenance on a tool that is connected to a power source. A simple accidental trigger squeeze could result in a serious injury.
Metal shavings (slugs) are notorious for getting into threads and causing “galling.” Use a magnet or a brush to clear the area around the nibbler head so that no debris falls into the internal motor housing during the swap.
Using your wrench, loosen the large locking nut located at the base of the nibbler head. This nut is what keeps the die assembly secured to the main body. Once the nut is loose, you should be able to slide the entire die assembly straight off. This will reveal the punch rod and the internal drive pin.
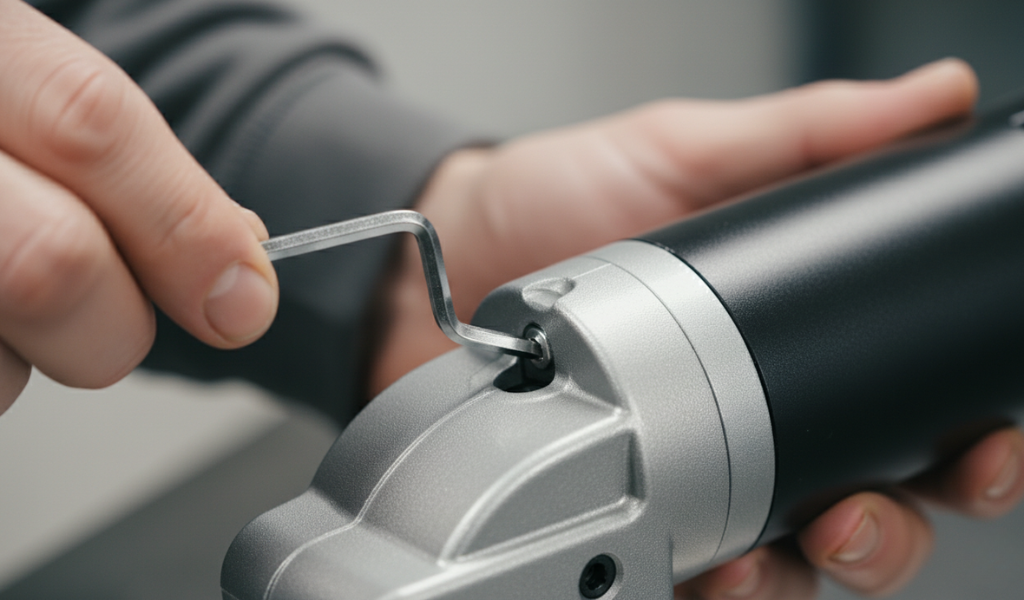
The punch is typically held in place by a small set screw (grub screw) inside the tool’s reciprocating head. Insert your Allen wrench into this screw.
Pro Tip: As you unscrew it, count the number of full rotations. Different materials require the punch to be seated at different depths. By counting the turns, you can re-install the new punch to the exact same factory-calibrated depth.
Pull the old punch out. If it’s been in there a long time, it might be stuck with dried oil or metal dust. You can use a pair of pliers to gently wiggle it free. Take this moment to look inside the head and wipe away any old grease.
Take your brand-new punch and die blade. You’ll notice a small recessed “flat” or a hole on one side of the punch. This must align perfectly with the set screw you just loosened. Slide the punch in, align the hole, and tighten the screw back to the original number of turns.
A punch is only half of the equation. The die is the “female” part of the cutting mechanism that the punch pushes against. If you are learning how to replace the punch and die blade on a nibbler tool, you must also master the die holder.
The die holder is a rugged component designed to take repetitive vibrations. However, it is not invincible. If you have been cutting thicker metal than recommended, the holder can actually bend or “splay,” which ruins your alignment.
You should consider replacing the holder if:
Learning how to replace the die and the die holder is vital because a new punch in a damaged holder will break almost immediately.
When you are figuring out how to replace the punch and die blade, you are essentially performing a precision engineering task. The clearance between a punch and a die is often measured in microns.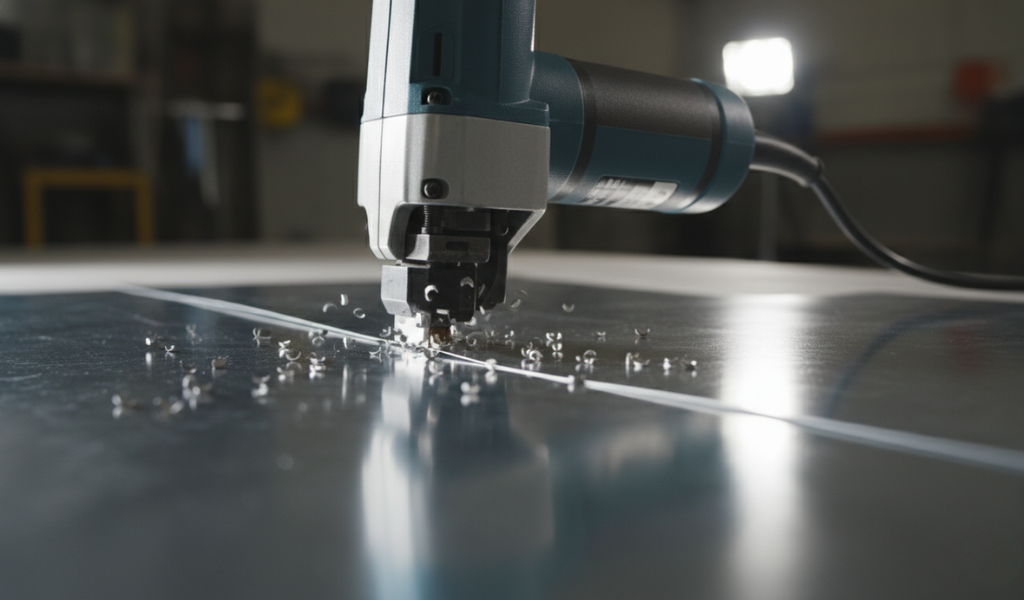
If the punch hits the edge of the die rather than passing through the center, several things happen:
Always rotate the tool by hand (if possible) or pulse the trigger at the lowest possible speed after a replacement to ensure the punch is ‘centered and free’ of obstructions.
Even seasoned pros make mistakes. Here are the most common pitfalls to avoid when learning how to replace the punch and die blade:
This cannot be overstated. Apply a drop of oil to the cutting line every 6 to 10 inches of cutting. This creates a thermal barrier that prevents the metal from welding itself to the punch.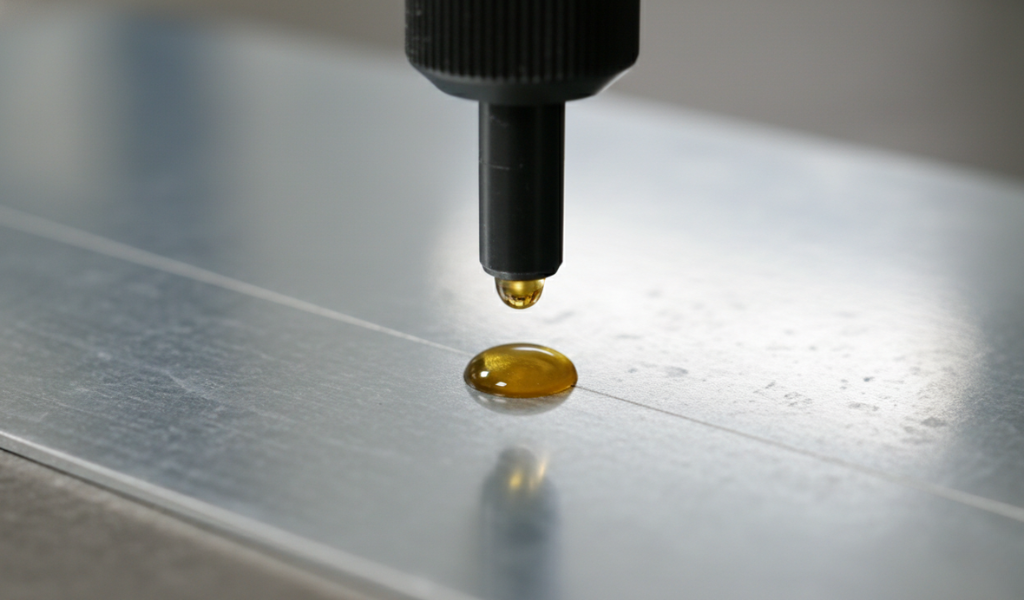
Every nibbler has a “maximum capacity.” If your tool is rated for 16-gauge mild steel, do not try to cut 14-gauge. This is the fastest way to ruin a punch and die blade.
As you cut, little “crescents” fall out. If you are cutting in a tight space, these can back up into the die holder. Periodically stop and shake the tool to ensure the exit path is clear.
High-carbon steel is prone to oxidation. If your tool sits in a damp garage, the punch will develop micro-pitting. Store it in a ‘moisture-free’ case with a desiccant pack.
Mastering how to replace the punch and die blade is a rite of passage for anyone serious about metalworking. It is a simple task that pays huge dividends in the quality of your work and the life of your power tools.
By following the steps outlined—from safety checks to the nuances of how to replace the die and the die holder—you ensure that your nibbler remains a precision instrument rather than a blunt object. Remember, a sharp tool is a safe tool.
If your cuts are starting to look a little “hairy” today, don’t push through it. Take ten minutes, follow this guide, and swap out that blade. Your motor (and your hands) will thank you!
There is no set number of hours. It depends entirely on the material. Cutting stainless steel will dull a blade 5 times faster than aluminum. The best rule of thumb: replace it the moment you feel the tool “resisting” your forward motion.
It’s generally not recommended. A punch is engineered to a specific length to clear the die. If you grind the tip down to sharpen it, it may become too short to fully eject the metal slugs, leading to frequent jams.
This is a sign of extreme friction. It usually means your punch and die blade are completely blunt or you aren’t using enough lubrication. Stop immediately to avoid fire risks or tool damage.
While you can replace just one, it is better to replace them as a set. Like a chain and sprocket on a bike, they wear into each other. A new punch in an old die will have too much “play,” leading to burred edges.
Usually, no. While some generic brands exist, the mounting holes and diameters are often specific to the manufacturer (e.g., Makita, Bosch, Milwaukee). Always check your model number before ordering.
Turn off the power immediately. Do not try to pry the tool. Loosen the die holder nut and slide the tool body away from the holder. This should release the tension and allow you to remove the punch from the metal sheet manually.