Physical Address
304 North Cardinal St.
Dorchester Center, MA 02124
Physical Address
304 North Cardinal St.
Dorchester Center, MA 02124
Woodworking is a craft that turns raw lumber into beautiful, functional pieces of art. However, one of the most common challenges builders face is realizing their board isn’t quite long enough for the design. When that happens, you need to know how to join two pieces of wood end to end without sacrificing the structural integrity of your project.
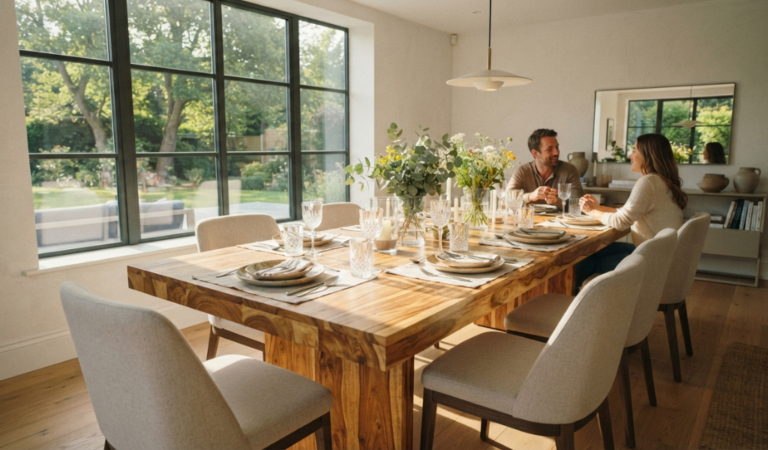
Learning how to join wood is more than just slathering on some adhesive; it’s about understanding grain direction, surface area, and the right mechanical fasteners. Whether you are extending a decorative trim or building a massive dining table, this guide will walk you through every professional technique to create a seamless, sturdy bond. Whether you are extending decorative trim or building a dining table, this article covers beginner to advanced methods for strong end-to-end wood joints.
How to Join Two Pieces of Wood End to End?
You can join two pieces of wood end to end using dowels, biscuit joints, pocket screws, splines, scarf joints, or half-lap joints. The best method depends on whether you need strength, appearance, or speed.
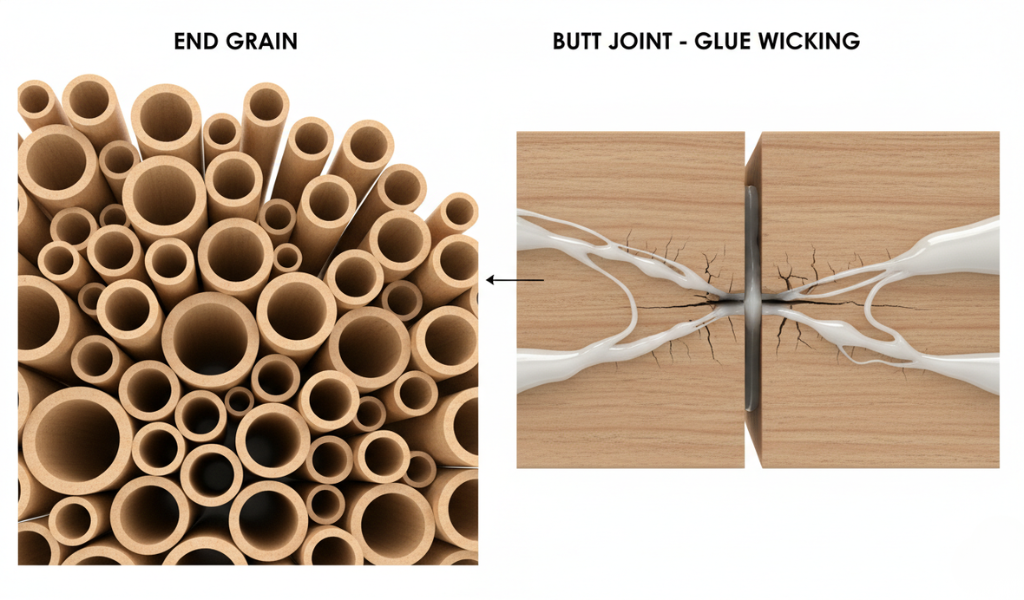
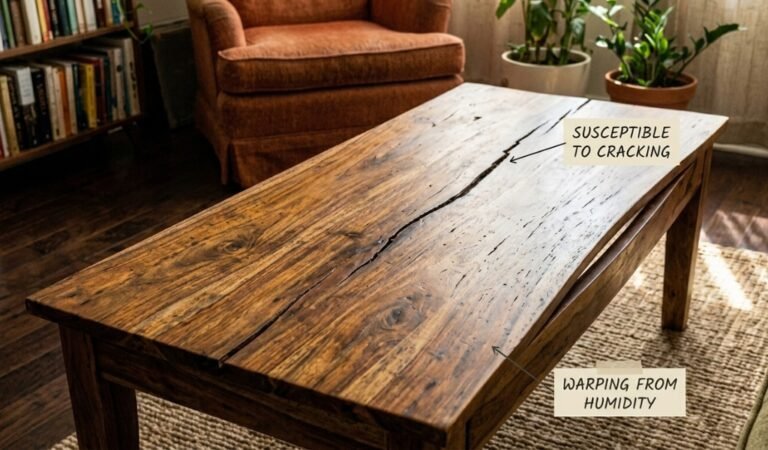
Before we answer the question, ‘What methods can join two pieces of wood end-to-end?’, we have to look at the biology of the material. Wood is essentially a bundle of microscopic straws (cellulose fibers) held together by a natural glue called lignin. The “end grain” is the open end of those straws.
If you simply put two ends together with a thin layer of glue—known as a butt joint—the wood will soak up the glue like a sponge. This leaves the actual seam dry and brittle. When the wood naturally expands and contracts with the weather, that dry joint will simply snap. To create a real bond, we have to increase the surface area where the fibers touch or use mechanical help to bridge the gap.
When you find yourself asking ‘What methods can join two pieces of wood end-to-end?’, you really have three categories to choose from: mechanical, reinforced, and structural.
Each of these has its place. For a hidden framing stud, a screw is fine. For a fine jewelry box, a finger joint offers a cleaner and more decorative look.
Sometimes you don’t have the time to wait for glue to dry, or the joint will be hidden inside a wall. In these cases, mechanical fasteners are your best friend.
If you want speed and strength, pocket-hole screws are a fantastic choice. This involves drilling a hole at a very steep angle into the face of one board so that a screw can pass through its end and bite deep into the second board.
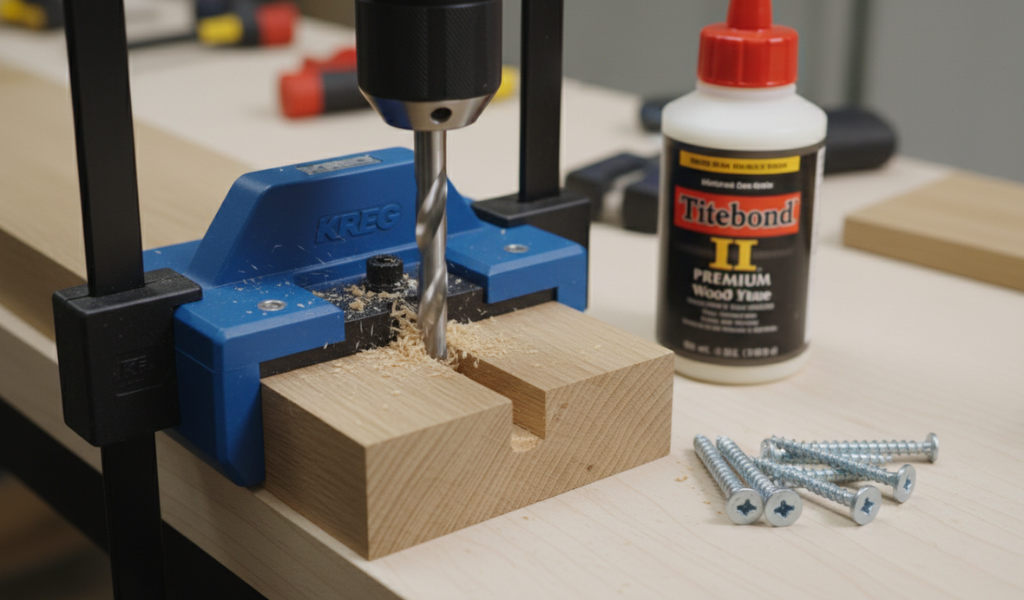
For a more traditional look, you can drive a screw straight through the face of one board into the end of another. To hide the “ugly” metal head, use a “countersink bit” to drill a shallow, wider hole first. Once the screw is in, you can glue a small wooden plug over the hole. A quick flush-cut with a ‘chisel’ will make the screw virtually disappear.
If you prefer an invisible joint, reinforcements are the way to go. This is the sweet spot of modern woodworking.
Many hobbyists ask, “how to join wood so you can’t see the connection?” The answer is often a ‘biscuit jointer’. A biscuit joint uses a small, oval-shaped piece of compressed wood (the biscuit) that sits inside matching slots.

Dowels are wooden pegs that act as an internal bridge. This is one of the strongest ways to join wood because it provides plenty of long-grain-to-long-grain gluing surface inside the holes.
A spline is a thin strip of wood that fits into a groove (kerf) cut into both mating pieces. You can make a spline joint by using a table saw or a ‘router’ to cut a slot along the end of both boards. You then glue a third piece of wood into both slots. This is excellent for preventing the boards from twisting over time.
When a project requires maximum durability—like a heavy-duty workbench or a staircase handrail—you need to move beyond simple holes and biscuits.
In a half-lap, you remove half the thickness of each board at the end. When overlapped, the two pieces form a joint that is the same thickness as the original boards.
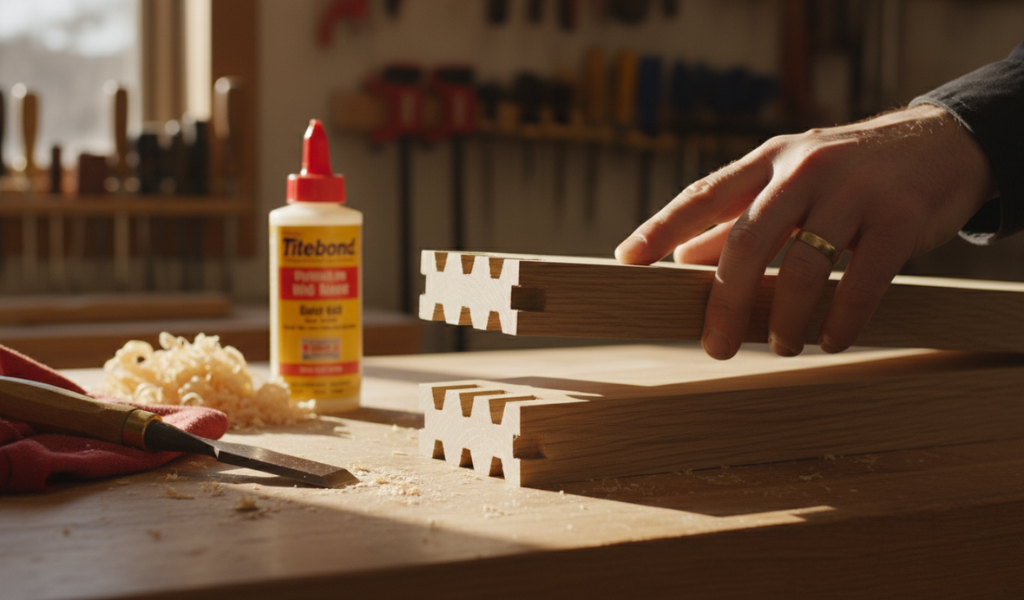
These look like interlocking fingers. While traditionally used for corners, they can be used end-to-end to create incredibly long, straight boards. This is how 20-foot pieces of molding are made in factories. By creating multiple “fingers,” you multiply the gluing surface by five or six times.
A scarf joint is when you cut the ends of the wood at a very long, shallow angle (often a 1:8 ratio). Instead of a 90-degree butt joint, you might have an 8-inch long diagonal cut.
To master the art of joinery, you need to move beyond the basic hammer and saw. Precision is the difference between a “DIY project” and a “heirloom.”
A ‘router’ is perhaps the most versatile tool in your shop for how to join wood. By using different bits, you can:
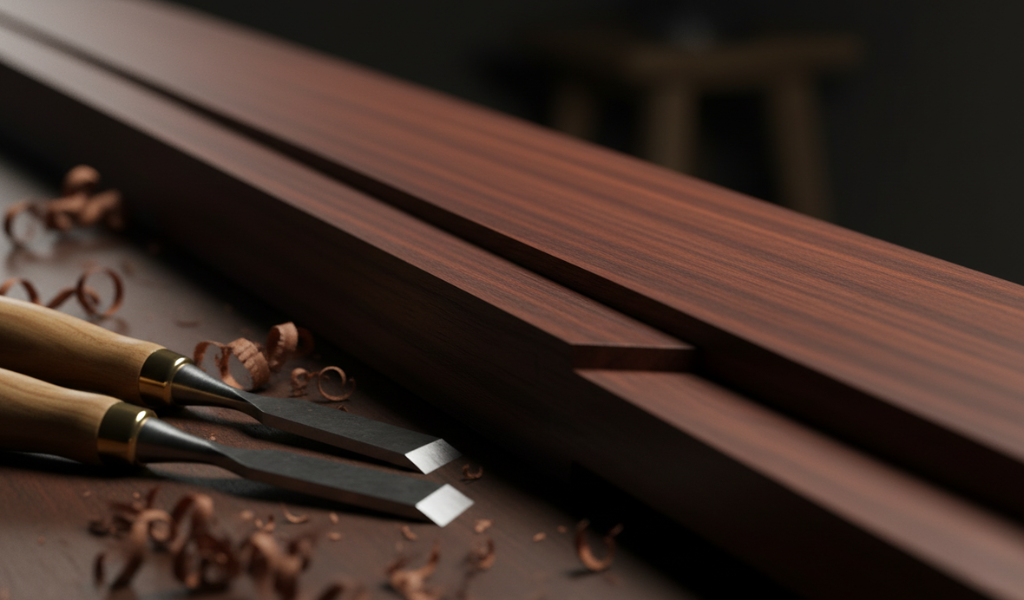
Even if you use the most expensive power tools, a sharp ‘chisel’ is your best friend. After a saw makes a cut, there are often small burrs or uneven spots. A chisel allows you to “pare” away tiny shavings of wood until the joint fits like a glove. If you can’t push the joint together with light hand pressure, don’t force it—use your chisel to fine-tune the fit.
While extending a board is common, you’ll eventually need to turn a corner.
Learning how to join two pieces of wood end to end helps you create longer, stronger, and cleaner woodworking projects. By understanding that end-grain is a weak surface, you can now use tools like the biscuit jointer, router, and chisel to create connections that are actually stronger than the wood itself.
Whether you choose a simple pocket screw for a quick shop project or an intricate finger joint for a piece of fine furniture, the principles remain the same: maximize your gluing surface, ensure your cuts are square, and always use high-quality ‘wood glue’.
The next time you find yourself with a board that’s six inches too short, don’t head back to the lumber yard. Instead, reach for your ‘hand tools’, select the best joinery method for the job, and create a strong and neat joint. Practice improves joint accuracy, fit, and finishing quality over time.
Generally, no. Because end-grain is so porous, it doesn’t create a strong chemical bond. You should always reinforce an end-to-end joint with dowels, biscuits, splines, or mechanical fasteners like screws.
A scarf joint is typically stronger because it provides a much larger surface area of long-grain-to-long-grain contact. However, a biscuit joint is much faster to execute and is plenty strong for most decorative or non-structural applications.
Glue acts like a lubricant before it sets. To prevent clamp creep, you can use a biscuit jointer to lock the boards in alignment, or drive a couple of tiny brad nails into the joint and snip the heads off, leaving small pins that help hold the wood in place.
Yes, but be careful. Different wood species expand and contract at different rates. If you join a very oily wood like teak to a very dry wood like pine, the joint may fail over time. Always use a high-quality, flexible wood glue and ensure both pieces are at the same moisture level.
What’s the Best Way to Hide a Seam in a Long Handrail?
A long, beveled scarf joint is the professional choice. By cutting the joint at a shallow angle, the seam becomes a long diagonal line that blends into the natural grain of the wood, making it much harder for the eye to spot.
How Long Should I Let the Joint Dry Before Sanding?
Most wood glue reaches full strength in 24 hours. While you can often remove the clamps after 30 to 60 minutes, you should wait at least half a day before you start vibrating the joint with a power sander. This helps prevent the joint from springing open.