Physical Address
304 North Cardinal St.
Dorchester Center, MA 02124
Physical Address
304 North Cardinal St.
Dorchester Center, MA 02124

 Drilling accurately through the center of a wooden dowel is an important skill in woodworking and furniture projects. Even a small alignment mistake can cause weak joints, uneven assembly, or inaccurate drilling results during a project.
Learning how to find the center of a dowel correctly helps improve drilling precision, joint alignment, and overall woodworking accuracy. Whether you are working with wooden rods, furniture dowels, or round stock, several simple methods can help you mark the center point quickly and accurately.
How to Find the Center of a Dowel
A dowel center can be found by drawing intersecting lines across the circular end using a center finder tool, combination square, compass, or simple geometry method. The point where the lines intersect marks the exact center of the dowel for accurate drilling and woodworking alignment.
Before looking at the step-by-step methods, it helps to understand why working with a round dowel is so notoriously difficult compared to square lumber.
With flat boards, you have straight edges to reference. You can hook your tape measure onto an edge, read a number, divide it by two, and mark it. A cylinder has no corners, no straight edges on its face, and nothing for a standard tape measure to hook onto securely.
If your layout lines are off by even a fraction of a millimeter:
Taking an extra minute to establish a perfect layout saves you hours of repair work later on.
If you do a lot of turning on a lathe or frequently use round stock, spending a few dollars on a plastic or metal center finder is a great investment. This simple tool looks like a V-shaped notch with a straight rule extending precisely out of the middle of the “V.”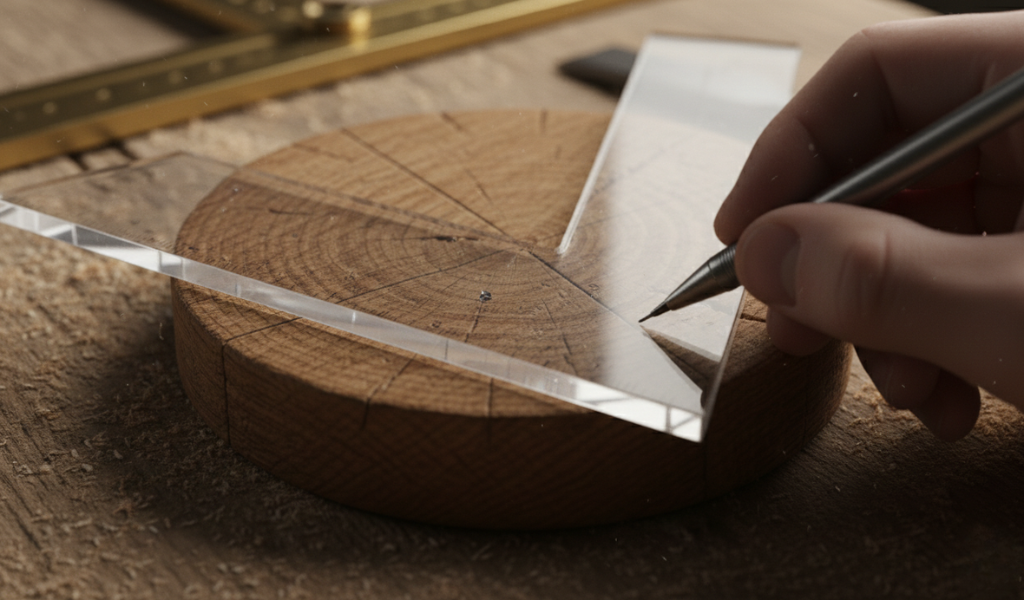
A commercial center finder uses a V-shaped edge to align with the circular surface of the dowel. When the tool is positioned correctly, the straight guide edge automatically passes through the center point of the dowel, allowing accurate layout marking before drilling.
Helpful Tip : For total accuracy, rotate the tool a third time and draw a third line. If all three lines intersect at the exact same point, your mark is perfect. If they form a tiny triangle instead, the center of that small triangle is your true midpoint.
Imagine you are building a custom coat rack or a large shelving unit, and you have thirty individual wooden pins to mark. Using a center finder thirty individual times will slow your momentum down to a crawl. This is where a custom shop-made guide saves the day.
You can easily build a highly accurate alignment guide out of a small piece of scrap plywood.
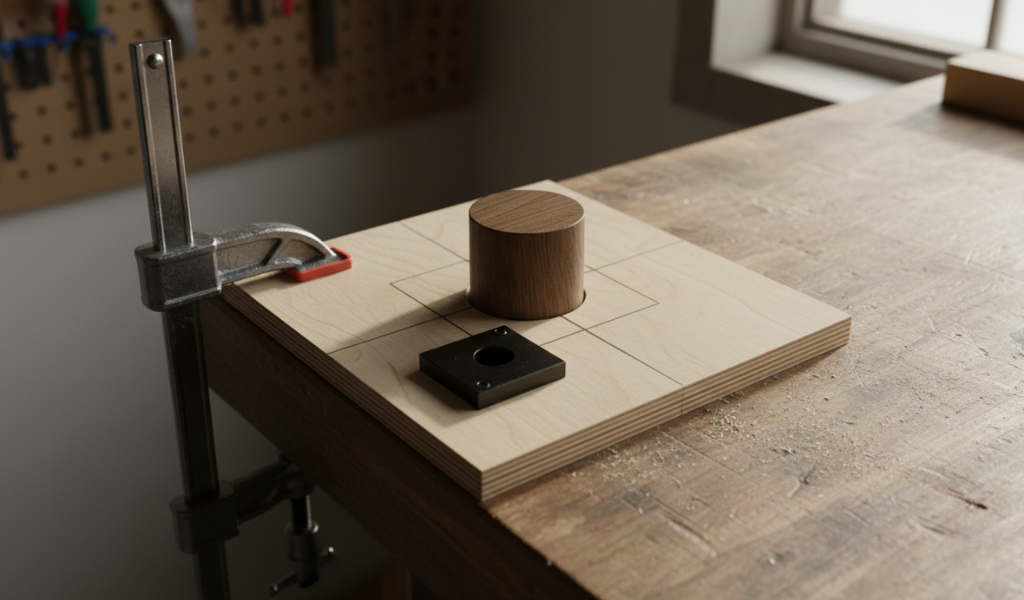
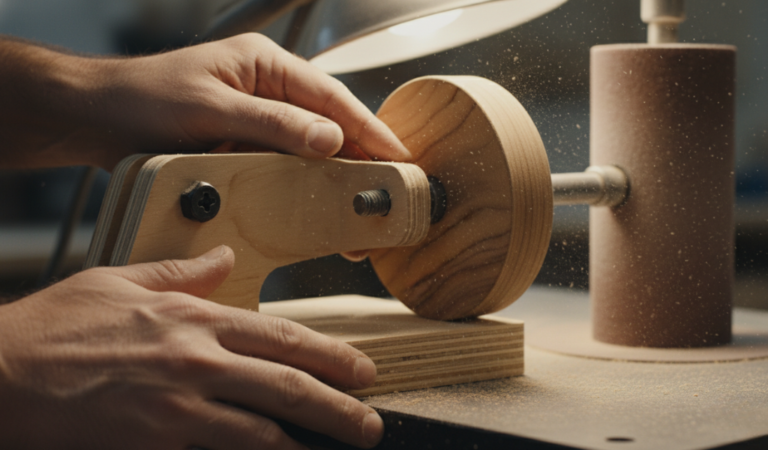
To use your homemade marking guide, clamp the block down over the edge of your workbench. Slide the end of your wood pin into the drilled hole from underneath until the end grain sits flush with the top surface of the plywood block.
Take a pocket square or a small ruler and align it with the pencil lines you drew on the plywood surface. Extend those lines across the exposed end of your workpiece in both directions. Where those lines cross on the end of the stock is your center.
By using the stable surface of the surrounding plywood, you eliminate the risk of your ruler slipping off the curved edge of the circular stock.
If you already own a standard combination square set, check to see if it came with a center head attachment. This looks like a wide, angled cast-iron wing that slides onto your steel ruler.
This method is highly favored by machinists and traditional woodworkers because the heavy metal components don’t flex, ensuring consistent accuracy on everything from small pins to large logs.
What happens if you are out on a job site, away from your workshop, and you do not have a center finder, a drill press, or a combination square? As long as you have a regular flat ruler and a pencil, you can use basic geometry principles to find your mark.
This method relies on a geometric rule: a line perpendicular to the midpoint of any chord in a circle will always pass directly through the circle’s center point.
While it sounds a bit technical on paper, it takes less than thirty seconds to do in practice. It is an incredibly handy trick to keep in your back pocket when working on the fly.
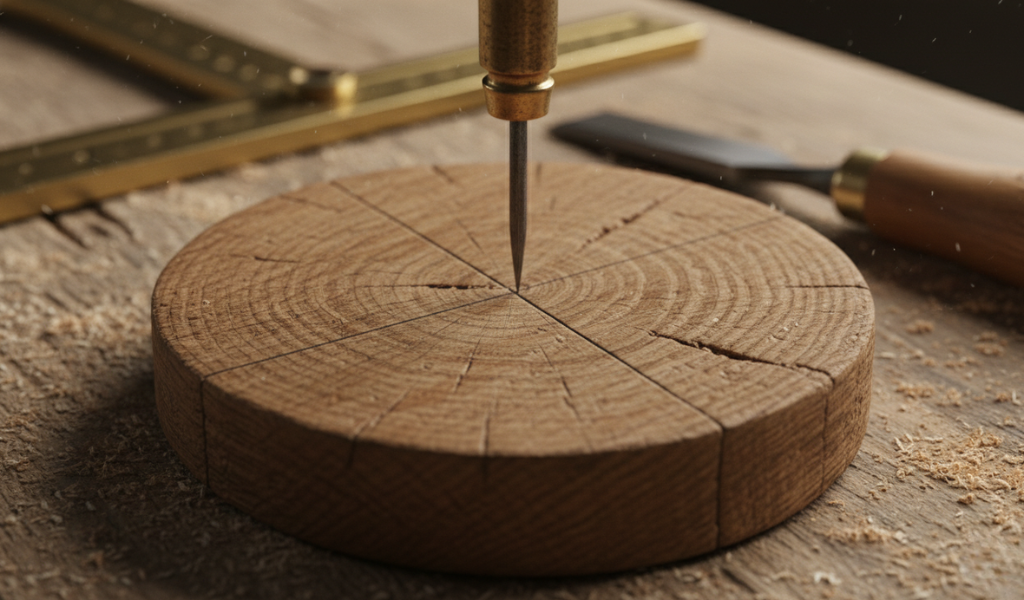
Long before modern plastic tools existed, master craftsmen used metal dividers and compasses to map out their joinery. This approach works beautifully for Finding Dowel Centers because it relies on relative dimensions rather than reading small numbers on a tape measure.
Step-by-Step Instructions:
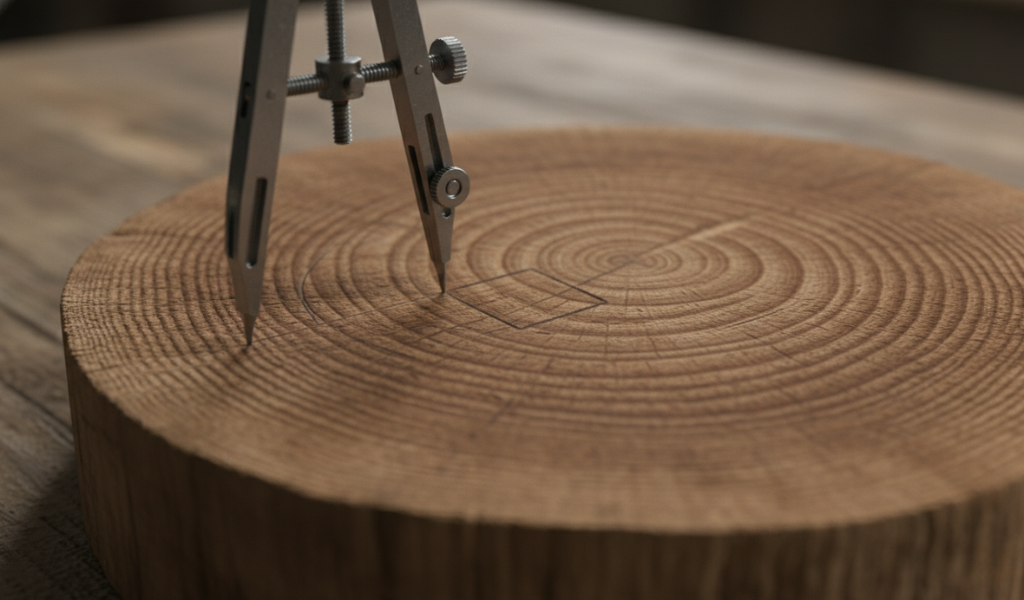
If your compass was set to the exact radius, all four arcs will cross at a single point. If your setting was slightly off, you will see a tiny, neat square appear in the center of the wood. You can easily mark the dead center of that tiny square with great accuracy.
Once you have learned how to find the center of a dowel, you still have to drill the hole without messing up your layout lines. End grain is naturally tough, dense, and slippery. Here are a few workshop-tested tips to ensure your drill bit stays on target: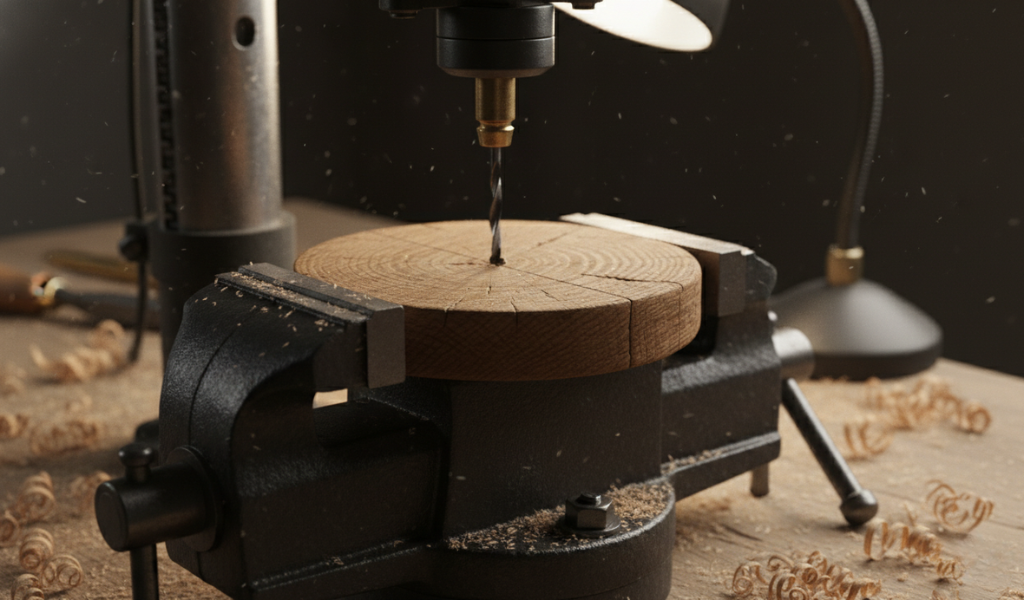
Never start drilling directly onto a flat pencil mark. The spinning tip of a drill bit will dance across the slick wood fibers before it bites in. Take a sharp scratch awl or a sturdy nail and press a deep, physical dimple directly into your pencil intersection. This gives the center point of your drill bit a distinct pocket to sit in, preventing it from wandering off track when you start the motor.
Standard twist drill bits (the ones found in basic household tool kits) are terrible for end-grain drilling because they have a blunt tip. Instead, use a brad-point bit or a Forstner bit. Brad-point bits feature a tiny, razor-sharp center spur that locks into your awl dimple, while the outer spurs slice cleanly through the wood fibers for a smooth, blowout-free hole.
| Drill Bit Type | Best For | Pros | Cons |
| Standard Twist Bit | Metal / General DIY | Cheap, common | Tends to wander on wood |
| Brad-Point Bit | Precise Woodworking | Sharp center point, clean walls | Harder to sharpen |
| Forstner Bit | Large Holes / Jigs | Flat bottoms, clean edges | Expensive, best with drill press |
Do not try to hold a round piece of wood with your bare hand while drilling into it with a power tool. If the bit catches a tough knot or grain line, it can violently spin the wood in your grip, causing injury or ruining your layout. Always clamp your workpiece securely in a bench vise, or build a simple V-block jig out of scrap lumber to cradle the round shaft flat against your workbench.
While learning how to find the center of a dowel is what most projects require, there are times when you intentionally want to find an eccentric, off-center point.
A classic example of this is making a homemade cam lever or an eccentric wheel mechanism for a wooden toy. In these mechanical designs, the hole needs to be positioned a specific distance away from the true middle to create a lifting or locking motion when the shaft rotates.
By using the true center as your initial starting reference point, you ensure that your offset measurements stay perfectly square and intentional, rather than accidental.
Finding the exact midpoint of a round piece of lumber does not have to be a frustrating guessing game. By choosing the right method for your specific project, you can achieve professional-grade results every single time.
The secret to great woodworking is not about having a pristine workspace filled with expensive machinery; it is about knowing how to use smart techniques to work accurately and efficiently. Stop guessing at your layouts, treat yourself to clean lines, and watch the fit and finish of your handiwork instantly improve.
Now it is your turn to head out to the shop! Grab a few scrap pieces of round stock, try out these different layout techniques, and find the one that fits your personal workflow best.
If you found this guide helpful, leave a comment below sharing your favorite workshop layout trick, or share this article with a fellow woodworker who wants to stop fighting with their round material. Happy building!
The easiest method without specialized tools is the two-line geometry trick. Simply draw any straight chord line across the circular end, find its exact midpoint, and draw a line perfectly perpendicular to it. Repeat this step on a different section of the circle. The point where those two perpendicular lines cross is your center.
It is very difficult to do accurately because a tape measure flexes and does not have a flat, straight edge to square against a circle. It is much better to use a solid metal or plastic rule, a combination square, or a pair of dividers to get an accurate reading on a curved surface.
Drill bits often drift because the end grain of the wood is tough and pushes the spinning tip away. To prevent this, always use a sharp scratch awl to punch a deep physical indentation into your center point mark before drilling. Additionally, using a specialized brad-point bit will keep the drill centered.
Take a small square block of plywood and draw a set of intersecting crosshair lines directly across its face. Use a drill press to bore a hole through the crosshair that matches the exact width of your round stock. You can then insert your round pins into the hole and use the lines on the plywood face to quickly mark your layout lines on the end of the stock.
Yes. For small pins (under 1/2-inch thick), a compass or a custom plywood guide works best because the surface area is too small for large square tools. For large posts or thick logs, a commercial center finder or a machinist’s center square is the safest and most accurate option.