Physical Address
304 North Cardinal St.
Dorchester Center, MA 02124
Physical Address
304 North Cardinal St.
Dorchester Center, MA 02124
If you live in a home built before the 1950s, you likely appreciate the solid feel and sound-dampening qualities of plaster walls. However, the moment you decide to hang a heavy gallery wall, a bookshelf, or a flat-screen TV, that appreciation might turn into frustration.
The traditional electronic tools that work so well on modern drywall often fail miserably here. Why? Because plaster is thick, dense, and sits on top of a “forest” of horizontal wooden strips. Knowing what is a stud finder and how to find a stud in this environment is more of an art than a simple button-press.
In this comprehensive guide, we will explore every expert-approved method to locate a stud in a plaster wall, ensuring your heavy decor stays exactly where you put it.
To find a stud in a plaster wall, use a strong magnet to locate nails in the lath, confirm with a knock test, measure 16-inch intervals from outlets, and verify with a small pilot hole before drilling.
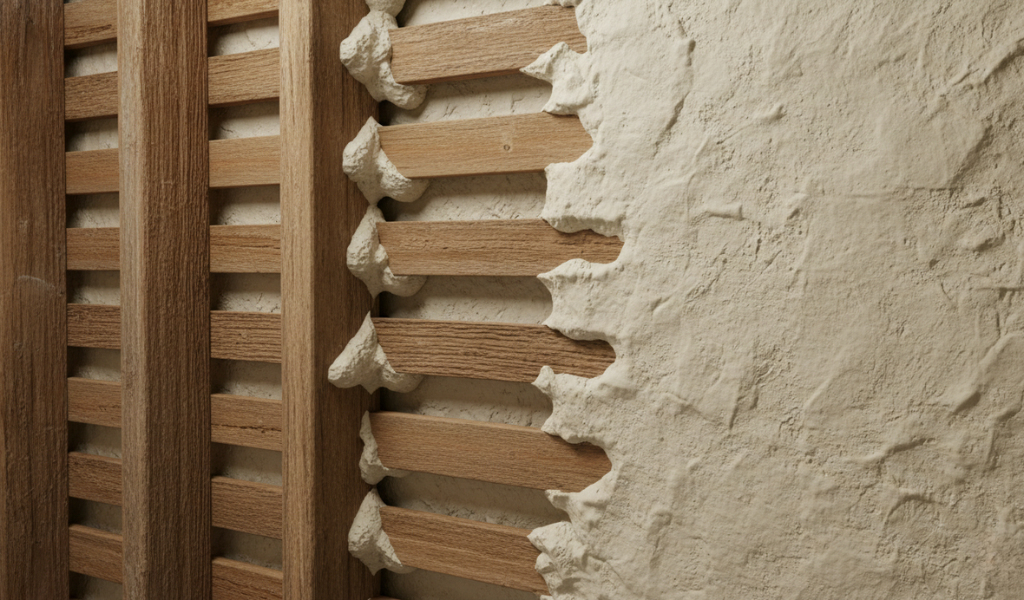
To find a stud, you first need to understand what you are fighting against. Unlike drywall, which is a single sheet of gypsum, plaster walls are a “multi-layer sandwich.”
Because the lath is made of wood and runs horizontally across the entire wall, a basic stud finder often detects the lath and screams “STUD!” everywhere you move it.
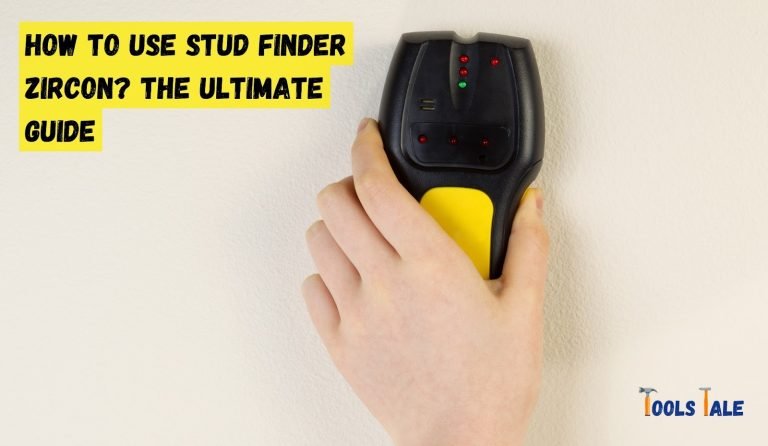
Most people head to the hardware store and buy a standard capacitive stud finder. These devices measure changes in density. In a drywall home, the only dense thing behind the wall is the stud.
In a plaster home, the density is inconsistent. The “keys” behind the wall create varying thicknesses, and the horizontal lath adds wood density everywhere. This leads to false positives. If you want to find a stud in a plaster wall, you need to ignore the lath and find the vertical timber behind it.
This is the most basic human-led method. It requires no batteries—only your ears and a little bit of practice.
The Expert Secret: Plaster is very heavy. Sometimes, if the plaster has pulled away from the lath over time, the “knock test” will sound hollow even over a stud. This is why we never rely on knocking alone.
Before you go hunting with tools, let the house “tell” you its secrets. Builders are creatures of habit, and vintage homes often follow strict patterns.
In older construction, baseboards were long and heavy. To keep them from warping, carpenters nailed them directly into the studs. Look for:
Similarly, check the very top of the wall. If you see nail marks in the crown molding, they almost certainly lead straight down to a stud.
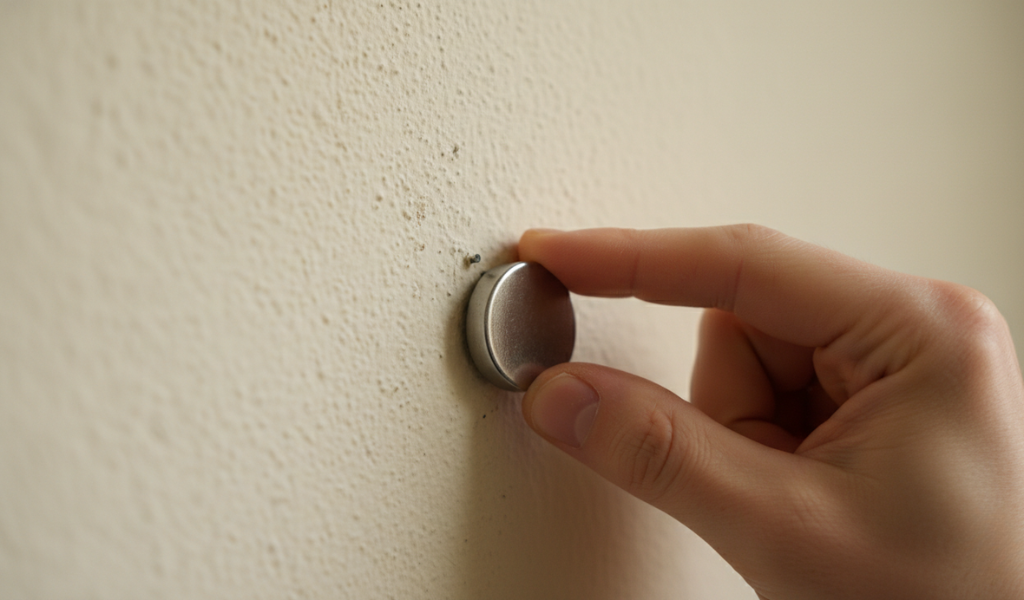
If you ask any professional restoration expert, they will tell you that a magnetic stud finder is the only reliable tool for plaster.
You aren’t looking for the wood; you are looking for the metal nails that hold the lath to the stud. Every place a horizontal lath strip crosses a vertical stud, there is a nail (or two). These nails are always driven into the center of the stud.
Plasterers were skilled, but no wall is perfectly flat. Over 80 years, gravity and house settling cause the plaster to “slump” slightly between the studs.

Electrical outlets and light switches are almost always mounted to the side of a stud.
In most North American homes, studs are spaced 16 inches apart (on center). In some very old or very small homes, they might be 24 inches apart.
Note: If your home has been remodeled, the spacing might be irregular. Always verify the measurement with a magnet.
Never, ever trust your first guess when it comes to plaster. Before you drive a huge lag bolt into your wall, you must verify.
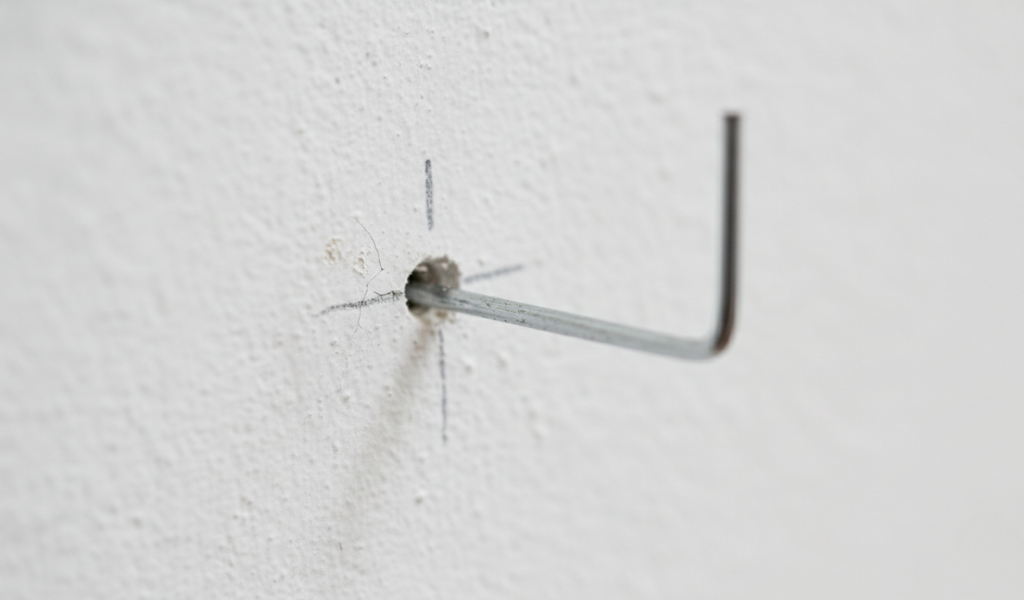
Use your smallest drill bit (1/16″). Drill a hole where you think the stud is.
If you miss, don’t keep drilling holes every inch.
Now that you have found your target, you need to penetrate the wall without cracking it.
To be successful, gather these items:
Mastering ”how to find a stud in a plaster wall” is about patience and multi-step verification. While modern drywall makes us lazy, plaster rewards those who act like detectives.
By combining the acoustic knock test, the magnetic search, and the pilot hole verification, you can mount even the heaviest items with total confidence. Your beautiful old home was built to last—and with these tips, your decor will stay put for decades too.
Ready to start? Grab your magnet, ”check the baseboards”, and remember: measure twice, drill once!
Use a strong magnet to locate nails in the lath, perform a knock test, and verify with a small pilot hole.
Can I use an “Active AC” stud finder on plaster?
Yes, these are actually helpful. They don’t find the stud, but they tell you where the “live wires” are. Use it in conjunction with a magnet to make sure you aren’t drilling into an old electrical line.
My wall has metal mesh behind it. What do I do?
This is “rock lath” or “metal lath.” A magnet will stick everywhere, making it useless. For these walls, the “knock test” and “electrical box” methods are your only reliable options.
Is old plaster dangerous to drill?
It can be. Homes built before 1978 may contain lead paint. Some very old plaster used asbestos as a binder. Always wear a N95 mask and use a damp cloth to catch dust as you drill.
Why does my stud feel “mushy”?
If your drill bit enters the wood but it feels soft or brings out damp, dark shavings, you might have wood rot or a hidden leak. Stop immediately and investigate.
I found the stud, but it’s too far from where I want to hang my item.
In this case, you can “bridge” the studs. Screw a piece of high-quality plywood or a “cleat” into two studs across the surface of the wall, then mount your item to that board.