304 North Cardinal St. Dorchester Center, MA 02124
To provide the best experiences, we use technologies like cookies to store and/or access device information. Consenting to these technologies will allow us to process data such as browsing behavior or unique IDs on this site. Not consenting or withdrawing consent, may adversely affect certain features and functions.
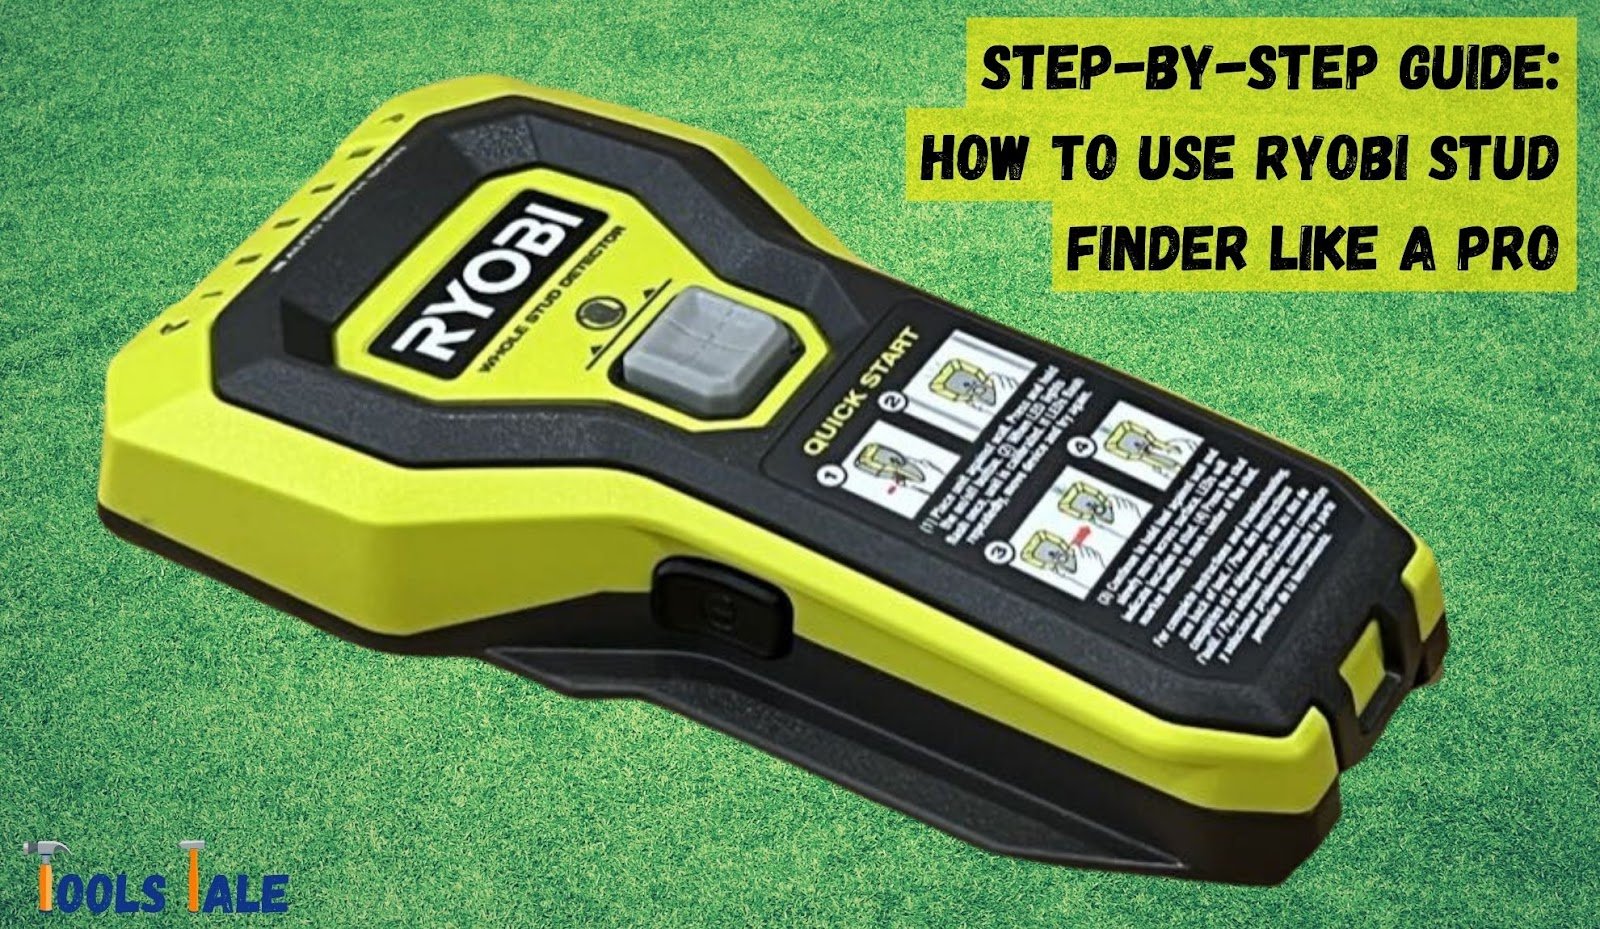
Step-by-Step Guide: How to Use Ryobi Stud Finder Like a Pro
Unlock the mystery of perfect DIY projects with the ultimate tool in hand – the Ryobi stud finder! Want to hang shelves, TVs, or artwork like a pro? “How to use Ryobi stud finder” is the secret you’ve been searching for! Say goodbye to guesswork and hello to precision as we guide you through the art of stud finding.
No more frustration, no more wall damage – just quick and accurate results at your fingertips. Whether you’re a seasoned DIY enthusiast or a first-timer, this guide will have you locating studs like a pro in no time. Get ready to transform your home improvement game and embark on a journey filled with stud-finding success!
Key Summary: How to Use Ryobi Stud Finder?
To use a Ryobi stud finder effectively, press and hold the device against the wall, then slowly slide it horizontally. It will beep or indicate when it detects a stud. Mark the spot for reference while ensuring accurate wall mounting.
Hand Tools Suggestion for Your Home
[amazon_auto_links id=”11426″]
Definition of a Ryobi Stud Finder?
View Expert Video from RYOBI TOOLS USA on How to Use Ryobi Stud Finder
A Ryobi stud finder is a handheld electronic device used to locate hidden studs behind walls. It operates based on electronic sensors that detect changes in wall density, enabling it to identify the position of studs, beams, and other framing elements within the wall.
This tool is essential for DIY enthusiasts, contractors, and homeowners who need to securely mount shelves, hang heavy objects, or perform any task that requires anchoring to studs.
The Ryobi stud finder is easy to use, typically featuring an LCD display or LED indicators to show stud locations. Its compact size and simple operation make it a valuable asset for various home improvement projects, providing accurate and efficient stud detection without the need for manual tapping or guesswork.
The Ryobi stud finder comes packed with features that simplify the process of finding studs and enhancing your home improvement endeavors. Let’s take a closer look at some of its standout features:
Digital Display: The Ryobi stud finder boasts a clear digital display that provides real-time readings as you scan the wall. The display indicates the presence of studs, enabling you to mark the spots accurately for future reference.
Edge Finding Technology: With edge finding capabilities, the Ryobi stud finder can determine the edges of studs, ensuring precise measurements for locating the center of the stud.
AC Live Wire Detection: A remarkable safety feature of the Ryobi stud finder is its ability to detect live electrical wires hidden within the wall. When the device encounters a live wire, it alerts you with a distinct signal, ensuring you avoid potential hazards during your DIY projects.
Metal Object Detection: Not only can the Ryobi stud finder locate wooden studs, but it also has the ability to detect metal objects, such as pipes and metal studs. This is particularly useful in areas with concealed plumbing or metal framing
Step-By-Step Instructions on How to Use Ryobi Stud Finder Effectively
Using a stud finder is a game-changer when it comes to DIY projects and home improvement tasks. Among the top-notch stud finders in the market, the Ryobi stud finder stands out as a reliable and user-friendly option.
In this comprehensive guide, we’ll take you through the step-by-step process of using the Ryobi stud finder effectively, ensuring you can confidently tackle your next project without hitting any unexpected obstacles.
Preparing the Ryobi Stud Finder
Before you begin scanning for studs, it’s crucial to prepare your Ryobi stud finder properly. Follow these simple steps:
Insert Batteries: Locate the battery compartment on your Ryobi stud finder and insert the required batteries. Make sure to use fresh batteries to ensure optimal performance.
Power On the Device: Once the batteries are in place, power on the Ryobi stud finder by pressing the designated button. You should see the device light up, indicating that it’s ready for use.
Calibrate the Stud Finder: Calibration is essential to ensure accurate readings. To calibrate the Ryobi stud finder, hold it against a wall with no studs or obstacles. Press and hold the calibration button until the device beeps or displays a calibration signal. This action will adjust the sensitivity for the best results.
Locating Studs on Drywall
Now that your Ryobi stud finder is prepared, it’s time to start finding studs in your drywall. Follow these steps:
Start at One End: Begin scanning for studs from one end of the wall, moving horizontally. Hold the stud finder flat against the wall and keep it level as you move.
Slow and Steady: Move the stud finder slowly and steadily across the wall. The device will indicate when it detects a stud with a visual or audible signal.
Mark the Edges: When the stud finder locates a stud, mark both edges using a pencil or tape. This will help you determine the center of the stud accurately.
Scan Multiple Times: For the most precise results, scan the same area multiple times to ensure consistency. Stud finders may vary slightly in their readings, so cross-referencing is essential.
Finding the Center of the Stud
Locating the center of the stud is crucial, especially when you want to hang heavy objects securely. Follow these steps:
Measure the Width: Measure the distance between the marked edges of the stud. Divide this measurement by two to find the center point.
Mark the Center: Use your pencil to mark the center point on the wall. This will serve as your reference when hanging shelves, mirrors, or other fixtures.
Identifying Other Objects with the Ryobi Stud Finder
Apart from finding studs, the Ryobi stud finder offers additional features to enhance your safety and convenience during home improvement projects.
Detecting Electrical Wires: Some Ryobi stud finders come with an additional feature to detect live electrical wires behind the wall. When you approach a live wire, the stud finder will provide a distinct warning signal. This helps you avoid accidents and potential hazards.
Locating Pipes and Metal Studs: Ryobi stud finders can also detect metal objects, including pipes and metal studs. If you’re hanging shelves in a bathroom or working in areas with concealed plumbing, this feature becomes particularly useful.
How to Use Ryobi Stud Finder: Expert Tips for Efficiency
Using a stud finder is a game-changer in the world of DIY projects and home improvement. When it comes to finding the perfect stud finder, Ryobi stands out as a reliable and user-friendly option.
In this comprehensive guide, we’ll take you through the step-by-step process of using the Ryobi stud finder effectively. To make your journey even more efficient and enjoyable, we’ve gathered some expert tips that will help you get the most out of your stud finder and ensure a seamless DIY experience.
Preparation for Success
Before you begin using your Ryobi stud finder, there are some essential steps to take for optimal results.
Fresh Batteries, Enhanced Performance: Always start with fresh batteries. It’s crucial to have a fully powered stud finder for accurate readings. New batteries will ensure that the device operates at its best, giving you precise stud locations without any disruptions.
Calibration Matters: Calibration is key to obtaining accurate results. Follow the manufacturer’s instructions to calibrate your Ryobi stud finder correctly. This process sets the sensitivity level, allowing the device to distinguish between studs and other wall materials effectively.
Mastering the Art of Scanning
Scanning for studs is a fundamental skill when using a stud finder. Here are some expert tips to refine your scanning technique:
Move Slow and Steady: Patience is vital when scanning a wall. Move the stud finder slowly and steadily across the surface. Rushing can lead to missed studs or inaccurate readings. Let the device process the wall’s composition and identify the studs at its own pace.
Cross-Check the Readings: To be certain of stud locations, cross-check your readings. Scan the same area multiple times to confirm consistency. Different stud finders may provide slightly varying readings, so cross-referencing will help you confidently locate the studs.
Locating Studs with Precision
Once you’ve mastered the scanning technique, it’s time to find the studs with precision. Here’s how to do it like a pro:
Marking the Edges: When your Ryobi stud finder signals the presence of a stud, it’s crucial to mark its edges accurately. Use a pencil or tape to make clear, visible marks. This step is essential as it helps you identify the center of the stud later on.
Determining the Center: Locating the center of the stud is crucial, especially when you want to hang heavy objects securely. Use a tape measure to find the distance between the marked edges and divide it by two. The result will be the center point of the stud.
Additional Features and Functions
The Ryobi stud finder comes equipped with advanced features that go beyond basic stud detection. Here are some additional functions you can explore:
AC Live Wire Detection: Safety should always be a priority during DIY projects. The Ryobi stud finder can detect live electrical wires hidden within the wall. When it encounters a live wire, it will provide a clear warning signal. This feature prevents potential accidents and ensures a safer working environment.
Metal Object Detection: Apart from wooden studs, the Ryobi stud finder can detect metal objects like pipes and metal studs. This function is particularly useful in areas with concealed plumbing or metal framing. It allows you to work confidently, knowing you won’t accidentally hit any metal components.
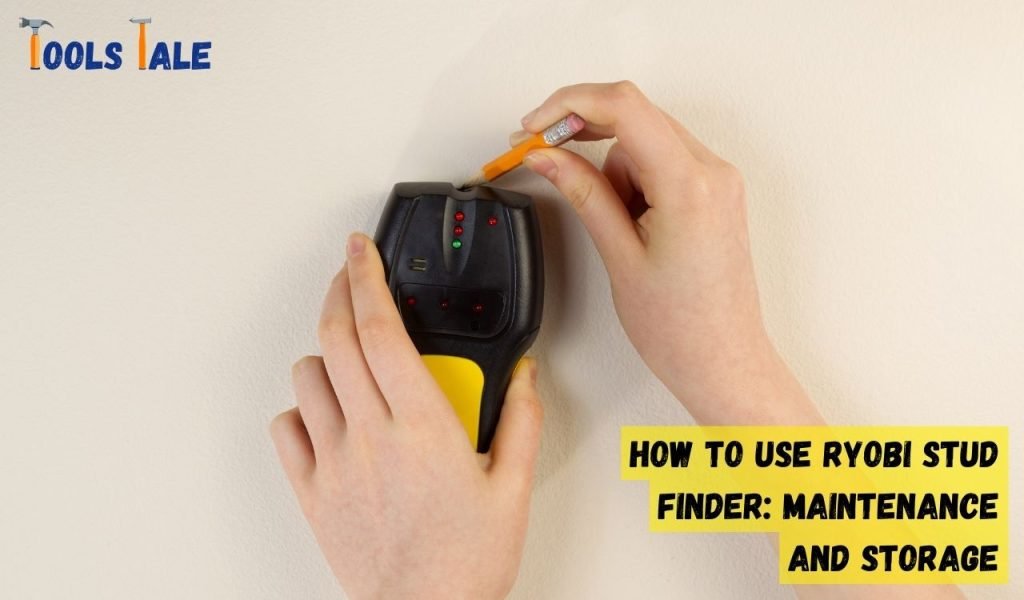
How to Use Ryobi Stud Finder: Maintenance and Storage
Mastering the art of using a stud finder like the Ryobi model is crucial for any DIY enthusiast or homeowner. However, to ensure its longevity and accurate performance, proper maintenance and storage are essential. In this article, we’ll delve into the best practices for maintaining your Ryobi stud finder and provide valuable tips for optimal stud finding results. Let’s get started!
Maintenance Tips for Longevity
Clean the Sensor Surface: Regularly clean the sensor surface of your Ryobi stud finder to remove any dust, debris, or residue that might interfere with its readings. Use a soft, lint-free cloth to wipe the surface gently. Avoid using harsh chemicals that may damage the device.
Inspect Battery Compartment: Periodically check the battery compartment for any signs of corrosion or damage. If you notice any issues, clean the contacts with a cotton swab dipped in a small amount of rubbing alcohol. This ensures proper battery connection and prevents power disruptions during use.
Handle with Care: Treat your Ryobi stud finder with care, avoiding rough handling or dropping it. While these devices are designed to be sturdy, accidental impacts can affect their accuracy and internal components.
Storing Your Ryobi Stud Finder
Remove Batteries for Long-Term Storage: If you won’t be using your stud finder for an extended period, consider removing the batteries to prevent leakage and potential damage. Store the device and batteries separately in a cool, dry place.
Keep it Dry and Dust-Free: Store your Ryobi stud finder in a clean, dry environment. Moisture and dust can adversely affect its performance over time. Consider using a small pouch or case to protect it from external elements.
How to Use Ryobi Stud Finder: Safety Precautions
While using a stud finder is generally a straightforward process, it’s essential to prioritize safety during any DIY project. The Ryobi stud finder comes equipped with some safety features to help you avoid hazards, but there are additional precautions you should take. In this section, we’ll discuss the safety measures you should follow when using your Ryobi stud finder.
Avoiding Electrical Hazards
Use AC Live Wire Detection: If your Ryobi stud finder has the AC live wire detection feature, always enable it before scanning for studs. This feature alerts you to the presence of live electrical wires behind the wall, helping you avoid accidental contact and potential electrical shocks.
Turn Off Power Sources: Before starting any DIY project that involves using the stud finder, turn off the power sources to the area you’ll be working in. This precaution ensures that you’re not working near live electrical circuits.
Mindful Stud Finding
Avoid Wall Damage: While scanning for studs, refrain from using excessive force or pressing too hard on the wall surface. This can cause unnecessary damage to the drywall. Allow the stud finder to glide smoothly across the wall.
Beware of Hidden Obstacles: Remember that the stud finder is designed to detect more than just wooden studs. Be cautious of potential metal objects or pipes hidden behind the wall. Avoid drilling or hammering in areas where these elements may be present.
Proper Tool Handling
Follow Manufacturer Guidelines: Always follow the manufacturer’s guidelines and instructions for using the Ryobi stud finder. Improper use or disregarding safety guidelines can lead to inaccurate readings or damage to the device.
Secure Hand Grips: Hold the Ryobi stud finder securely with both hands while scanning the wall. This provides better control and stability, reducing the risk of accidental drops.
Emergency Preparedness
Keep a First Aid Kit Handy: Have a first aid kit nearby in case of any minor injuries that may occur during your DIY projects.
Know Emergency Procedures: Familiarize yourself with emergency procedures, such as knowing the location of fire extinguishers or emergency exits in your workspace.
Safety should always be your top priority when using any tools, including the Ryobi stud finder. By following these safety precautions, you can enjoy a safe and successful DIY experience, free from accidents or injuries.
Remember to use the AC live wire detection feature, turn off power sources when needed, and be mindful of hidden obstacles. Handle the stud finder with care, and always refer to the manufacturer’s guidelines. With safety in mind, you can confidently tackle your home improvement projects.
Final Word
Congratulations on mastering the art of using the Ryobi stud finder! By following the step-by-step instructions and expert tips, you can confidently locate studs and tackle your DIY projects.
Remember to prioritize safety by using the AC live wire detection feature and handling the tool with care. With your Ryobi stud finder and safety precautions in mind, you’re all set to embark on successful and secure home improvement endeavors.
Frequently Asked Questions
Can the Ryobi stud finder detect metal studs?
Absolutely! The Ryobi stud finder is equipped with metal detection capabilities, allowing it to locate not only wooden studs but also metal studs, metal pipes, and other metal objects hidden behind the wall. This versatility makes it a valuable tool for various home improvement tasks.
Can the Ryobi stud finder detect electrical wires?
Yes, many Ryobi stud finder models come equipped with an AC live wire detection feature. This feature alerts you to the presence of live electrical wires behind the wall, helping you avoid potential electrical hazards during your DIY projects.
Does the Ryobi stud finder work on all wall types?
The Ryobi stud finder is designed to work on various wall types commonly found in homes, including drywall, plaster, and wooden surfaces. However, it’s essential to refer to the user manual to check for specific wall compatibility and recommended scanning techniques for each wall type.
What is the maximum depth the Ryobi stud finder can detect?
The maximum depth of detection can vary depending on the specific model of the Ryobi stud finder. Generally, most Ryobi stud finders can detect studs up to a depth of around 1.5 inches. It’s essential to check the specifications of your particular model for accurate depth information.
Can I use the Ryobi stud finder for other home improvement tasks?
Absolutely! The Ryobi stud finder’s versatility extends beyond stud finding. You can use it for various home improvement tasks, such as locating studs for securely hanging shelves, TV mounts, or heavy artwork. Additionally, its metal detection feature is handy for identifying pipes and metal objects within the wall, making it an indispensable tool for DIY enthusiasts.
What should I do if the stud finder gives inconsistent readings?
Inconsistent readings can sometimes occur due to improper calibration or user error. To improve accuracy, ensure that you have correctly calibrated the stud finder according to the manufacturer’s instructions. Additionally, move the stud finder slowly and steadily across the wall to ensure thorough scanning and precise readings.
Is the Ryobi stud finder suitable for beginners?
Yes, the Ryobi stud finder is designed with user-friendliness in mind, making it suitable for beginners and DIY enthusiasts alike. Its intuitive interface and straightforward operation make stud finding a breeze for users of all experience levels.
Share your love!
Tools Tale
Disclaimer: This site is owned and operated by Tools Tale. toolstale.com is a participant in the Amazon Services LLC Associates Program, an affiliate advertising program designed to provide a means for sites to earn advertising fees by advertising and linking to Amazon.com. This site also participates in other affiliate programs and is compensated for referring traffic and business to these companies.