Physical Address
304 North Cardinal St.
Dorchester Center, MA 02124
Physical Address
304 North Cardinal St.
Dorchester Center, MA 02124
What is a stud finder? Curious to know how this nifty tool helps you find hidden studs behind walls? Look no further! In this guide, we’ll unravel the mystery of stud finders, revealing their secrets and how they make your DIY projects a breeze.
Whether you’re a seasoned DIY enthusiast or a newbie, understanding the ins and outs of stud finders is essential for secure fixture installations and successful home improvements. So, let’s dive in and demystify the world of stud finders together!
Key Summary: What is a Stud Finder?
A stud finder is a tool used in DIY projects to locate hidden wooden or metal studs behind walls. It helps ensure secure fixture installations and accurate drilling points. Discover how this tool simplifies your home improvement tasks.
[amazon_auto_links id=”11426″]
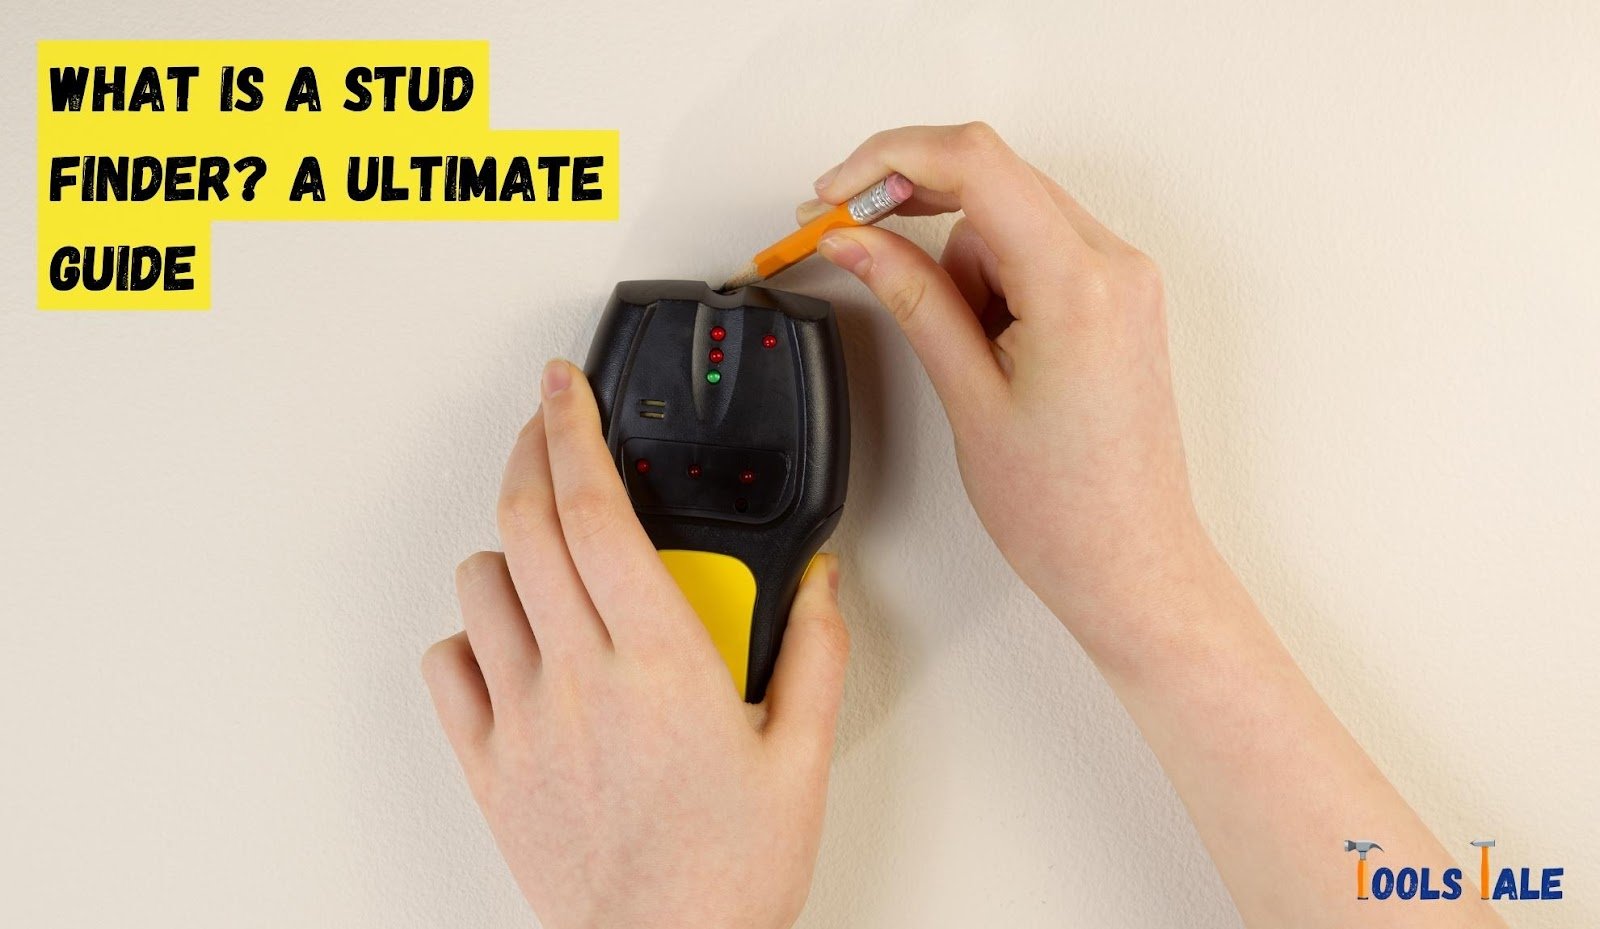
A stud finder is a handy device used in the realm of DIY projects and home improvement. Its primary purpose is to detect the presence of studs within walls. Studs are essential components of a wall’s framework, providing crucial support for various fixtures and ensuring the overall stability of your living space.
There are two main types of stud finders: magnetic stud finders and electronic stud finders. Magnetic stud finders work by detecting the magnetic fields created by screws and nails used in wall framing. As you move the magnetic stud finder along the wall, it alerts you when it encounters these metal fasteners, indicating the presence of a stud. They are simple to use and require no batteries.
On the other hand, electronic stud finders are more sophisticated. They use advanced technology, such as sensors and capacitors, to detect changes in wall density. As you scan the wall’s surface with an electronic stud finder, it measures these density fluctuations caused by studs and notifies you with an audible signal or visual indicator.
They often come with additional features like deep scanning modes for enhanced accuracy and are commonly preferred by professionals and avid DIY enthusiasts.
Apart from finding studs, stud finders can also detect other hidden elements in walls, such as electrical wires and pipes. This ability ensures safer navigation during projects, reducing the risk of accidents or damage.
Stud finders come in various types, each tailored to serve specific purposes. The two primary types are magnetic stud finders and electronic stud finders.
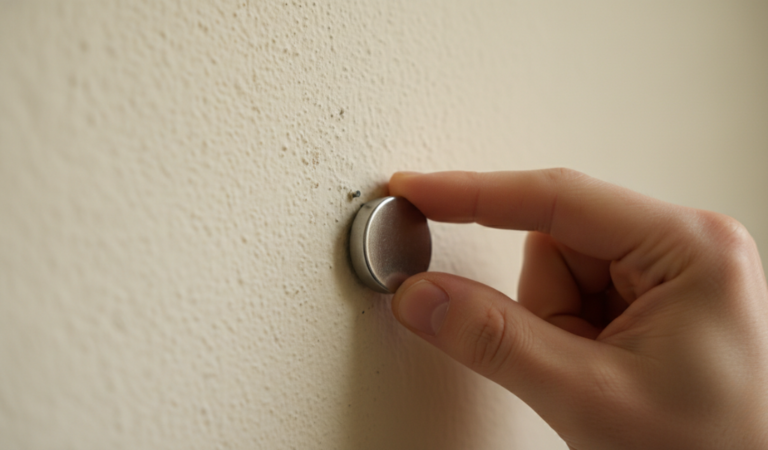
Magnetic stud finders, the time-tested classics, operate on a simple yet effective principle. They rely on the power of magnets to detect the presence of metal fasteners, such as screws and nails, used in wall framing. When you sweep a magnetic stud finder along the wall, it senses changes in the magnetic field caused by these metal components, promptly indicating the location of a stud.
One of the key advantages of magnetic stud finders is their user-friendliness. They require no batteries or calibration and can be used straight out of the box. Their straightforward operation makes them a popular choice for those seeking a hassle-free solution for basic stud finding needs.
However, it’s important to note that while magnetic stud finders can reliably locate studs, they may not offer the same level of precision as their electronic counterparts. For projects requiring pinpoint accuracy, you might want to consider other options.
Stepping into the realm of modern technology, we encounter electronic stud finders, the more sophisticated members of the stud finder family. These devices employ advanced technology, such as sensors and capacitors, to detect changes in wall density and identify the presence of studs.
As you glide an electronic stud finder across the wall’s surface, it measures the density fluctuations caused by the hidden studs. These electronic wizards often offer additional scanning modes, such as deep scanning, which can pinpoint the center and edges of studs with exceptional accuracy.
Unlike magnetic stud finders, electronic versions require batteries to power their sophisticated features. However, the trade-off for battery reliance is the unmatched precision they offer, making them a popular choice for professionals, experienced DIY enthusiasts, and those tackling complex projects.
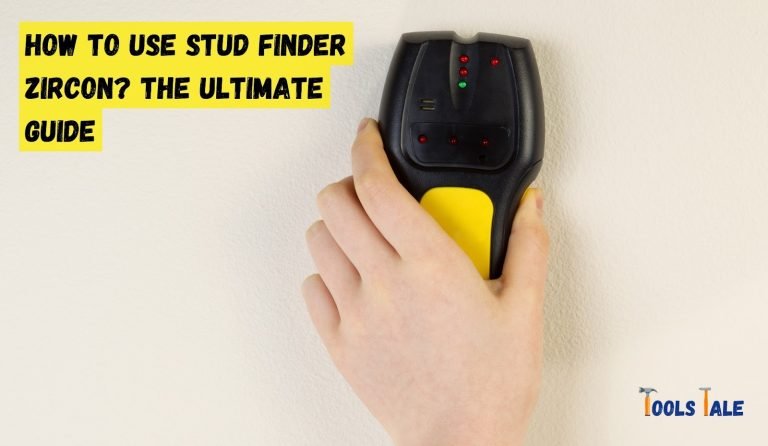
Using a stud finder may seem like an art to master, but fear not! With the right technique and a little practice, you’ll be a stud-finding pro in no time. Here’s a comprehensive guide on how to use a stud finder effectively:
Before you begin, make sure your stud finder is in good working condition. Check the battery levels if it’s an electronic model and ensure it’s calibrated according to the manufacturer’s instructions.
If you have an electronic stud finder with multiple scanning modes, select the appropriate one based on your specific task. For standard wall scanning, the default mode should suffice. However, for specialized projects or thicker walls, consider using the deep scanning mode for enhanced accuracy.
To avoid any confusion and ensure a systematic scan, start from one edge of the wall and move horizontally or vertically. This will help you cover the entire surface without missing any potential studs.
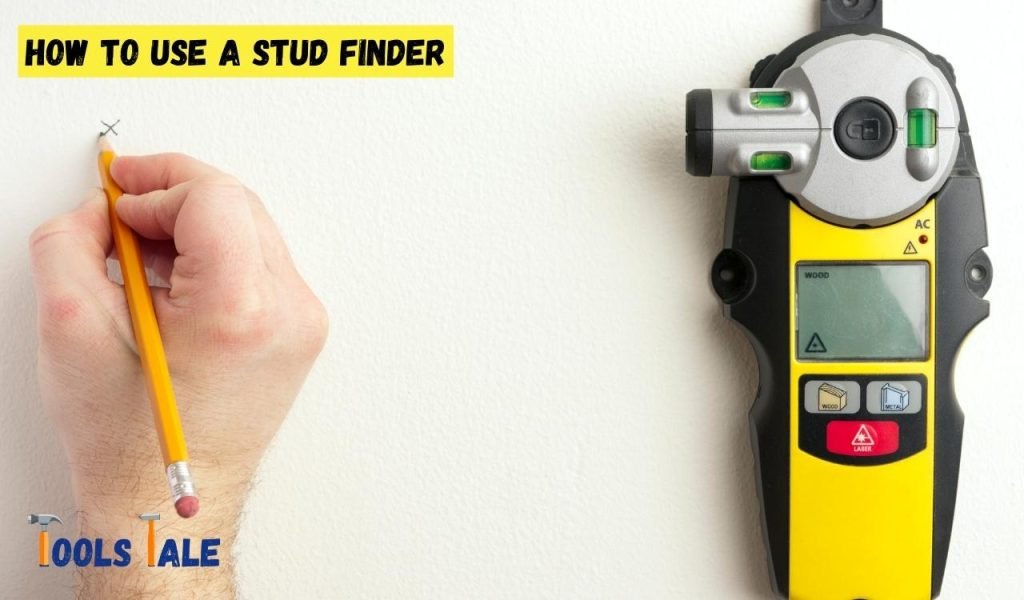
Hold the stud finder flat against the wall with both hands. Apply gentle pressure and keep the device level to achieve the most accurate results.
Move the stud finder slowly and steadily across the wall. Avoid rushing or jerky movements that could disrupt the scanning process. Let the device do its magic at a consistent pace.
As you scan, keep an eye on the stud finder’s signals. In the case of an electronic stud finder, you may hear a beep or see a visual indicator when the device detects a stud. Magnetic stud finders may experience a slight tug or movement when they come across metal fasteners.
When the stud finder signals the presence of a stud, mark the spot with a pencil or painter’s tape. For electronic stud finders with edge detection, it’s beneficial to mark both edges to identify the stud’s center accurately.
To ensure accuracy, scan the same area a few times and look for consistent signals. Repeated scans will help confirm the stud’s location and rule out false positives.
Remember that studs are usually spaced either 16 inches or 24 inches apart in most homes. Once you locate one stud, you can estimate the position of adjacent studs based on this standard spacing.
For an additional layer of confirmation, you can lightly tap the wall with your knuckles in the vicinity of the marked stud. The sound will be duller when you tap over a stud compared to the hollow sound between studs.
Keep in mind that stud finders can also detect electrical wires and pipes, depending on their capabilities. Exercise caution when scanning near electrical outlets or plumbing fixtures to avoid potential hazards.
The significance of finding studs in your walls cannot be overstated, as these unassuming wooden or metal vertical supports play a critical role in the structural integrity of your home. Understanding the importance of locating studs will empower you to embark on your DIY projects with confidence and ensure their success. Let’s delve into the multiple reasons why finding studs is essential:
One of the primary reasons to find studs is to securely mount heavy fixtures and objects on your walls. Whether you’re installing shelves, cabinets, or wall-mounted TVs, attaching them directly to studs provides a robust anchor that can support the weight without risk of tearing or falling.
Drilling or nailing into walls without locating studs can lead to costly and unsightly damages. A stud acts as a solid foundation, preventing screws or nails from loosening over time and causing cracks or holes in the wall.
For those who enjoy DIY electrical or plumbing work, locating studs is crucial for safety reasons. Stud finders can also detect electrical wires and pipes hidden within walls, helping you avoid accidental damage that could lead to hazardous situations.
Whether you’re renovating or making repairs, finding studs is essential to enhance the overall stability of the construction. By securing materials to sturdy studs, you create a more durable and long-lasting finished product.
If you’re taking on a DIY drywall installation project, finding studs is vital. Attaching drywall directly to studs ensures a smooth and even finish, preventing sagging or bulging over time.
Locating studs enables you to plan and execute your layout with precision. Whether you’re arranging a gallery wall, hanging decorative items, or designing a functional space, knowing the stud locations allows you to position items exactly where you desire.
For those living in regions prone to earthquakes, finding studs is particularly crucial for securely mounting furniture and appliances. In the event of seismic activity, objects attached to studs are less likely to fall or shift, reducing the risk of injury and damage.
By properly anchoring items to studs, you reduce the likelihood of accidents and damages that may require costly repairs down the line. The initial effort of finding studs can save you time, money, and headaches in the future.
Occasionally, walls may have irregularities, such as anchors or metal plates, that can cause false positives when using a stud finder. Knowing the actual stud locations allows you to distinguish between false signals and real studs, ensuring accurate results.

Discover the perfect stud finder to enhance your DIY projects with confidence and accuracy. Explore essential features for successful results.
When choosing a stud finder, consider the available scanning modes. Some electronic stud finders offer multiple modes, such as stud scan, deep scan, and metal scan. Stud scan mode is suitable for general stud finding, while deep scan mode provides more accuracy for thicker walls or when you need to detect studs behind layers of material. The metal scan mode helps identify metal objects within the wall, which can be useful for avoiding pipes or conduits.
Electronic stud finders typically come with LCD or LED displays. An easy-to-read display with clear indicators enhances user-friendliness, especially in dimly lit areas. Look for a model that provides visual and audible cues when a stud is detected for added convenience.
The detection depth refers to how deep the stud finder can penetrate the wall to locate studs. Consider the thickness of your walls and the projects you’ll be undertaking to determine the required detection depth. A deeper detection range is beneficial for older homes with thicker walls or when you’re dealing with heavy-duty projects.
Advanced electronic stud finders offer center and edge detection features. Center detection accurately pinpoints the center of the stud, making it easier to mark the exact drilling or nailing point. Edge detection helps identify the boundaries of the stud, providing a better understanding of its width and ensuring precise positioning of fixtures.
For added safety during DIY projects, choose a stud finder that can detect live electrical wires behind the walls. This feature warns you of potential electrical hazards and allows you to adjust your work accordingly to avoid accidents.
Some electronic stud finders offer auto calibration, which simplifies the setup process. Auto calibration ensures that the device is always ready for use, eliminating the need for manual adjustments before each scan.
Consider the ergonomics of the stud finder and how comfortable it is to hold and use for extended periods. A well-designed grip and lightweight construction contribute to user comfort and ease of maneuvering.
Check the battery life of the stud finder, especially for electronic models. Longer battery life means fewer interruptions during your projects, ensuring you can complete your tasks efficiently.
A signal strength indicator provides valuable feedback about the stud finder’s proximity to a stud. The strength of the signal increases as the device approaches a stud, helping you pinpoint the stud’s location more accurately.
Look for a stud finder that allows you to mark the stud location easily. Some models have built-in pencil holders or magnetic markers, making it convenient to mark the stud directly without needing an additional tool.
In addition to live wire detection, some advanced electronic stud finders can detect AC voltage. This feature helps you identify potential electrical hazards in the vicinity of the stud.
Certain stud finders provide a stud depth indicator, which informs you of the stud’s thickness. This feature is particularly useful when you need to determine if the stud can accommodate longer screws or anchors.

When a stud finder is not readily available, or you prefer a more hands-on approach, there are several effective DIY alternatives for locating studs in your walls. These methods may require a bit of practice and patience, but they can be valuable skills to have in your DIY toolkit. Here are some DIY alternatives to consider:
A simple and common DIY method involves looking for visual clues on the wall. These clues may include nail heads, seams between drywall sheets, or even electrical outlet locations.
Studs are typically positioned around 16 inches or 24 inches apart, so once you find one stud, you can estimate the location of others based on this standard spacing. However, this method may not always be precise, and additional verification is recommended.
The tap test is another DIY technique that involves lightly tapping the wall with your knuckles to listen for variations in sound. A solid, dull sound suggests that you’ve tapped on a stud, while a hollow sound indicates the space between studs.
This method requires a keen ear and some practice to distinguish between the different sounds accurately. It’s best used in conjunction with other methods for increased accuracy.
An alternative approach is to measure from corners. Studs are typically positioned close to corners, so measuring a specific distance from the nearest corner can give you an approximate location of studs. Use a measuring tape to mark the measurements accurately, keeping in mind that this method only provides rough estimations.
Another DIY method involves inserting a thin nail or pin into the wall to help you locate studs. Gently push the nail or pin into the wall at a slight angle. When you encounter resistance, it indicates the presence of a stud. Be cautious not to damage electrical wires or pipes behind the wall when using this method.
For walls with drywall attached to metal studs, a magnetic approach can be effective. Take a small, strong magnet and move it along the wall’s surface. The magnet will be attracted to the metal screws or nails used to attach the drywall to the metal studs, indicating the stud’s location. This method is best suited for identifying metal studs and may not work on walls with wooden studs.
Electrical outlet boxes are typically attached to a stud on one side. If you can identify the position of an electrical outlet, you can use it as a reference point to find nearby studs. However, keep in mind that this method is limited to the availability of electrical outlets on the wall.
Using a stud finder is a valuable skill for any DIY enthusiast, but it’s essential to approach the process with caution and knowledge. To ensure accurate results and prevent potential mishaps, understanding what to avoid when using a stud finder is crucial. Let’s explore some important points to keep in mind during your stud-finding endeavors.
Stud finders may occasionally give false positive readings due to wall irregularities or hidden metal objects. Avoid assuming every signal indicates a stud; double-check and re-scan the area to confirm the stud’s location. Relying solely on one scan can lead to inaccuracies and misjudgments.
To ensure accuracy, perform multiple scans in the same area. Scanning from different angles and directions helps to validate the stud’s location and minimizes the risk of errors. Consistency in scanning ensures reliable results and reduces the chance of overlooking studs.
If your electronic stud finder requires calibration, never skip this step. Calibration ensures the device is optimized for accurate stud detection and reliable performance. Failing to calibrate the stud finder can lead to inaccurate readings and compromised results.
Always consider the standard stud spacing of around 16 inches or 24 inches when marking stud locations. Keeping this spacing in mind will help you identify adjacent studs without relying solely on the stud finder. Neglecting stud spacing can result in improper placement of fixtures and compromised stability.
Be mindful of electrical wires and pipes behind the wall when scanning with a stud finder. Use caution near electrical outlets and plumbing fixtures to avoid damaging concealed wires or causing potential hazards. Prioritize safety during your DIY projects to prevent accidents and ensure a secure environment.
Familiarize yourself with the signals emitted by your stud finder. Different models may use varying signals, such as visual indicators, audible beeps, or vibrations. Understand the meaning of each signal to avoid misinterpreting the information provided by the stud finder.
While stud finders are valuable tools, it’s wise to cross-verify their findings with other DIY stud-finding techniques. Use methods like tapping, measuring from corners, or visual clues to confirm the stud’s location. Relying on multiple techniques enhances accuracy and ensures dependable results.
Environmental factors can impact stud finder performance. Factors like wallpaper, textured surfaces, or metal studs can affect the accuracy of the readings. Be aware of the environment you’re working in and adjust your approach accordingly to achieve precise results.
Take your time when using a stud finder. Rushing through the scanning process can lead to missed studs or false readings. A slow and steady approach allows the stud finder to detect studs accurately and helps you achieve successful outcomes in your DIY projects.
In conclusion, using a stud finder effectively requires attention to detail and adherence to best practices. Avoiding common pitfalls and cross-verifying results with alternative methods ensures accurate stud detection and successful DIY projects. Stay cautious, patient, and informed to make the most of your stud finder and achieve reliable results in your home improvement tasks.
A stud finder is used to locate the wooden or metal studs behind walls, helping with secure fixture installations and DIY projects.
Stud finders work by detecting changes in wall density caused by the presence of studs. They use various technologies like magnetic, electronic, or ultrasonic sensors to identify studs.
The accuracy of stud finders can vary depending on the type and quality of the tool. Advanced electronic stud finders tend to offer higher accuracy than basic magnetic ones.
Some advanced stud finders can detect live electrical wires behind walls, enhancing safety during DIY projects. However, they may not be designed to detect pipes.
Studs are typically spaced around 16 inches or 24 inches apart on center in most construction, but this can vary depending on building standards.
Yes, stud finders can work on plaster walls, but certain types may be more suitable for this purpose. Electronic stud finders with deep scanning capabilities are often recommended.
While a stud finder is not always necessary for hanging lightweight pictures, using one can ensure more secure installations, especially for heavier items.
Stud finders can be used on textured walls, but smooth and flat surfaces generally yield more accurate results.
Yes, there are DIY alternatives for finding studs, such as tapping the wall, looking for visual clues, or using a thin nail to detect resistance.
Certain stud finders are designed to detect both wooden and metal studs. Check the specifications of your stud finder to ensure it is compatible with metal studs.