Physical Address
304 North Cardinal St.
Dorchester Center, MA 02124
Physical Address
304 North Cardinal St.
Dorchester Center, MA 02124
The hum of a refrigerator, the glow of a bedside lamp, and the charge in your smartphone all depend on one fundamental skill: the ability to join two points of power. For many homeowners, the sight of a tangled junction box or a loose outlet is enough to cause a bit of anxiety. We often treat electricity as a mysterious force, but once you understand the mechanics of how to connect electrical wires and the basics of wire it becomes a manageable and even satisfying DIY task.
Whether you are replacing an old light fixture, installing a new dimmer switch, or simply repairing a frayed cord, the integrity of your work determines both the efficiency of your appliances and the safety of your home. A loose connection is more than just a nuisance; it is a leading cause of electrical fires and short circuits.
In this exhaustive guide, we will dive deep into the world of electrical wires, exploring the tools you need, the physics of a solid connection, and the step-by-step techniques that professional electricians use to keep the lights on.

Before we touch a single strand of copper, we must discuss the “most important rule”: Never work on a live circuit. Electricity follows the path of least resistance, and if you provide that path, the results can be ‘lethal’. Always head to your main breaker panel and flip the switch to the “Off” position for the area you are working on. Use a non-contact voltage tester to verify that the power is truly killed. Even if the light in the room is off, a rogue hot wire could still be lurking in the box.
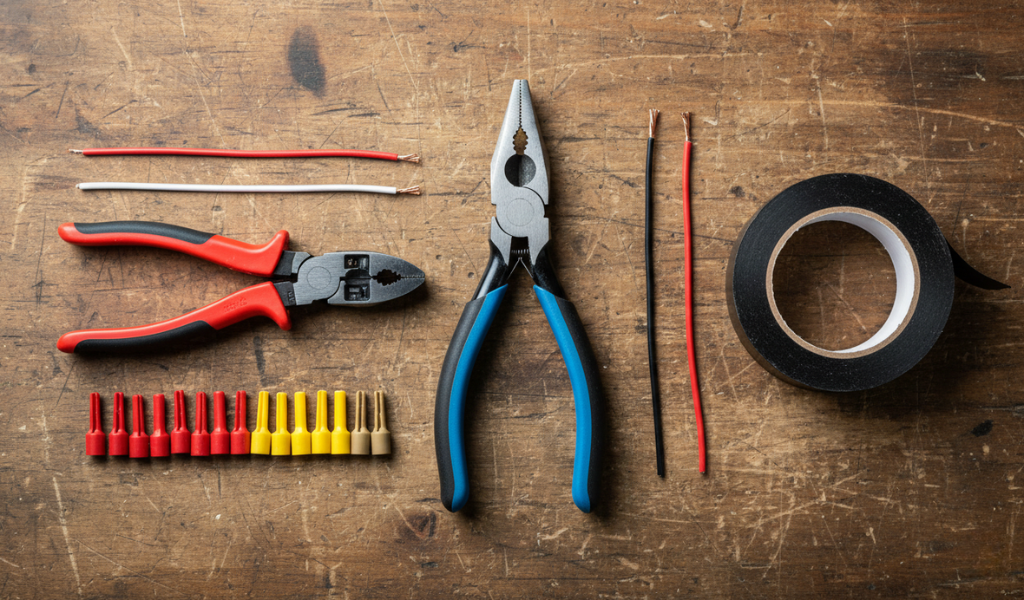
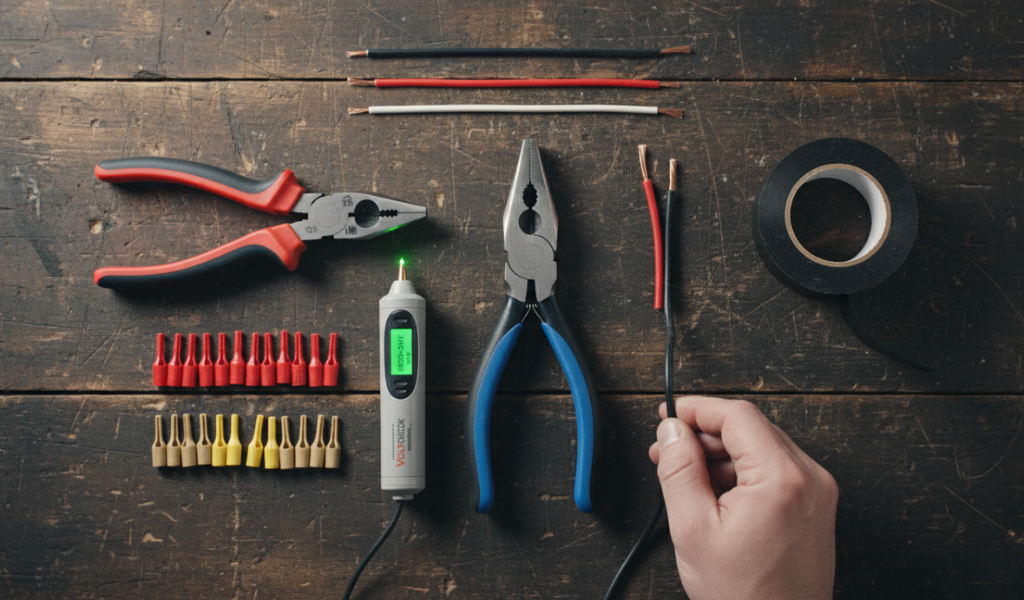
To do the job right, you need more than just a pair of pliers. Having the right electrical accessories on hand makes the process smoother and prevents damage to the delicate copper strands.
Inside your walls, you will likely find a “Romex” cable, which houses several individual electrical wires. Understanding the “language of color” and Wondering how to hit a cart with wires are vital to ensure you don’t create a short circuit.
The thickness of a wire determines how much current it can safely carry. In most homes, you will see 14-gauge (rated for 15 amps) or 12-gauge (rated for 20 amps). Using a wire that is too thin for the circuit can cause it to overheat and melt the insulation.
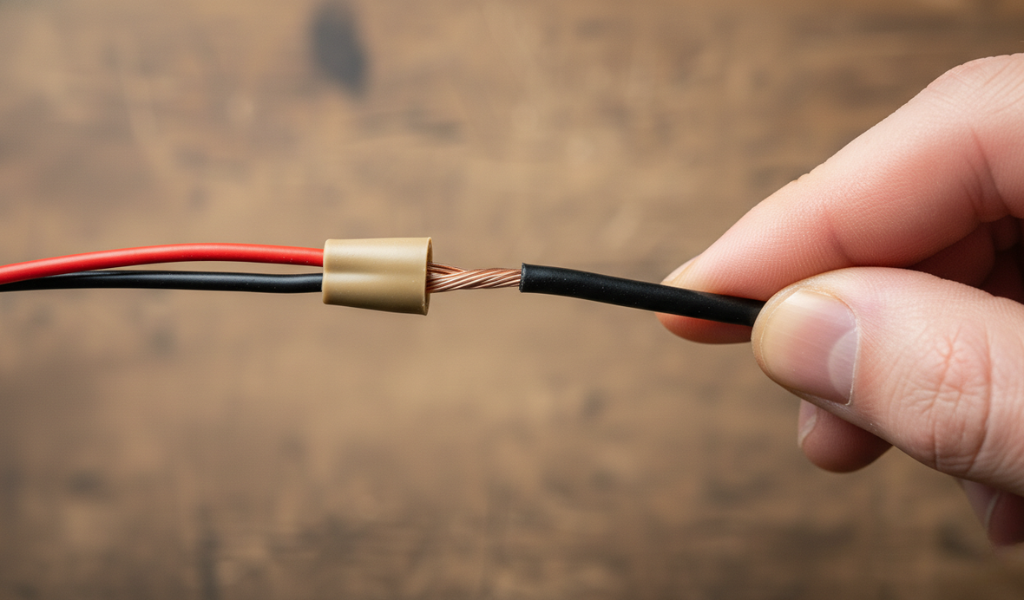
The secret to a long-lasting connection isn’t the twist—it’s the preparation. If you leave too much metal exposed, you risk a spark jumping to the metal box. If you leave too little, the connector won’t grip the wire properly.
When you use your wire strippers, ensure you match the notch on the tool to the gauge of the wire.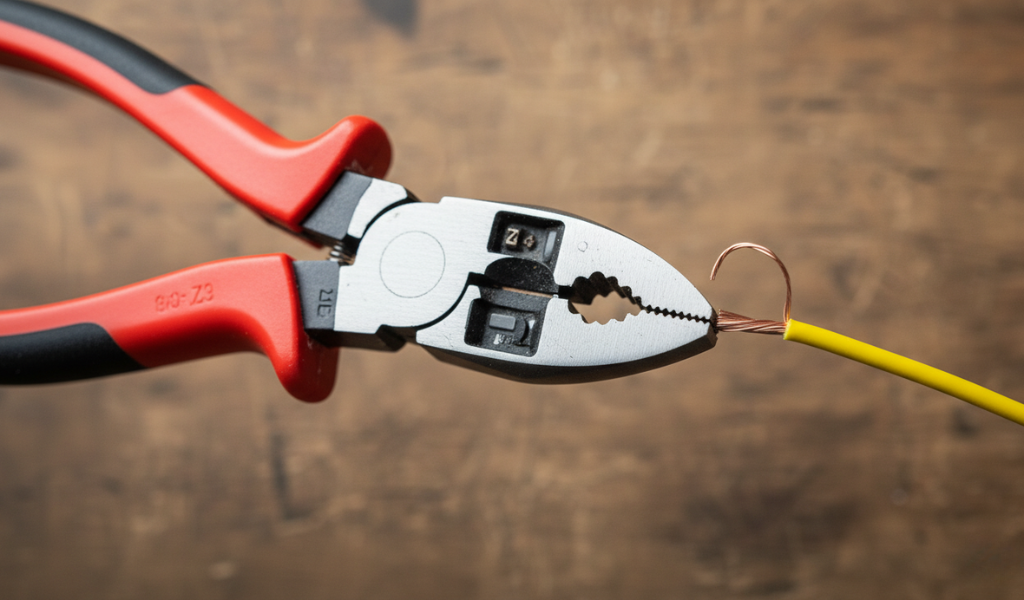 If you use a 14-gauge notch on a 12-gauge wire, you will “nick” the copper. This creates a ‘weak point’ that generates heat when under load, eventually leading to a failure.
This is one of the most common questions for beginners. How much insulation should be removed from a wire depends entirely on the device you are connecting it to.
Now that the power is off and the wires are stripped, let’s look at the actual process of joining them. We will focus on the most common method: using a wire nut.
Hold the two (or more) wires side-by-side so that the insulation ends meet at the same point. The bare copper ends should be parallel.
While some wire nut manufacturers say you don’t need to pre-twist, most master electricians prefer to use pliers to give the wires a couple of gentle clockwise turns. This ensures ‘mechanical strength’—meaning the wires won’t pull apart even if the connector fails.
Place the wire nut over the ends and twist it clockwise. Keep turning until it is hand-tight and you can feel the resistance. You should see the wires themselves start to twist slightly outside the nut.
This is the most critical step. Give each individual wire a firm tug. If one slides out, the connection was poor. Unscrew the nut and start over. A proper connection should feel like a single, solid piece of metal.
While wire nuts are the standard for joining wires in a box, you will encounter other electrical accessories in your DIY journey.
When connecting to a switch or outlet, always wrap the wire clockwise around the screw. Why? Because when you tighten the screw (which also turns clockwise), it pulls the wire tighter into the connection. If you wrap it counter-clockwise, tightening the screw will actually push the wire out.
Many modern outlets have “stab-in” holes on the back. While these are fast, many professionals avoid them. Over time, the internal spring can weaken, leading to a loose connection. Using the side screw terminals is always the ‘superior choice’ for longevity.
If your home was built in the late 1960s or early 70s, you might find silver-colored electrical wires. This is aluminum. Aluminum expands and contracts much more than copper when it gets hot, which often leads to loose connections and fires.
If you are wondering how to connect electrical wires made of aluminum to modern copper fixtures, you must use special connectors (often purple in color) and an “oxide inhibitor” paste. Never mix copper and aluminum in a standard wire nut; the chemical reaction between the two metals will cause them to corrode and fail.
Even seasoned DIYers can fall into bad habits. Watch out for these common pitfalls:
Learning how to connect electrical wires is a foundational skill that opens the door to hundreds of home improvement projects. It’s about more than just making a light turn on; it’s about understanding the ‘integrity of the circuit’ and ensuring that your home remains a safe haven.
By investing in quality electrical accessories, respecting the power of the breaker, and taking the time to measure how much insulation should be removed from a wire, you can move from a nervous beginner to a confident home maintainer.
Remember, if a project ever feels beyond your comfort level—especially when dealing with the main service panel or high-voltage appliances like dryers—there is no shame in calling a licensed professional. Stay safe, stay curious, and happy wiring!
No. Electrical tape is an insulator, not a mechanical connector. It can dry out and unwrap over time. Always use a wire nut or an approved connector to secure wires.
This creates a “reverse polarity” situation. While the device might still work, it makes the “shell” of a light socket live even when the switch is off, creating a major ‘shock hazard’.
The colors (Yellow, Red, Blue, Tan) indicate the “capacity” of the nut. A yellow nut might hold two 14-gauge wires, while a large red nut can hold four 12-gauge wires. Always check the packaging for the specific “wire combination” rating.
Generally, no. The internal metal spring can lose its tension or become stripped once it has been used. For the sake of a few cents, it’s always better to use a fresh connector.
It depends on the brand, but most electricians recommend a slight pre-twist with pliers. It provides a ‘mechanical bond’ that doesn’t rely solely on the plastic cap to stay together.
The gauge is usually printed on the outer jacket of the cable (e.g., “14/2” or “12/2”). If you can’t see the jacket, you can use the notches on your wire stripper as a measuring tool.
Yes, as long as the wire nut is rated for that specific volume. Large red or tan wire nuts are specifically designed to handle multiple conductors in a single junction.