Physical Address
304 North Cardinal St.
Dorchester Center, MA 02124
Physical Address
304 North Cardinal St.
Dorchester Center, MA 02124
There is an old saying in the woodworking world: “A dull tool is a dangerous tool.” While it might seem counterintuitive, a blunt blade requires more force, is prone to slipping, and leaves your project looking ragged. Learning how to sharpen chisels is arguably the most important skill any woodworker can develop. Whether you just unboxed a brand-new set or found a rusty pair in your grandfather’s garage, getting a sharp, polished edge is the difference between frustrating cuts and smooth woodworking.
In this comprehensive guide, we will dive deep into the art of the edge. We’ll cover everything from choosing the right sharpening stone to the delicate technique of honing a wood chisel until it can shave the hair off your arm. If you’ve ever struggled with jagged edges or uneven bevels, you’re in the right place.
To sharpen chisels, flatten the back of the blade, set the bevel angle, sharpen on a coarse stone, refine on medium and fine stones, remove the burr, then finish with a leather strop for a razor-sharp edge.
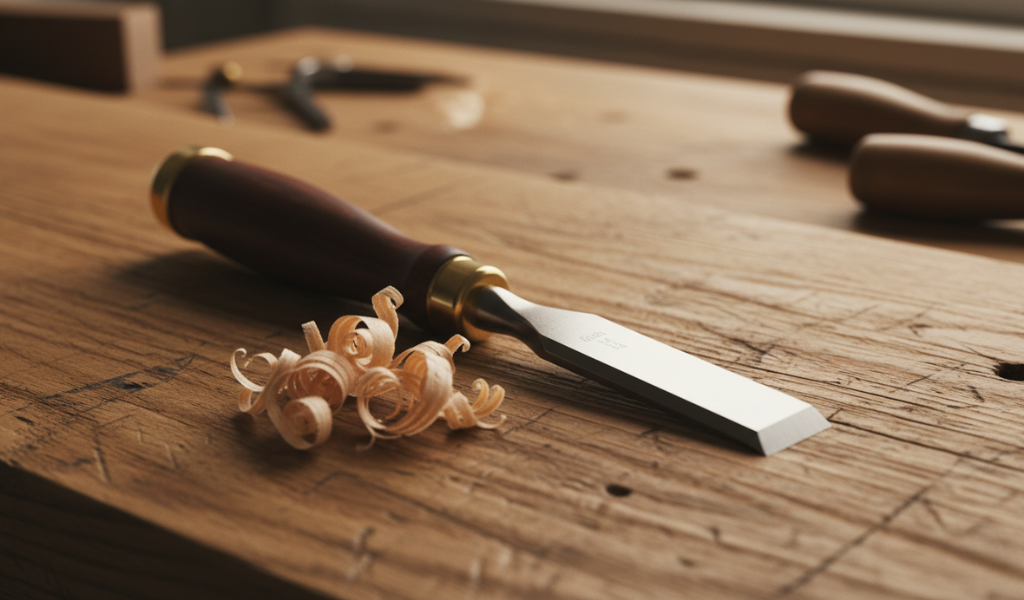
Before we pick up a wood chisel, we need to understand how to use a wood chisel and what we are actually trying to achieve. A sharp edge is simply the meeting point of two perfectly flat surfaces. If those two surfaces, the back of the chisel and the angled bevel—don’t meet at a crisp, microscopic point, the tool won’t cut; it will crush the wood fibers.
Many beginners make the mistake of thinking new chisels come ready to work. However, most factory edges are ground by machines and are nowhere near sharp enough for precision work. You must learn how to sharpen chisels from day one to ensure your joinery is tight and your surfaces are smooth.
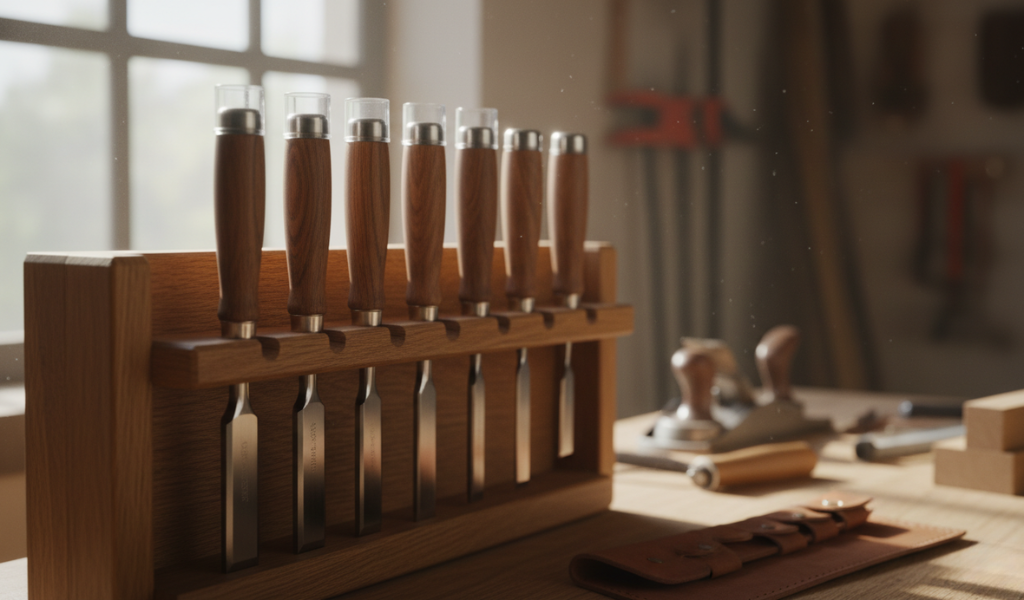
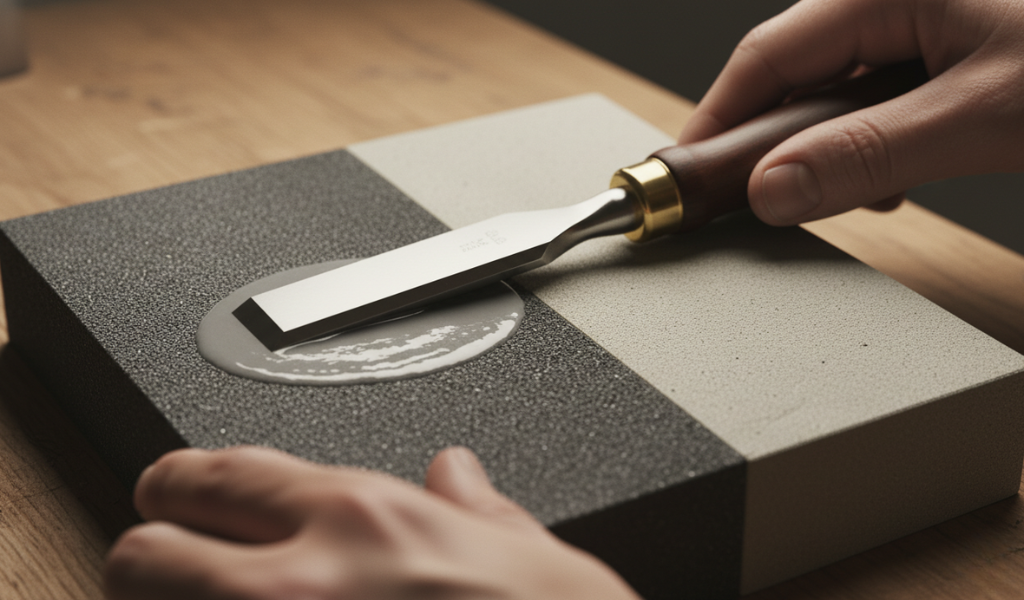
To get started, you don’t need a workshop full of expensive machinery or a specialized degree in metallurgy. In fact, some of the best sharpening is done by hand using a few core items that will last a lifetime if maintained properly. Before you begin the journey of learning how to sharpen chisels, know how to make chiseled sandstone and gather your supplies so you don’t have to stop mid-process.
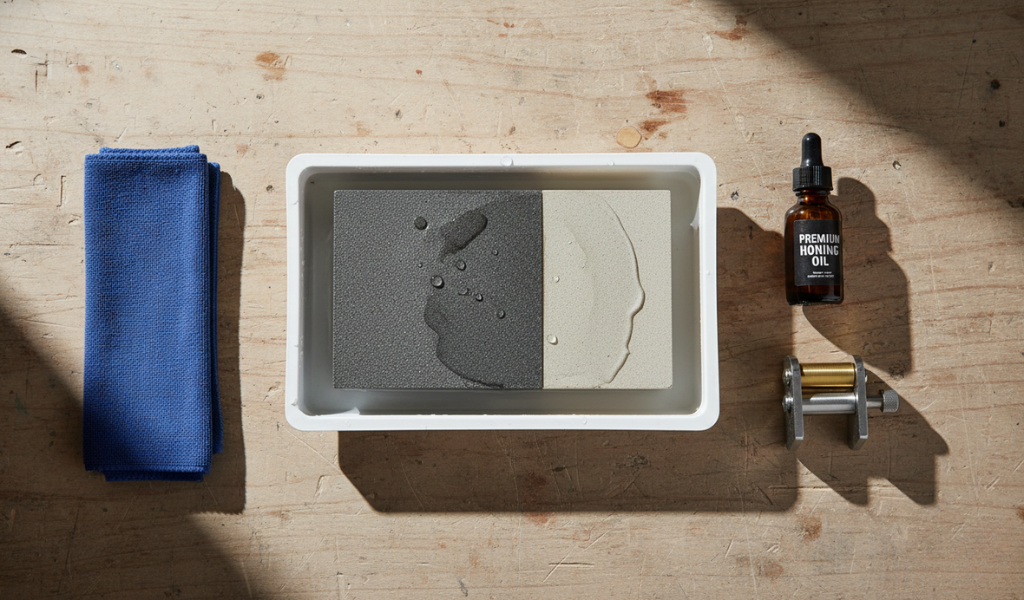
When learning how to sharpen wood chisels, the first big decision is your stone. This choice often sparks heated debates in woodworking forums, but the reality is that both systems work exceptionally well. The “best” one often comes down to how much mess you are willing to tolerate and how much time you have.
Favored by Japanese craftsmen, water stones use water as a lubricant. They are synthetic or natural stones that cut very fast because the stone surface breaks down during use. This constantly exposes fresh, sharp abrasive particles to the steel of your wood chisel.
These are the traditional stones many of our fathers and grandfathers used. Usually made of Arkansas stone or Novaculite, they use a petroleum-based oil to float away metal shavings (also known as swarf).
While not technically a “stone,” these metal plates with embedded industrial diamonds have become a modern favorite. They are incredibly popular because they never lose their flatness, regardless of how much you use them. They are excellent for the initial “heavy lifting” when you first start to sharpen chisels that are in poor condition.
You cannot have a sharp wood chisel if the back is wavy, pitted, or rusty. This is the most skipped step by beginners, but it is the most vital for long-term success. If the back isn’t flat, the edge will be serrated like a steak knife rather than smooth like a razor.
By the time you finish on the finest stone, the back of the blade should look like a ‘shiny mirror’. If you can see your reflection clearly without any blurry spots, you’ve reached the gold standard.
While some professionals can “freehand” an angle after years of muscle memory, I highly recommend a honing guide for everyone else. It removes the human error and ensures a perfectly repeatable edge every time you return to the stones.
Most standard wood chisels are ground to a 25-degree or 30-degree angle from the factory. Understanding which one to use depends on the work you plan to do:
Insert the wood chisel into the guide. Most modern guides have a built-in scale or require a specific “projection” length to set the angle. Double-check your measurements and tighten the screws securely so the blade doesn’t slip mid-stroke.
Now we get to the heart of how to sharpen wood chisels. With your blade securely locked in the guide, it’s time to refine that bevel. This is where the magic happens and the tool starts to feel alive.
If you want to go from “sharp” to “scary sharp,” these two advanced steps are your best friends. They take very little time but provide a massive boost in cutting performance.
A micro-bevel is a tiny second angle (usually 5 degrees steeper than your main bevel) at the very tip of the tool. Because you are only removing a tiny amount of metal, you can get a fresh, razor-sharp edge in about thirty seconds. To do this, simply increase the angle on your honing guide slightly and give it 5-10 light strokes on your finest stone only.
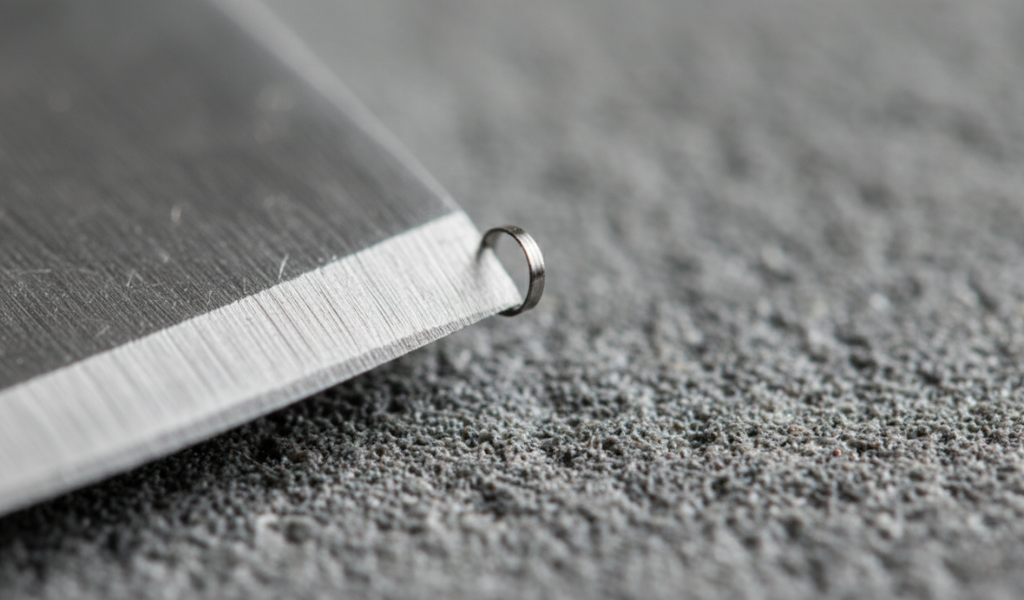
Stropping is the final touch that separates the amateurs from the masters. Use a piece of leather glued to a flat board and rub a little green or white polishing compound on it. Drag the wood chisel (both the bevel and the back) across the leather away from the edge. This process removes the final microscopic burr and leaves the steel with a ‘razor sharp’ finish that can glide through even the toughest knots.
Once you know how to sharpen chisels and maintain wood chisels properly, the goal is to keep them that way for as long as possible. Frequent maintenance is much easier than a full regrind.
Even seasoned woodworkers can fall into bad habits. When you are learning how to sharpen wood chisels, keep an eye out for these common pitfalls:
In summary, mastering the skill of how to sharpen wood chisels is a fundamental rite of passage for any maker. It transforms what could be a frustrating, forceful task into a satisfying and artistic craft. By flattening the back, setting the correct bevel angle, and honing through multiple grits, you ensure that your wood chisel is always a precision instrument rather than a blunt object.
Remember, patience is the most important tool in your kit. Your first attempt might take an hour of careful work, but with practice, you’ll be able to restore a razor-sharp edge in just a few minutes of maintenance. Now, go grab those dull chisels and give them the attention they deserve. Your future projects will thank you for it!
It depends entirely on the wood you are working with. Dense hardwoods like oak, walnut, or maple will dull a blade much faster than softwoods like pine or cedar. A good rule of thumb is to strop the edge every 20-30 minutes of heavy use and do a full sharpening session on the stones whenever you feel the tool start to “resist” the wood or tear the fibers rather than slicing them.
For beginners and intermediate woodworkers, the answer is a resounding yes. It is the only way to ensure you learn the correct “feel” for the angle and produce consistent results. While expert woodworkers can often freehand with great success, even many professionals prefer guides for the sake of speed and absolute mathematical accuracy.
Yes, you certainly can! This is often called the “Scary Sharp” method. You can glue high-grit wet/dry sandpaper to a perfectly flat surface like a piece of float glass or a granite slab. It works exceptionally well for beginners, but keep in mind that over the long term, buying replacement sandpaper becomes significantly more expensive than owning a permanent sharpening stone.
Usually, this happens because you didn’t spend enough time on the first (coarse) stone. You must create a consistent “burr” across the entire width of the edge before moving to the next grit. If you don’t establish the correct geometry early in the process, the fine stones will only polish a dull shape rather than making it sharp.
A 25-degree primary bevel with a 30-degree micro-bevel is considered the “gold standard” for most woodworking tasks. This configuration offers a great balance between a sharp, easy entry into the wood and a durable edge that won’t chip when you need to use a mallet for heavier joinery.
A bench grinder is a fantastic tool for “reclaiming” an old, chipped chisel or changing a bevel angle very quickly. However, you must be extremely careful not to “blue” the steel. If the tip of the chisel turns blue or black from the heat, it has lost its temper (hardness), and the metal will become soft and useless until that section is ground away.
The classic test is the “paper shave.” Hold a single piece of printer paper by the corner and try to slice through the edge with the chisel. If it slices cleanly without snagging or tearing the paper, you’re in good shape. Another popular method is checking to see if it can shave a few hairs off your forearm with almost zero pressure—just be careful.