Physical Address
304 North Cardinal St.
Dorchester Center, MA 02124
Physical Address
304 North Cardinal St.
Dorchester Center, MA 02124
If you have ever stood in front of a smooth, painted wall with a drill in your hand and wondered where to start, you are not alone. Plasterboard—often called drywall or gypsum board—is the most common wall material in modern homes, but it has a reputation for being finicky. One wrong move and you’re looking at a crumbling crater instead of a neat, professional hole.
The good news? Learning how to drill into plasterboard is actually quite simple once you understand the material’s mechanics. Whether you are hanging a heavy mirror, putting up floating shelves, or just mounting a picture frame, this guide will show you how to get the job done without wrecking your walls. This guide covers everything you need to know, from tool selection to advanced troubleshooting.
To drill into plasterboard, mark the spot, check for wires or pipes, use a standard drill on rotary mode, drill slowly with the correct bit size, stop once through the board, then insert the correct wall plug or fixing.
Before we talk about the drill, we need to talk about the wall itself. Plasterboard is essentially a sandwich. It consists of a core of hardened gypsum (a chalky mineral) pressed between two thick sheets of heavy paper.
The paper isn’t just for decoration; it provides the structural integrity of the board. When people ask, “How do I drill into plasterboard without it cracking?”, the answer usually lies in protecting that paper layer. If you tear the paper or overheat the gypsum core with a fast-spinning bit, the wall loses its strength and starts to crumble.
Most modern homes use plasterboard because it is fire-resistant, relatively cheap, and creates perfectly flat surfaces. However, because it is essentially “compressed rock powder,” it behaves very differently than solid timber or masonry. It is brittle under impact but strong under steady, distributed pressure.
When you are learning how to drill into a plaster wall, you need to realize you aren’t just drilling into one material. You are interacting with a system.

Plasterboard is usually screwed into a frame made of wooden beams called “studs.” These studs are typically spaced 400mm or 600mm apart. If you happen to drill into a stud, you aren’t drilling into plasterboard anymore—you’re drilling into wood so you need to know how to find stud in a plaster wall. This is the “holy grail” for hanging heavy items like TVs or large bookshelves because the wood provides incredible grip.
Most of your wall is actually empty air. This is the “void.” When you drill here, the only thing holding your screw is the 12.5mm thickness of the board. This is why specialized fixings are so important; they are designed to “anchor” themselves against the back of the board to prevent pulling out.
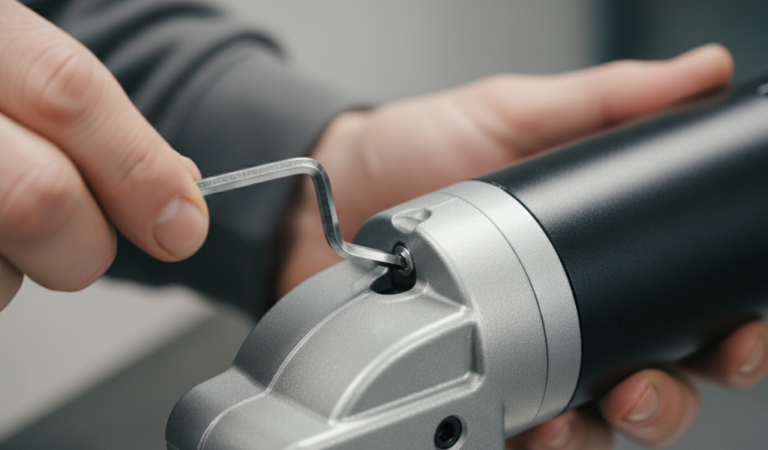
You don’t need a massive, industrial-grade kit to drill into a plaster wall. In fact, less is often more. Here is what you should have on your workbench:
Safety isn’t just about wearing goggles—though you should definitely wear those. When learning how to drill into plasterboard, the biggest danger is what you can’t see.
Behind that smooth white surface, there could be electrical cables, water pipes, or gas lines.
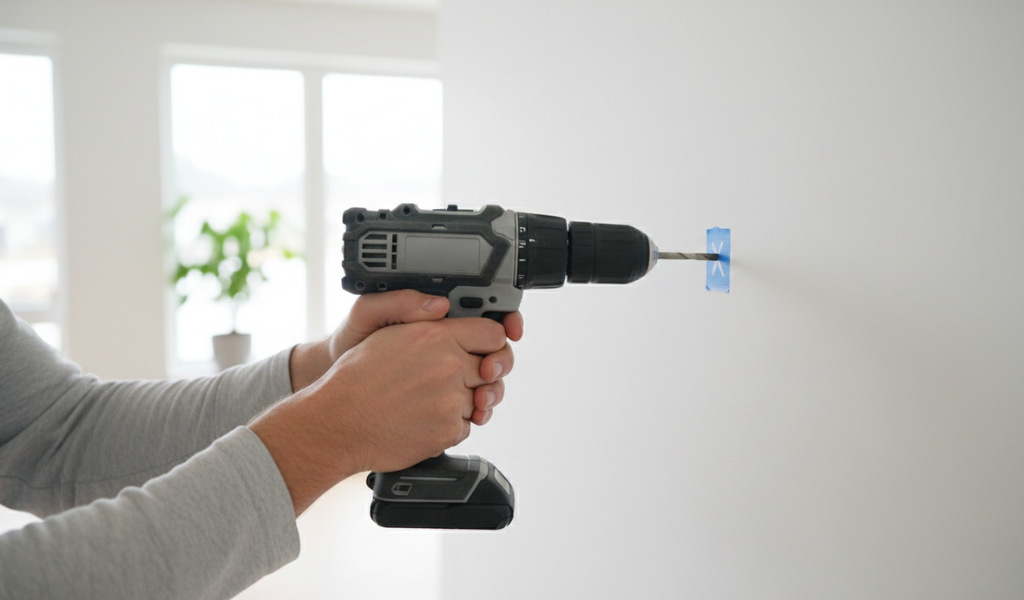
Ready to start? Follow these steps to ensure a perfect result every time.
Once you have used your stud finder to ensure the area is clear, mark your spot with a small “X” using a pencil.
Pro Tip: Place a small piece of ‘masking tape’ over the X. This prevents the drill bit from “wandering” or skidding across the wall when you first start, which can leave ugly, permanent scratches on your paint.
If you are using a wall plug, check the size written on the side of the plug or the packaging. Usually, it’s 5mm, 6mm, or 8mm. Select a drill bit that matches that size exactly. If you use a bit that is even slightly too large, the plug will spin in the hole and won’t hold any weight.
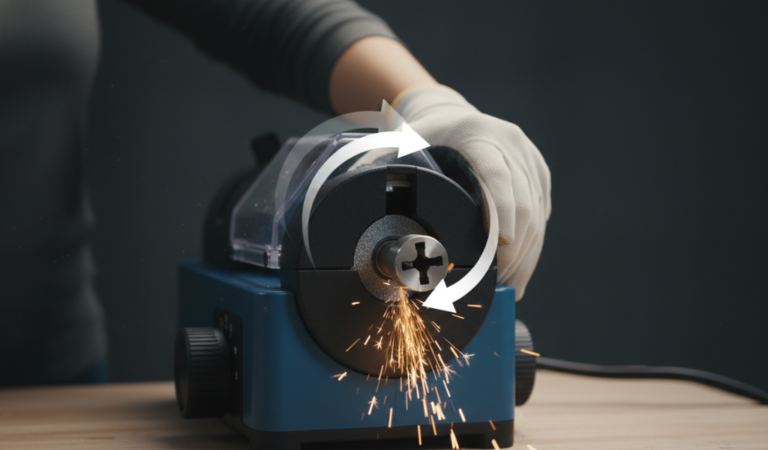
This is the most important rule of how to drill into a plaster wall. Never use the hammer setting. Chipping Hammer or Jack hammer is designed for concrete and brick; it uses a pulsating, pounding motion. On plasterboard, this will simply shatter the gypsum core and blow a massive, jagged hole in the back of your wall. Keep your drill on the standard “rotary” setting.
Place the tip of the bit on your mark. Hold the drill perfectly level—if you drill at an angle, your screw will go in crooked, and your shelf won’t sit flush. Squeeze the trigger gently. You don’t need to push hard; let the sharpness of the bit do the work.
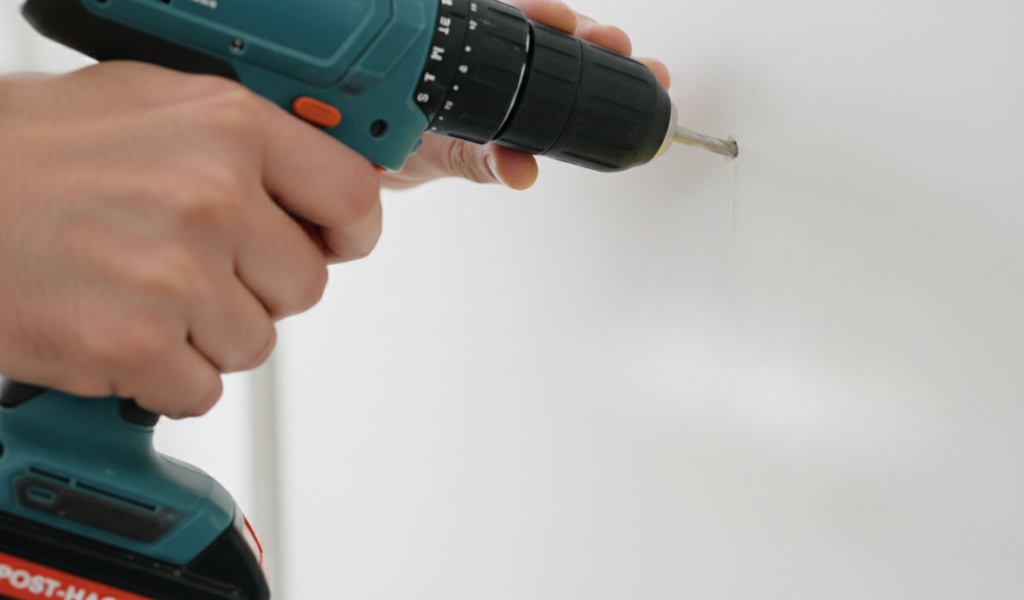
As you drill, you will feel a slight resistance, followed by a sudden “drop” or “give” where the drill moves forward easily. This means you have passed through the plasterboard and reached the hollow cavity. Stop immediately.
Step 6: Clean the Hole
Withdraw the bit while it is still spinning slowly to help pull out any excess white dust. If there is a lot of debris left inside, you can blow it out (wear goggles!) or use a vacuum nozzle to clear the hole so the wall plug fits snugly against the material.
Sometimes, you aren’t drilling into a hollow frame. In many modern builds, plasterboard is “stuck” directly onto a solid brick or block wall using blobs of adhesive. This is known as “dot and dab.”
If you drill through the plasterboard and hit something hard after only 20mm or 30mm, you’ve reached the solid wall.
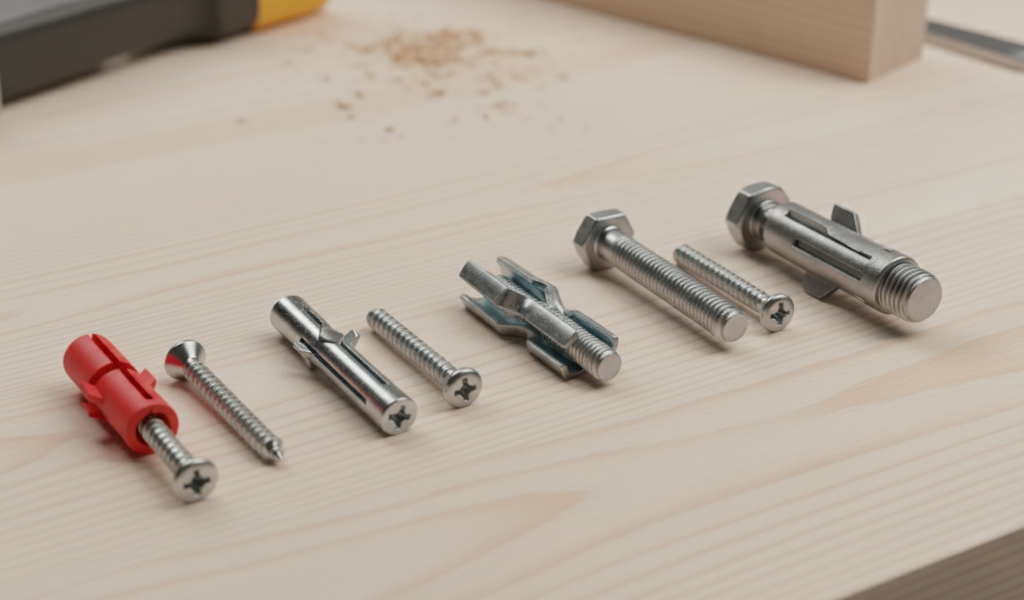
Now that you have a clean hole, you need to fill it. You cannot simply put a screw into plasterboard; the gypsum will just turn to powder and the screw will pull right out. You need specific “hollow wall” fixings.
| Fixing Type | Best Used For | Weight Capacity |
| Standard Plastic Plug | Very light pictures, small clocks | 2–5kg |
| Self-Drilling (Pig Tails) | Mirrors, curtain rods, light art | 5–10kg |
| Hollow Wall Anchors (Molly Bolts) | Shelves, heavy mirrors | 10–20kg |
| Toggle Bolts (Butterfly) | TV mounts, ceiling fixtures | 20kg+ |
| Grip It Fixings | Radiators, heavy cabinetry | 50kg+ |
For those asking “how do I drill into plasterboard for a heavy TV?”, the secret isn’t just the hole—it’s the anchor. Metal toggle bolts expand like wings behind the board, distributing the weight over a larger surface area so the board doesn’t snap.
One of the most common questions I get as an expert is: “Will my wall fall down if I hang this?”
Standard 12.5mm plasterboard is surprisingly strong if the load is “shear” (pulling straight down). It is much weaker if the load is “tension” (pulling away from the wall).
Even experienced DIYers make mistakes when they get overconfident. Here are the “don’ts” to keep in mind: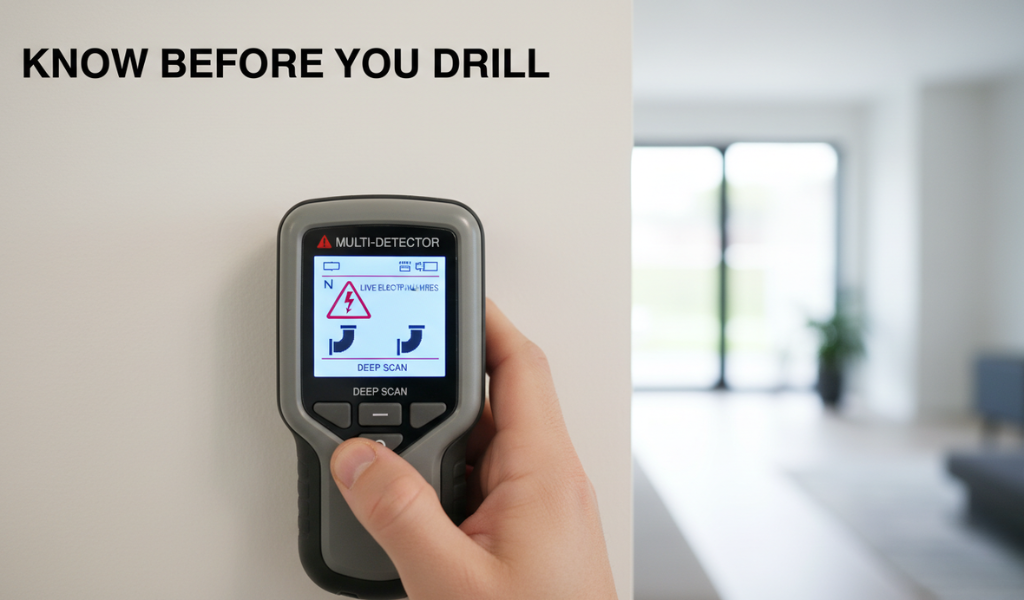
To make your project look like it was done by a professional, try these “insider” tricks:
If you don’t have a vacuum assistant, fold a Post-it note in half (sticky side up) and stick it to the wall just below where you are drilling. It will act as a ‘small catch-all’ for the white dust, preventing it from staining your baseboards or carpet.
If you are drilling into a stud and don’t want to go all the way through the wood (or out the other side of the wall!), wrap a piece of colored electrical tape around your drill bit at the desired depth. When the tape touches the wall, stop.
Mistakes happen. If you’ve accidentally created a hole that is too big for your plug, don’t worry. You don’t need a new wall.
Learning how to drill into plasterboard is a useful skill for any homeowner or renter looking to make their space their own. It might feel intimidating because the material seems fragile—and in many ways, it is—but as long as you stay off the hammer setting, use a sharp bit, and stop as soon as you break through, you will be successful.
The key to professional DIY isn’t just the action of drilling; it’s the preparation. Check for wires, choose the right fixing for your specific weight requirements, and keep your drill level for your specific weight requirements, and keep your drill level. for your specific weight requirements, and keep your drill level. Now that you know the secrets, those floating shelves or that new gallery wall are well within your reach.
Yes! Since plasterboard is relatively soft, you can actually use a manual bradawl or even a sharp screwdriver to “bore” a hole for light fixings. However, for a clean, perfectly circular hole that fits a wall plug snugly, a power drill on a low-speed setting is always the superior choice.
In some modern apartments or commercial buildings, the wall frames are made of light-gauge metal rather than wood. If you feel the drill stop and hear a metallic grinding, you have likely hit a metal stud. You will need a ‘HSS (High-Speed Steel)’ bit to go through it, or simply move your hole an inch to the left or right to stay in the hollow section.
If the bit is getting hot, you are likely drilling at too high a speed or the bit is blunt. Friction creates heat, which can “bake” the gypsum and make it more likely to crumble or lose its grip. Slow down and let the bit cool between holes.
For standard 5mm or 6mm plugs, a pilot hole isn’t usually necessary. However, if you are using a large 10mm or 12mm bit for a heavy-duty toggle bolt, starting with a smaller 3mm “pilot” hole can help ensure your final hole is exactly on center and doesn’t “drift.”
You can, but it’s not ideal. Masonry bits are designed to smash through stone with a “blunt force” edge. For plasterboard, you want a “cutting” edge like you find on a wood or multi-purpose bit. A masonry bit is more likely to tear the paper surface.
Yes, but with caveats. You should ideally screw the mount directly into the wooden studs for maximum safety. If the studs aren’t where you need them, you must use heavy-duty steel toggle bolts (like Snaptoggles) designed specifically for high-weight loads. Never trust a heavy TV to basic plastic plugs.