Physical Address
304 North Cardinal St.
Dorchester Center, MA 02124
Physical Address
304 North Cardinal St.
Dorchester Center, MA 02124
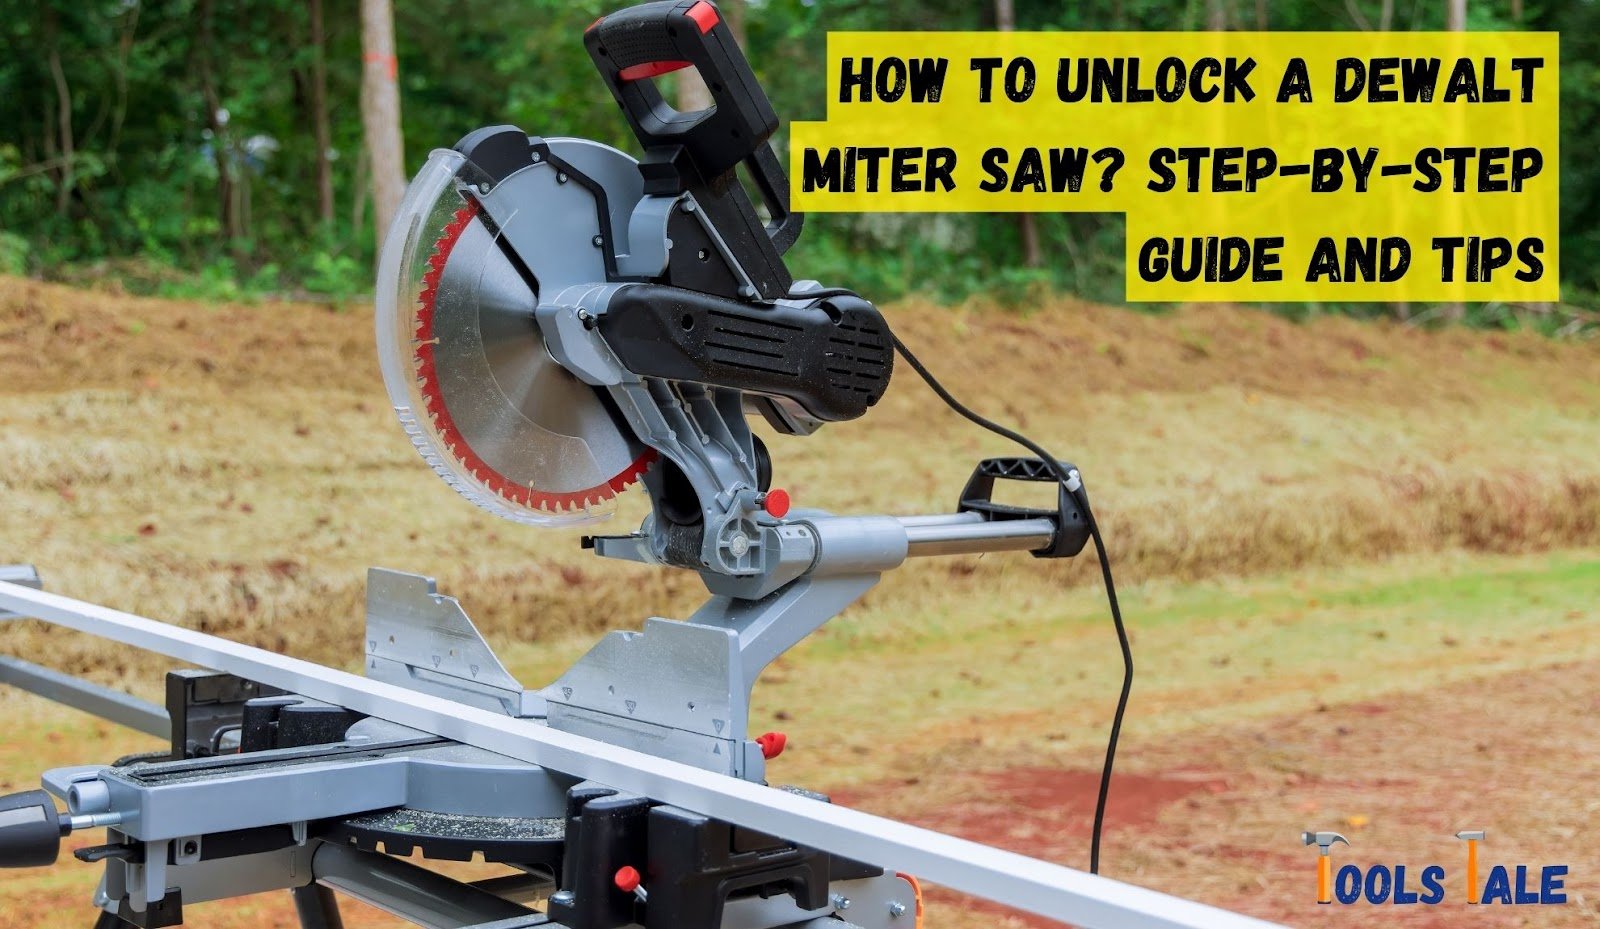
Ready to tap into the full potential of your trusty DeWalt miter saw? You’ve come to the right place! In this quick guide, we’ll dive into the world of “how to unlock a DeWalt miter saw.”
Whether you’re a seasoned pro or just getting started, understanding this fundamental skill will have you making precise cuts in no time. So, grab your safety gear, roll up your sleeves, and let’s unlock the secrets to effortlessly setting your DeWalt miter saw free.
Key Summary: How to Unlock a DeWalt Miter Saw?
Unlocking a DeWalt miter saw, First locate the locking mechanism, typically a handle or lever that secures the saw’s head. Release this lock by either pushing the handle down or releasing the lever, allowing the saw head to move freely. Once unlocked, you can adjust the miter angle or bevel to your desired settings.
[amazon_auto_links id=”11426″]
Unlocking a DeWalt miter saw may seem like a straightforward task, but it’s essential to do it correctly to ensure your safety and the efficiency of your work. In this guide, we’ll take you through the step-by-step process of unlocking a DeWalt miter saw. So, let’s roll up our sleeves and dive into it.
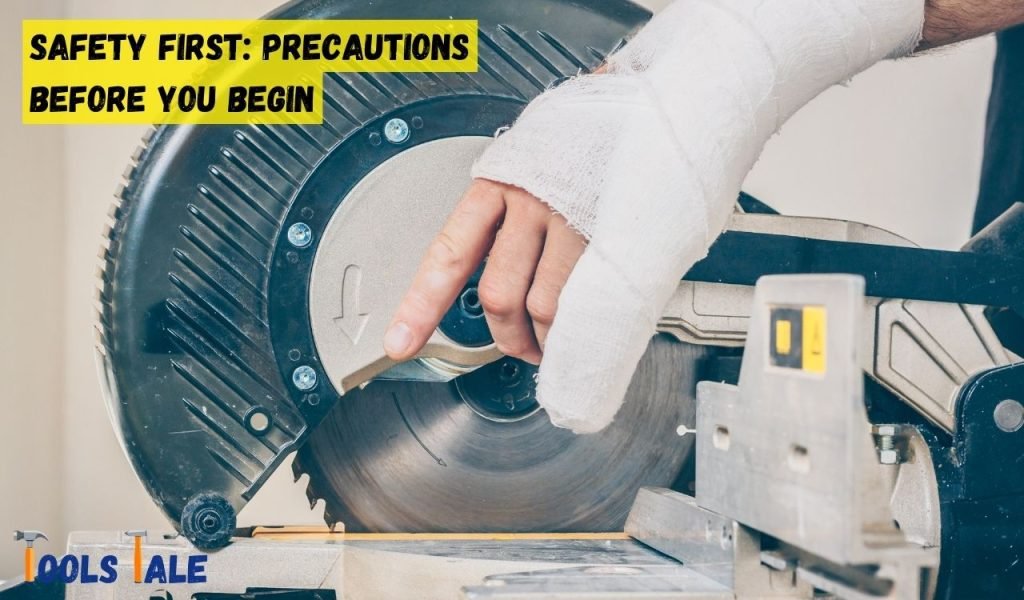
Before we embark on unlocking your DeWalt miter saw, let’s emphasize the importance of safety. Power tools require careful handling, and your safety should always be a priority. Here are some crucial precautions to take before you begin:
Now that we’ve established the safety basics, let’s move on to the heart of the matter—unlocking your DeWalt miter saw.
DeWalt miter saws come in various models, and each may have a slightly different locking mechanism. To unlock your saw efficiently, you need to identify the specific type of locking mechanism on your model. Let’s explore the common locking mechanisms you might encounter:
The lever locking mechanism is one of the most common types found in DeWalt miter saws. It’s user-friendly and straightforward to unlock. Here’s how:
Some DeWalt miter saw models use a pin locking mechanism, which requires a slightly different approach. Follow these steps:
In some advanced DeWalt miter saws, you might encounter a slide rail locking mechanism. This mechanism is designed for added stability during cutting. Here’s how to unlock it:
Now that you’ve identified and successfully unlocked your DeWalt miter saw, you’re one step closer to completing your woodworking projects with ease and precision. However, unlocking is just the beginning. To make the most of your tool, it’s essential to follow best practices, perform regular maintenance, and prioritize safety throughout your work.
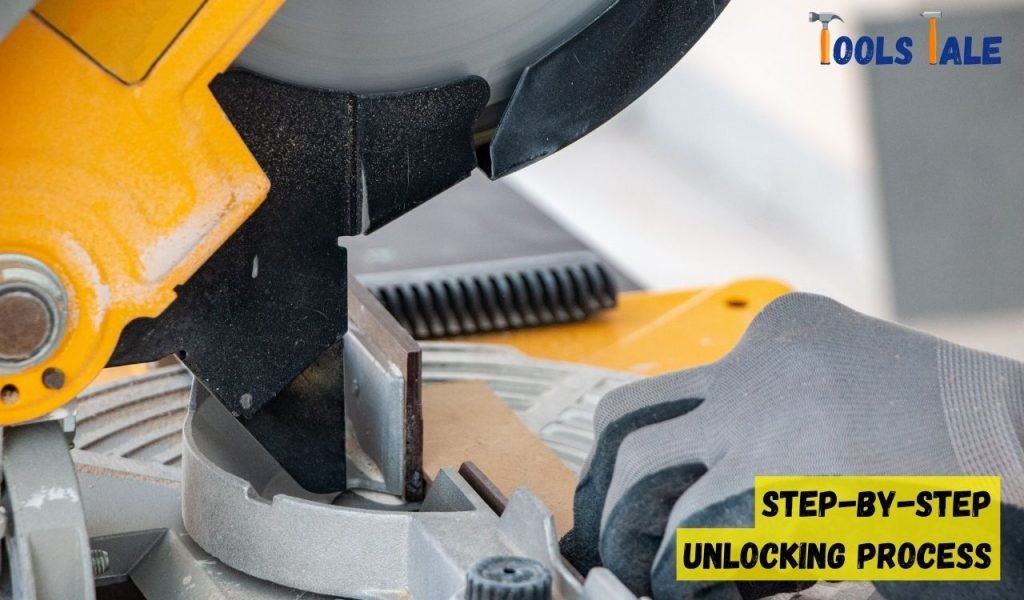
Now that you’re familiar with the importance of safety precautions and have identified the locking mechanism on your DeWalt miter saw, let’s dive into the step-by-step unlocking process. We’ll break down the procedure into clear and easy-to-follow steps to ensure a smooth unlocking experience.
Before you begin unlocking your DeWalt miter saw, ensure that the saw is completely powered off and unplugged from the electrical source. This step is absolutely crucial to prevent any accidental starts or electrical mishaps during the unlocking process.
A cluttered work area can pose serious safety hazards when working with power tools like miter saws. Clearing the workspace is vital to prevent accidents and ensure you have enough room to maneuver the saw safely.
Now that your workspace is clear and safe, it’s time to locate the locking mechanism specific to your DeWalt miter saw model. As discussed earlier, DeWalt miter saws can have different types of locking mechanisms, including lever, pin, or slide rail mechanisms.
With the locking mechanism identified, it’s time to unlock your DeWalt miter saw. Depending on the type of mechanism, follow these steps:
Once you’ve released the locking mechanism, it’s essential to verify that the saw head can now move freely along the intended path. This step ensures that your DeWalt miter saw is indeed unlocked and ready for operation.
Now, you’re ready to tackle your woodworking tasks with confidence, knowing that your saw is in the right working condition.
Unlocking your DeWalt miter saw is just the beginning. To ensure smooth operation and prevent potential issues, consider the following tips and be prepared for troubleshooting when necessary:
Regularly lubricate the pivot points and moving parts of your miter saw. This prevents friction, extends the life of your tool, and ensures that unlocking and adjusting the saw remains effortless.
Miter saws generate a considerable amount of sawdust during use. To keep the locking mechanism and other parts in good condition, manage the dust effectively.
If you ever encounter a situation where the locking mechanism becomes stuck or jammed, don’t panic. Here’s what you can do to troubleshoot the issue:
Proper maintenance and care are essential to keep your DeWalt miter saw in excellent working condition. Regularly following these practices will not only extend the life of your tool but also contribute to safer and more precise cutting:
Regularly inspect the condition of the saw blade. Dull or damaged blades can lead to unsafe cutting and increased strain on the locking mechanism.
To maintain accurate cutting angles, periodically check and calibrate the alignment of your miter saw.
Regular cleaning is essential to prevent dust and debris from accumulating inside the saw, affecting its performance.
Periodically perform a safety check to ensure that all safety features, such as blade guards and safety switches, are functioning correctly.
By following these maintenance and care practices, you’ll not only prolong the life of your DeWalt miter saw but also ensure that it continues to operate smoothly and safely.
In conclusion, unlocking a DeWalt miter saw is the key to unlocking your woodworking potential. By following the steps and safety precautions outlined in this guide, you can confidently and safely unleash the power of your saw. Whether you’re a seasoned woodworker or just starting on your DIY journey, mastering this essential skill will enable you to make precise cuts and tackle a wide range of projects.
Remember, safety always comes first, so be sure to follow the manufacturer’s instructions and use protective gear. Now that you know how to unlock a DeWalt miter saw, it’s time to embark on your next woodworking adventure with confidence and precision.
Unlocking a DeWalt miter saw typically involves locating and disengaging the locking mechanism. Refer to your saw’s user manual for specific instructions based on your model.
Yes, you can unlock it without the manual. Start by identifying the locking mechanism and follow general guidelines for unlocking miter saws. However, it’s advisable to consult the manual for your specific model for safety reasons.
Unlocking a miter saw can be safe if you follow safety guidelines, even without prior experience. However, it’s crucial to read the user manual, wear safety gear, and proceed with caution. If unsure, seek guidance from a professional.
If the locking mechanism is jammed or stuck, first, ensure the saw is powered off and unplugged. Inspect for obstructions, apply lubricant if needed, and carefully attempt to release it. If the issue persists, consult the user manual or seek professional assistance.
Yes, safety is paramount. Always wear safety gear, clear your workspace, and follow the user manual’s guidelines. Ensure the saw is powered off and unplugged before unlocking it.
Pin locking is a common mechanism on miter saws. It involves securing the saw’s position using a pin or knob, ensuring stability during cutting.
Several factors can cause this issue: a dull blade, motor problems, or a tripped safety feature. Consult your user manual and perform troubleshooting steps to identify and address the specific cause.