Physical Address
304 North Cardinal St.
Dorchester Center, MA 02124
Physical Address
304 North Cardinal St.
Dorchester Center, MA 02124

Looking to redecorate without the hassle of hammers? Discover the art of “how to get nails out of wall without hammer.” Say goodbye to dents and dings with these easy DIY techniques. We’ll unlock the secrets of nail removal, no hammer required.
Whether you’re a home improvement enthusiast or just looking for a quick fix, we’ve got you covered. Let’s dive into a world of nail extraction that’s gentle on your walls and hassle-free.
Key Summary: How to Get Nails Out of Wall Without Hammer?
Effortlessly extract nails from walls without a hammer. Employ pliers or needle-nose pliers for a secure grip on the nail head, then pull it out with steady pressure. Alternatively, use a rubber mallet to gently tap the nail out, preventing wall damage.
[amazon_auto_links id=”11426″]
Removing nails from a wall without the use of a hammer is a task that can arise in various DIY scenarios. Whether you’re concerned about preserving the wall’s surface or simply don’t have a hammer on hand, there are alternative methods and tools that can help you achieve this task efficiently and effectively.
One common reason for seeking hammer-free nail removal is the desire to avoid wall damage. Hammers can sometimes cause unintended consequences, such as dents, cracks, or chipped paint, especially on delicate surfaces like drywall or plaster. Additionally, certain situations may necessitate a more precise and controlled approach, making hammer-free methods the preferred choice.
We will explore several techniques and tools that allow you to extract nails from walls without the use of a traditional hammer. These methods range from using pliers and pry bars to employing rubber mallets and putty knives. Each technique has its unique advantages, and selecting the right one depends on factors like the nail type and the condition of the wall.
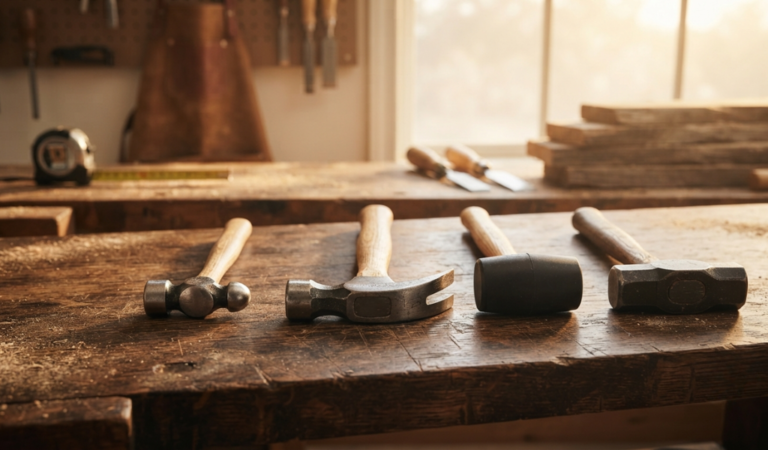
First things first, let’s talk about the importance of using the right tools for the job. While the hammer is the go-to choice for nail removal, there are alternative tools that can perform the task just as effectively, if not better. Here’s a look at some of them:

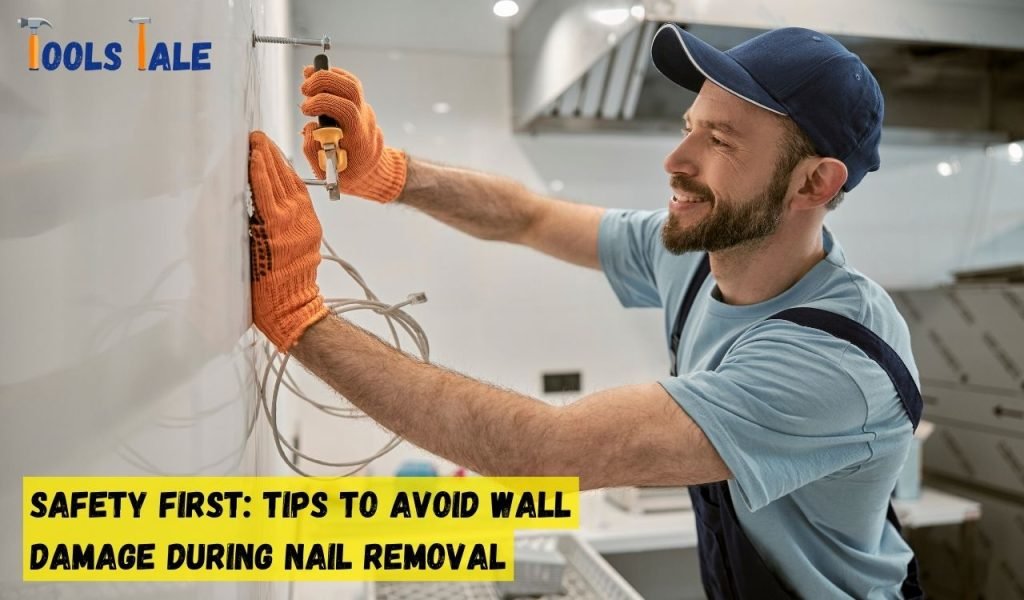
The pliers technique is a versatile and dependable method for removing nails from walls when you don’t have a hammer at your disposal. This method works well for nails with exposed heads and offers excellent control over the extraction process. Here’s a detailed guide:
Ensure you have the necessary tools for the job—a pair of pliers, safety glasses to protect your eyes, and gloves to safeguard your hands.
Stand facing the wall with the nail you want to remove. Position the pliers as close to the wall as possible while ensuring you have a firm grip on the nail head.
With a secure grip on the nail head, begin twisting the pliers counterclockwise. The twisting motion helps loosen the nail from its position in the wall. Continue twisting until you feel the nail start to come free.
Exercise caution during this process to prevent damaging the wall. Apply steady but gentle force to avoid creating additional holes or cracks in the wall.
Once the nail is sufficiently loosened, continue twisting and pulling it out with the pliers. Ensure you extract the nail completely.
After successfully removing the nail, inspect the wall for any minor imperfections. Depending on the wall’s condition, you may need to perform some minor touch-up work.
The pliers technique is a straightforward yet effective way to remove nails from walls without the need for a hammer. It’s a versatile method that works well for a wide range of nail sizes and provides excellent control over the extraction process.
Needle-nose pliers are slender and precise tools, making them an excellent choice for nail removal, especially in situations where you’re dealing with small nails or tight spaces. Here’s a step-by-step guide for the needle-nose pliers technique:
Ensure you have the necessary tools—a pair of needle-nose pliers, safety glasses to protect your eyes, and gloves to protect your hands.
Stand facing the wall with the nail you wish to remove. Position the needle-nose pliers around the exposed nail head. Ensure a tight and secure grip on the nail.
With a firm grip on the nail head, apply steady and even force to pull the nail out. Needle-nose pliers provide the precision required for this task.
Continue applying force while gently pulling the nail out of the wall. Take your time to ensure you extract the nail completely without causing any damage to the wall.
After successful nail removal, inspect the wall for any minor imperfections. Depending on the wall’s condition, you may need to perform minor touch-up work.
The needle-nose pliers technique is perfect for delicate nail removal, especially in situations where precision is crucial. Whether you’re working in tight spaces or dealing with smaller nails, needle-nose pliers provide the control you need for a successful extraction.
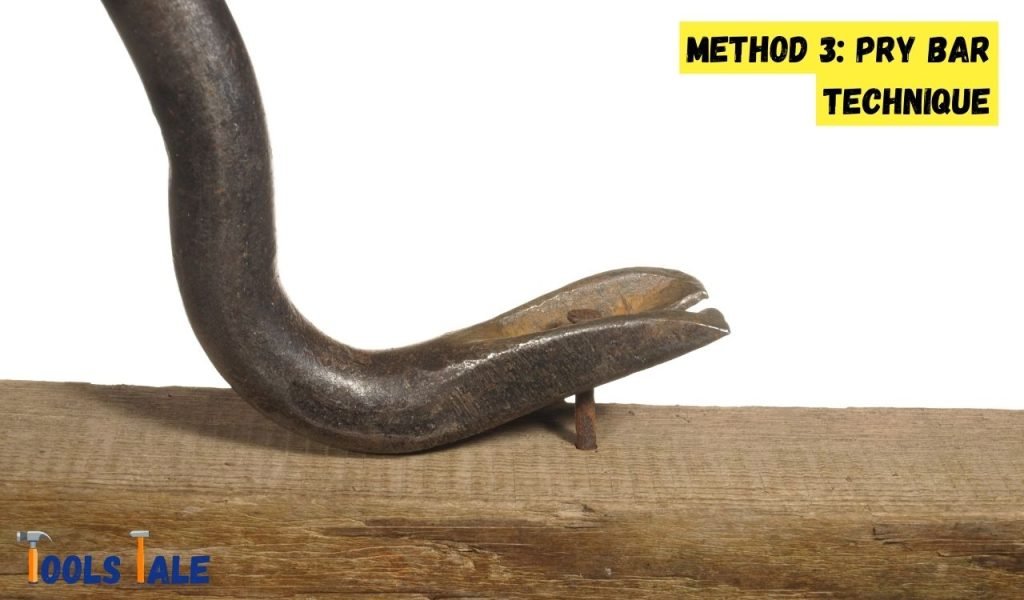
The pry bar technique, often employing a crowbar or a wrecking bar, is a reliable method for removing nails from walls without the need for a hammer. It’s particularly effective when dealing with nails deeply embedded in the wall or when you want to minimize wall damage. Here’s a detailed walkthrough:
Begin by ensuring you have the necessary tools on hand. A pry bar or crowbar is your primary tool for this method. Additionally, prepare a wooden block or a small piece of scrap wood to protect the wall during the process.
Approach the nail from the side where the head is exposed. Carefully insert the flat end of the pry bar or crowbar under the nail head. Ensure the wooden block is in place against the wall, ready to shield it from any damage.
With the pry bar in position, it’s time to apply upward pressure. Use the leverage provided by the pry bar to lift the nail out slowly. Be patient and cautious, as using too much force can cause unintended damage to the wall.
Throughout the process, maintain a gentle and controlled approach. Avoid sudden movements that could result in wall dents or cracks. Slow and steady wins the day when using the pry bar technique.
The pry bar technique is a fantastic choice when you need to extract nails securely, especially in situations where other methods may not provide enough leverage. Just remember to exercise care and attentiveness to safeguard both your wall and the nail you’re removing.
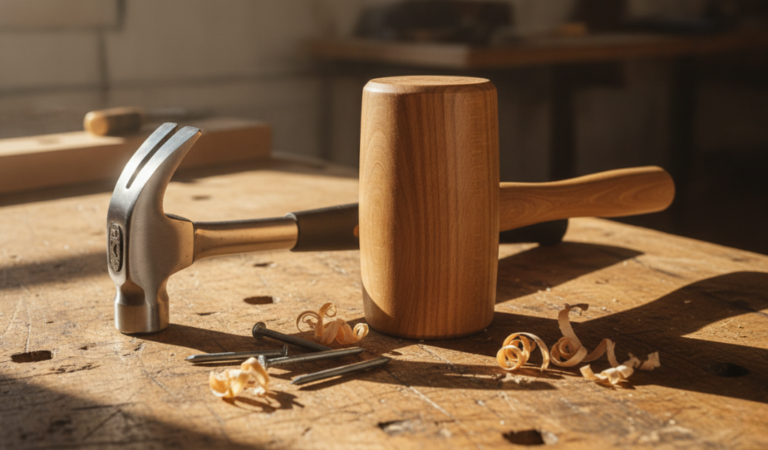
The rubber mallet technique adds a touch of finesse to nail removal. By gently tapping the nail with a rubber mallet, you can loosen it from its position, making it easier to extract. This method is particularly useful when you want to minimize wall damage or when working with stubborn nails. Here’s how to do it:
Ensure you have the necessary tools on hand—a rubber mallet and a pair of pliers or vice grips for nail removal.
Position the rubber mallet over the nail head. Begin by gently tapping the nail head. The aim here is not to drive the nail further in but to loosen it from its current position.
After a few taps, test the nail’s mobility by attempting to move it with your fingers. If it feels looser, you’re on the right track. If not, continue tapping until it starts to give way.
Once the nail is loose enough, use your pliers or vice grips to grip the nail head securely. Apply steady, even force while pulling the nail out. Take your time to prevent any wall damage during the process.
With the nail successfully removed, inspect the wall for any minor dents or imperfections. You may need to do some touch-up work, depending on the wall’s condition.
The rubber mallet technique offers a delicate approach to nail removal, making it an excellent choice for situations where you want to minimize the impact on your wall’s surface. It’s a method that combines finesse with effectiveness.
The putty knife or spatula technique is all about finesse and gentleness. It’s an excellent choice when you need to remove a nail from the wall without causing any damage to the surrounding area. Here’s how to master this technique:
Start by ensuring you have the required tools—your putty knife or spatula and a pair of pliers or vice grips for nail removal.
Carefully insert the thin edge of the putty knife or spatula under the nail head. The idea is to create a slight gap between the nail head and the wall surface.
With the tool in place, gently lift and pry the nail head away from the wall. Apply even pressure to avoid causing any damage to the wall surface.
Once you’ve created enough space under the nail head, use your pliers or vice grips to grip the nail securely. Pull the nail out slowly and steadily, ensuring that the wall remains undamaged.
After the nail is successfully removed, inspect the wall for any minor imperfections. If necessary, perform any touch-up work to restore the wall’s appearance.
The putty knife or spatula technique is an excellent choice when you need precise control over the nail removal process. It’s particularly effective for delicate wall surfaces where you want to avoid any damage. With this method, you can say goodbye to those unwanted nails without leaving a trace.
When it comes to removing nails from your walls, safety should be your top priority. Using the wrong techniques or applying too much force can result in unsightly wall damage that requires additional repair work. To help you preserve the integrity of your walls while effectively removing nails, we’ve put together a set of essential safety tips. Follow these guidelines to avoid wall damage during nail removal:
Before you begin, don’t forget to gear up with the following protective equipment:
Wearing this protective gear will ensure your safety and prevent accidents during the nail removal process.
Take a close look at the wall surface where the nail is located. Different types of walls require different approaches to prevent damage:
Before you remove any nails, use a stud finder or a similar tool to detect hidden obstacles behind the wall, such as electrical wires or plumbing. Knowing the wall’s internal structure will help you avoid damaging vital components.
Select the appropriate nail removal method based on the type of nail and your wall surface. For example:
Regardless of the method you choose, apply force gently and with control. Avoid sudden, jerky movements that could lead to wall damage. Slow, steady pressure is your best friend during nail removal.
After successfully removing the nail, inspect the wall for any minor imperfections or damage. Depending on the wall’s condition, you may need to perform some minor touch-up work to restore its appearance.
By following these safety tips and choosing the right nail removal method for your specific situation, you can effectively remove nails from your walls while minimizing the risk of damage.
To wrap things up, mastering the skill of removing nails from a wall without a hammer is a valuable addition to your DIY repertoire. These techniques allow you to preserve your walls and make your projects more manageable. Whether you opt for pliers, pry bars, rubber mallets, or putty knives, these methods offer precision and control.
Bid farewell to wall damage and welcome an easier, more efficient DIY experience. Armed with these skills, you can confidently handle any home improvement task while keeping your walls in pristine condition.
To remove nails without a hammer, you can use various tools like pliers, needle-nose pliers, pry bars, rubber mallets, or putty knives. These alternatives provide more control and precision.
Common tools for nail removal without a hammer include pliers, needle-nose pliers, pry bars, rubber mallets, and putty knives. The choice depends on the nail type and wall surface.
Yes, it’s crucial to wear safety glasses and gloves to protect yourself. Additionally, be cautious of potential hidden obstacles within the wall that may affect your removal process.
Select the method based on the nail type and wall surface. Use pliers or vice grips for exposed nails, a pry bar for stubborn ones, and a putty knife for delicate surfaces.
It’s not advisable to reuse nails after removal, as they may be compromised during the process and may not provide a secure hold.
To achieve a smooth wall surface, sand the area, patch any holes or imperfections, and repaint if necessary. This will restore the wall’s appearance after nail removal.