Physical Address
304 North Cardinal St.
Dorchester Center, MA 02124
Physical Address
304 North Cardinal St.
Dorchester Center, MA 02124
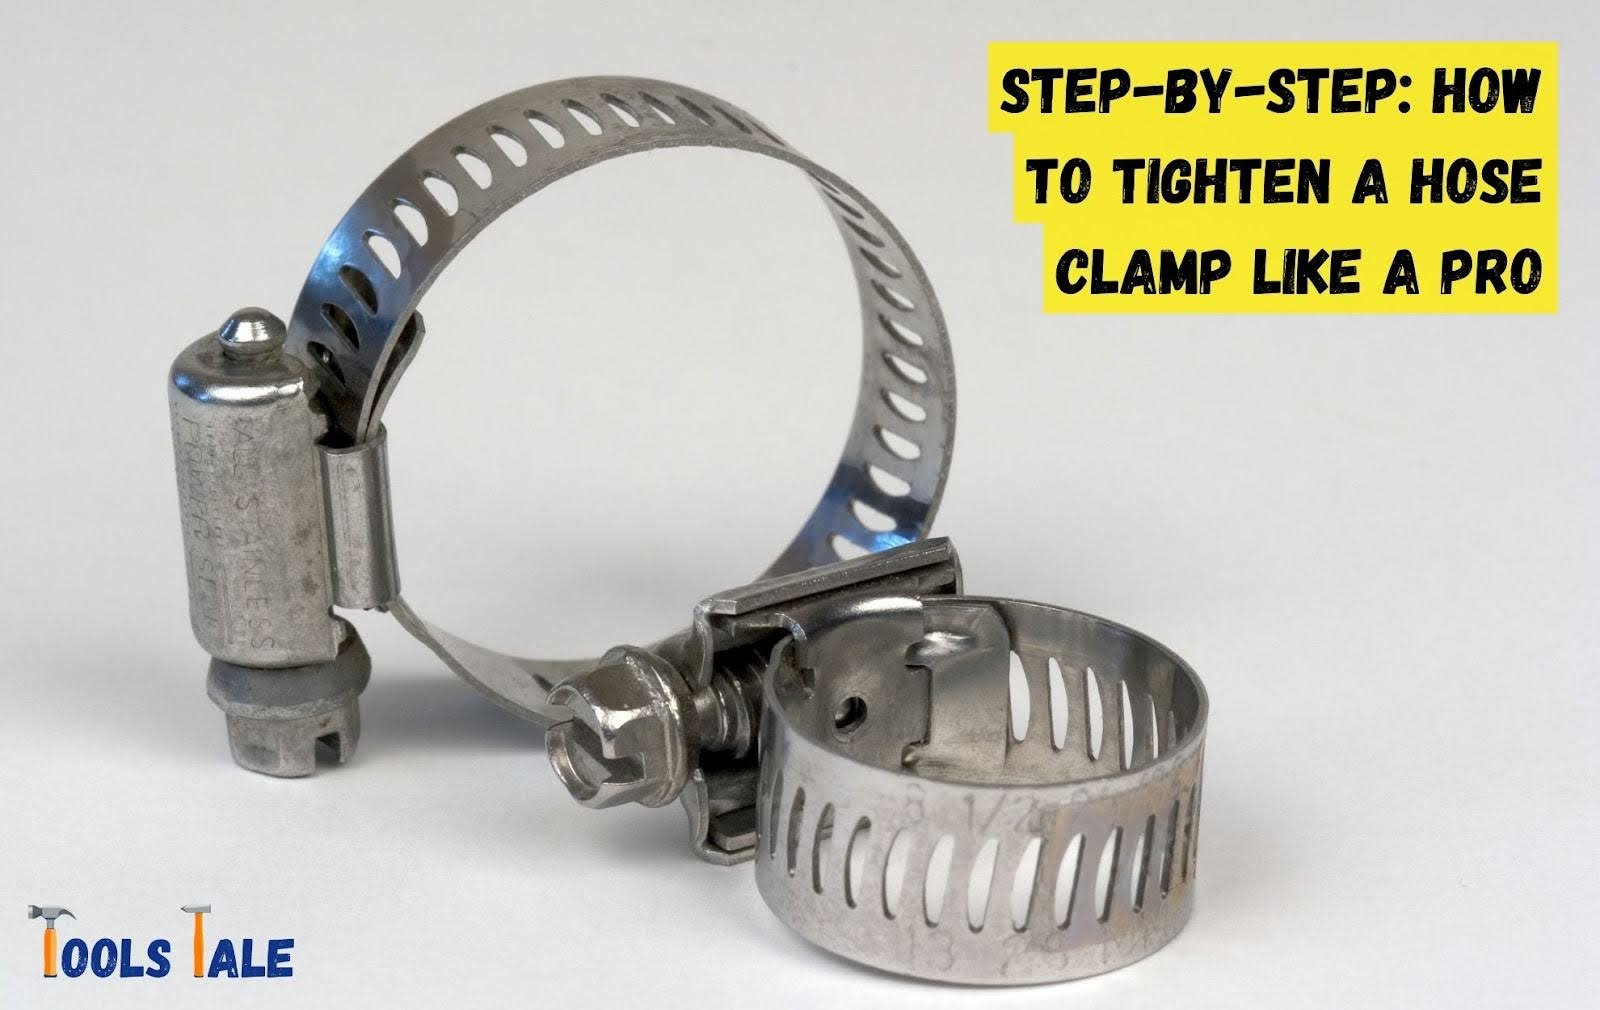
How to tighten a hose clamp? Ever found yourself wrestling with a loose hose or a potential leak? Fear not! Mastering the art of tightening a hose clamp is simpler than you think. In this quick guide, we’ll unravel the secrets of achieving a snug fit that keeps things leak-free. Whether you’re a DIY enthusiast or just want to tackle everyday challenges, tightening a hose clamp is a skill that pays off. Let’s dive into the nitty-gritty and ensure your hoses stay securely fastened-no leaks, no fuss!
Key Summary: How to Tighten a Hose Clamp?
Use a screwdriver or clamp tool, prioritize safety with gloves and eye protection. Follow a step-by-step process, inspect for issues, and avoid over-tightening. Conquer common problems like rusty clamps and misaligned hoses. Keep your connections leak-free for optimal performance.
[amazon_auto_links id=”11426″]
Tightening hose clamps might seem like a mundane task, but its significance cannot be overstated. A loose or improperly tightened hose clamp can lead to leaks, decreased efficiency, and potential damage to your equipment. Think of it as the seatbelt for your hoses – it ensures a secure connection, preventing any unexpected “accidents” in the form of leaks or hose disconnections.
Properly tightened hose clamps create a reliable seal, maintaining the integrity of the fluid system. Whether it’s a coolant hose in your car or a garden hose in your backyard, the consequences of overlooking this simple step can be messy and costly.

Now that we understand the importance, let’s dive into the practical aspects of how to tighten a hose clamp effectively. Here are the essential tools and materials you’ll need:
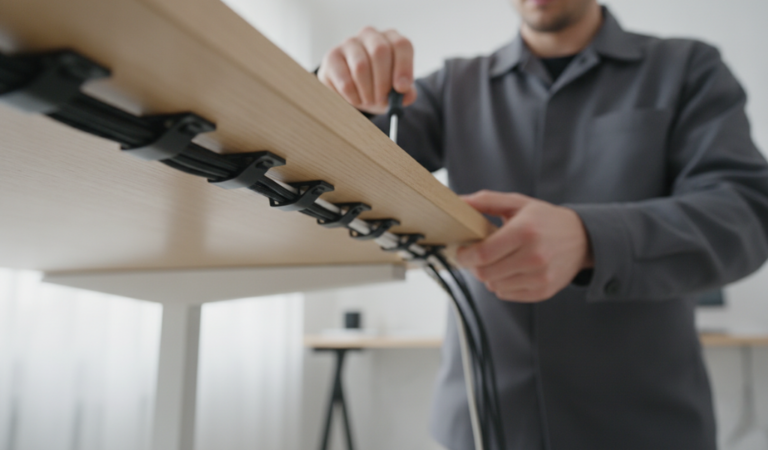
Choosing the right tool is paramount. A screwdriver or a specialized clamp tool is typically used, depending on the type of hose clamp. A flathead or Phillips screwdriver works well for traditional worm-drive clamps, while spring clamps may require a clamp tool for optimal tightening.
Before you start, don’t forget about safety. Gloves and eye protection are essential, especially if you’re working with clamps in tight or hard-to-reach spaces. Safety first ensures a worry-free tightening process.
For those tricky spots where visibility is limited, an inspection mirror comes in handy. It allows you to assess the clamp’s tightness without contorting yourself into uncomfortable positions.
It’s always wise to have a few replacement clamps on hand. If you discover a damaged or corroded clamp during the tightening process, you can replace it immediately, preventing potential issues down the line.
When it comes to tightening hose clamps, safety should always be the top priority. Following proper precautions ensures not only the success of the task but also minimizes the risk of accidents and potential injuries. Let’s delve into the essential safety measures to take when tightening hose clamps.
Before you even think about tightening a hose clamp, conduct a thorough inspection of both the hose and the clamp. Look for any visible issues such as cracks, wear, or corrosion. Addressing these concerns upfront ensures a smooth tightening process and prevents exacerbating existing problems.
Selecting the appropriate tool is a critical safety consideration. Whether it’s a screwdriver or a specialized clamp tool, ensure it fits snugly onto the clamp’s screw or mechanism. A well-fitted tool minimizes the risk of slippage during the tightening process, reducing the potential for accidents.
As you begin the tightening process, start by gently loosening the clamp. Applying excessive force can lead to unexpected consequences, especially when dealing with rusty clamps. Consider using a bit of penetrating oil to facilitate the loosening without causing damage.
Safety extends to how you handle the hose before tightening. Ensure the hose is correctly positioned and free from any kinks or twists. Proper alignment not only ensures a secure fit but also reduces the likelihood of damaging the hose during the tightening process.
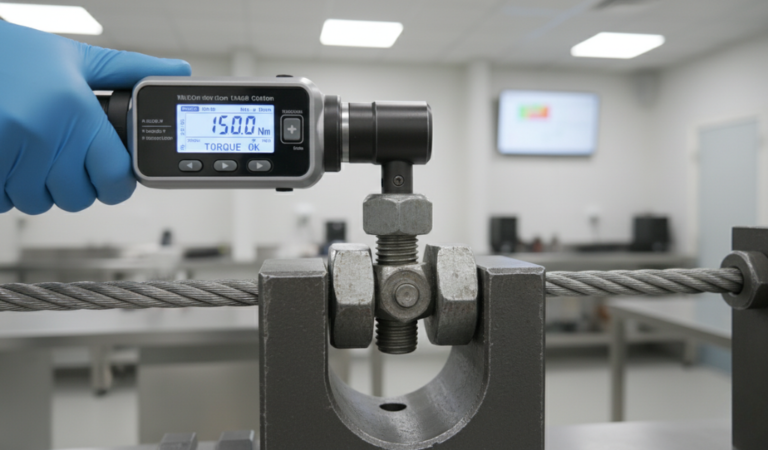
During the actual tightening, the key is to apply pressure evenly across the clamp. Avoid the temptation to over-tighten, as this can result in damage to both the hose and the clamp. Strive for a secure fit without unnecessary force, maintaining the integrity of the components.
Once the tightening is complete, don’t consider the job done without a final check. Double-check the tightness of the clamp, ensuring it’s secure. Give the hose a gentle tug to confirm it’s securely in place. This additional step acts as a safety measure, providing peace of mind that the connection is reliable and leak-free.

Before embarking on the tightening journey, take a moment to inspect your hose clamp. Look for any visible issues such as rust, wear, or misalignment. Ensure that the hose and clamp are in good condition and free from any potential hindrances.
Selecting the right tool is crucial for a successful tightening process. Depending on the type of hose clamp, choose between a flathead or Phillips screwdriver for traditional worm-drive clamps or a specialized clamp tool for spring clamps. The unsung heroes ensure precision in your tightening efforts.
Gently loosen the clamp by turning the screw counterclockwise using your chosen tool. Exercise caution, especially with rusty clamps, to avoid damaging the hose or the clamp. This step prepares the clamp for the upcoming tightening ritual.
Before tightening, ensure the hose is liberated from any kinks or twists. Properly align the hose for a secure fit during the tightening process. This step ensures a smooth and hassle-free connection without compromising the integrity of the hose.
Take a moment to inspect the hose and clamp thoroughly. Look for any debris or excess lubricant that may hinder the tightening process. Cleaning up the connection area ensures a pristine environment for the upcoming tightening ritual.
Now comes the main event – the tightening dance. Place your tool on the clamp’s screw and turn it clockwise. Apply even pressure across the clamp to achieve a uniform and secure fit. Avoid over-tightening to prevent damage to the hose or the clamp. Ensure a perfect fit to guarantee a leak-free and reliable connection.
By following these six steps, you’ll master the art of tightening hose clamps, ensuring not only a secure connection but also contributing to the longevity of your equipment. Each step plays a crucial role in the tightening ritual, from inspecting and choosing the right tool to safely removing the hose and executing the perfect tightening dance. With this step-by-step guide, you’re ready to tighten hose clamps with confidence and precision.
By anticipating and conquering these common issues, you’ll navigate the hose clamp tightening process with confidence and effectiveness. Addressing challenges promptly ensures a successful and reliable connection in various scenarios.
In conclusion, mastering how to tighten a hose clamp is a valuable skill for ensuring leak-free connections and optimal performance. With the right tools and techniques, you can tackle this task confidently, whether you’re a seasoned DIY enthusiast or a beginner. Regular maintenance and attention to detail will go a long way in preserving the integrity of your hoses and preventing potential leaks. Remember, a snug hose clamp today keeps the leaks away tomorrow!
A hose clamp is a mechanical device designed to secure a hose over a fitting, preventing leaks and ensuring a tight connection. It typically consists of a band, screw, or worm gear for tightening.
Tools for tightening hose clamps include a screwdriver or specialized clamp tool. Choose based on the clamp type to ensure a precise and effective tightening process.
A hose clamp should be tightened sufficiently to secure the hose without causing damage. It needs to provide a snug fit to prevent leaks, yet over-tightening should be avoided to prevent deformation or cutting into the hose.
Various types of hose clamps, such as worm-drive, spring, wire, and T-bolt clamps, cater to specific applications and hose sizes. Understanding each type ensures proper usage for effective hose connections.
Various hose clamps are designed for specific applications. Worm-drive clamps work well for general use, while spring clamps are ideal for automotive applications, and T-bolt clamps provide high-pressure solutions.
The strength of a hose clamp varies based on its type and materials. Stainless steel clamps offer high strength and corrosion resistance, suitable for demanding applications, while plastic clamps may have lower strength, ideal for lighter use.
A clamp lock typically employs a screw mechanism to tighten the band around the hose and secure it in place. This tightening action ensures a firm grip, preventing leaks and providing a reliable connection.