Physical Address
304 North Cardinal St.
Dorchester Center, MA 02124
Physical Address
304 North Cardinal St.
Dorchester Center, MA 02124

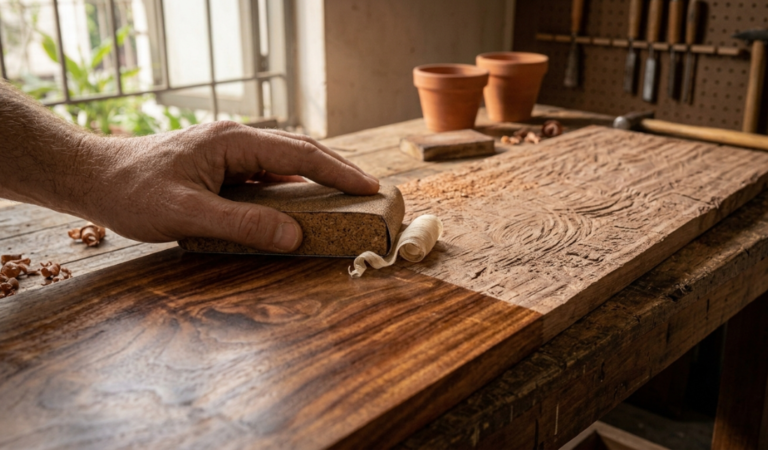
Can you sand MDF? Absolutely! If you’ve ever wondered about the art of transforming a Medium-Density Fiberboard into a polished masterpiece, you’re in the right place. Sanding MDF opens the door to creating smooth, flawless finishes for your woodworking and DIY projects.
In this guide, we’ll dive into the ins and outs of sanding MDF, from safety tips to choosing the perfect sandpaper. So, whether you’re a seasoned woodworker or just starting out, let’s explore the world of MDF and unleash your project’s full potential.
Key Summary: Can You Sand MDF?
You can sand MDF. MDF sanding is possible, but precautions are crucial. Use a fine-grit sandpaper, wear a mask, and work in a well-ventilated area. Sanding MDF can create harmful dust, so proper safety measures are vital for a smooth finish on your MDF projects.
[amazon_auto_links id=”11426″]
Medium-Density Fiberboard, commonly known as MDF, is a versatile material used in woodworking and construction. But can you sand MDF? Absolutely, and it’s a valuable skill to have in your DIY arsenal. Sanding MDF allows you to achieve a smooth and refined surface, perfect for various applications like painting, staining, or adding veneers.
MDF is composed of wood fibers and resin, pressed and heated to create a dense and uniform sheet. However, due to its composition, it can have rough edges and surfaces that require sanding to achieve the desired finish.
Sanding MDF serves several purposes:
To achieve the best results when sanding MDF, you’ll need the right tools and materials at your disposal. Here’s a checklist:

Sanding Medium-Density Fiberboard (MDF) is a common practice in woodworking and DIY projects. It allows you to achieve a smooth and polished surface, making MDF suitable for painting, staining, or applying veneers.
However, it’s crucial to prioritize safety when sanding MDF, as the process can generate fine dust particles that pose health risks when inhaled. This guide provides essential safety precautions to ensure you can sand MDF securely.
MDF dust consists of tiny wood particles and can be harmful if inhaled. To protect your respiratory health, follow these dust control measures:
Invest in a high-quality dust mask specifically designed to filter out fine particles. Ensure it fits snugly over your nose and mouth to prevent dust from entering.
Protect your eyes from airborne dust and particles by wearing safety goggles with a snug seal. Goggles with side shields offer extra protection.
Wear long-sleeved shirts and pants to minimize skin exposure to MDF dust. This also helps prevent any skin irritation or allergies caused by contact with the dust.
Proper ventilation is essential to disperse MDF dust and maintain a clean and safe workspace.
Whenever possible, set up your sanding workspace in a room with good airflow. Open windows or doors to allow fresh air to circulate.
Attach a dust collection system or shop vacuum to your sander. This equipment effectively captures dust at the source, minimizing airborne particles and keeping your workspace cleaner.
Sanding MDF can be noisy, which can lead to hearing damage if not adequately protected.
Wear earplugs or earmuffs to reduce exposure to loud sanding noises. Ensure they fit properly and create a seal around your ears to provide maximum protection.
Selecting the appropriate sandpaper grit is vital to achieving the desired results and minimizing unnecessary dust generation.
Use coarse-grit sandpaper for initial sanding to remove rough spots, imperfections, or uneven edges. Coarse grit removes material quickly but may leave deeper scratches.
Transition to medium-grit sandpaper for smoothing and shaping the MDF. This grit level helps refine the surface and reduces the need for excessive sanding.
Finish with fine-grit sandpaper to create a smooth and polished surface. Fine grit removes smaller imperfections and prepares the MDF for finishing.
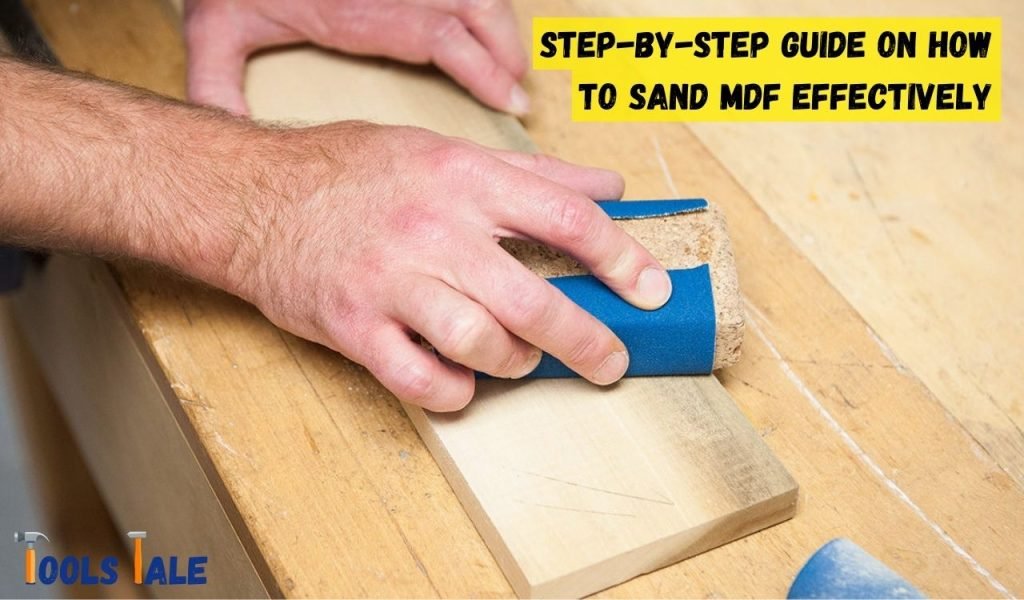
Sanding Medium-Density Fiberboard (MDF) effectively requires a methodical approach to achieve the desired smoothness and finish. Follow these steps to master the art of MDF sanding:
Before you begin sanding, ensure that your workspace is ready:
Selecting the appropriate grit of sandpaper is crucial for effective sanding. Begin with a coarse-grit sandpaper (around 60-100) and progress to finer grits as needed:
Ensure that the MDF piece you’re sanding is securely fastened to your work surface:
Now it’s time to start sanding the MDF:
Regularly inspect your work to ensure you’re achieving the desired level of smoothness:
As you progress, switch to finer-grit sandpaper to refine the surface:
Pay special attention to sharp edges:
After achieving the desired level of smoothness, it’s time to clean and inspect your work:
If needed, you can take some final steps to prepare the MDF for finishing:
By following these steps, you can sand MDF effectively and achieve a professional finish. Remember to prioritize safety throughout the process, and take your time to ensure that each sanding step contributes to a smooth and polished result.
Sanding Medium-Density Fiberboard (MDF) is a crucial step in achieving a smooth and polished finish for your woodworking or DIY projects. However, several common mistakes can hinder your progress and compromise the quality of your final result. To ensure the best possible outcome, it’s essential to be aware of these mistakes and take proactive steps to avoid them:
Safety should always be your foremost concern when working with MDF. Neglecting safety precautions can lead to health risks and accidents. To avoid this mistake:
Effective sanding involves a gradual progression through different grit levels of sandpaper. Skipping grit levels can result in an uneven finish and may require more extensive sanding than necessary. Avoid this mistake by adhering to the recommended grit sequence:
Overly aggressive sanding, characterized by excessive pressure on the sandpaper or sanding block, can create uneven surfaces and may even damage the MDF. To avoid this mistake:
MDF has a specific grain direction, and sanding against it can lead to splintering and the creation of rough spots. To achieve a smoother finish:
Sharp edges on MDF can not only be dangerous but also detract from the overall aesthetics of your project. To avoid this oversight:
After successfully sanding MDF, you have the option to finish and seal it for a polished look and added protection. Here’s how:
By following these steps and avoiding common mistakes, you can achieve impressive results when sanding MDF and create stunning woodworking projects with a professional finish.
Sanding MDF opens up a world of possibilities for woodworking and DIY projects, allowing you to achieve smooth, professional finishes. By following the right techniques, using the appropriate grits, and prioritizing safety, you can transform this versatile material into works of art.
So, roll up your sleeves, grab your sandpaper, and embark on your MDF sanding journey with confidence. Whether you’re a beginner or a seasoned woodworker, the art of sanding MDF is a skill worth mastering for outstanding results in your creations.
Medium-Density Fiberboard (MDF) is an engineered wood product made from wood fibers, resin, and wax. People sand MDF to smooth its surface, remove imperfections, and prepare it for painting, staining, or veneering.
Yes, you can sand MDF. Sanding MDF is a common practice in woodworking and DIY projects to achieve a smooth and polished finish.
MDF is not particularly hard to sand, but it can be time-consuming, especially when achieving a smooth finish. Using the right sandpaper and technique is key to successful sanding.
Start with coarse-grit sandpaper (around 60-100) for initial sanding to remove rough spots. Progress to medium (120-150) and fine (180-220) grits for a smooth finish when sanding MDF.
Yes, you can use an electric sander on MDF. It’s efficient and saves time. Just ensure you choose the right grit sandpaper and apply even pressure for smooth results.
No, MDF is not waterproof. It’s highly susceptible to moisture damage. Avoid exposing it to water or high humidity, as it can cause swelling and warping.
Sealing MDF after sanding serves two main purposes: it protects the finished surface from moisture damage and enhances the durability of the material, ensuring your project lasts longer.
Drying times for finishes on sanded MDF vary based on the type of finish used. Follow the manufacturer’s instructions for precise drying and curing times, typically ranging from a few hours to several days.