Physical Address
304 North Cardinal St.
Dorchester Center, MA 02124
Physical Address
304 North Cardinal St.
Dorchester Center, MA 02124
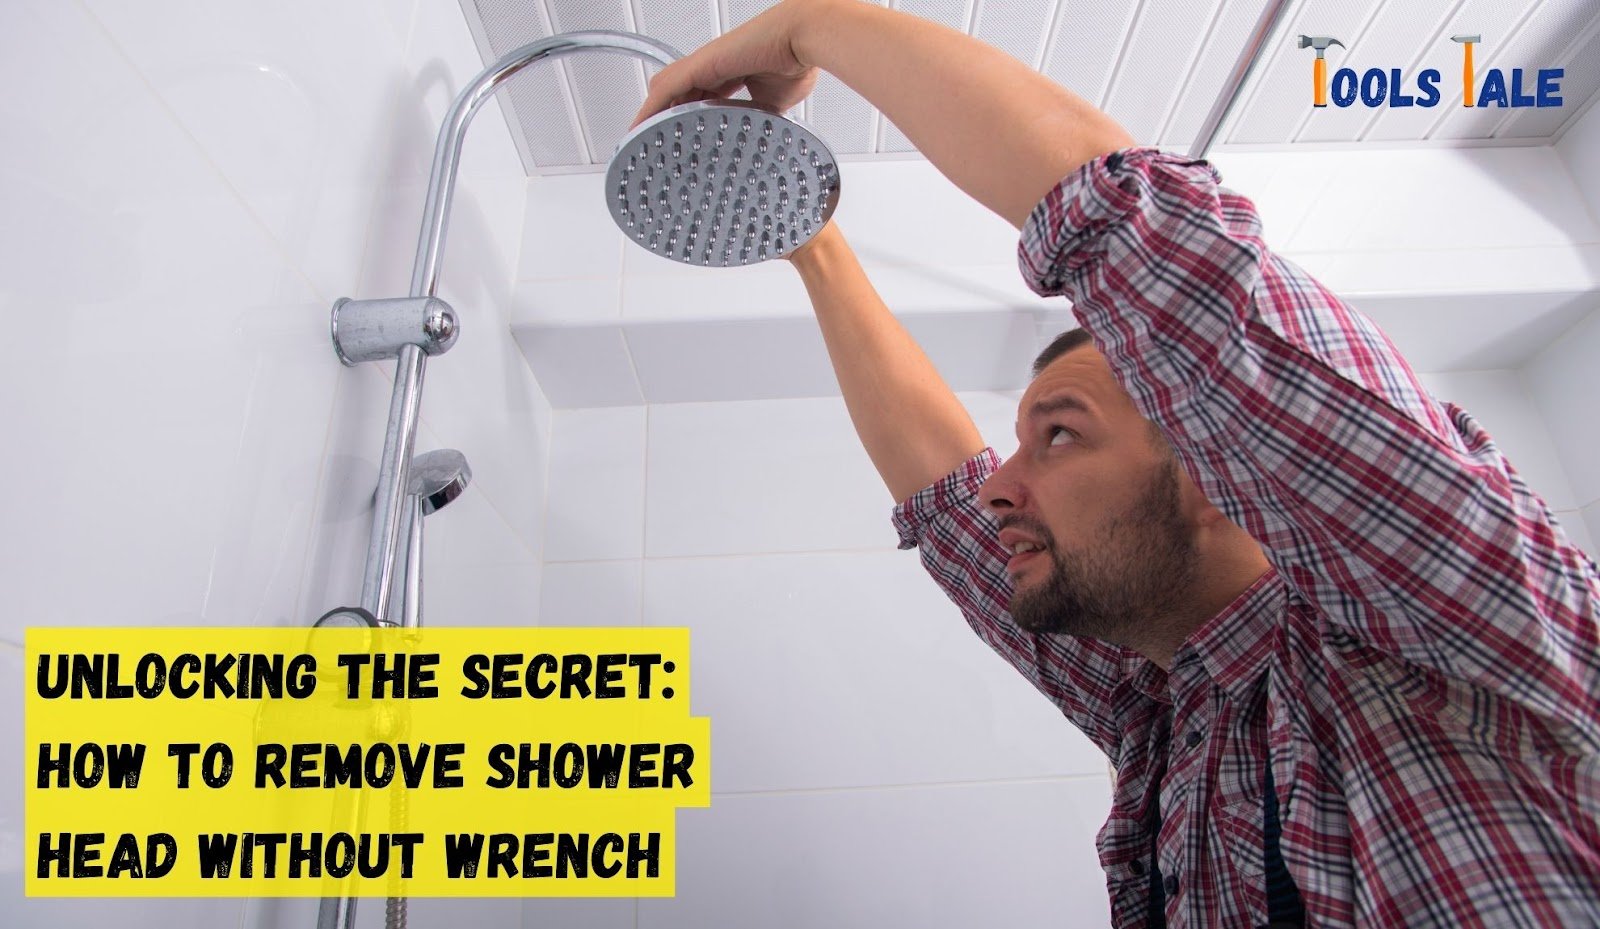
Are you tired of wrestling with a wrench every time you need to remove your shower head? Well, here’s the good news – How to remove shower head without wrench is about to be your new favorite bathroom hack. This quick guide is all about making your life easier by eliminating the need for that pesky wrench. Say goodbye to the frustration and hassle as we unveil a simpler way to get the job done.
No more searching for tools or struggling with tight spots – just straightforward tips and tricks to make your shower head removal a breeze. So, let’s jump right in and discover how to remove shower head without wrench, making your daily routine a whole lot smoother!
Key Summary: How to remove shower head without wrench?
Removing a shower head without a wrench is simple. First, turn off the water supply. Then, wrap a cloth around the shower arm for grip. Use pliers to loosen the shower head counterclockwise. Once loose, twist it off by hand. Voila! Your shower head is removed without a wrench.
[amazon_auto_links id=”11426″]
Removing a shower head without a wrench may sound like a daunting task, but with the right guidance, it can be a straightforward and cost-effective DIY project. In this comprehensive guide, we will walk you through the process step by step, offering practical tips and insights to make the task hassle-free.
Before we delve into the intricate steps of removing a shower head without a wrench, it’s essential to prepare your toolkit. Here, we’ll outline the essential tools and materials you’ll need for a successful shower head removal adventure.
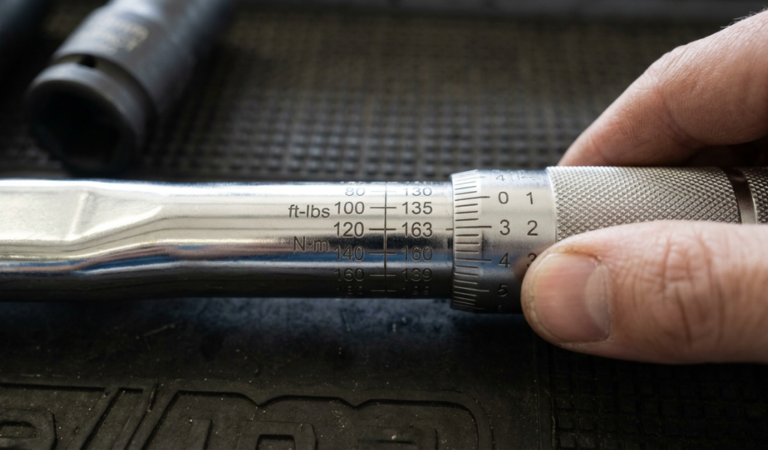
The star of this toolkit is a pair of adjustable pliers. These will serve as your primary tool for gripping and turning the shower head, making the wrench obsolete.
Pipe tape, also known as Teflon tape, plays a crucial role in this process. It ensures a watertight seal when you reattach the shower head, preventing leaks and drips.
An old cloth or towel is your unsung hero for this project. Wrapping it around the shower head’s base protects the finish from potential scratches or dents during the removal process.
A bucket or container serves as a simple yet effective solution to catch any water that may drip during the removal. It keeps your workspace dry and tidy.
With these tools at your disposal, you’re well-equipped to embark on your shower head removal journey without a wrench. These everyday items, combined with the right techniques, will ensure a smooth and successful DIY experience.

Ensuring a safe and seamless shower head removal is paramount. Before we dive into the wrench-free removal techniques, let’s explore the crucial safety precautions you should undertake.
Safety begins with control. Locate and identify the water supply valves dedicated to your shower. Execute a clockwise turn on these valves until they are fully closed. This preventive measure stops water from surging out unexpectedly during the removal process.
After shutting off the water supply, exercise patience. Give the pipes a moment to drain any residual water. This small act of waiting minimizes the risk of surprise water spillage during the removal.
Your eyes require special protection in this endeavor. Equip yourself with safety goggles to safeguard against water droplets or potential debris that might be propelled during the shower head removal. These goggles are a small investment in safety.
The right gear enhances safety and practicality. Don a pair of gloves before you commence. Not only do they offer a secure grip on tools, but they also protect your hands from potential hazards throughout the process.
As a final protective measure, secure the shower head. Take an old cloth or towel and wrap it snugly around the base of the shower head. This seemingly simple act shields the finish from undesirable scratches or dents that can occur during the removal process.

Now that you’ve taken the necessary safety precautions and prepared your workspace, it’s time to dive into the detailed instructions for removing your shower head without the need for a wrench. Each step has been carefully crafted to make the process as smooth as possible.
Your trusty adjustable pliers will be the star of this show. Here’s how to proceed:
If the shower head seems stubborn and won’t loosen, you can apply a lubricant, such as WD-40, to make the process smoother. After applying the lubricant, wait for a few minutes before attempting to turn it again. Be sure to wipe off any excess lubricant before proceeding.
Once the shower head is sufficiently loosened, it’s time to get hands-on:
With the shower head successfully removed, take the opportunity to clean it thoroughly, especially if there are mineral deposits or buildup. Here’s how:
Now, gently screw the shower head back onto the shower arm:
Begin by hand-tightening it to establish the initial connection. This prevents overtightening, which can damage the threads.
Once the shower head is securely in place, use your adjustable pliers one more time to give it a final, snug turn. However, exercise caution not to overtighten, as this can lead to leaks or damage.

During your DIY shower head removal journey, you may encounter some common issues. Here are solutions for addressing them:
In conclusion, mastering the art of How to remove a shower head without a wrench is a valuable skill that can make your bathroom upgrades a breeze. By following the easy-to-understand steps in our guide, you can say goodbye to plumbing hassles and hello to a tool-free solution. Removing a shower head without a wrench is not only convenient but also a satisfying DIY accomplishment.
So, the next time you need to upgrade your shower head or perform maintenance, remember these tips and enjoy a hassle-free experience. With the right knowledge and techniques, you can tackle this task confidently and make your shower head removal a smooth and straightforward process.
Removing a shower head without a wrench is possible with some simple steps. First, turn off the water supply to the shower. Let any remaining water drain, and protect your eyes with safety goggles. Use adjustable pliers to grip the shower head firmly, and turn it counterclockwise. Once it’s loose, finish by hand. This method allows you to remove the shower head without the need for a wrench.
You can unscrew a shower head without a wrench by using adjustable pliers. Adjust them to fit the shower head neck, grip firmly, and turn counterclockwise. Remember to take safety precautions, such as wearing safety goggles and gloves.
The most effective tool for unscrewing a shower head is adjustable pliers. They provide a secure grip and allow you to exert the necessary force to turn it counterclockwise. Make sure to protect your eyes with safety goggles.
If you don’t have a wrench, adjustable pliers are a versatile alternative. They can be adjusted to fit various sizes and are ideal for gripping and turning objects like shower heads. Ensure you take safety precautions while using them.
Removing a rain shower head follows the same steps as a standard shower head removal. Turn off the water supply, allow drainage, protect your eyes with safety goggles, and use adjustable pliers to turn it counterclockwise. Finish by hand once it’s loose.
To remove a shower head by hand, start by turning off the water supply and allowing any remaining water to drain. Protect your eyes with safety goggles, and grip the shower head firmly with your hand. Turn it counterclockwise to loosen and remove it. This method requires no special tools, making it a convenient option for shower head removal.