Physical Address
304 North Cardinal St.
Dorchester Center, MA 02124
Physical Address
304 North Cardinal St.
Dorchester Center, MA 02124

Sanding wood is often viewed as the “chore” of woodworking—the dusty, repetitive bridge between the excitement of building and the satisfaction of finishing. However, if you want a professional-grade result, you cannot skip or rush this phase. While many modern DIYers reach for a power tool the moment a surface feels rough, there is an unmatched level of precision and soul in learning how to sand wood by hand.
In this comprehensive guide, we will explore why hand sanding remains the gold standard for fine furniture, how to choose your abrasives, and the technical steps required to transform a raw plank into a silk-smooth masterpiece.

When you use a power tool, you are at the mercy of a motor that spins at thousands of oscillations per minute. One slight tilt of the machine can create a “gouge” or a “swirl mark” (pigtails) that is incredibly difficult to remove. Hand sanding allows you to feel the wood. Your fingertips are the best sensors for detecting high spots, grain transitions, and lingering roughness that a machine might gloss over.
Furthermore, sanding wood manually is often the only way to handle delicate veneers or intricate moldings where a power tool would simply eat through the material. It is quiet, creates less airborne “dust clouds” than high-velocity fans, and requires zero electricity, making it the ultimate portable skill for any DIYer.
Before you touch the timber, you need the right kit.

While you can just fold a piece of sandpaper, using a sander (in this context, a manual sanding block) will save your hands from cramping and ensure a flatter surface.
You will need a variety of sandpaper sheets. Look for “Aluminum Oxide” or “Silicon Carbide” papers, as these stay sharp longer and are less prone to clogging.
A sanding block or cork block is non-negotiable for flat surfaces. If you use just your fingers, the soft pads of your tips will sand deeper into the soft grain than the hard grain, resulting in an uneven, “wavy” surface. A hard block ensures the pressure is distributed evenly across the high points.
| Grit Range | Grade | Primary Use |
| P40 – P80 | Coarse | Removing old paint, smoothing very rough construction lumber, or heavy shaping. |
| P100 – P150 | Medium | Removing scratches from coarse grit, general smoothing of planed wood. |
| P180 – P220 | Fine | The “final” sand for most woods before applying stains or oils. |
| P320 – P600 | Extra Fine | Sanding between coats of varnish or lacquer to remove “nibs.” |
The Golden Rule: Never skip more than one grit level. If you start at P80, move to P120, then P180. If you jump from P80 straight to P220, the fine paper won’t be aggressive enough to remove the deep scratches left by the P80.
Examine your workpiece. Use a bright light held at a low angle (raking light) to highlight dents, glue spots, or plane marks. If there are deep gouges, you may need to use wood filler first. Ensure all metal fasteners (screws/nails) are countersunk so they don’t tear your sandpaper.
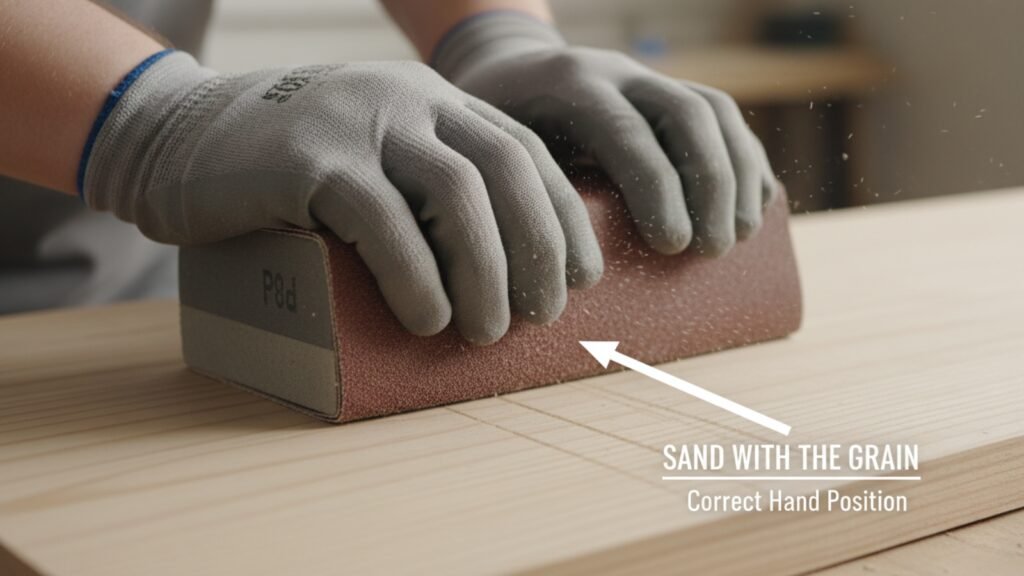
Wrap your P80 paper tightly around your sanding block. Always move with the grain. Sanding across the grain creates deep “cross-grain” scratches that act like little canyons, trapping stain and looking like dark streaks in your finished project. Use long, overlapping strokes.
After each grade, you must remove the dust. If P80 grit falls off the paper and stays on the wood while you use P120, that lone P80 grain will act like a rock, scratching the surface you are trying to smooth. Use a vacuum with a brush attachment or a stiff brush.
Switch to P120 or P150. Your goal here is to remove the scratches left by the P80. You’ll notice the wood starting to change color slightly and feel more like “furniture” and less like “lumber.”
For most hardwoods (Oak, Walnut), P180 or P220 is the sweet spot. For softwoods (Pine), you might stop at P150 as soft fibers can “fuzz up” if over-sanded. By the end of this step, the wood should have a slight sheen when held to the light.
Softwoods have a huge density difference between the “early wood” (light rings) and “late wood” (dark rings). If you sand too hard, you’ll dig out the soft parts, leaving the hard rings standing up like ridges. Use a firm block and light pressure.
Hardwoods are less forgiving of scratches. Because the wood is dense, scratches sit on the surface rather than being hidden in the fibers. You may need to spend more time on the P180 grade to ensure total smoothness.
Caution: The “show” layer of plywood is often less than 1mm thick. If you use a power tool, you can sand through the veneer in seconds. Hand sanding with P180 and very light pressure is the only safe way to prep plywood for finishing.
Most professionals will sand up to P150 with a machine, then do a final “once-over” by hand with P180 to remove any “pigtail” marks left by the machine’s rotation.
When you apply a water-based stain or topcoat, the wood fibers absorb the moisture and “stand up,” making the wood feel fuzzy again. To prevent this, lightly mist the wood with water after your final sanding. Let it dry, then sand off the raised fibers with a very fine grit (P240). This ensures the wood stays smooth when the actual finish is applied.
If you aren’t sure if you’ve sanded the entire surface evenly, lightly scribble a “zig-zag” pattern across the wood with a pencil. Start sanding wood with your block; when the pencil marks are completely gone, you know you’ve hit every spot.
Sanding is a meditative process. Put on some music, wear your mask, and enjoy the physical transformation of the wood. Your patience will be rewarded the moment that first coat of finish hits the timber and the grain “pops” without a single scratch in sight.
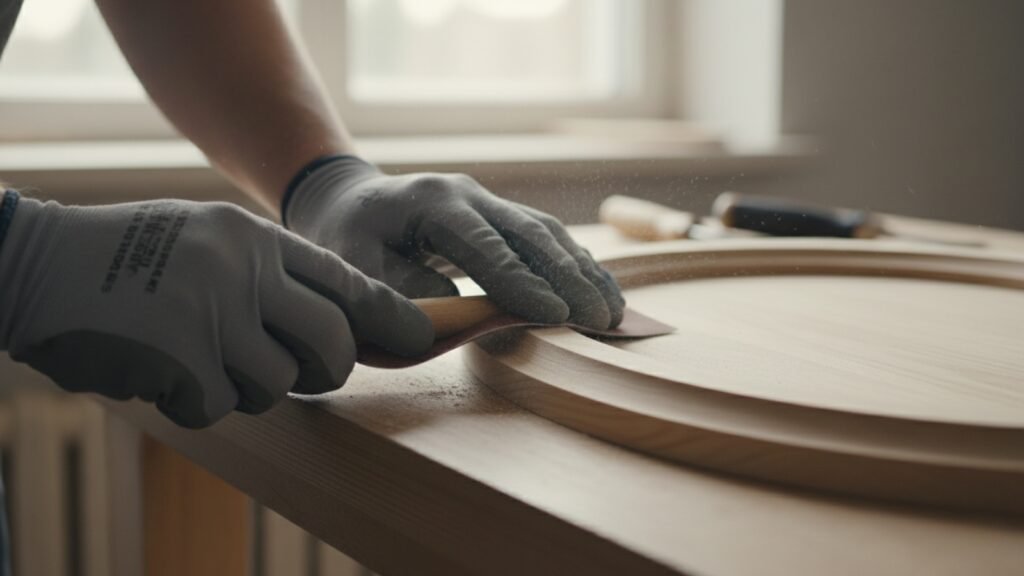
While possible for curves, it’s not recommended for flat surfaces. Your fingers create “pressure points” that result in an uneven surface. Always use a sanding block or even a flat scrap of wood to provide a consistent base.
This usually happens if you skipped a grit or didn’t sand enough with the finer grades. The “clouds” are actually thousands of tiny scratches reflecting light. Go back down one grade and work your way up again.
No. Sanding wood should always follow the direction of the grain. Circular motions cut across the wood fibers, leaving visible swirl marks that will be magnified ten-fold once you apply a stain.
Run your thumb (carefully!) over the paper. If it feels smooth or “loaded” with wood dust that won’t shake off, it’s done. If you find yourself pressing harder to get results, the paper is blunt.
It’s a personal preference. Gloves can prevent “finger burn” from the friction and heat, but they reduce your ability to “feel” the smoothness of the wood. Many woodworkers prefer a bare-hand approach to check the progress frequently.
Absolutely. In fact, hand sanding is preferred here. Use a very fine grit (P320+) to lightly “scuff” the paint. This removes any dust nibs and provides “tooth” for the next coat to bond to.