Physical Address
304 North Cardinal St.
Dorchester Center, MA 02124
Physical Address
304 North Cardinal St.
Dorchester Center, MA 02124
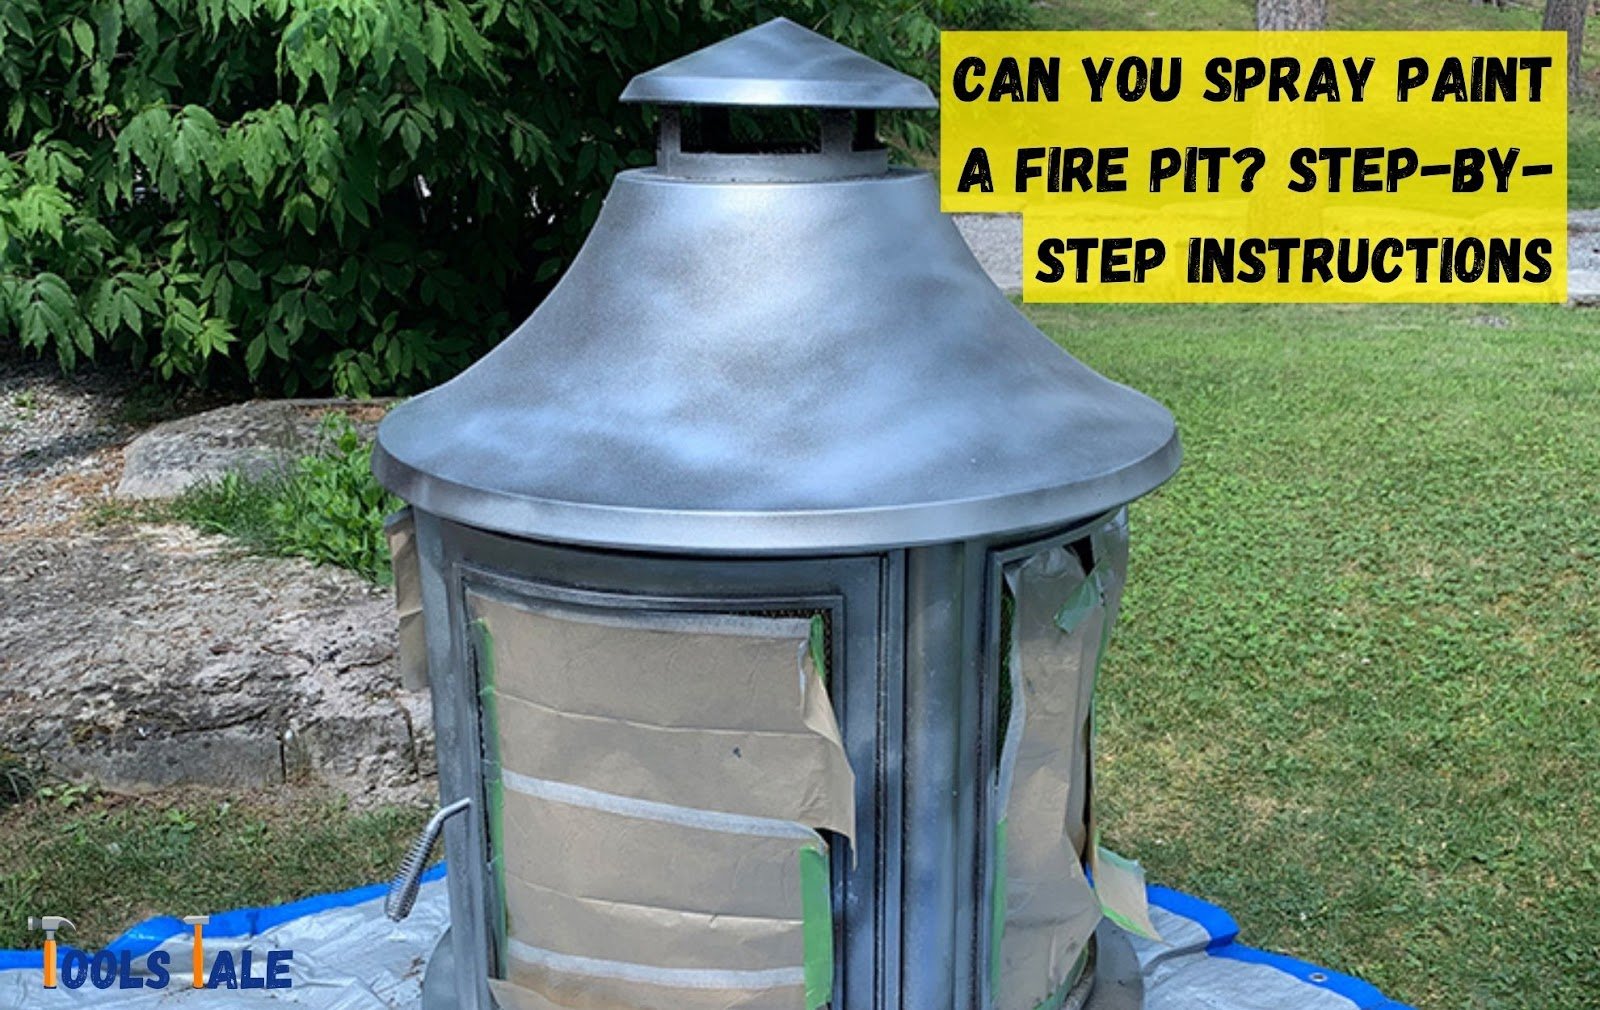
Wondering if you can give your fire pit a fresh, vibrant makeover? Well, the answer is right here: Can you spray paint a fire pit? Yes, you absolutely can! It’s a quick and creative way to breathe new life into your outdoor centerpiece. Whether you want to match your patio decor or protect it from rust, spray painting offers a simple solution.
In this guide, we’ll dive into the world of fire pit transformation, covering everything from paint selection to the step-by-step process. So, let’s roll up those sleeves and get ready to turn your fire pit into a stylish focal point!
Key Summary: Can You Spray Paint a Fire Pit?
Indeed, you can transform your fire pit with spray paint. Clean it well, choose a heat-resistant spray paint formulated for metal, and apply several thin coats evenly for a rejuvenated and eye-catching fire pit makeover. Apply multiple thin coats for an even finish, allowing each coat to dry in between.
[amazon_auto_links id=”11426″]
If you’re like many homeowners who enjoy spending evenings around a fire pit in the backyard, you might be wondering if it’s possible to give your trusty old fire pit a fresh look with a can of spray paint.
The short answer is yes, you can indeed breathe new life into your fire pit with a coat of paint. However, there are important steps and safety precautions to consider to ensure the process goes smoothly and the results are long-lasting.
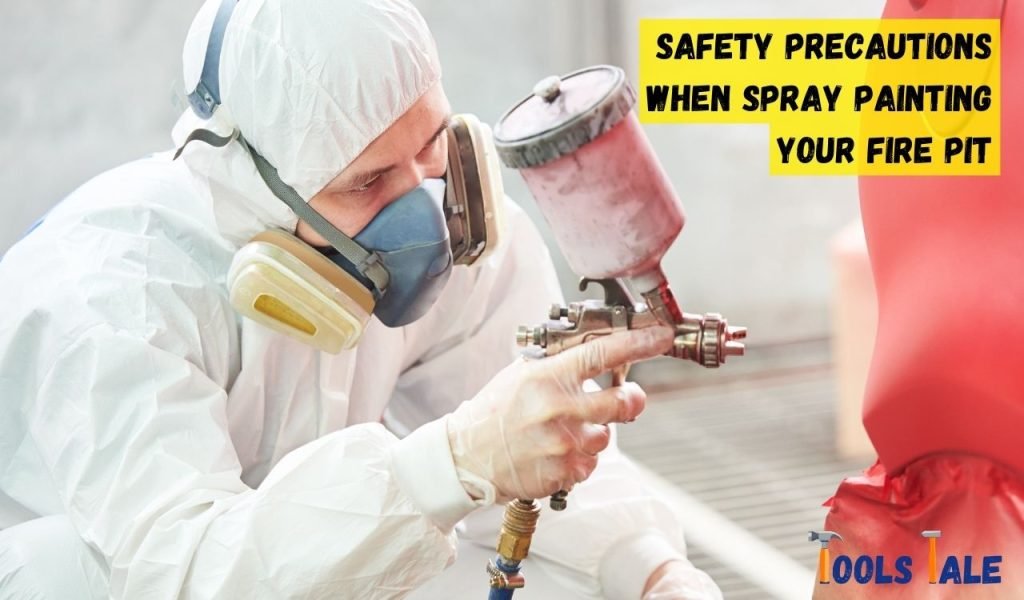
Ensuring your safety during any DIY project, including spray painting, is paramount. Here’s a detailed look at the safety precautions you should take:
Proper ventilation is crucial when working with spray paint. Always conduct your spray-painting project in a well-ventilated area, preferably outdoors. If indoor painting is necessary, ensure there’s adequate airflow through open windows and doors.
Invest in suitable protective gear, including:
Before you begin, declutter your workspace. Remove any items that could interfere with your project or become accidentally painted. Ensure a clean and organized area to work in.
If your fire pit utilizes gas or has open flames, disconnect any fuel sources before starting the painting process. Safety should always come first.
Proper preparation is the key to a successful spray painting project. Here’s a step-by-step guide on how to prepare your fire pit:
With your fire pit now prepped and ready, it’s time to consider the type of paint that will give it the perfect makeover.
When it comes to spray painting your fire pit, selecting the right paint is crucial for achieving a durable and aesthetically pleasing finish. Let’s explore the factors to consider when choosing the perfect paint:
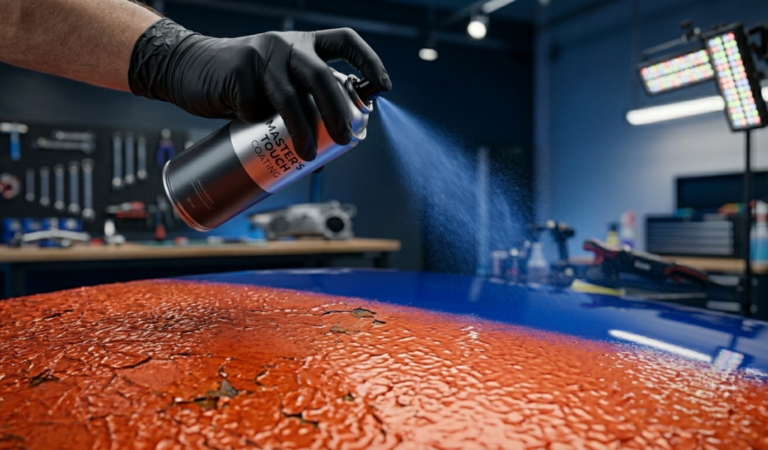
Since fire pits generate heat, it’s paramount to opt for a paint that can withstand high temperatures. Look for spray paints specifically designed for high-heat applications. These paints are formulated to endure the heat emitted by your fire pit without blistering or flaking.
Your fire pit resides outdoors, exposed to various weather conditions. Ensure the paint you choose is labeled for outdoor use. Such paints are engineered to endure rain, sunlight, and temperature fluctuations, ensuring that your fire pit’s appearance remains intact year-round.
Many paints come with built-in rust inhibitors. If your fire pit is susceptible to rust due to exposure to moisture, humidity, or rain, consider a paint that offers rust prevention properties. This added layer of protection can extend the life of both your paint job and the fire pit itself.
Personalization is a key aspect of this project. Consider the color and finish that best suits your outdoor space and style. Whether you prefer a matte, satin, or glossy finish, there are paint options available to help you achieve the look you desire.
Investing in high-quality paint from a reputable brand can make a significant difference in the outcome of your project. While it may be tempting to opt for the cheapest option, quality paints tend to provide better coverage, durability, and a more vibrant finish. It’s an investment that pays off in the long run.
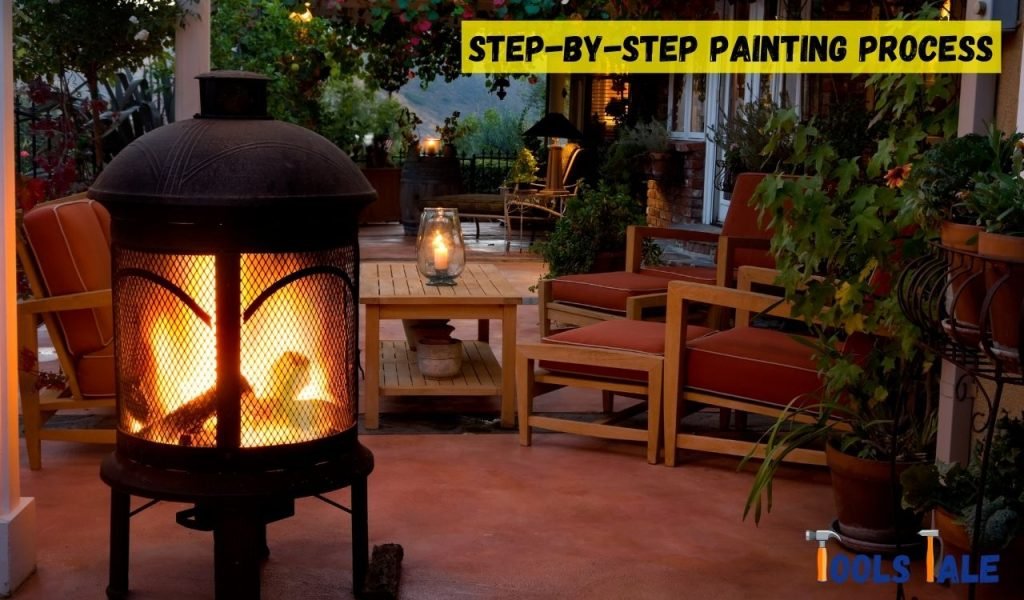
Painting your fire pit is a creative and rewarding DIY project. Here’s a comprehensive guide to ensure you achieve a professional-looking finish:
Before you start spraying, make sure you’ve completed the necessary preparation steps, as discussed in the previous sections:
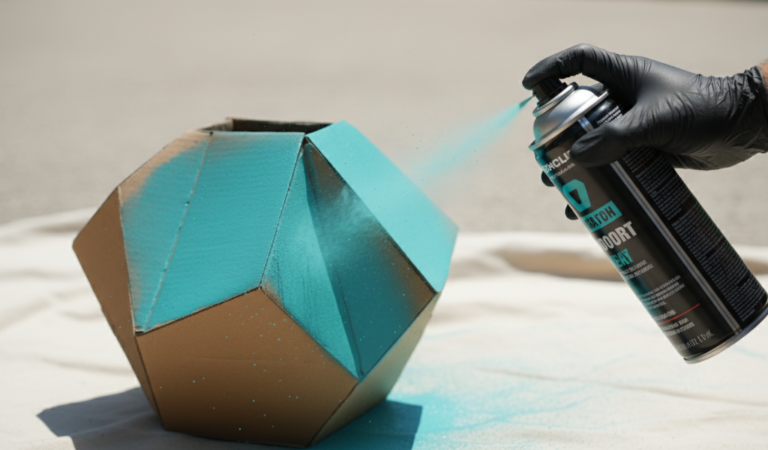
Vigorously shake the spray paint can for at least a minute. Properly mixing the paint is essential to ensure an even and consistent application.
Hold the spray can approximately 8 to 12 inches away from the fire pit’s surface. Maintain a steady and sweeping motion while applying the paint. Here’s a more detailed breakdown:
The key to a professional finish is applying thin, even coats. Avoid the temptation to apply a thick coat of paint, as this can lead to drips and an uneven finish. It’s better to apply multiple light coats, allowing each coat to dry in between.
After applying the first coat, allow it to dry according to the paint manufacturer’s instructions. Typically, this takes about 15 to 30 minutes. Keep the fire pit in a dust-free area during drying.
To achieve optimal coverage and vibrancy, apply additional coats as needed. Most projects require 2 to 3 coats of paint. Always follow the recommended drying times between coats.
Once you’ve applied the final coat, carefully inspect the fire pit. Look for any missed spots, uneven areas, or imperfections. If you notice any issues, perform touch-ups as necessary by applying light, even sprays to ensure a flawless appearance.
While the paint may feel dry to the touch after the final coat, it’s essential to allow it to fully dry and cure. Follow these steps:
By following this step-by-step process, you’ll be well-equipped to transform your fire pit with a fresh coat of spray paint, creating a striking centerpiece for your outdoor space.
Your freshly spray-painted fire pit looks stunning, and you want to keep it that way for as long as possible. Maintaining its appearance and ensuring its longevity involves regular care and protection:
Over time, especially with regular use, your painted fire pit may show signs of wear. Keep an eye out for any imperfections, areas of chipping, or fading. Regularly inspect the paint to identify areas that may need touch-ups.
When performing touch-ups, it’s crucial to follow the same spray painting process you used initially. Here’s a brief recap of the touch-up process:
By following these maintenance practices and offering regular attention to your spray-painted fire pit, you can ensure that it maintains its stunning appearance and functionality for many seasons.
Can you spray paint a fire pit? This is a resounding yes. It’s a DIY project that allows you to revamp your outdoor space, infusing it with personality and style. By choosing the right paint, following safety precautions, and taking your time with the process, you can transform your fire pit into a stunning focal point.
Whether you want to match your fire pit to your patio decor or simply give it a fresh look, spray painting is a practical and creative solution. So, go ahead and embark on this enjoyable project, and watch as your fire pit becomes a vibrant centerpiece that elevates your outdoor experience.
Yes, it is entirely possible to spray paint a fire pit. Spray painting can refresh its appearance and protect it from rust, giving it a new lease on life.
For a fire pit, it’s essential to use high-heat spray paint designed for metal surfaces. This specialized paint can withstand the high temperatures generated by the fire.
Spray painting your fire pit offers several benefits. It enhances its aesthetics, protects it from rust, and allows you to personalize its color to match your outdoor decor.
After applying each coat of paint, allow it to dry for about 15 to 30 minutes. However, full curing may take several days to weeks, so patience is key for a durable finish.
Using your fire pit immediately after painting is not recommended. It’s best to wait until the paint is fully dry and cured to prevent damage and ensure safety. This may take several days to weeks.
High-heat spray paint designed for metal surfaces is generally fire safe. It’s formulated to withstand high temperatures, making it suitable for fire pit use. Always follow manufacturer guidelines.
The best color for a fire pit depends on your personal preference and outdoor decor. Popular choices include black, bronze, and earth tones, but the ideal color is one that complements your space.