Physical Address
304 North Cardinal St.
Dorchester Center, MA 02124
Physical Address
304 North Cardinal St.
Dorchester Center, MA 02124
We have all been there. You are halfway through a project, leaning into your drill with all your weight, but instead of a clean hole, you get smoke, a burning smell, and a drill bit that is glowing red. It is frustrating, right? Most people just toss that dull bit into a junk drawer and head to the hardware store to buy a replacement. However, over time, those small purchases add up to a small fortune.
Learning how to use a drill doctor is the single best way to stop wasting money and start getting professional results in your home workshop. Whether you are a weekend warrior or a seasoned pro, the drill doctor drill bit sharpener is a game-changer. It takes the guesswork out of sharpening and restores your tools to factory-fresh condition in seconds.
In this comprehensive guide, we will walk through everything you need to know about the best drill doctor models and how to master them like a pro. If you’re learning how to use a Drill Doctor for the first time, proper alignment is the most critical step to get perfect results.
What is a Drill Doctor and Why Do You Need One?
At its core, a drill doctor is a specialized machine designed to regrind the cutting edges of a twist drill bit. Invented by Professional Tool Manufacturing, these machines replaced the old-school method of using a bench grinder and hoping for the best.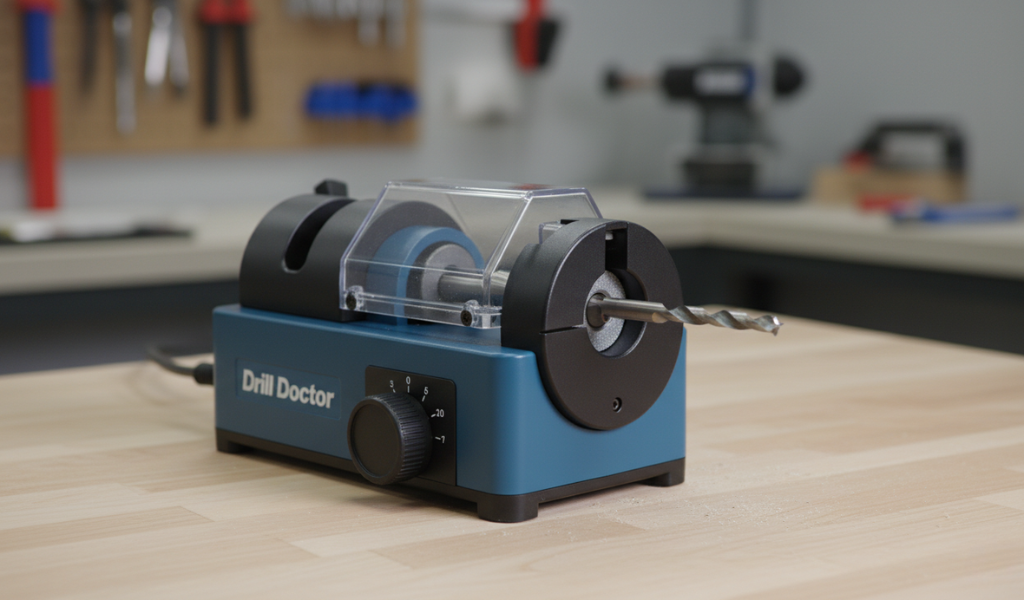
When you sharpen a bit by hand, it is nearly impossible to get the angles perfectly symmetrical. If one side is even a fraction of a millimeter off, the drill will wander, create oversized holes, or dull out again instantly. The drill doctor drill bit sharpener uses a patented chuck and alignment system to ensure the geometry is perfect every single time.
Investing in this tool offers more than just a sharp edge. It changes the way you approach your projects. Here is why it belongs on your workbench:
High-quality cobalt or TiN-coated bits are expensive. A single set can cost more than the machine itself. Instead of buying a new set every year, you can resharpen your current bits dozens of times. For a professional or a dedicated hobbyist, the tool pays for itself within the first few months.
Unlike manual sharpening, the machine ensures both lips of the bit are identical. This is crucial because if one lip is longer than the other, only one side of the bit does the cutting. This causes the drill to walk or wobble, leading to inaccurate holes and potential damage to your workpiece.
A bit can be restored in less than a minute. This is much faster than stopping your project, cleaning up, and driving to the hardware store for a replacement. It keeps your workflow steady and productive.
Most models allow you to not only sharpen bits but also create split points. You can also change the point angle. If you have a bit meant for wood (118°) but need to drill into stainless steel, you can regrind it to a 135° angle for better performance.
Sharp bits require less torque and pressure from your drill. This means your cordless drill motor and battery will last much longer because they aren’t working twice as hard to push a blunt piece of metal through a board.
Before we dive into the how-to, you need to know which tool is sitting on your workbench. There are three main versions of this tool, each catering to different needs.
| Feature | DD350X | DD500X | DD750X |
| User Level | Homeowner / Hobbyist | Serious DIYer | Professional / Shop |
| Bit Size Capacity | Up to 1/2 inch | Up to 1/2 inch (3/4 inch option) | Up to 3/4 inch |
| Point Angles | Fixed 118° | 118° and 135° | Adjustable 115°–140° |
| Special Features | Simple On/Off | Alignment Port | Splitting Port & Material Take-off |
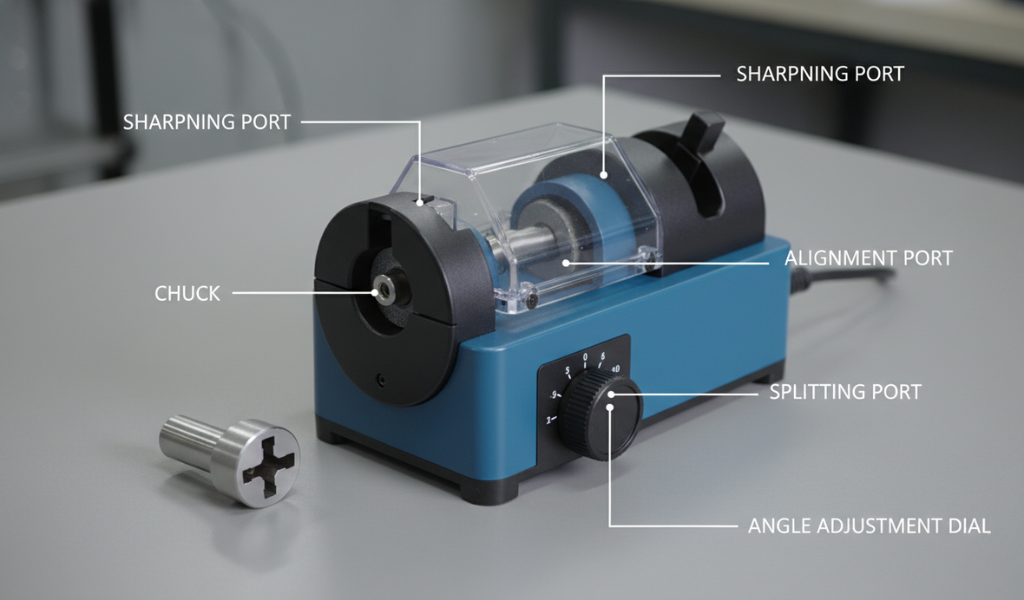 To understand how to use a drill doctor, you first need to speak the language. Here are the four parts you will interact with most:
This is the heart of the system. It is a specialized clamp that holds your bit perfectly centered. Unlike a standard drill chuck, this one has flute guides that help the machine know exactly where the cutting edge is located.
This is where the magic starts. You place the chuck here to set the depth and clocking of the bit. It ensures the bit sticks out just far enough to hit the grinding wheel at the right angle.
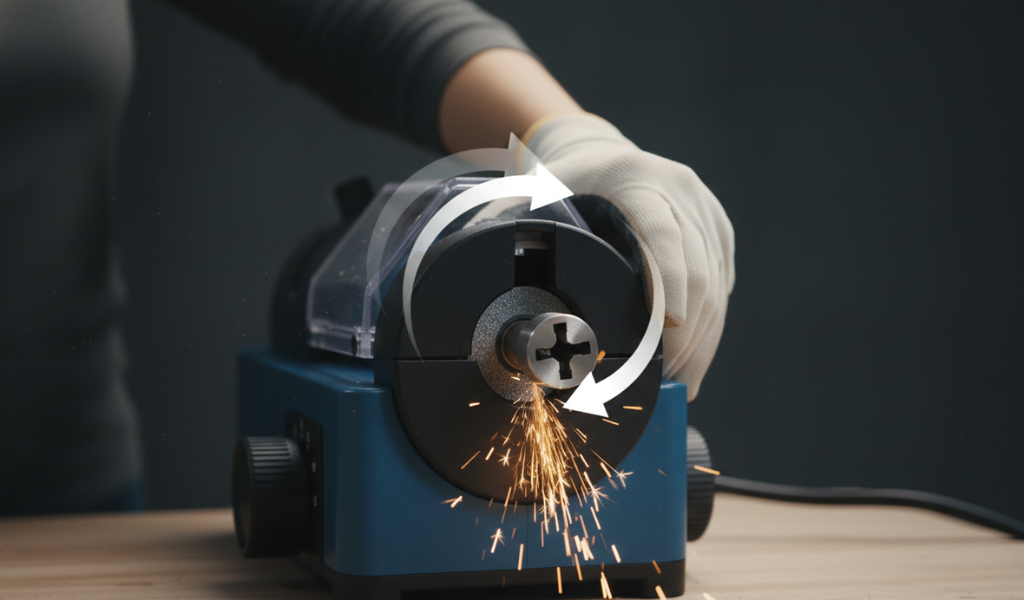
This is the hole where the motor spins the diamond wheel. It has a cam guide (a wavy edge) that moves the chuck back and forth as you rotate it, creating the necessary relief angle behind the cutting edge.
Ever notice how some bits have a tiny extra V cut into the very tip? That is a split point. It helps the bit start drilling without a pilot hole. This port allows you to add that feature to any standard bit.
The process is consistent across all models, but there are slight differences in how you set them up. Let’s look at the “Universal Flow” for getting a perfect edge.
The most common reason for a dull bit after sharpening is poor alignment.
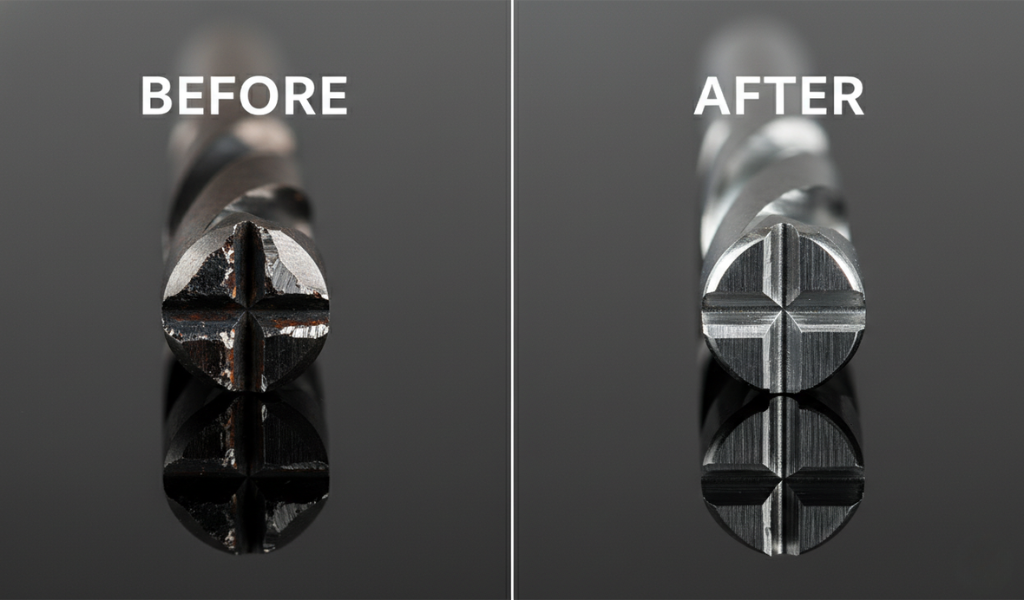
Pull the chuck out and look at the tip. You should see two shiny, symmetrical “facets” on the tip. If the bit looks uneven, put it back in the alignment port and repeat the process.
Once you have mastered the basic sharpen, you can start customizing your bits for specific tasks.
A split point bit is superior for drilling into metal. After sharpening your bit in the main port, keep it in the chuck. Move over to the splitting port. Insert the chuck and give it a firm, quick push. Rotate the chuck 180 degrees and repeat. This creates a tiny notch that helps the bit “bite” into the metal instantly without needing a center punch.
If you are drilling very soft wood or plastic, a flatter angle (around 115°) can prevent tearing. If you are drilling through hardened steel, a steeper 135° or 140° angle is better because it distributes the heat across more of the cutting surface. Simply turn the angle dial on the side of the 750X to your desired setting before you begin the alignment process.
If you drop a bit and the tip snaps off, don’t throw it away. On the 750X, turn the material take-off dial toward the “+” sign. This pushes the bit further into the wheel, allowing you to grind away the broken tip and recreate a brand-new point from scratch. It takes longer than a touch-up, but it saves a bit that would otherwise be trash.
A common question is whether a drill doctor drill bit sharpener can handle everything in your toolbox.
Even with the best drill doctor, things can go wrong if you rush. Here is what to watch out for:
If you want your drill bits to stay sharp, you have to keep your sharpener in good shape. It is a precision tool that requires a little TLC.
Metal filings will build up inside the machine. This “swarf” is magnetic and can get into the motor or jam the ports. After every 20-25 bits, unplug the unit, open the access door on the bottom, and shake out the dust or use a shop vac.
The diamond wheel is durable, but it won’t last forever. If you notice it takes 20 or more turns to sharpen a bit, the grit is likely worn down. Replacement wheels are easy to find and can be swapped out in about two minutes with a simple screwdriver.
Sometimes metal dust gets inside the chuck jaws. This causes the bit to sit at a slight angle, which ruins the sharpening job. Every once in a while, disassemble the chuck (it screws apart) and give it a blast of compressed air.
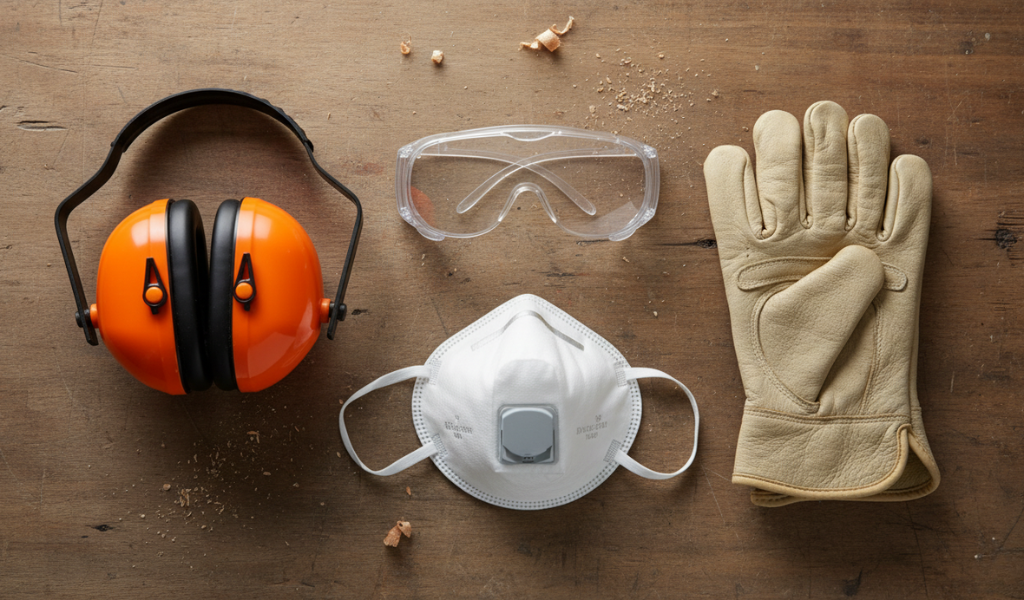
While a drill doctor is much safer than an open bench grinder, it is still a power tool with a high-speed motor.
Learning how to use a drill doctor is a rite of passage for anyone who takes their workshop seriously. It transforms a frustrating, dull experience into a smooth, professional one. Instead of fighting your tools, you can keep them in peak condition with just a few minutes of maintenance.
Remember to start with the right model for your needs—the 350X for simplicity, or the 750X for total control. Focus on that crucial alignment step, use a light hand during the grind, and do not forget to keep the machine clean. Stop throwing away money and start sharpening. Your drill, your projects, and your wallet will thank you!
As long as there is flute (the spiral groove) left on the bit, you can sharpen it. You could theoretically sharpen a 6-inch bit until it is only 1 inch long!
The most common reason is improper alignment. If the claws in the alignment port did not grab the flutes correctly, the machine will grind the wrong part of the bit. Re-check the alignment and try again.
The standard chuck is for right-handed bits. However, you can purchase a specific left-handed chuck from Drill Doctor that works with the 500X and 750X models.
Yes! Most models can sharpen bits as small as 3/32 of an inch. For very tiny bits, you just need a delicate touch and fewer rotations.
If you use your drill frequently, yes. A single set of high-quality bits can cost a lot. If the Drill Doctor saves just two sets of bits, it has already paid for itself.