How to Install a Bench Vise: Complete Bench Vise Installation Guide

The Ultimate Guide to Bench Vise Installation: Secure Your Workspace

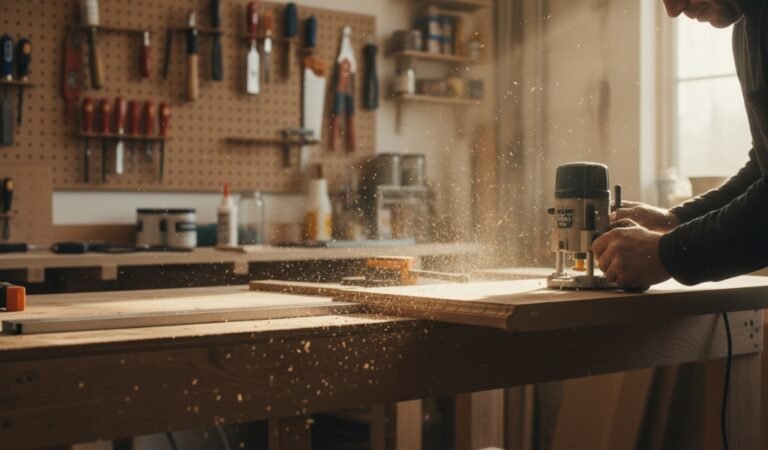
Learning how to install a bench vise correctly is the foundation of a safe and efficient workshop.
It is often said that it’s not a true workshop without a bench vise. Whether you are a professional “chippy” (carpenter), a dedicated metalworker, or a weekend DIY enthusiast, the bench vise is the literal heart of your workbench. It acts as a third hand—one with a grip far stronger than any human—allowing you to saw, sand, drill, and assemble with precision and safety.

In this comprehensive guide, we will explore the nuances of bench vise selection, the specific steps for a rock-solid vise mount, and how to ensure your equipment lasts a lifetime.
Bench vise mounted on a wooden workbench in a workshop setup

The Essential Workshop Anchor

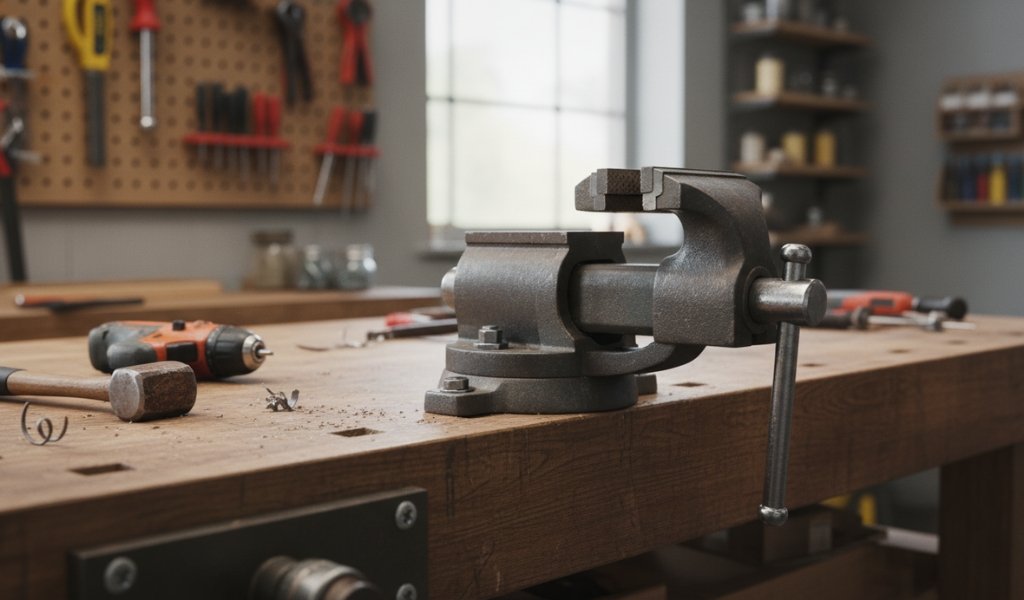
Aaron Barnett of Banging-toolbox famously suggests that vises are the most common sight in functional workshops for a reason. Their design is deceptively simple: two parallel jaws, a threaded adjustment screw, and a sturdy base. Yet, this simplicity allows for incredible versatility.

Learning how to mount a bench vise correctly is the difference between a tool that assists you and a tool that frustrates you. A poorly mounted vise will wobble, mar your work-pieces, or even break under pressure. This guide is designed to help you “avoid vices, but not vises” by mastering the installation process.

Top Applications: Why You Need a Vise

Before diving into the vise mount process, it’s important to understand the diverse ways this tool elevates your craft:

  • Precision Sawing: Holding a piece of wood or metal by hand while sawing is dangerous and inaccurate. A vise secures the material, freeing both hands to guide the saw for perfectly straight or angled cuts.
    Cutting wood with a hand saw while the piece is secured in a bench vise
  • Metal Fabrication: Metal heats up rapidly due to friction. A vise allows you to hold scorching steel securely while grinding or bending rods without risking burns.
  • Refining Woodwork: From removing stubborn old nails to holding a board steady for a hand plane, a vise is the woodworker’s best friend.
  • Sanding and Filing: These tasks require consistent pressure. By locking the work-piece in a vise, you can use both hands on the file or sander, leading to a much smoother finish.
  • Bearing Removal: In mechanical repair, a vise is a fantastic alternative to a bearing puller. By clamping the piece and using a screwdriver to pry, you can remove armature bearings efficiently.
  • Glued Assemblies: Much like a permanent clamp, a vise can hold two pieces of wood together with immense pressure until the adhesive cures.
  • Electrical Work: Cutting smooth, round conduits is a nightmare without a pipe-specific grip. A vise prevents the conduit from rolling, ensuring a clean, square cut.

Understanding Vise Categories

Not all vises are created equal. Choosing the right one depends entirely on your primary material.
Different types of bench vises mounted on a wooden workbench in a workshop

1. Metalworking Vises

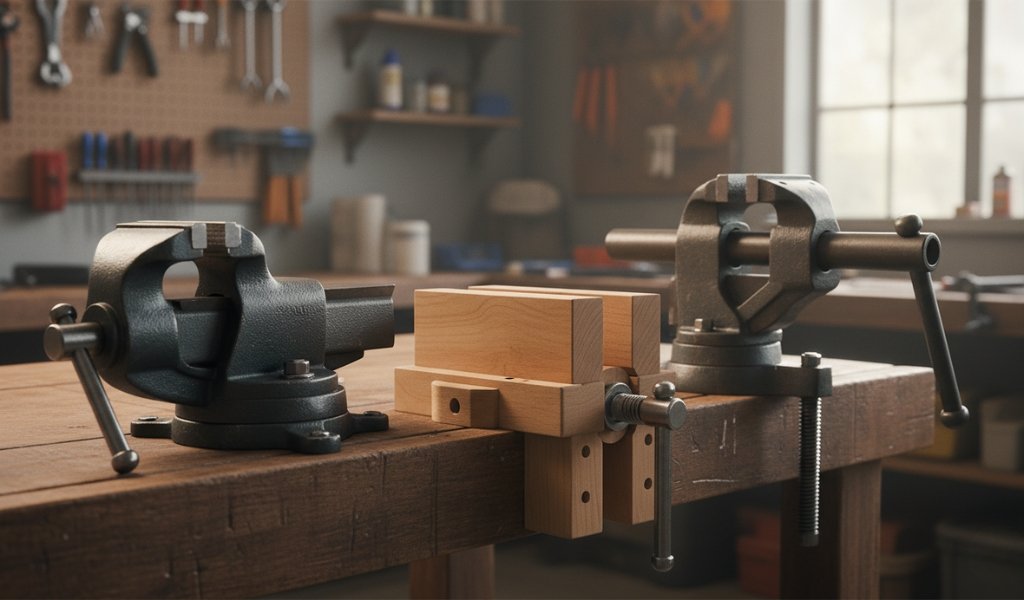
These are the heavy-duty titans of the shop. Usually made of cast iron or forged steel, they feature serrated jaws for maximum grip. They are designed to sit on top of the workbench. Many models include a “swivel base,” allowing you to rotate the vise to accommodate long pieces of metal.

2. Woodworking Vises

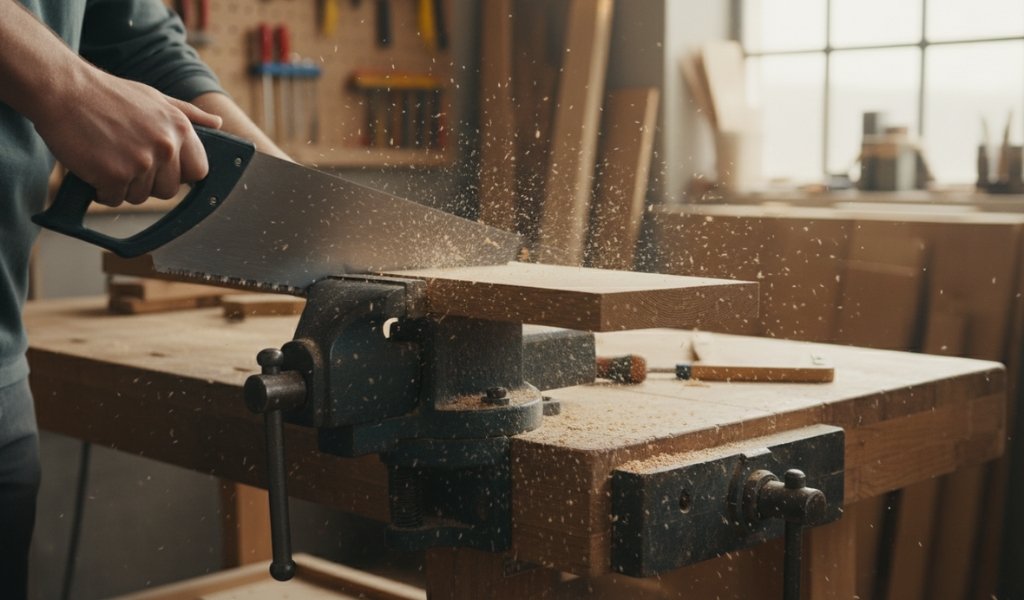
Unlike their metal counterparts, woodworking vises are often mounted under the bench or flush with the edge. The jaws are typically smooth or lined with wood (jaw liners) to prevent “mushing” or denting the soft fibres of your project. If you must use a metalworking vise for wood, always place scrap wood “padding” between the jaws and your project.

3. Pipe Clamp Bench Vises

Specialized for plumbers and those working with tubing, these feature V-shaped jaws or specialized “saddles” to cradle cylindrical objects. They come in “grip” (anchor) styles for a permanent hold and “non-grip” (saddle) styles for guiding movement.

The Ideal Workbench Setup

Your vise mount is only as strong as the table it’s attached to. For the ultimate setup, a metal-framed workshop table is preferred. To get the best of both worlds, use a thick plywood top over the metal frame.

  • The Metal Frame provides the rigidity and weight needed for stability during heavy hammering.
  • The Plywood Top acts as a replaceable “sacrificial” surface that absorbs impact and won’t scratch your work-pieces.

How to Mount a Bench Vise Properly
Installing a bench vise on a wooden workbench using a wrench

How to Mount a Woodworking Bench Vise

If you are building a custom woodworking station, the installation is a bit more involved as it often requires “mortising” or cutting into the bench.

Tools Needed:

  • Hand or power saw
  • Drill and bits
  • Wrench set
  • Nuts, bolts, and large washers
  • Marker and square

Step-by-Step:

  1. Layout: Measure the jaws of the vise and mark the underside of your workbench where the hardware will sit.
  2. Preparation: Rough cut any wooden jaw liners you intend to add to the metal vise hardware.
  3. Disassembly: Temporarily remove the back-plate and quick-release mechanism (if applicable) to make the heavy housing easier to handle.
  4. The Mount: Position the vise plate under the bench. Use washers on both sides of the bolt. This prevents the bolt heads from sinking into the wood over time.
  5. Alignment: Mount the front jaw to the hardware. Ensure the top of the vise jaw is perfectly flush with the top of your workbench.
  6. Finishing: Once tightened, use a hand plane to ensure the wooden jaws are perfectly level with the bench surface.

How to Mount a Metalworking Bench Vise

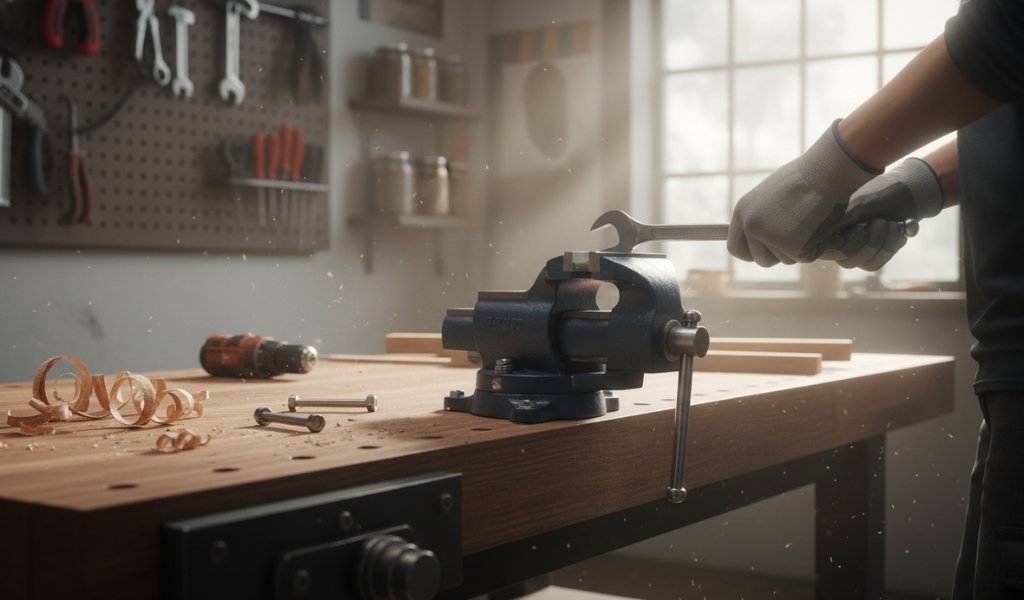
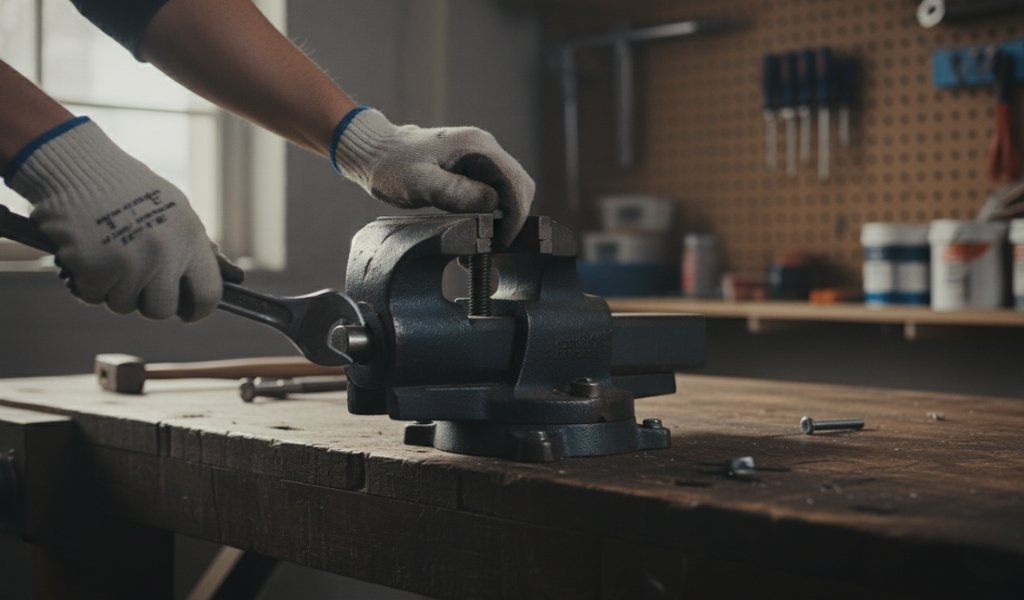
Metalworking vises are generally “bolt-on” affairs, making them the most straightforward to install.

Step-by-Step:

  1. Positioning: Place the vise on the corner of your bench. You want the “stationary” (back) jaw to protrude slightly past the edge of the table so that long workpieces can hang vertically without hitting the bench.
  2. Marking: Use a marker to trace the bolt holes onto the bench-top.
  3. Drilling: Remove the vise and drill vertical holes. It is vital to use a drill bit that matches your bolt diameter exactly to prevent “shuck” or movement.
  4. Securing: Insert high-grade bolts (Grade 5 or higher is recommended) through the vise and the table. Secure them from underneath with large “fender” washers and hex nuts.

How to Mount a Pipe Clamp Bench Vise

For those who prefer a DIY approach, pipe clamp vises can be made using standard cast iron pipes.

Step-by-Step:

  1. Measure: Determine the length of the pipe based on the thickest material you expect to clamp.
  2. Jaw Creation: Cut wooden blocks to serve as the jaws. Drill holes through these blocks that match the outside diameter of your pipe.
  3. Assembly: Slide the pipe through the jaws and attach the clamp fixtures.
  4. Anchoring: Use heavy-duty U-bolts or specialized mounting brackets to fix the pipe assembly to your workbench.

Vise Maintenance and Care

A bench vise is a “buy it once” tool, but only if you take care of it.

  • Lubrication: Keep the main screw and the guide rails coated with a light layer of grease or dry PTFE lubricant.
  • Cleanliness: Blow out metal shavings and sawdust regularly. These particles can act as abrasives in the threads.
  • Avoid Over-Tightening: You don’t need a “cheater bar” or a hammer to tighten the handle. Hand-tight is usually sufficient; excessive force can bend the handle or crack the nut.
  • Rust Prevention: If the paint chips, touch it up. Exposed cast iron will rust quickly in humid garages.
  • Proper Use: Never use the jaws as an anvil unless the vise specifically has a built-in anvil surface on the back.

Synergy: Tools to Mount Alongside Your Vise

To create a high-efficiency workstation, consider mounting these tools within arm’s reach of your vise mount:

  1. Bench Grinder: Perfect for taking a piece out of the vise and immediately sharpening or deburring it.
  2. Bench Sander: Ideal for woodworking; you can flip between the vise for assembly and the sander for finishing.
  3. Drill Press: Often, you will need to clamp a piece in a “drill press vise” (a portable version) to use with this machine.
  4. Scroll Saw: For intricate hobby work, having a vise nearby to hold the main stock while you prep the next piece is a major time-saver.

Vise vs. Clamps: Which Wins?

The answer is: they work together. While a clamp (like a C-clamp or F-clamp) is portable and great for large panels, it lacks the sheer “clamping force” and stability of a mounted bench vise. The vise is your anchor; the clamps are your mobile support. For small, high-pressure tasks, the vise wins every time.

Final Words: A Staple for Every Craftsman

From the “chippy” on a construction site to the hobbyist in a basement, the bench vise is the ultimate symbol of a functional workspace. By choosing the right model and ensuring a solid vise mount, you set yourself up for decades of successful projects. Work cleanly, work safely, and let your vise do the heavy lifting.

Frequently Asked Questions (F.A.Q.)

Q: Can I mount a vise to a plastic folding table? A: It is not recommended. Bench vises exert hundreds of pounds of force. A plastic table will likely crack or tip over. Use a solid wood or metal bench.

Q: Where is the best place on the bench to mount it? A: Usually on a corner. For right-handed users, the left side of the bench is often preferred so you can hold the work-piece with your left hand and tool with your right.

Q: What size vise should I buy for home use? A: A 4-inch to 5-inch jaw width is the “sweet spot” for most home DIY and automotive tasks.

Q: How do I stop my vise from marring delicate wood? A: You can buy rubber jaw covers or simply make your own out of scrap plywood or leather. These “soft jaws” protect the finish of your work-piece.

Q: Should I use carriage bolts or hex bolts for mounting? A: Hex bolts are generally better for metalworking vises as they allow you to get a wrench on both sides for maximum tightness.

Q: Is a swivel base worth the extra money? A: Yes. A swivel base allows you to rotate the vise to hold long items (like a bicycle frame or a long pipe) that would otherwise be blocked by the length of your workbench.


Share your love!
Tools Tale

Tools Tale

Disclaimer: This site is owned and operated by Tools Tale. toolstale.com is a participant in the Amazon Services LLC Associates Program, an affiliate advertising program designed to provide a means for sites to earn advertising fees by advertising and linking to Amazon.com. This site also participates in other affiliate programs and is compensated for referring traffic and business to these companies.

Articles: 188

Leave a Reply

Your email address will not be published. Required fields are marked *