Physical Address
304 North Cardinal St.
Dorchester Center, MA 02124
Physical Address
304 North Cardinal St.
Dorchester Center, MA 02124
We have all been there. You reach into your toolbox for a trusty wrench or a pair of pliers, only to find them covered in a flaky, reddish-brown coat of decay. It can be frustrating. That tool was an investment, a partner in your DIY projects, and now it looks like it belongs in a scrap yard. But before you toss those crusty pliers into the bin, take a breath.
Learning how to remove rust from tools is an important skill for any homeowner or maker. Rust isn’t just an ugly stain; it is a chemical process that, if left unchecked, will eat your equipment from the inside out. The good news? Unless the metal has literally crumbled away, almost any tool can be brought back to life.
In this comprehensive guide, we are going to dive deep into the best ways to clean rust off metal, ranging from simple pantry staples to heavy-duty mechanical methods. Whether you are trying to save a sentimental heirloom or just want to get your garden shears working again, you are in the right place. Let’s restore those rusted tools so they work properly again. 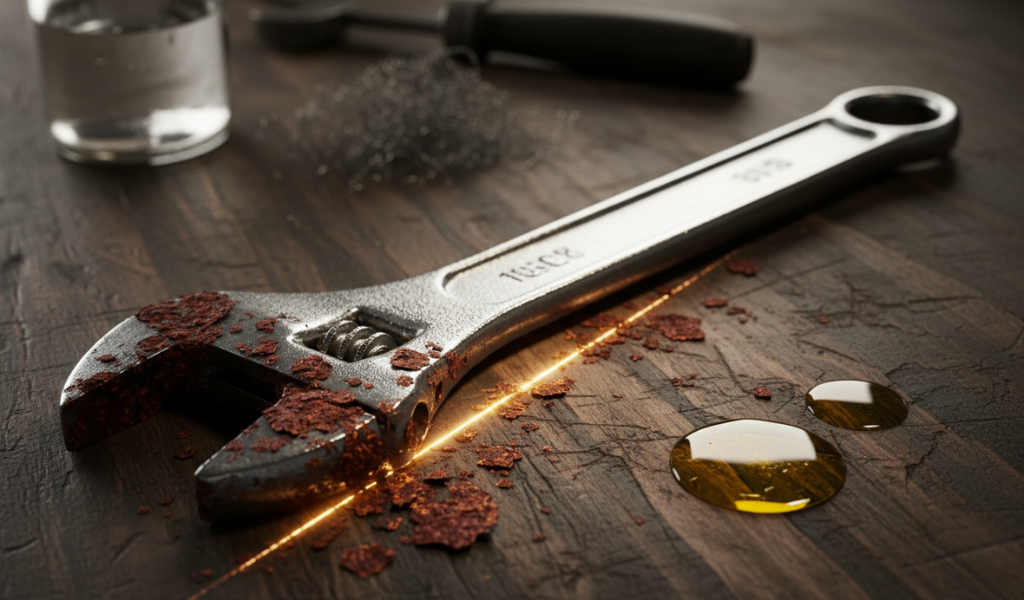
Rust can be removed from tools using methods like white vinegar soaking, baking soda scrubbing, wire brushing, sanding, or commercial rust removers. To clean rust off metal effectively, first remove loose corrosion, then apply the appropriate cleaning method based on the severity of the rust. After cleaning, dry the tool completely and apply oil or a rust-protection coating to prevent future corrosion.
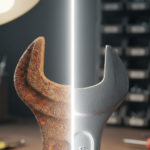
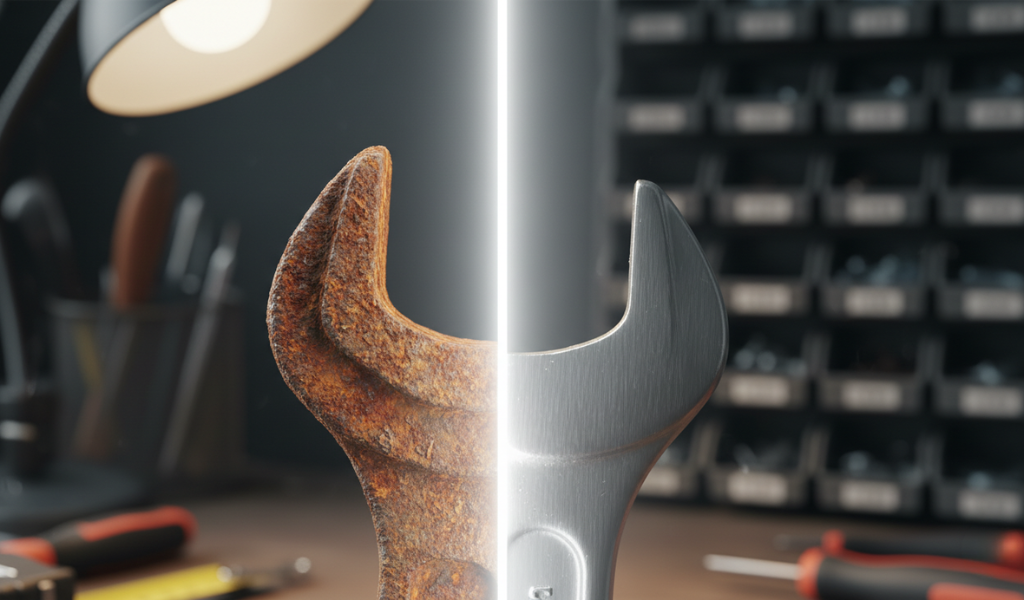
Before we get our hands dirty, we need to understand the enemy. Rust, or iron oxide, occurs when iron or steel reacts with oxygen and moisture. It is a gradual chemical reaction that literally consumes the metal. How Rust Affects Your Tools goes beyond just looks; it is a structural threat.
First, it increases friction. If you have a pair of adjustable wrenches that won’t turn, that is rust locking the gears. Second, it causes “pitting.” This is when the rust eats deep holes into the surface, compromising the structural integrity of the metal. A rusted hammer head can actually shatter under heavy use, and a rusted saw blade will bind and tear rather than cut.
Furthermore, rust is a magnet for more moisture. Once a small patch starts, it acts like a sponge, pulling in humidity and accelerating the destruction of the surrounding ‘healthy metal’. This is why catching it early is the best thing you can do for your wallet and your workshop.
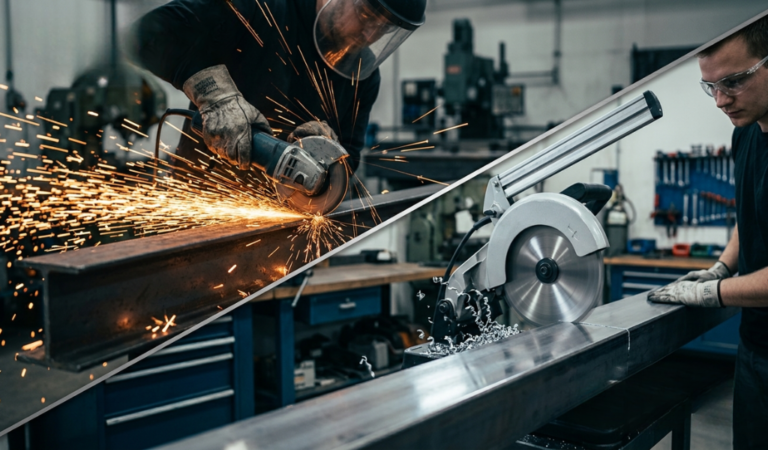
Restoring tools can be messy and, in some cases, slightly hazardous. Depending on the method you choose, you might be dealing with acidic fumes or flying metal shards. You cannot skip the preparation phase if you want to keep your workshop a safe space.
When you are using wire brushes—especially those attached to power tools—small wires and rust flakes become high-speed projectiles. Standard safety glasses are a start, but a full-face shield is better when using a bench grinder. A tiny sliver of rust in the eye is a quick trip to the emergency room and can cause permanent scarring.
I always recommend a dual-layer strategy for your hands. Use nitrile gloves to protect against the chemical “slurry” created by vinegar or commercial removers. These chemicals can dry out your skin or cause contact dermatitis. Over the nitrile, wear heavy-duty work gloves when you are scrubbing or grinding to prevent “knuckle-busting” accidents when a brush slips.
If you are sanding or grinding rust, you are creating fine metallic dust. If you are using chemical removers, you are dealing with concentrated vapors. A simple N95 mask is the bare minimum for dust, but if you are working with strong acids, ensure your workspace has a powerful exhaust fan or work entirely outdoors. You do not want ‘oxidized iron’ particles in your lungs.
Wear long sleeves and heavy trousers (like denim). Rust stains are notorious for being permanent, and the metal dust created during mechanical removal can irritate the skin. If possible, wear an old shop apron to protect your clothes from the oils and acids used in the process.
If you want to know how to remove rust from tools with almost zero physical effort, white vinegar is your secret weapon. Vinegar contains acetic acid, which reacts with the iron oxide and dissolves it while leaving the base metal mostly untouched.
Find a plastic or glass container; never use metal, as the vinegar will react with the container too. Submerge your rust tools completely. If any part of the metal is exposed to the air during the soak, you might see “flash rusting” right at the waterline. For extra power, add a few tablespoons of salt to the vinegar. Adding salt can help speed up the rust-removal process.
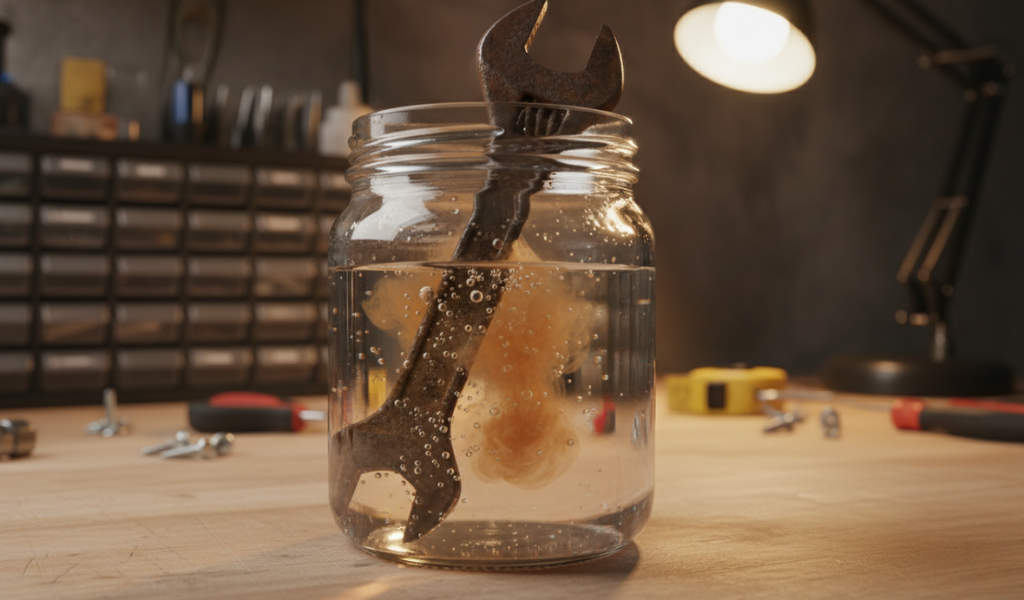
Once the soak is done, pull the tool out and scrub it with a stiff wire brush or even crumpled aluminum foil. The rust should slide right off into the container. However, this is the ‘most important step’ people skip: Neutralization.
Vinegar is an acid. If you just dry the tool and walk away, the microscopic acid left in the metal pores will cause “flash rust” within minutes. Mix a gallon of water with a cup of baking soda. Dip the cleaned tool into this alkaline bath for a few minutes. This stops the acid in its tracks. Finally, rinse with clean water and dry it with a heat gun or hair dryer to ensure no moisture remains in the joints.
Maybe you don’t have a whole day to wait for a soak, or perhaps the rust is only in a small, localized spot. In this case, a baking soda paste is the way to go. This method provides a gentle abrasive action that is perfect for delicate tools like calipers or high-quality chisels.
Mix baking soda with a small amount of water until it reaches the consistency of toothpaste. Slather it onto the rusted areas and let it sit for about an hour.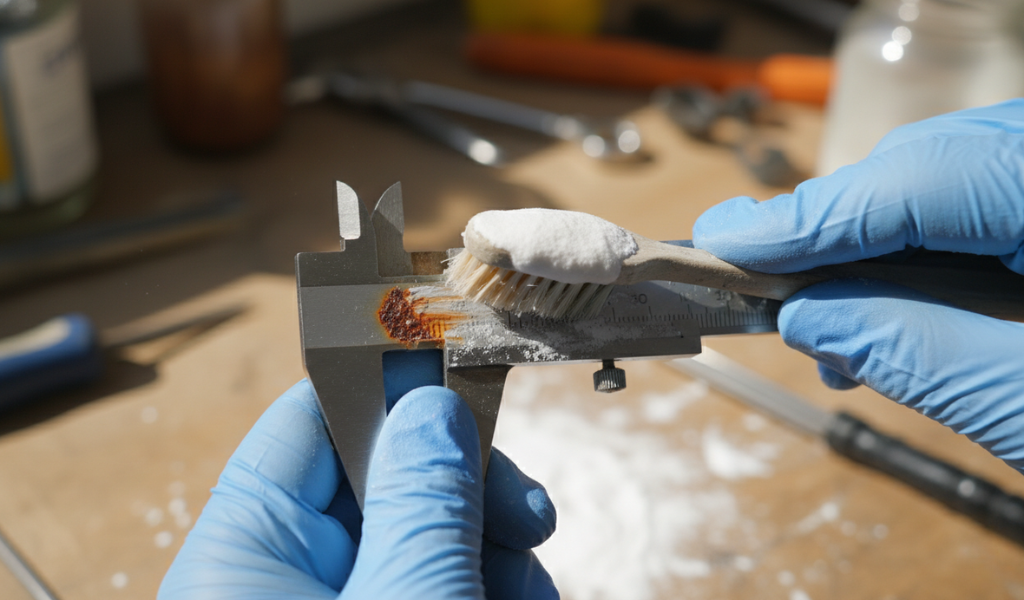 Use an old toothbrush or a piece of ‘fine steel wool’ to scrub the area in a circular motion. The beauty of this method is that baking soda is a base, so you don’t have to worry about the acid-neutralizing step required with vinegar.
Sometimes, home remedies just don’t cut it. If you are dealing with a valuable antique or a tool with very intricate moving parts, you might want to invest in a commercial rust converter or remover.
Products like Evapo-Rust are non-toxic and biodegradable but incredibly powerful. They work through a process called “chelation,” which specifically targets iron oxide without harming the un-rusted metal, plastic, or rubber. Always follow the manufacturer’s instructions to avoid ‘ruining the temper’ of the steel.
When the rust is “crusty” or “scaled,” chemical solutions might take too long to penetrate the layers. This is when you bring out the big guns. Mechanical removal is fast, but it requires a steady hand and some elbow grease.
Start with a manual wire brush to knock off the loose flakes. If you have a lot of tools to clean, a wire wheel attachment for a bench grinder or a cordless drill will save you hours of work.
Once the bulk is gone, use sandpaper to smooth out the pitting. Start with a coarse grit (around 80) and work your way up to a fine grit (400 or higher) if you want a polished finish.
For the final touch, ‘super fine steel wool’ (0000 grade) combined with a bit of light oil will give your tool that factory-fresh sheen. Mechanical methods are the best way to remove rust from tools when you need to see results immediately.
Not all tools are created equal. You cannot treat a delicate power drill the same way you treat a solid iron crowbar. Rust Removal Methods for Different Tools must be tailored to the specific item.
These are the easiest to clean because they are usually solid, monolithic pieces of metal. You can soak them, scrub them with a wire wheel, and toss them around without much worry. Focus on the joints of pliers; if they are frozen, soak them in penetrating oil (like WD-40) after the rust removal to get them moving again. For hammers, be careful not to get too much moisture on the wooden handles, as it can cause the wood to swell and eventually rot.
Never soak a power tool. Liquid will ruin the motor windings, short-circuit the switch, and destroy the bearings. To clean rust from a table saw top or a drill press table, use a ‘scuff pad’ and a specialized liquid rust remover applied to a rag, never sprayed directly.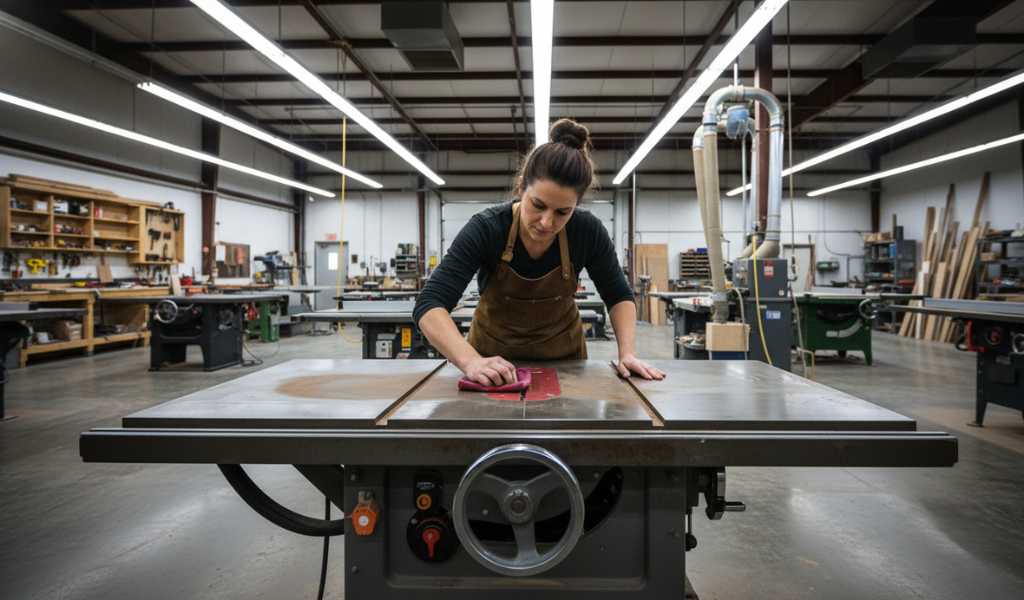
For the internal gears of power tools, use a dry wire brush and compressed air. If the rust is on the armature or the motor itself, you may need to use a “contact cleaner” spray that evaporates instantly without leaving a residue. Always unplug the tool and remove the battery before you even think about cleaning it.
Garden tools are often caked in dried sap and soil, which traps moisture against the metal. Use a pressure washer or a stiff scraper to remove the organic matter first. Since these tools don’t require surgical precision, you can use coarser sandpaper (60-80 grit) to remove the rust. After cleaning, many professionals recommend wiping the metal parts with linseed oil. It creates a durable, slightly sticky barrier that is excellent for tools that live in the dirt.
Removing the rust is only half the battle. If you put that bare metal back into a damp toolbox, it will be orange again by next Tuesday. You need a permanent strategy for how to remove rust from tools by making sure it never starts.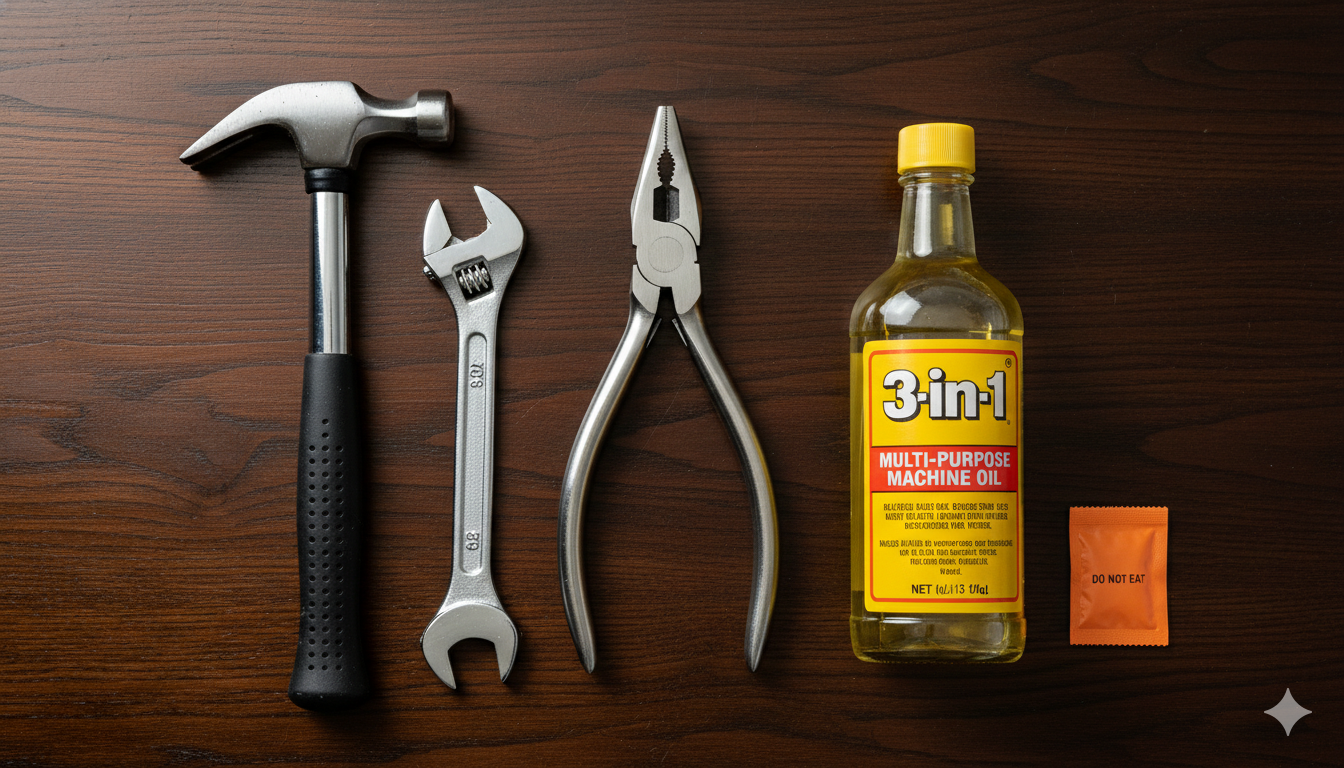
After cleaning, wipe every metal surface with a thin layer of 3-in-1 oil, machine oil, or even a specialized rust-inhibitor spray. The oil creates a hydrophobic barrier—water simply cannot reach the metal to start the oxidation process. For hand tools you use every day, a light wipe with a rag dampened with WD-40 is usually enough.
Most rust starts because of “micro-climates” inside your toolbox.
Avoid storing tools in leather or canvas rolls if they are in a damp garage. These materials absorb moisture and hold it directly against the tool. Store your tools on a pegboard where air can circulate, or in a sealed plastic chest with a rubber gasket. If you live in a coastal area with salty air, a dehumidifier in your workshop is a ‘necessary investment’.
Your tools are the extension of your hands. Seeing them covered in rust can be disheartening, but now you know that the “rust problem” isn’t a death sentence. Whether you choose the slow-and-steady vinegar soak or the fast mechanical removal methods, the key to how to remove rust from tools is persistence.
By taking the time to clean rust off metal and applying a protective shield, you aren’t just saving money—you are preserving the instruments of your craft. So, this weekend, clear off the workbench, grab a container of vinegar, and give your tools the “working condition” they deserve. Your future self, standing in the middle of a smooth-running project, will thank you.
Q: Can I use Coca-Cola to remove rust? A: Yes, actually! Coke contains phosphoric acid. However, it’s also full of sugar, which leaves a sticky residue that can attract dirt and bugs. It’s generally better to use white vinegar or a dedicated rust remover to avoid the mess.
Q: Is WD-40 a rust remover? A: Not exactly. WD-40 is a “water displacer.” It is great for loosening rusted bolts or protecting tools from future rust, but it won’t actually dissolve existing rust as well as vinegar or a specific chemical remover will.
Q: Will removing rust ruin the value of an antique tool? A: It depends. For some collectors, the “patina” is part of the value. However, “active” red rust should always be removed because it will eventually destroy the tool. If you are worried about value, stick to the ‘gentle cleaning’ methods like oil and fine steel wool.
Q: How often should I oil my tools? A: In a humid climate, once a week is a good rule of thumb. If you live in a dry area, once a month might be enough. Always wipe your tools down after a job where they were exposed to rain, sweat, or sap.
Q: Can I remove rust from a saw blade without dulling the teeth? A: Yes. Avoid using a heavy grinder on the teeth. Instead, use a vinegar soak or a chemical gel and a brass wire brush. Brass is softer than steel, so it will remove the rust without blunting the sharp edges of the saw.
Q: Why did my tool turn black after soaking in vinegar? A: This is a normal chemical reaction where the rust is converted into ferric acetate. You can easily scrub this black layer off with a bit of steel wool to reveal the shiny metal underneath.
Q: What is the fastest way to remove rust? A: If you have the equipment, a wire wheel on an angle grinder is the absolute fastest. If you don’t want to use power tools, a commercial “fast-acting” rust jelly usually works within 10 to 15 minutes.