304 North Cardinal St. Dorchester Center, MA 02124
To provide the best experiences, we use technologies like cookies to store and/or access device information. Consenting to these technologies will allow us to process data such as browsing behavior or unique IDs on this site. Not consenting or withdrawing consent, may adversely affect certain features and functions.
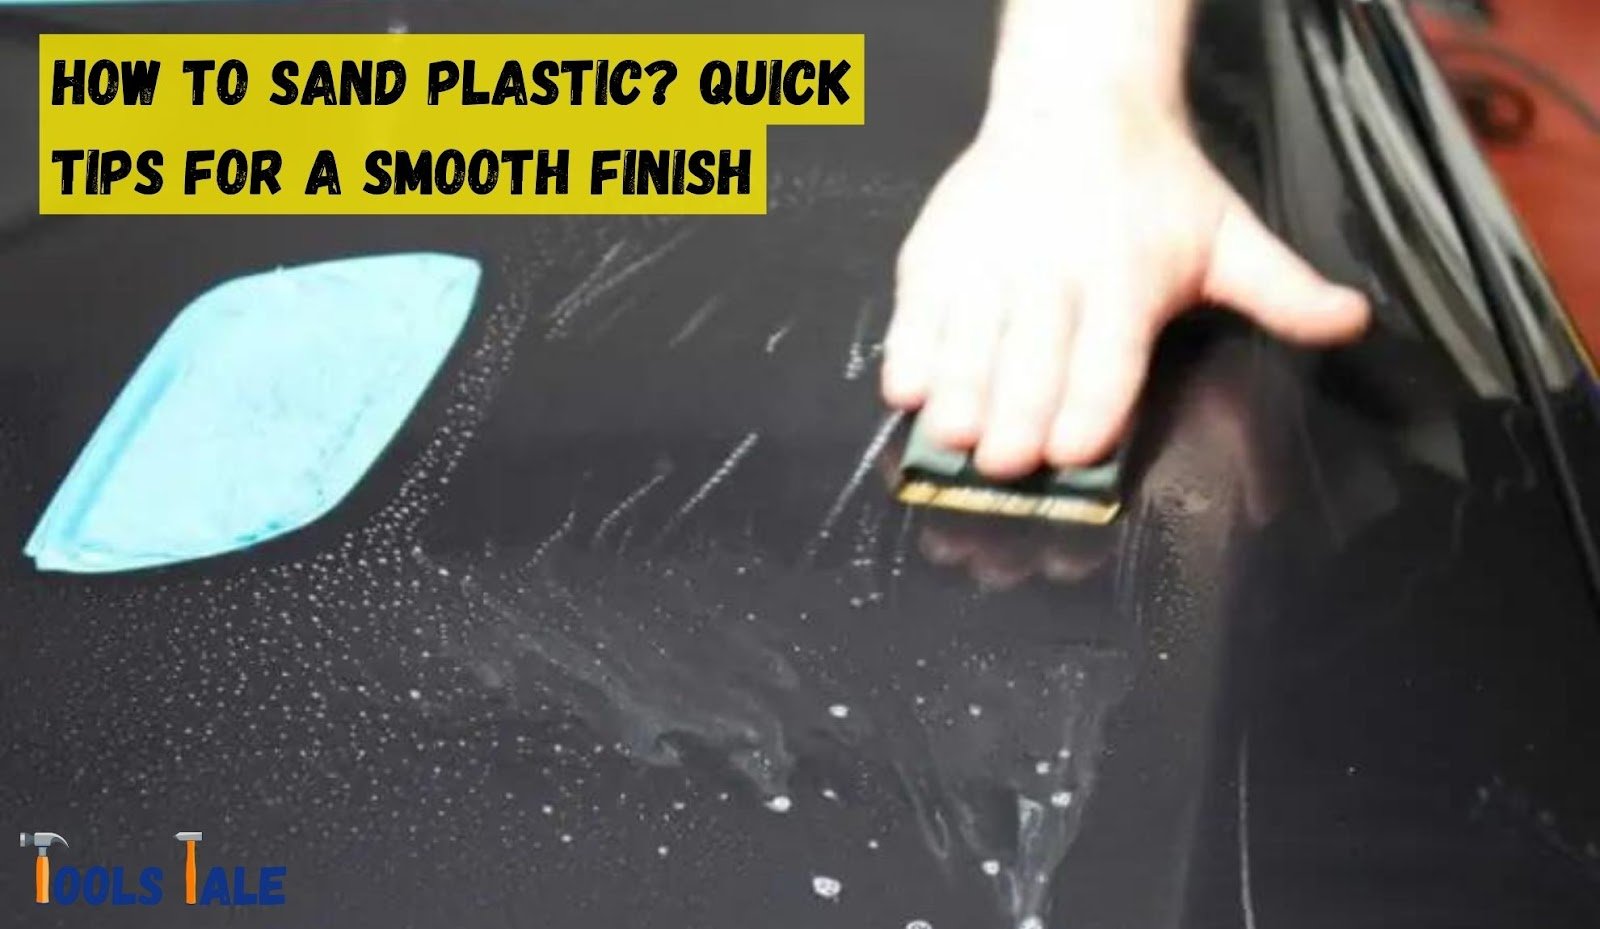
How to Sand Plastic? Quick Tips for a Smooth Finish
Wondering how to sand plastic like a pro? Look no further! In this quick guide, we’ll demystify the art of plastic sanding, providing you with the essential tips and techniques to achieve that smooth, flawless finish. Whether you’re a DIY enthusiast, a craftsperson, or just looking to spruce up plastic surfaces, we’ve got you covered.
Say goodbye to rough edges, scratches, and imperfections as we take you on a journey to master the art of sanding plastic. Ready to bring your plastic projects to life? Let’s dive in!
Key Summary: How to Sand Plastic?
Sanding plastic is easy with the right tools. Start with 220-grit sandpaper for light scratches. Use circular motions and gradually switch to finer grits (400, 800) for a smooth finish. Clean debris, prime, and paint for a polished look. Always wear safety gear.
View Expert Video from Dave Shankson How to Sand Plastic
Sanding plastic might seem like a straightforward task, but if you want to achieve a flawless finish, it’s essential to understand the nuances of the process. Whether you’re refinishing a plastic surface, smoothing out rough edges, or preparing it for painting, this comprehensive guide will walk you through the steps in a way that anyone can follow.
Types of Plastic Projects
Plastic is everywhere, and so are the projects that involve it. From model making to repairing plastic items around the house, understanding the type of plastic you’re working with is crucial. Here are some common plastic project categories:
Model Building
If you’re into model airplanes, cars, or figurines, chances are you’ll encounter various types of plastic in your kits. Achieving a flawless finish is essential to make your models stand out.
Home Repairs
Broken plastic items like toys, kitchen appliances, or furniture can often be salvaged through sanding and proper repair techniques. Learning how to do this can save you money and reduce waste.
DIY Crafts
Craft enthusiasts frequently use plastic as a medium. Whether you’re making jewelry, ornaments, or decorative items, understanding how to sand plastic will help you refine your creations.
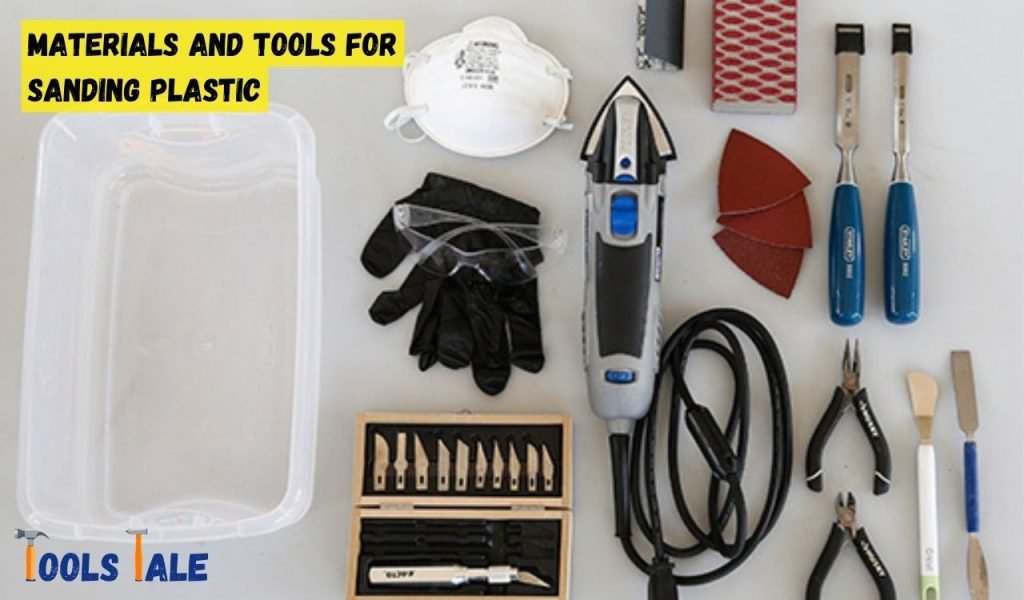
Materials and Tools for Sanding Plastic
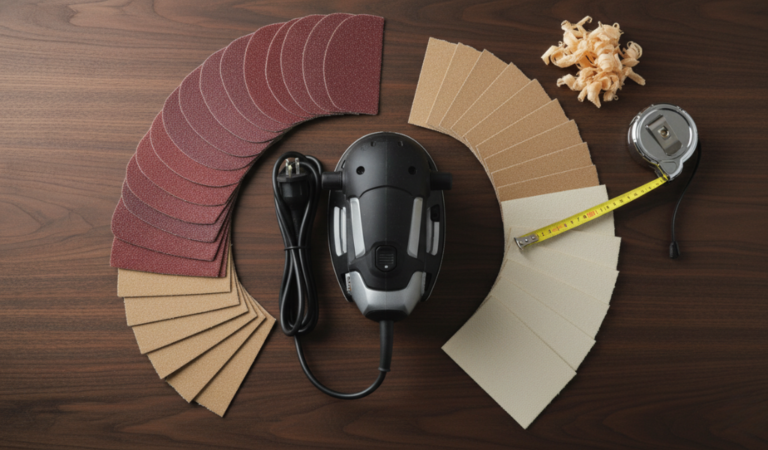
Before we dive into the nitty-gritty of plastic sanding, let’s make sure you have all the materials and tools you need. Gathering the right equipment is crucial for a successful sanding project. Here’s what you’ll require:
Materials
Plastic Surface: This is, of course, the object you intend to sand. It could be anything from a car bumper to a plastic chair or a DIY project you’re working on.
Sandpaper: The type of sandpaper you choose plays a significant role in the outcome. You’ll need a variety of grits, including coarse, medium, fine, and extra fine. Coarser grits (around 80-120) are ideal for removing imperfections, while finer grits (from 220-400) are used for smoothing and polishing.
Mild Detergent: To clean the plastic surface before sanding, use a mild detergent mixed with water. This helps remove dirt and grease, ensuring a smoother sanding process.
Tools
Safety Gear: Safety should always come first. Wear protective gear, including gloves, safety goggles, and a dust mask. These will shield you from potential injuries and dust inhalation.
Sandpaper Holder or Block: A sandpaper holder or block is useful for maintaining an even sanding pressure and preventing your fingers from getting sore.
Sanding Sponges (Optional): Sponges are excellent for curved or contoured surfaces, making it easier to sand hard-to-reach areas.
Water Source (for Wet Sanding): If you plan to wet sand, have a water source nearby. A spray bottle or a container filled with clean water will do the trick.
With your materials and tools ready, it’s time to delve into the heart of the matter: choosing the perfect sandpaper for plastic.
Choosing the Perfect Sandpaper for Plastic
Selecting the right sandpaper is akin to choosing the right tool for the job. It can make the difference between a smooth, professional finish and a botched attempt. Let’s explore the factors you need to consider when choosing sandpaper for plastic:
Grit Size: The grit size determines how aggressive or fine the sandpaper is. Coarse grits, around 80-120, are excellent for removing scratches, imperfections, or layers of old paint. Medium grits, ranging from 150-220, are suitable for general sanding. Fine and extra-fine grits, starting from 240 and going up to 400 or higher, are for finishing and polishing.
Abrasive Type: Sandpapers come in various abrasive materials, such as aluminum oxide, silicon carbide, and garnet. Aluminum oxide is commonly used for plastic as it offers good durability and versatility.
Backing Material: The backing material of the sandpaper affects its flexibility and durability. For plastic, it’s best to choose paper-backed or cloth-backed sandpaper, as they conform well to the surface.
Dry or Wet Sanding: Consider whether you’ll be dry sanding or wet sanding. Dry sanding is suitable for most plastic sanding jobs, while wet sanding is used when you want a smoother finish and reduced dust. Wet sandpaper is designed to be used with water.
Brand and Quality: Quality matters. Investing in reputable sandpaper brands ensures a consistent and effective sanding experience.
Now that you’re armed with the knowledge of materials and tools required and how to choose the perfect sandpaper for plastic, you’re ready to embark on your plastic sanding journey.
Step-by-Step Sanding Process
Welcome to the heart of plastic sanding—the step-by-step process that will transform your plastic surface from rough to remarkably smooth. Whether you’re working on a DIY project, refurbishing an item, or simply looking to achieve a professional finish, this comprehensive guide will walk you through each stage with precision.
Step 1: Inspect and Clean the Plastic Surface
Before diving into sanding, it’s crucial to assess the condition of your plastic surface. Here’s how to get started:
Examine the Surface: Carefully inspect the plastic. Look for imperfections, scratches, old paint, or any blemishes that need attention. Understanding the condition of the surface will help you plan the sanding process effectively.
Clean Thoroughly: Once you’ve identified the areas that require sanding, clean the entire surface. Use a mixture of mild detergent and water to remove dirt, grease, and contaminants. Rinse it thoroughly and allow it to dry completely. A clean surface ensures a smoother sanding process.
Step 2: Start with Coarse Grit Sandpaper
Now that your plastic surface is clean and ready, it’s time to get to work. Begin with coarse grit sandpaper (usually around 80-120 grit) for the initial pass:
Secure Your Sandpaper: Attach the sandpaper securely to a sandpaper holder or block. This helps maintain even pressure and prevents your fingers from tiring too quickly.
Even Strokes: Start sanding with a back-and-forth motion, applying moderate pressure. Ensure that your strokes are even and consistent. This coarse grit sandpaper is excellent for removing imperfections, scratches, or layers of old paint.
Keep It Smooth: As you sand, periodically check the surface with your hand to feel for any rough areas. The goal here is to create a smooth and even base for the subsequent steps.
Step 3: Gradually Progress to Finer Grits
With the initial rough sanding complete, it’s time to refine the surface further. Transition to medium-grit sandpaper (typically between 150-220 grit):
Continued Even Sanding: Maintain the back-and-forth sanding motion, making sure to overlap your strokes for consistency. This step helps smooth out the surface further and prepares it for finer sanding.
Progressive Fineness: As you progress, switch to finer grit sandpapers, such as fine and extra fine (starting from 240 grit and going up to 400 or higher). Each finer grit will remove the marks left by the previous one. Your surface should gradually become smoother with each pass.
Step 4: Wet Sanding (Optional)
For an exceptionally smooth and flawless finish, you have the option of wet sanding:
Wet Your Surface: Wet the plastic surface you’re sanding and keep a water source nearby. You can use a spray bottle or a container with clean water.
Use Extra-Fine Wet Sandpaper: Select extra-fine grit wet sandpaper (typically 400 or higher). This is crucial for achieving that glass-like finish.
Circular Motions: Instead of the traditional back-and-forth motion, use gentle circular motions while sanding. The water acts as a lubricant and helps prevent clogging of the sandpaper.
Frequent Rinsing: Be sure to rinse both the surface and the sandpaper frequently during wet sanding to remove debris and prevent scratching.
Step 5: Inspect and Repeat if Necessary
After completing the sanding process, it’s time for a critical inspection:
Thorough Examination: Carefully inspect the sanded surface under good lighting conditions. Run your fingers over it to detect any imperfections or rough spots.
Spot Treatment: If you notice any areas that still need attention, repeat the sanding process with the appropriate grit. The goal is to achieve a flawlessly smooth finish.
Safety Precautions Tips
While plastic sanding is a DIY-friendly task, it’s essential to prioritize safety throughout the process. Here are some vital safety precautions to keep in mind:
Wear Protective Gear: Always wear safety goggles, gloves, and a dust mask to protect your eyes, hands, and respiratory system from dust and debris.
Work in a Well-Ventilated Area: Sanding plastic can produce fine dust particles. Ensure you work in a well-ventilated space or wear a dust mask to prevent inhaling dust.
Avoid Overheating: Excessive friction while sanding can generate heat, potentially damaging the plastic. Keep the sandpaper and the plastic surface cool by using a light touch.
Dispose of Waste Safely: Dispose of used sandpaper, dust, and debris properly. Avoid letting them accumulate in your work area.
Keep Children and Pets Away: Ensure your workspace is off-limits to children and pets to prevent accidents.
Inspect and Finish
Once you’ve completed the sanding process and followed safety precautions, it’s time to inspect your work and add those finishing touches:
Inspect Thoroughly: Carefully examine the sanded surface under good lighting conditions. Look for any imperfections, rough spots, or areas that may need further attention.
Remove Residue: After sanding, the plastic surface may have residue or dust. Clean it thoroughly using a damp cloth to remove any remnants.
Optional Polishing: Depending on your project, you may want to polish the plastic surface for an extra shine. Choose a suitable plastic polish and follow the manufacturer’s instructions.
Conclusion
In conclusion, knowing how to sand plastic effectively can make a significant difference in various projects, from refinishing furniture to automotive repairs and DIY crafts. With the right techniques, tools, and safety precautions, you can transform rough and worn plastic surfaces into smooth and rejuvenated masterpieces.
Whether you’re a seasoned DIY enthusiast or just starting, the knowledge gained from this guide empowers you to take on plastic restoration projects with confidence. So, roll up your sleeves, grab your sandpaper, and let your creativity shine as you embark on your plastic sanding journey. With each stroke, you’re one step closer to achieving that smooth, flawless finish that makes your projects truly stand out.
Sanding plastic serves various purposes, such as smoothing rough surfaces, removing imperfections, preparing for painting, and restoring the plastic’s original appearance. It’s a crucial step in enhancing the aesthetics and functionality of plastic materials.
Can I sand any type of plastic surface?
Yes, you can sand most types of plastic surfaces, but the specific plastic and project will determine the sanding techniques and tools required. Always assess the plastic’s condition and choose the appropriate sandpaper and method accordingly.
How do I choose the right sandpaper grit for plastic?
Selecting the right sandpaper grit is crucial. For rough plastic surfaces or heavy imperfections, start with coarse grit (around 80-120). For smoother plastics or fine finishing, switch to finer grits (150-220 and higher). The grit choice determines the sanding effectiveness and finish quality.
Can I use regular sandpaper for wet sanding plastic?
Using regular sandpaper for wet sanding isn’t recommended, as it may disintegrate when exposed to moisture. It’s advisable to use sandpaper specifically designed for wet sanding, which is more durable and effective when wet. This ensures a smoother and more polished finish without compromising the sandpaper’s integrity.
Does sandpaper make plastic smooth?
Yes, sandpaper is a primary tool for making plastic smooth. By progressively using finer grits of sandpaper, you can remove imperfections and achieve a polished finish on plastic surfaces.
Can plastic be turned into sand?
No, plastic cannot be turned into sand through sanding. Sanding plastic only alters its surface texture and appearance. It doesn’t transform plastic into sand; rather, it refines the plastic’s surface.
Can you sand acrylic plastic?
Yes, you can sand acrylic plastic, but it requires specific techniques. Use fine-grit sandpaper, work gently, and finish with a polishing compound for optimal results. Acrylic is susceptible to scratching, so caution is essential.
What is the fastest way to sand?
The fastest way to sand depends on the project and your desired outcome. Electric sanders like orbital or belt sanders are generally faster than manual sanding. However, they may not be suitable for delicate or small-scale projects where hand sanding provides more control and precision.
Share your love!
Tools Tale
Disclaimer: This site is owned and operated by Tools Tale. toolstale.com is a participant in the Amazon Services LLC Associates Program, an affiliate advertising program designed to provide a means for sites to earn advertising fees by advertising and linking to Amazon.com. This site also participates in other affiliate programs and is compensated for referring traffic and business to these companies.