Physical Address
304 North Cardinal St.
Dorchester Center, MA 02124
Physical Address
304 North Cardinal St.
Dorchester Center, MA 02124
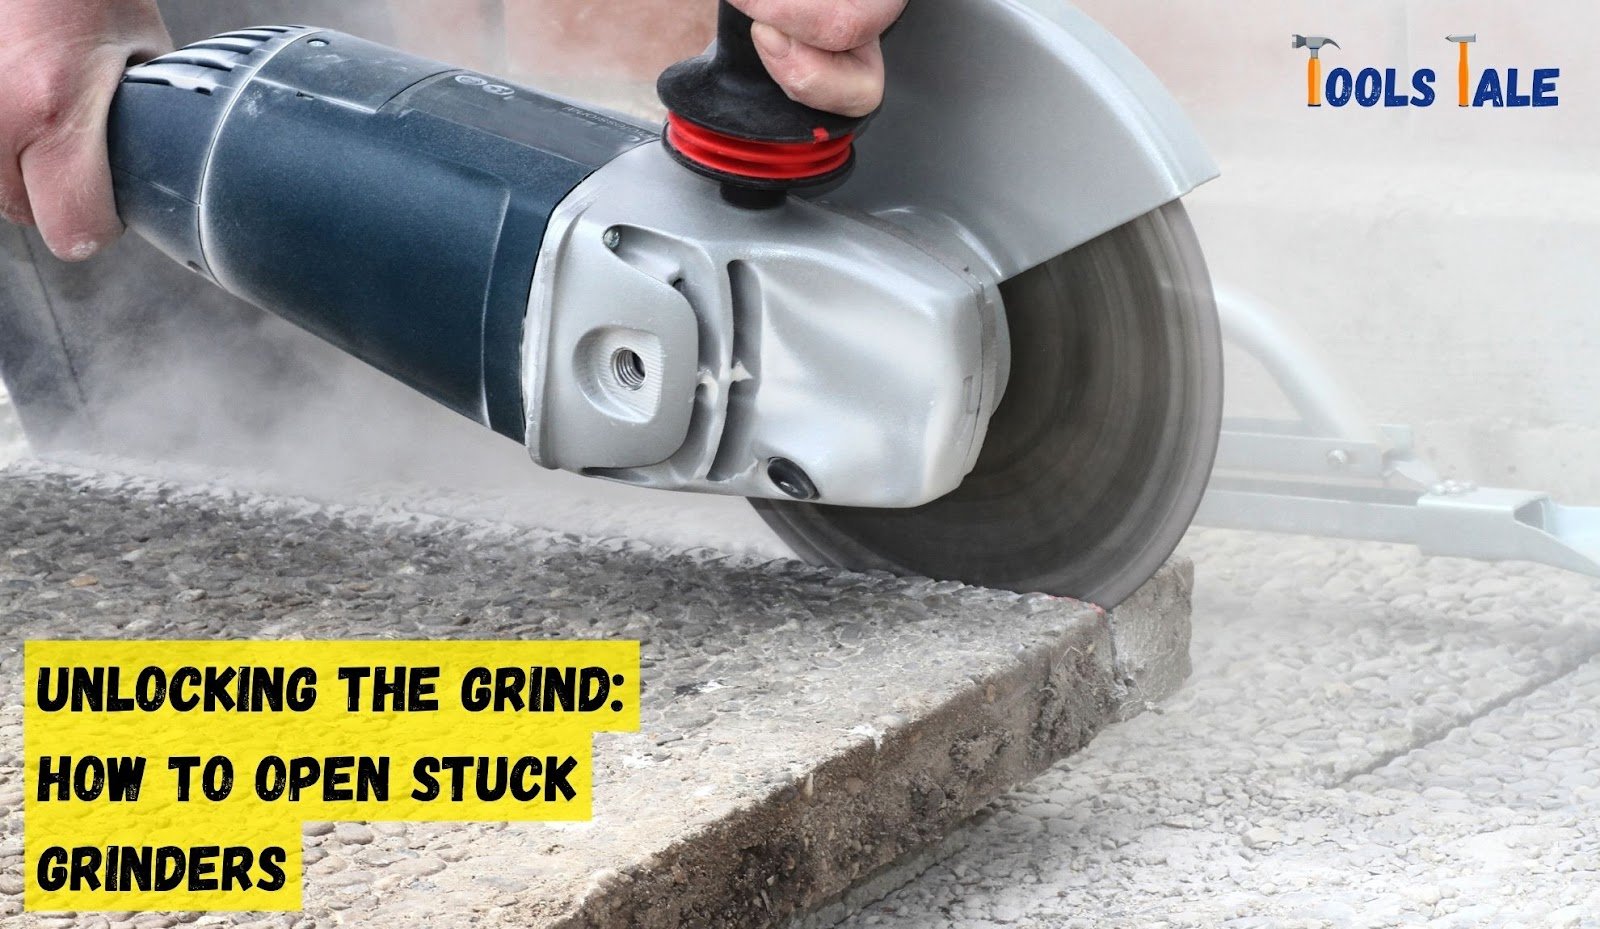
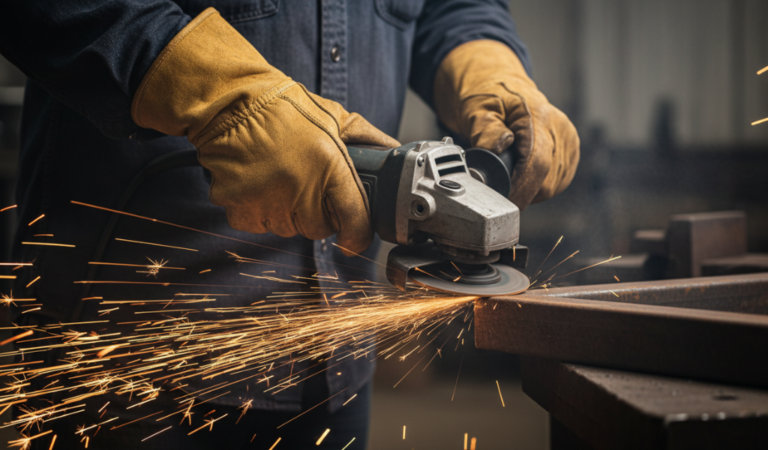
Having trouble with a stubborn grinder that just won’t budge? We’ve got your back on the age-old conundrum: How to open stuck grinder. If you’ve ever found yourself wrestling with a jammed grinder, you know the frustration it brings. It’s like that pickle jar you just can’t crack open, but fear not, we’ve got some tricks up our sleeve.
In just a few simple steps, we’ll have that grinder back in action, and you grinding away in no time. Stick around; we’re about to make your grinding life a whole lot smoother.
Key Summary: How to Open Stuck Grinder?
First, tap it gently to dislodge any loose particles. If that doesn’t work, try the freezer method. Place the grinder in the freezer for 15-20 minutes. The cold can cause the metal to contract, making it easier to twist open. Finally, use a rubber band or grip pad for added traction. Apply even pressure and turn counter-clockwise.
[amazon_auto_links id=”11426″]
A stuck grinder is a common issue encountered when using an herb or spice grinder. It refers to a situation where the grinder becomes immobile, making it challenging to twist and grind the contents effectively. This inconvenience typically occurs due to various factors that hinder the smooth operation of the grinder.
One primary cause of a stuck grinder is resin buildup. As herbs or spices are ground, the resin from these materials can accumulate on the grinding teeth and the inner surfaces of the grinder’s components. Over time, this resin hardens and acts like glue, essentially “sticking” the grinder’s parts together.
Moisture is another common factor leading to a stuck grinder. If the herbs or spices being ground contain excess moisture, they can clump together, making it difficult for the grinder’s teeth to move freely.
Mechanical issues, such as misaligned or jammed internal gears, can also result in a stuck grinder. In such cases, the grinder’s moving parts are obstructed or unable to rotate smoothly, causing it to become immobile.
To resolve a stuck grinder, it’s essential to identify the underlying cause—whether it’s resin buildup, moisture, or a mechanical jam—and take appropriate steps to disassemble, clean, and, if needed, lubricate the grinder to restore its functionality.
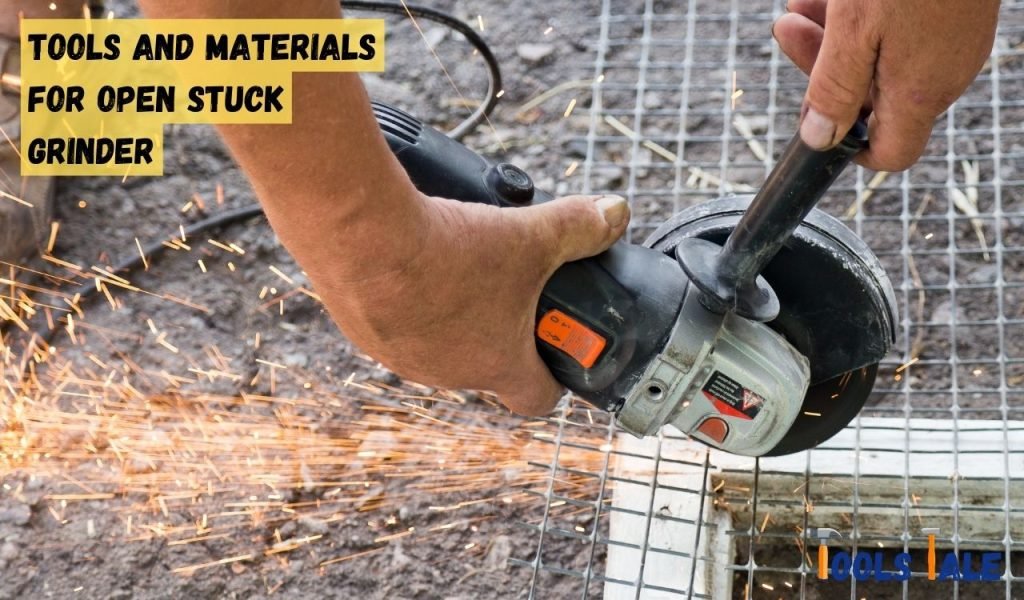
To open a stuck grinder effectively, you’ll need the following tools and materials:
Having these tools and materials at your disposal will enable you to effectively address and resolve the issues causing your grinder to be stuck, whether it’s due to resin buildup, moisture, or mechanical problems.
When dealing with a stuck grinder, it’s essential to prioritize safety to ensure a trouble-free and secure resolution. Here are the key precautions to keep in mind as you address this common issue:
Before you start working on your stuck grinder, consider wearing the appropriate protective gear. Gloves are highly recommended to protect your hands during the process. This is particularly crucial when handling isopropyl alcohol, which can be harsh on the skin. Additionally, consider using eye protection if there’s a possibility of substances splattering.
If you plan to use isopropyl alcohol for cleaning your grinder, it’s vital to work in a well-ventilated space. Adequate ventilation helps disperse fumes and prevents the inhalation of potentially harmful vapors. Avoid working in confined spaces or rooms with poor airflow. This precaution ensures your safety and minimizes exposure to harmful substances.
Stuck grinders often involve the use of chemicals and small, easily swallowed or choked-on parts. To prevent accidents and protect your loved ones, store your grinder and all associated materials in a safe location that is out of reach for children and pets. Ensure that they cannot access the area while you work. Safety for those who may be curious or unaware of the risks is paramount.
Using the right tools is crucial for both your safety and the proper resolution of the issue. Ensure you have all the necessary tools and materials ready before you begin. Using the right tools helps prevent accidents and minimizes the risk of damaging your grinder. Refer to the previous sections for a list of essential tools and materials required for disassembling and cleaning your grinder.
When you’re faced with a stuck grinder, it can be a frustrating ordeal. However, with the right approach and a little patience, you can get your grinder working smoothly again. Here’s a detailed step-by-step guide on how to open a stuck grinder:
The first and most crucial step is to identify the issue causing the grinder to be stuck. Examine the grinder carefully to determine what’s preventing it from functioning correctly. Common issues include trapped debris, moisture ingress, or worn-out parts. Understanding the root cause is essential for finding the appropriate solution.
Once you’ve identified the issue, the next step is to isolate the problematic area. Depending on your grinder’s design, you may need to disassemble it to access the jammed components. Refer to your grinder’s user manual for guidance on disassembly, as the process can vary depending on the model.
Lubrication can work wonders in freeing up a stuck grinder. Choose a food-safe lubricant and apply it to the jammed parts. The lubricant helps reduce friction and allows the components to move more freely. Be patient during this step, as it may take some time for the lubricant to penetrate and loosen the stuck components. Avoid using excessive force.
If lubrication alone doesn’t resolve the issue, it’s time to consider mechanical aids. Gently tap the grinder or use a rubber mallet to assist in freeing the jammed components. The key here is to use a light touch; you don’t want to risk damaging the grinder. The goal is to gently nudge the components into motion, helping them release the jam.
In some instances, despite your best efforts, the grinder may remain stuck. If you’ve followed the previous steps and the problem persists, consider seeking professional assistance or reaching out to the manufacturer for guidance. Safety should always be your top priority. Professionals and experts can provide valuable insights when the solution remains elusive.
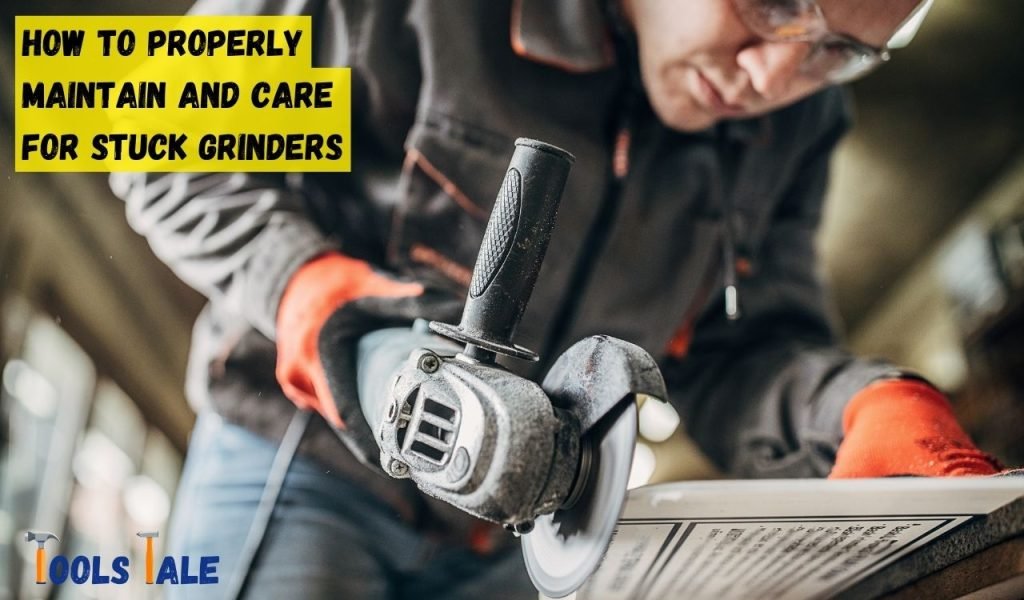
Maintaining and caring for your grinder is essential to ensure that it operates smoothly and efficiently. Proper maintenance not only prolongs the life of your grinder but also helps prevent the frustration of dealing with a stuck grinder. Here’s a comprehensive guide on how to properly maintain and care for your grinder:
Regular cleaning is one of the most fundamental aspects of grinder maintenance. It’s vital to disassemble your grinder periodically and thoroughly clean all of its components. Here’s a step-by-step guide on how to clean your grinder:
When using your grinder, it’s crucial to refrain from applying excessive force. Grinders are designed to do the work for you, so there’s no need to exert too much pressure. Forcing the grinder can lead to jams and may even damage the internal components. Follow these tips:
Periodically applying a food-grade lubricant to the moving parts of your grinder is a simple yet effective way to maintain its functionality. Lubrication helps reduce friction and ensures the grinder operates smoothly. Follow these steps:
Proper storage is another key aspect of grinder care. Storing your grinder correctly can prevent issues related to moisture and damage. Here are some tips for proper storage:
In conclusion, when faced with a stuck grinder, the key is not to panic but to follow our step-by-step guide on How to open a stuck grinder. These quick and easy solutions will have your grinder working smoothly again, ensuring you can continue grinding effortlessly. Say goodbye to those frustrating moments and enjoy the convenience of a well-functioning grinder. Don’t let a stuck grinder slow you down-unlock your grinding potential today!
To fix a stuck grinder, start by identifying the issue, whether it’s resin buildup, moisture, or mechanical problems. Disassemble the grinder, clean it thoroughly, and use lubrication if needed. Be patient and avoid excessive force.
Opening a stuck grinder jar can be challenging. Try running warm water over the lid to expand it slightly. Use a rubber band or a towel for added grip and twist counterclockwise. If it’s a glass jar, be cautious to avoid breakage.
Grinders can get stuck due to resin buildup from ground herbs, excess moisture causing clumping, or mechanical issues like jammed gears. Identifying the cause is crucial for effective resolution.
Cleaning a stuck grinder involves disassembly, thorough cleaning of components with a brush and isopropyl alcohol, and proper drying. Ensure all residue and debris are removed to restore functionality.
Yes, grinders can get stuck for various reasons, such as resin accumulation, moisture-related clumping, or mechanical problems. Proper maintenance and cleaning can prevent this issue.
Grinders may stop working due to jammed gears, worn-out components, or excessive residue buildup. Identifying the specific issue and taking appropriate steps, like lubrication or cleaning, can often resolve the problem.
To remove a stuck jar, use warm water to expand the metal or plastic lid. Grip the lid with a rubber band or a cloth for better traction and turn it counterclockwise. Be careful not to damage the jar or lid.
Boiling your grinder in water is generally not recommended. While it can help remove resin, it may damage some grinder materials or lead to uneven results. Instead, consider using isopropyl alcohol for safe and effective cleaning.