Physical Address
304 North Cardinal St.
Dorchester Center, MA 02124
Physical Address
304 North Cardinal St.
Dorchester Center, MA 02124
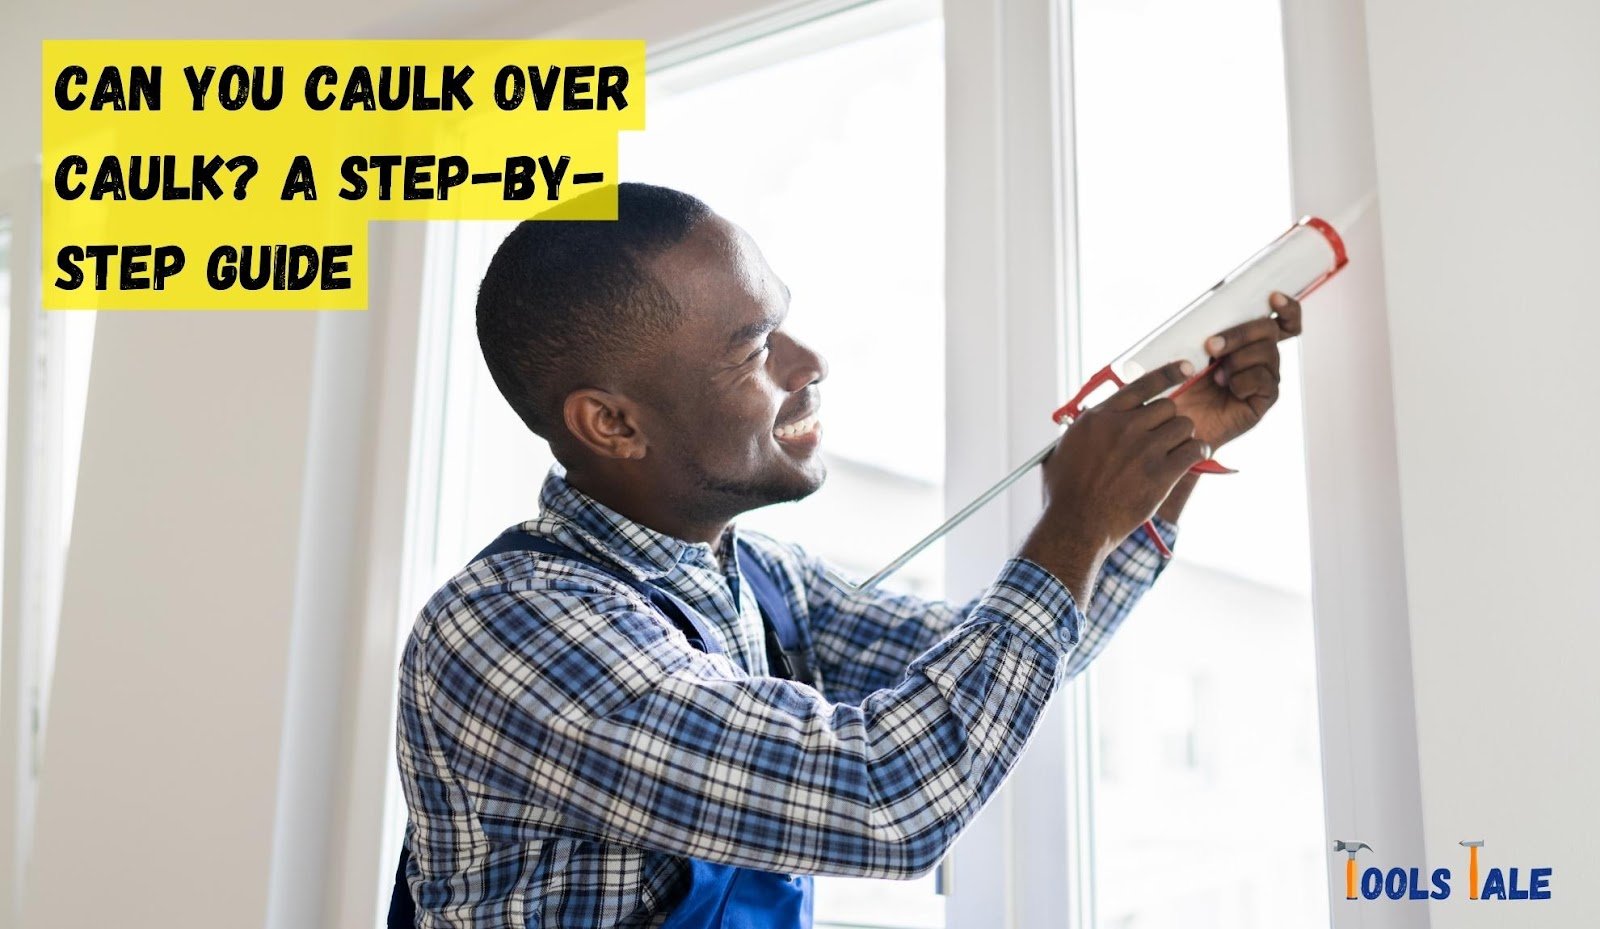
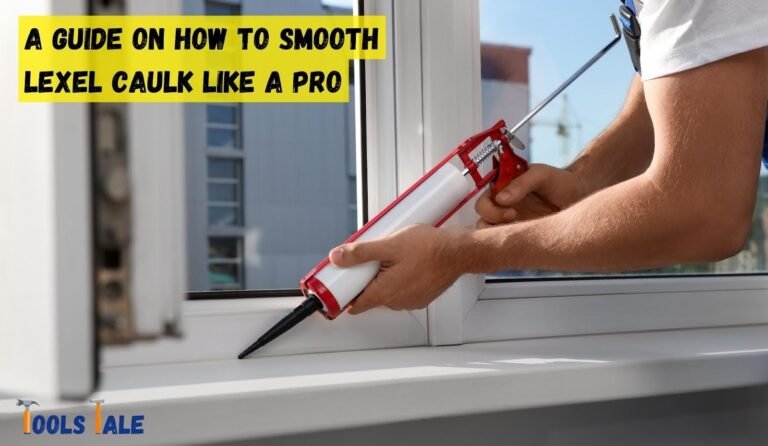
Can You Caulk Over Caulk? Ever pondered this DIY conundrum? Picture this: tired caulk, a weathered warrior against the elements. But fear not! We’re about to dive into the nitty-gritty of caulk rejuvenation. Yes, you heard it right – a guide that spills the secrets of caulking over existing caulk. Buckle up, DIY enthusiasts! We’re about to crack the code on whether it’s a thumbs-up or a no-go. Ready to unveil the mysteries? Let’s embark on this caulk-venture together!
Key Summary: Can You Caulk Over Caulk?
Yes, you can caulk over caulk if the old caulk is clean, dry, and in good condition. Remove loose caulk and debris, then apply a new layer of compatible caulk for a seamless, long-lasting seal. Avoid using silicone over silicone to ensure adhesion. Follow proper prep and application for best results.


Before we dive into the nitty-gritty of caulking over caulk, let’s get acquainted with the basics. Caulk, that humble hero of home repair, is more than just a filler. In this section, we’ll explore its versatile properties, applications, and how to make it stand the test of time. Let’s unravel the mysteries of caulk and ensure your seals stay rock-solid.
Caulk is a versatile sealant used in construction and home improvement projects to fill gaps and cracks. It comes in various types, each serving specific purposes based on their properties and applications. The three most common types of caulk are silicone, acrylic, and latex caulk.
Silicone caulk is known for its excellent flexibility and water resistance. It works well in areas exposed to moisture, such as bathrooms, kitchens, and exteriors. Silicone caulk is durable and can last for a long time, making it a popular choice for sealing joints and gaps.
Acrylic caulk is a paintable sealant that is easy to work with and dries quickly. It is ideal for interior applications and is commonly used to seal gaps around windows, doors, and baseboards. While acrylic caulk is not as flexible as silicone, it still provides a reliable seal for many household projects.
Latex caulk is an all-purpose caulk suitable for both interior and exterior use. It is paintable and easy to clean up with water, making it a favorite among DIYers. However, latex caulk is less durable than silicone and acrylic, and it may require more frequent reapplication in high-moisture areas.
The longevity of caulk depends on several factors, and understanding them can help you make informed decisions about your sealing projects. Here are the key factors that influence the lifespan of caulk:
Different types of caulk have varying levels of durability and performance. Silicone caulk tends to last the longest due to its excellent flexibility and resistance to moisture and weathering. Acrylic caulk comes next in terms of durability, while latex caulk generally has a shorter lifespan.
The way caulk is applied plays a significant role in its longevity. A well-executed caulking job with an even bead and proper adhesion to the surfaces will likely last longer than a haphazard application. It’s crucial to follow the manufacturer’s guidelines for proper application techniques to ensure the best results.
The environment in which caulk is installed can affect its lifespan. Extreme temperatures, excessive humidity, UV exposure, and harsh weather conditions can all impact caulk’s performance. For example, caulk in a bathroom with high moisture levels might deteriorate faster than caulk used in a dry and temperate room.
Regular maintenance and care can prolong the lifespan of caulk. Periodic inspections and prompt repairs of damaged or deteriorated caulk can prevent further issues and maintain the integrity of the seal. Keeping the sealed area clean and free from excessive moisture can also help extend the caulk’s life.
Choosing the right caulk for the material being sealed is essential for ensuring a lasting seal. Different types of caulk adhere better to specific surfaces, such as wood, glass, metal, or tile. Using caulk that is compatible with the material will enhance its performance and longevity.
While caulk’s lifespan can vary based on the factors mentioned above, here are some general guidelines:
Silicone caulk: 10 years or more
Acrylic caulk: 5 to 10 years
Latex caulk: 2 to 5 years
Keep in mind that these are approximate estimates, and individual circumstances may cause caulk to last longer or require more frequent replacement.
Caulking over existing caulk can be a practical solution in certain scenarios, but it’s essential to assess the condition of the old caulk and consider specific factors before making this decision.
Caulking over caulk is appropriate when the old caulk is in good condition. If the existing caulk is still firmly adhered to the surfaces, free from cracks, and not showing signs of deterioration, applying new caulk over it can be a viable option. In such cases, the old caulk acts as a stable base, and adding a new layer can enhance the seal and extend the lifespan of the joint.
One of the primary reasons for caulking over existing caulk is the time and labor saved in the process. Removing old caulk can be a time-consuming and challenging task, especially if it has been there for a long time or is difficult to remove. By caulking over the old layer, you eliminate the need for extensive caulk removal, making the project quicker and more straightforward.
Applying new caulk over existing caulk can improve the overall seal and appearance of the sealed area. It fills in any small gaps, cracks, or imperfections in the old caulk, providing a more robust and seamless seal. This can be particularly beneficial in areas exposed to moisture, such as bathrooms and kitchens, where maintaining a watertight seal is critical to prevent water damage and mold growth.
Caulking over existing caulk can also be a cost-effective solution. Removing old caulk may require specialized tools or professional assistance, leading to additional expenses. By opting to caulk over the old layer, you save on removal costs and materials, making it a budget-friendly option for many homeowners.
For areas with minimal caulk damage or where a cosmetic touch-up is sufficient, caulking over existing caulk minimizes disruption and mess. It allows you to make necessary repairs without having to dismantle or disturb surrounding structures extensively.
In some situations, caulking over existing caulk can be a temporary or cosmetic solution. For instance, if you plan to undertake a more extensive renovation in the future, caulking over the existing caulk can serve as a short-term fix until you are ready for a complete overhaul.
Certain types of caulk, like silicone, can adhere well to older silicone caulk. This compatibility can make it easier and more effective to caulk over existing silicone caulk without sacrificing the quality of the seal.
Caulking over existing caulk offers several significant benefits, making it an attractive option for various sealing projects. Here are the key advantages of choosing to apply new caulk over the old layer:
One of the most notable benefits of caulking over existing caulk is the time and effort saved during the application process. Removing old caulk can be a labor-intensive task, especially if it is stubbornly adhered to the surfaces or located in hard-to-reach areas. By caulking over the existing layer, you eliminate the need for extensive caulk removal, streamlining the project and reducing overall labor time.
When you apply new caulk over the existing layer, it can improve the overall seal and extend the lifespan of the joint. The new caulk fills in any small gaps, cracks, or imperfections in the old caulk, creating a more robust and seamless seal. This enhanced seal helps to prevent moisture and air infiltration, reducing the risk of water damage, mold growth, and energy loss.
Caulking over existing caulk can also enhance the appearance of the sealed area. Over time, caulk may discolor or become discolored due to exposure to sunlight, moisture, or dirt. Applying new caulk over the old layer can refresh the appearance and provide a cleaner, more polished look to the sealed surfaces.
Opting to caulk over existing caulk can be a cost-effective solution for sealing projects. Removing old caulk may require specialized tools, caulk remover products, or professional assistance, leading to additional expenses. By avoiding the removal process and directly applying new caulk, you save on removal costs and materials, making it a budget-friendly option for homeowners.
For areas with minor caulk damage or where a cosmetic touch-up is sufficient, caulking over existing caulk minimizes disruption and mess. It allows you to make necessary repairs without having to dismantle or disturb surrounding structures extensively. This is particularly useful for quick fixes or maintenance touch-ups in busy areas of the home.
In some cases, caulking over existing caulk can serve as a temporary or preparatory solution. For instance, if you are planning a more extensive renovation or remodeling in the future, caulking over the existing caulk can provide a short-term fix until you are ready for a complete overhaul. This approach can buy you time and allow you to address immediate sealing needs without committing to a full-scale project.
Certain types of caulk, such as silicone caulk, can adhere well to older silicone caulk. This compatibility makes it easier and more effective to caulk over existing silicone caulk without sacrificing the quality of the seal. Understanding the compatibility of caulk types can help you make the right choice for your specific project.
However, while caulking over existing caulk offers numerous benefits, it may not be suitable for all situations. Before proceeding, consider the condition of the old caulk, its adhesion to the surfaces, and the compatibility of caulk types. For damaged or deteriorated caulk, it is best to remove the old caulk entirely and apply new caulk from scratch for a reliable and long-lasting seal.

Caulking over existing caulk can be a straightforward process if done correctly. Follow this comprehensive step-by-step guide to ensure a successful application:
Before proceeding, carefully inspect the old caulk to ensure it is in good condition. Check for any signs of damage, mold, or peeling. If the existing caulk is compromised, it is essential to remove it entirely before applying new caulk.
Thoroughly clean the area where you plan to apply the new caulk. Use a caulk remover tool or a putty knife to gently remove any loose or damaged portions of the old caulk. Then, clean the surface with soap and water to remove dirt, grease, and other debris. Allow it to dry completely before proceeding.
Select a caulk type that suits your specific needs and the requirements of the project. Consider factors such as the material you are sealing (e.g., tile, glass, wood), the level of flexibility needed, and the presence of water exposure. Refer to the manufacturer’s recommendations to ensure the chosen caulk type is compatible with the existing caulk and surface material.
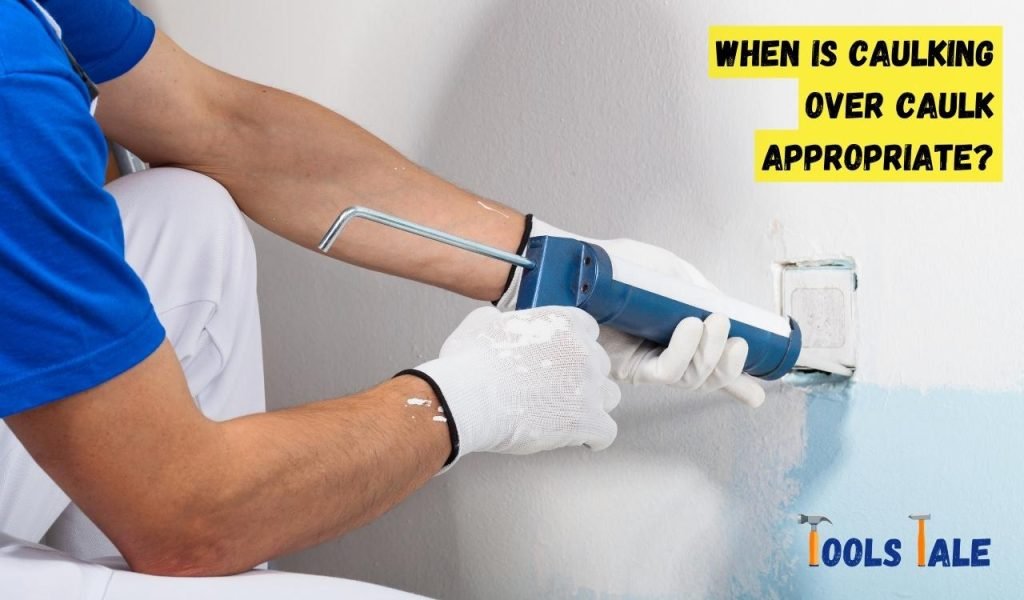
Load the chosen caulk into a caulk gun. Cut the tip of the caulk tube at a 45-degree angle to create a small opening for precise application. A smaller opening is especially important when caulking over existing caulk to avoid overapplication and mess.
Begin applying the new caulk by placing the caulk gun at a 45-degree angle to the joint or seam you wish to seal. Gently squeeze the trigger while moving the caulk gun steadily along the joint. Aim for a consistent and even bead of caulk, filling in any gaps or spaces left by the old caulk.
After applying the new caulk, use a caulk smoothing tool or your finger (protected with a latex glove) to smooth the caulk into place. This step ensures a neat and professional finish while ensuring the caulk adheres well to the surfaces.
Wipe away any excess caulk with a damp cloth before it dries. Cleaning up the excess caulk immediately helps create a clean and polished appearance. Pay close attention to corners and edges, where excess caulk tends to accumulate.
Follow the caulk manufacturer’s instructions for drying time. Typically, caulk will need at least 24 hours to fully cure. Avoid touching or disturbing the caulk during this time to ensure it sets properly.
Once the caulk is fully dry, inspect the seal for any gaps, imperfections, or areas that may need additional caulking. If necessary, apply an additional layer of caulk to achieve the desired seal and appearance.
Regularly inspect the sealed area for signs of wear or damage. Promptly address any issues by reapplying caulk as needed. Proper maintenance and care will help prolong the life of the caulk and maintain a reliable seal.
Achieve a professional seal with the right caulk, surface preparation, and application technique. Follow these essential tips for lasting results.
Selecting the appropriate caulk type is essential for a successful sealing project. Consider factors such as the location of the seal (interior or exterior), the material being sealed (wood, glass, metal, etc.), and the level of flexibility required. Silicone caulk is ideal for areas exposed to moisture, while acrylic caulk works well for interior applications.
Before applying new caulk over existing caulk, ensure that the two caulk types are compatible. Some caulk types may not adhere well to certain old caulk materials, leading to an unreliable seal. Refer to the manufacturer’s guidelines to determine compatibility.
A clean and properly prepared surface is crucial for a lasting seal. Remove any old caulk, dirt, grease, or debris from the area you plan to caulk. Use a caulk remover tool or putty knife to scrape away old caulk, and clean the surface with soap and water. Allow it to dry completely before applying new caulk.
For larger gaps or joints, consider using caulk backer rods before applying caulk. Backer rods act as a filler, providing support to the caulk and preventing it from sinking into deep gaps. This ensures an even and robust seal.
If you’re new to caulking, practice applying caulk on a test surface before starting your main project. Familiarize yourself with the caulk gun’s trigger control and the flow of caulk to achieve a smooth and controlled application.
To achieve clean and precise caulking lines, use painter’s tape to mask off the edges of the joint or seam. Apply the caulk as usual and then carefully remove the tape before the caulk dries to achieve a professional finish.
For a neat and polished caulk line, dip your finger in a mixture of water and liquid soap. Gently run your soapy finger along the caulk bead to smooth it out. The soapy water prevents the caulk from sticking to your finger, resulting in a cleaner finish.
When dealing with long joints or seams, it’s better to apply caulk in segments rather than attempting the entire length at once. Caulking in sections allows you to maintain control over the application and achieve a more consistent and even bead.
Caulk performance can be affected by temperature and humidity. Follow the manufacturer’s guidelines for the ideal application conditions. Extreme temperatures or high humidity levels may impact the drying time and adhesion of the caulk.
After applying caulk, promptly clean up any excess caulk with a damp cloth before it dries. Cleaning up excess caulk immediately ensures a clean and polished appearance, preventing messy caulk lines.
Consider the color of the caulk and how it will blend with the surrounding surfaces. For a seamless and aesthetically pleasing finish, choose a caulk color that matches or complements the adjacent materials.
Achieve a flawless and long-lasting seal by steering clear of these common caulk application pitfalls. Learn how to avoid these mistakes for professional-grade results.
Neglecting to thoroughly clean and prepare the surface before caulking is a common mistake that can compromise the effectiveness of the seal. Dirt, grease, or old caulk remnants can hinder caulk adhesion, leading to premature failure. Take the time to remove old caulk, clean the surface with soap and water, and ensure it is completely dry before applying new caulk.
Overfilling gaps with caulk is another common mistake that can result in an uneven and messy finish. Applying too much caulk not only wastes material but also makes it challenging to achieve a clean and professional appearance. Apply just enough caulk to fill the gap without excess.
Using incompatible caulk types on specific surfaces is a major mistake that can lead to adhesion issues and a weak seal. Always check the compatibility of caulk with the material you are sealing to ensure proper adhesion and longevity. If the old caulk and new caulk are not compatible, remove the old caulk entirely before applying new caulk.
Applying caulk hastily is a mistake that can result in uneven lines, air bubbles, and inadequate coverage. Take your time during the application process to achieve a smooth and controlled caulk bead. A steady hand and a slow, consistent pace are key to a professional finish.
Proper maintenance and regular inspections are crucial to ensure the longevity of the caulk seal. Over time, caulk may wear down or become damaged due to exposure to the elements or normal wear and tear. Promptly address any signs of wear or damage, and reapply caulk as needed to maintain an effective barrier against moisture and air infiltration.
Using expired or old caulk is a common mistake that can lead to poor performance and adhesion issues. Always check the expiration date on the caulk tube before use and avoid using outdated products. Fresh caulk ensures better quality and results.
Caulk application in extreme temperatures or high humidity is a mistake that can affect drying time and adhesion. Avoid applying caulk in adverse weather conditions to ensure a successful seal. Follow the manufacturer’s guidelines for the ideal application conditions.
Choosing the wrong caulk color can be a noticeable mistake, especially if it clashes with the surrounding surfaces. For a seamless and aesthetically pleasing finish, select a caulk color that matches or complements the adjacent materials.
In conclusion, the answer to “Can You Caulk Over Caulk” is a resounding yes! Armed with the right knowledge and tools, you can breathe new life into your surfaces without the hassle of complete removal. By following the step-by-step guide, embracing valuable tips, and avoiding common mistakes, you’ve unlocked the secrets to a successful caulk-over-caulk transformation. Now, go forth with confidence, make those surfaces shine, and revel in the satisfaction of a DIY job well done!
Yes, you can apply new caulk over old caulk in certain situations. It’s crucial to ensure that the existing caulk is in good condition, clean, and adhering well to the surfaces. If the old caulk is damaged or peeling, it’s best to remove it entirely before applying new caulk.
To caulk over existing caulk, first, clean the surface thoroughly, removing any loose or damaged caulk. Apply the new caulk directly over the old caulk, making sure to fill any gaps or spaces. Use a caulk smoothing tool or your finger to create a smooth and even bead.
Caulking over cracked caulk is not recommended. Cracks indicate that the caulk is compromised, and applying new caulk over it won’t provide a reliable seal. Remove the cracked caulk entirely before applying new caulk for a lasting and effective seal.
Caulking over wet caulk can lead to poor adhesion and an unstable seal. Before applying new caulk, ensure that the surface is dry and free from moisture. Wet caulk should be allowed to dry completely before adding a new layer.
Yes, you can caulk over silicone caulk, but it’s essential to check compatibility between the old and new caulk. Some caulk types may not adhere well to silicone, affecting the effectiveness of the seal. Test a small area first or remove the silicone caulk entirely before applying a different type.
To remove old caulk, use a caulk remover tool or a putty knife to carefully scrape it away from the surfaces. Clean the area with soap and water to remove any residue. Allow the surface to dry completely before applying new caulk.
Wait until the existing caulk is completely dry before applying new caulk. The drying time can vary depending on the caulk type and environmental conditions. Follow the manufacturer’s guidelines for the recommended drying time.
Yes, you can paint over caulk, but it’s essential to use paintable caulk. Not all caulk types are paintable, so check the label to ensure it is suitable for painting. Allow the caulk to cure fully before applying paint.
Yes, caulk needs to be completely dry before applying a new layer. Applying new caulk over wet caulk can lead to adhesion issues and an unstable seal. Follow the recommended drying time for the caulk before adding a new layer.
Caulking over moldy caulk is not recommended. Mold indicates moisture issues, and applying new caulk over mold won’t solve the problem. Remove the moldy caulk entirely, address the underlying cause of moisture, and then apply new caulk for a clean and effective seal.