Physical Address
304 North Cardinal St.
Dorchester Center, MA 02124
Physical Address
304 North Cardinal St.
Dorchester Center, MA 02124

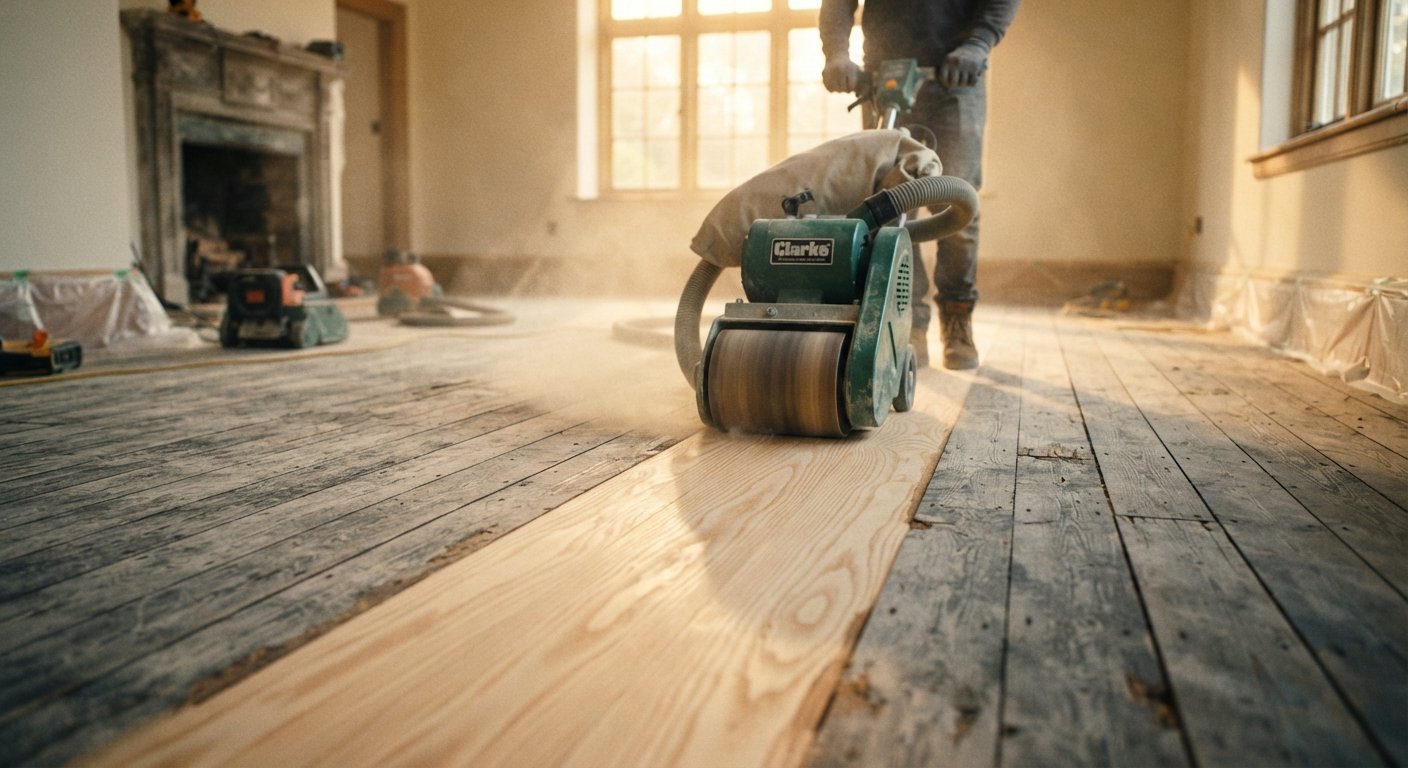
Bringing dull, scratched hardwood back to life starts with the right tool, and for most people that tool is a wood floor sanding machine. Whether your floors have decades of scuffs or a tired old finish that has seen better days, the right machine can strip away years of wear in a single weekend. This guide walks you through everything you need to know, from how these machines work to how to use one safely without leaving marks behind.
If you have been searching for a practical, no-nonsense resource on Sanding Wood Floors: Complete DIY Hardwood Refinishing Guide, you are in the right place. We will cover the different machine types, the correct sandpaper grits, preparation steps, and the finishing touches that make your floors look brand new. By the end, you will feel confident tackling the job yourself or knowing exactly what to expect if you hire a pro.
Refinishing hardwood is one of the most rewarding home projects out there. It saves money compared to replacing the floor, and it adds real value to your home. Let’s get started.
A wood floor sanding machine is a powered tool built to smooth and level timber floors by removing the top layer of wood along with any old finish. Think of it as a heavy-duty sander made specifically for large flat surfaces. Instead of pushing a small handheld sander back and forth for hours, these machines let you cover big areas quickly and evenly.
Most of these machines use a spinning drum, belt, or disc fitted with sandpaper. As the abrasive moves across the boards, it shaves off scratches, stains, and worn coatings. The result is a fresh, bare wood surface ready for stain or sealer.
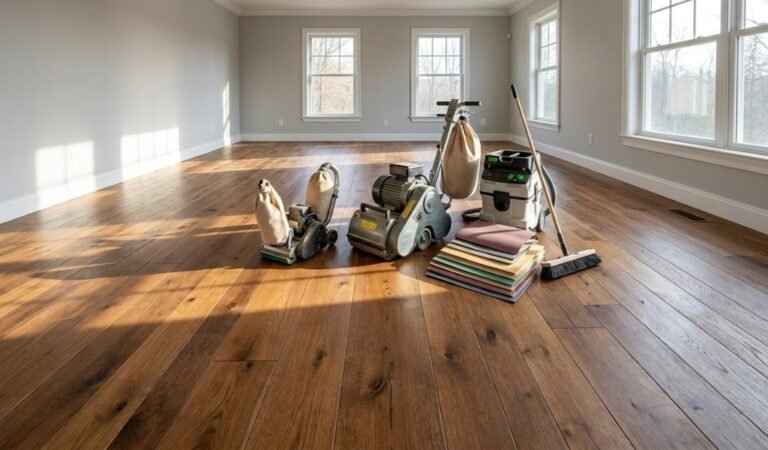
You will find these tools in two main forms. Large upright machines handle the open middle of a room, while smaller edging sanders take care of the spots along walls and in corners. Many homeowners rent them from hardware stores for a weekend, while flooring professionals often own several to suit different jobs.
The basic idea behind every floor sander is simple. A motor spins an abrasive surface at high speed, and that abrasive grinds away a thin layer of wood as you guide the machine across the floor. The finer the sandpaper, the smoother the finish it leaves.
Larger drum and belt machines pull the sandpaper across the boards in a straight line, which makes them fast and aggressive. They are ideal for stripping thick old coatings or leveling uneven boards. Orbital sanders work differently. They vibrate and spin in small circles, which gives a gentler cut and reduces the risk of gouging the wood.
Nearly all modern machines include a dust collection system. A bag or vacuum port catches most of the fine wood dust as you work. This keeps the air cleaner and cuts down on the cleanup afterward. Good dust control also lets you see your progress clearly, so you know when a section is done.
Sanding a whole floor by hand is possible, but it is slow, tiring, and rarely gives even results. A powered sander changes the game. It saves hours of hard labor and produces a consistent surface across the entire room.
Speed is the biggest advantage. A task that might take days on your knees can be finished in a single afternoon with the right equipment. The even pressure and steady motion of a machine also prevent the dips and waves you often get from hand sanding.
There is a cost benefit too. Refinishing your floors instead of replacing them can save thousands of dollars. Once you factor in the modest rental fee for a sander, the math clearly favors the machine. For anyone serious about a smooth, professional-looking result, a floor sander is the way to go.
Not every machine suits every job. Understanding the main types helps you pick the right one for your floor and your skill level.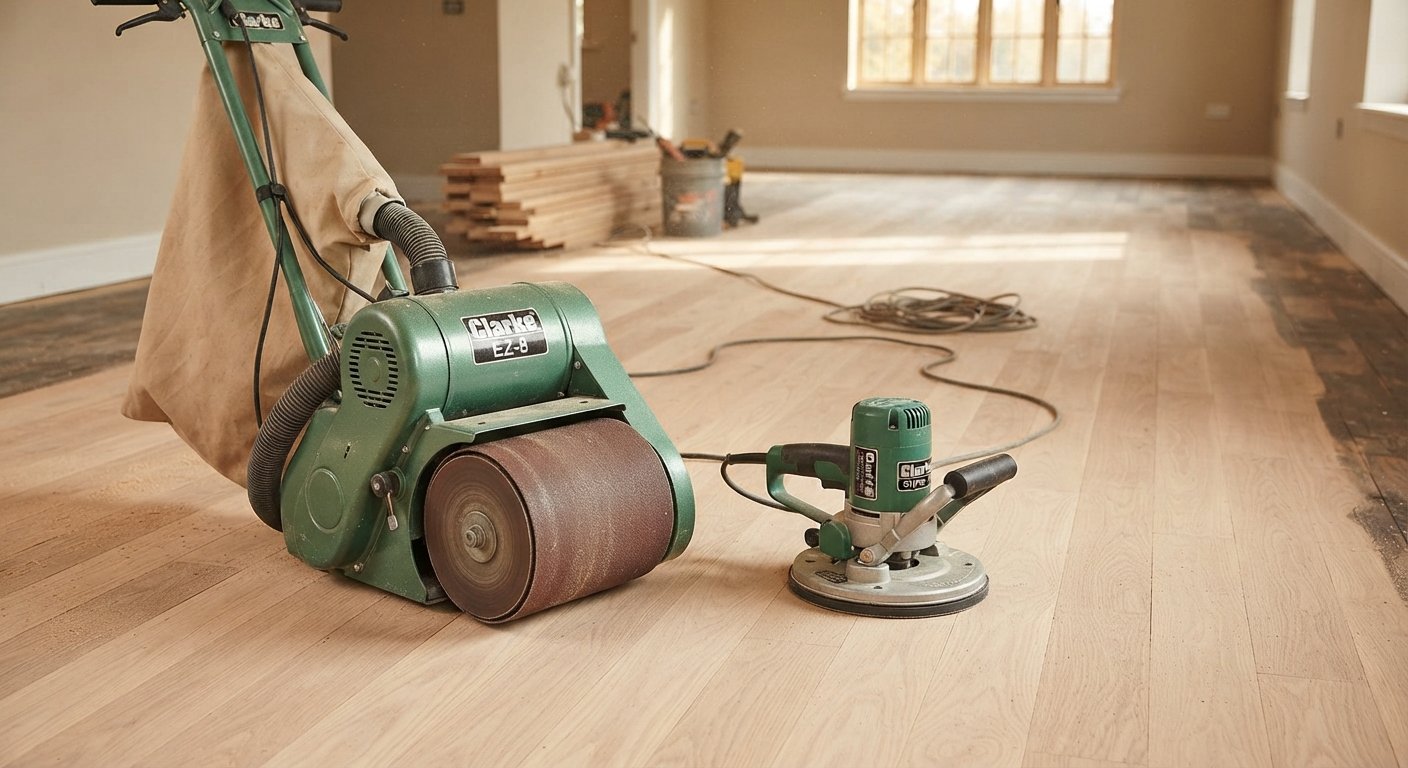
Drum sanders are the heavy hitters of floor refinishing. A rotating drum wrapped in sandpaper cuts fast and deep, making these machines perfect for stripping stubborn finishes or leveling badly worn boards. They remove a lot of material quickly, which is both their strength and their risk. If you pause in one spot or tilt the machine, you can leave a dent. These are best for experienced users or well-prepared beginners who go slow and stay steady.
Belt floor sanders use a continuous loop of sandpaper that runs over rollers. They offer power similar to drum sanders but tend to be a little easier to control. The belt design spreads the abrasive contact over a slightly larger area, which can reduce the chance of gouging. Many rental shops offer belt models because they strike a nice balance between speed and forgiveness.
Orbital sanders are the gentle option. They vibrate the sandpaper in tiny circles rather than dragging it in one direction. This produces a softer cut that is hard to mess up, making them a favorite for beginners. Random orbital models add an irregular spin pattern that helps avoid swirl marks. They work slowly, so they are not ideal for heavy stripping, but they shine when it comes to light refinishing and buffing between coats.
Big machines cannot reach right up to walls, and that is where edging sanders come in. These compact disc sanders handle the perimeter of the room, around door frames, and in tight corners. Using one alongside a larger machine ensures a uniform finish across the whole floor. Skipping the edger usually leaves an obvious border of unsanded wood, so it is a key part of the kit.
Picking the right sander depends on your floor, your budget, and how confident you feel with power tools. A few simple checks will point you toward the best option.
Start by looking at the room and the state of the boards. Large rooms with thick old finishes call for a powerful drum or belt sander that can cover ground fast. Smaller rooms or floors in fairly good shape may only need an orbital sander for a light refresh. Match the muscle of the machine to the size of the job so you are not overpowered or underequipped.
Motor power affects how quickly a sander removes material. More power means faster work but also demands more care to avoid damage. If you are new to this, a slightly less aggressive machine gives you room to learn without ruining the floor. Check the machine’s condition too. A well-maintained sander with sharp abrasive works far better than a worn-out one.
Sanding width tells you how much floor the machine covers in one pass. Wider machines finish large open rooms faster, while narrower models fit better in tight spaces and hallways. For most home projects, a mid-range width offers a good mix of speed and control. Think about the layout of your rooms before you decide.
Grit is the measure of how coarse or fine the sandpaper is. Lower numbers mean rougher paper that removes more wood, while higher numbers give a smoother finish. Good results come from working through the grits in stages rather than jumping straight to fine paper.
The first pass uses coarse grit, usually in the range of 36 to 40. This rough paper strips away old finish, deep scratches, and stubborn stains. It levels the surface and gets the boards ready for finer work. Do not expect a smooth result at this stage. The goal here is removal, not polish.
Once the old coating is gone, switch to medium grit around 60 to 80. This step erases the scratches left by the coarse paper and continues to smooth the wood. Medium grit bridges the gap between rough stripping and fine finishing, so take your time and cover the whole floor evenly.
The final passes use fine grit, typically 100 to 120. Fine paper leaves the wood silky smooth and ready to accept stain or sealer. This stage brings out the natural beauty of the grain and ensures the finish goes on evenly. Rushing through the fine grit is a common mistake, so give it the attention it deserves.
Using a floor sander is straightforward once you understand the rhythm. Begin by fitting the correct grit sandpaper and checking that the dust bag is empty and attached. Tilt the machine back before you switch it on, because starting it flat on the floor can dig a groove instantly.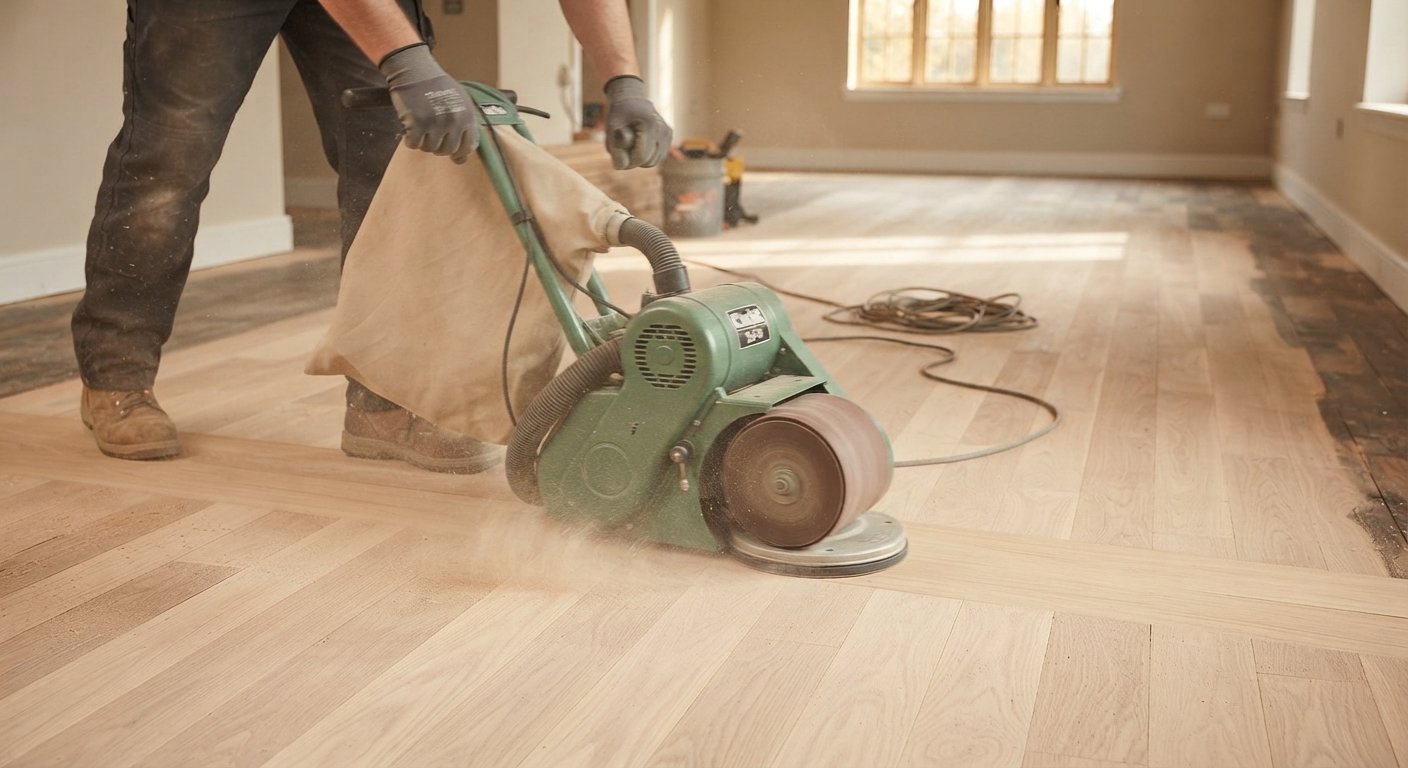
Lower the drum gently once the motor is running and start moving forward right away. Always work with the grain of the wood, following the direction of the boards. Move at a steady walking pace and keep the machine gliding without pausing. When you reach the end of a run, lift the drum slightly, turn around, and overlap your previous pass by a few inches.
Work through your grit sequence, vacuuming between each stage to remove loose dust. Once the main floor is done, bring in the edging sander to finish the perimeter and corners. Patience and a consistent pace are the keys to a clean, even result.
The most common worry with a floor sander is leaving marks. The good news is that a few simple habits prevent nearly all damage.
A spinning abrasive in one spot will carve a dip into the wood within seconds. To avoid this, never let the machine sit still while the drum is down. Keep a smooth, continuous motion from the moment you lower it until you lift it again at the end of each pass. Constant movement spreads the cut evenly and protects your boards.
Let the machine do the work rather than forcing it. Pushing down hard or tilting the sander creates deep gouges that are tough to fix. Overlapping your passes by a few inches keeps the surface level and stops visible lines from forming. Move in a logical pattern across the room so you do not miss areas or oversand others.
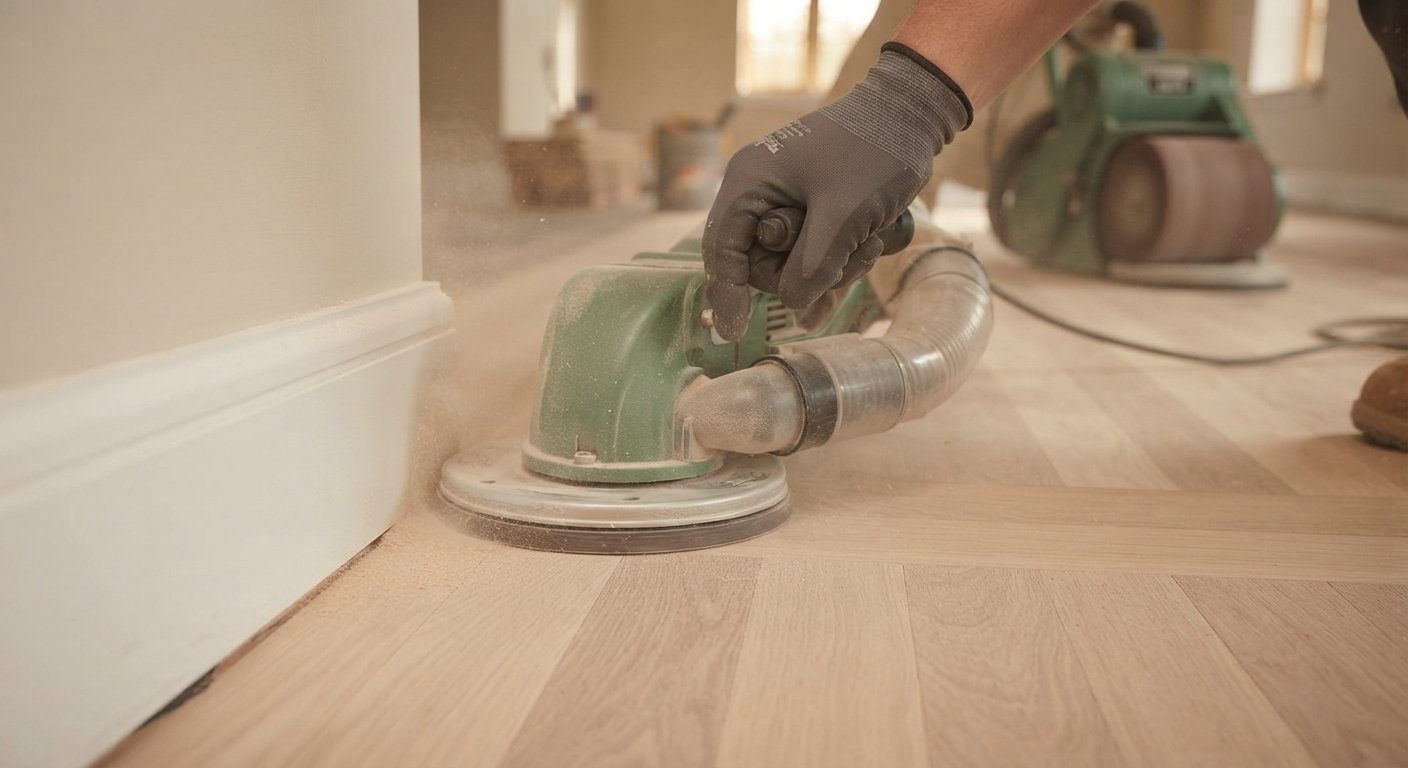
Edges need a gentle touch. The edging sander is powerful for its size, so ease it into the wood and keep it moving just like the big machine. Take extra care around door frames and skirting boards where it is easy to bump and scratch surrounding surfaces. For the very tightest corners, a scraper or a small handheld sander finishes the job neatly.
Hand sanding still has a place, mostly for tiny areas or delicate spots a machine cannot reach. But for a full floor, comparing the two makes the choice obvious.
A machine finishes a room in hours and delivers an even surface across every board. Hand sanding the same space could take days and still leave uneven patches from tired arms and inconsistent pressure. The physical strain of doing an entire floor by hand is hard to overstate.
That said, keep a sheet of sandpaper or a sanding block nearby for touch-ups. Corners, spots beside pipes, and small repairs often need that human touch. The smart approach uses a machine for the bulk of the work and hand sanding for the fiddly finishing details.
Good preparation makes the sanding itself far easier and gives a better final result. Skipping these steps can damage your machine or your floor.
Clear the room completely before you start. Take out all furniture, rugs, and any tacked-down coverings like carpet or vinyl. Pull out old carpet staples and tack strips as well. A fully empty room gives you a clear path and stops the machine from snagging on anything.
Walk the floor and look for any nails or screws standing proud of the surface. A protruding nail head will tear the sandpaper and can wreck the drum. Use a nail punch to sink any raised fasteners just below the wood surface. This is also a good time to spot loose boards or damage that needs fixing first.
Sweep and vacuum the entire floor to remove grit, dust, and debris. Small stones or hard bits left on the surface can scratch the wood or get flung around as the sander spins. A clean starting surface protects both your floor and your sandpaper, so do not rush this step.
Floor sanders are powerful tools, and the fine dust they create carries real health risks. A little caution keeps you safe throughout the project.
Wood dust is fine enough to irritate your eyes and lungs, so protection is a must. Wear safety goggles to shield your eyes from flying particles and a proper dust mask or respirator to filter the air you breathe. Ear protection is wise too, since these machines run loud for long stretches.
Always use the machine’s dust collection bag or vacuum attachment and empty it before it gets full. Open windows for ventilation and seal off doorways to other rooms so dust does not spread through the house. Managing the dust keeps the air cleaner and makes the cleanup much simpler later on.
Every sander comes with a manual for a reason. Read it before you begin, especially if you rented the machine and it is unfamiliar to you. Keep the power cord clear of the drum, unplug the machine when changing sandpaper, and never leave it running unattended. Following these basic rules prevents accidents and protects the equipment.
Sanding is only part of the job. The steps you take afterward decide how good the finished floor really looks.
Once the sanding is done, the room will be coated in fine dust. Vacuum the entire floor thoroughly, then go over it with a damp cloth or a tack cloth to lift every last particle. Any dust left behind will get trapped in the finish and leave a rough, gritty surface, so be thorough here.
With the floor clean, take a close look at the bare wood. Fill any small gaps, cracks, or nail holes with a matching wood filler. Check for spots that need a little extra hand sanding to blend in. This is your last chance to fix imperfections before the finish locks them in place.
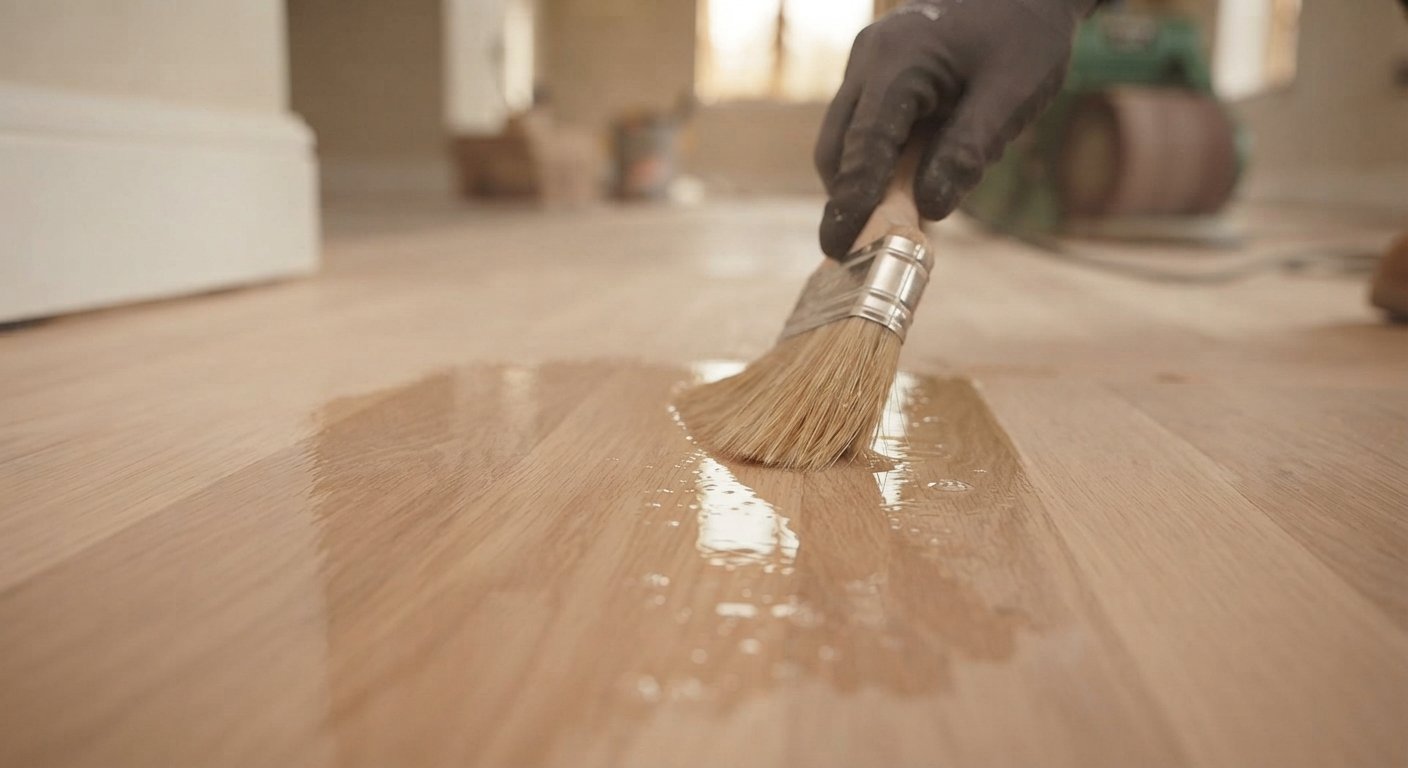
Now for the rewarding part. If you want to change the color, apply stain first and let it dry fully. Then add your chosen sealer or protective finish, whether that is oil, wax, or polyurethane. Follow the product instructions for coats and drying times. A well-applied finish protects the wood and gives that beautiful, lasting shine.
Refinishing hardwood might seem like a big undertaking, but a good wood floor sanding machine turns it into a manageable weekend project. The keys to success are simple: choose the right machine for your floor, work steadily through the grits, keep the sander moving, and never skip the preparation and cleanup. Do those things and you will end up with floors that look freshly installed.
Whether you rent a sander for a one-time refresh or invest in your own for future projects, the money you save over replacing the floor is well worth the effort. Take your time, follow the safety advice, and enjoy the satisfaction of restoring your own floors.
Ready to get started? Measure your rooms, check the condition of your boards, and book your sander rental or head to your local supplier. Your beautiful new floors are only a weekend away.
How long does it take to sand a wood floor with a machine?
For an average room, most people can complete the full sanding process in a single day. Larger spaces or floors with thick old coatings may stretch into a second day. Preparation and cleanup add extra time, so plan for a full weekend to be safe.
Can a beginner use a wood floor sanding machine?
Yes, though beginners are usually better off starting with an orbital sander, which is gentle and forgiving. If you use a drum or belt sander, go slow, keep it moving, and practice your technique on an inconspicuous area first. Careful, steady work matters more than experience.
How much wood does a floor sander remove?
A sander removes only a thin layer of wood, usually a fraction of a millimeter with each pass. Solid hardwood floors can typically handle several refinishing jobs over their lifetime. Thin engineered floors have a limited wear layer, so check yours before you start.
Do I need to buy a floor sanding machine or can I rent one?
Renting is the smart choice for a one-off project, since it costs far less than buying. Most hardware stores rent both large sanders and edging models by the day or weekend. Buying makes sense only if you plan to refinish floors regularly.
What grit sandpaper should I start with?
Start with a coarse grit around 36 to 40 to strip old finish and level the boards. Then move to a medium grit near 60 to 80, and finish with a fine grit of 100 to 120. Working through the grits in order gives the smoothest result.
How do I keep dust down while sanding?
Use the machine’s built-in dust bag or vacuum attachment and empty it often. Seal doorways to other rooms, open windows for airflow, and wear a respirator. Vacuuming between grit changes also helps keep the dust under control.
What should I put on the floor after sanding?
After removing all dust, apply stain if you want to change the color, followed by a protective finish such as polyurethane, oil, or wax. Let