Physical Address
304 North Cardinal St.
Dorchester Center, MA 02124
Physical Address
304 North Cardinal St.
Dorchester Center, MA 02124

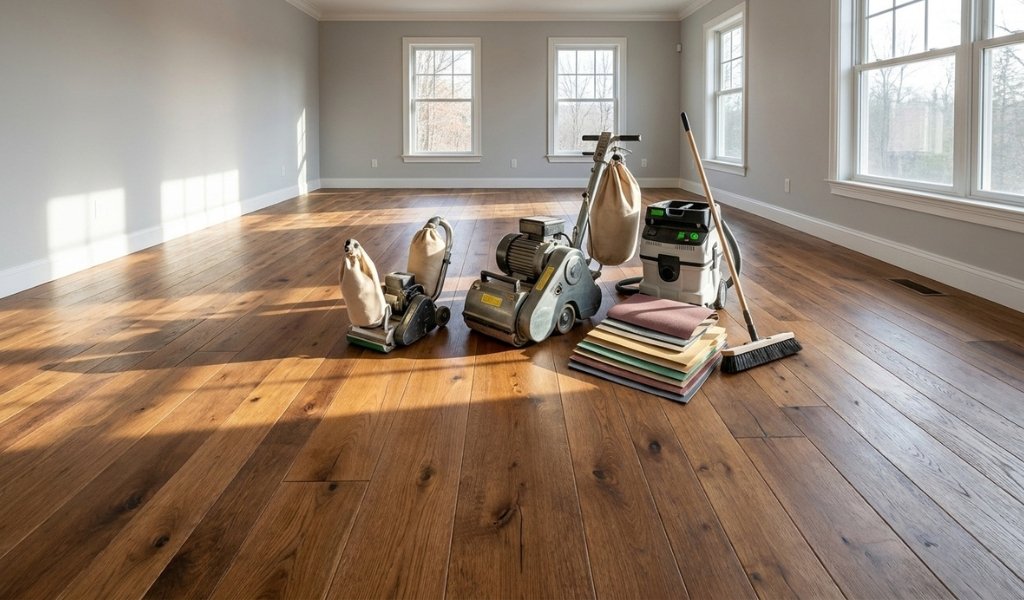
Getting your floors to look professionally refinished comes down to one critical decision made before a single grit of sandpaper ever touches the wood: choosing the right sander. Pick the wrong machine and you risk gouging quality hardwood, leaving uneven patches, or spending twice as long correcting preventable mistakes.
This guide covers everything homeowners, DIYers, and flooring contractors need to know about floorboard sanders from understanding how each machine works, to selecting the correct grit sequence, to knowing when renting equipment makes more sense than hiring professionals. Whether you’re tackling a worn parquet floor in a Victorian home or refinishing wide-plank hardwood flooring in a modern renovation, the fundamentals of sanding apply across every project. Get them right and the results speak for themselves.
By the end of this guide, you’ll know exactly which type of floor sander suits your specific job, how to approach each stage systematically, and which mistakes cost amateur refinishers hours of correction work.
A floorboard sander is a motorized sanding machine engineered specifically to strip, level, and refinish wooden floor surfaces. Unlike handheld sanders designed for furniture or trim work, floor sanding machines are built to cover large surface areas efficiently removing old finishes, eliminating surface damage, and preparing the wood for new coatings.
The core function is abrasion. A rotating or oscillating sanding pad or belt strips material from the floor surface layer by layer. The aggressiveness of material removal depends on the grit of the sandpaper attached, the machine type, and the operator’s technique. Start too coarse on a thin hardwood and you’ll cut through the wear layer. Work too fine on a heavily coated old floor and you’ll spend all day achieving nothing.
For homeowners attempting their first floor refinishing project, understanding this balance between aggression and control is the single most important technical concept to grasp before switching on any machine.
No single floor sander handles every situation. Drum floor sanders excel at heavy material removal but demand significant operator experience. Random orbital sanders deliver a forgiving finish but struggle with deeply damaged wooden surfaces. Edging sanders reach the perimeter but they cannot replicate the consistent finish across the entire floor that a large drum or belt machine produces in the open field.
Matching the machine to the floor condition, the wood species, and the project scope determines whether you walk away with a showroom result or a floor that needs professional correction. Wood flooring varies significantly in hardness, thickness, and wear layer depth and each variable affects which sander and which grit sequence will deliver a smooth, even surface without risking irreversible damage.
The drum floor sander is the workhorse of floor refinishing. It uses a rotating cylindrical drum wrapped with a sanding belt to strip material aggressively from the floor surface. Among all wood floor sanders, drum floor sanders remove the most material per pass making them indispensable for heavily coated old floors, severely cupped boards, or hardwood flooring with deep staining and embedded grime.
Using a drum sander requires a steady, controlled pace.
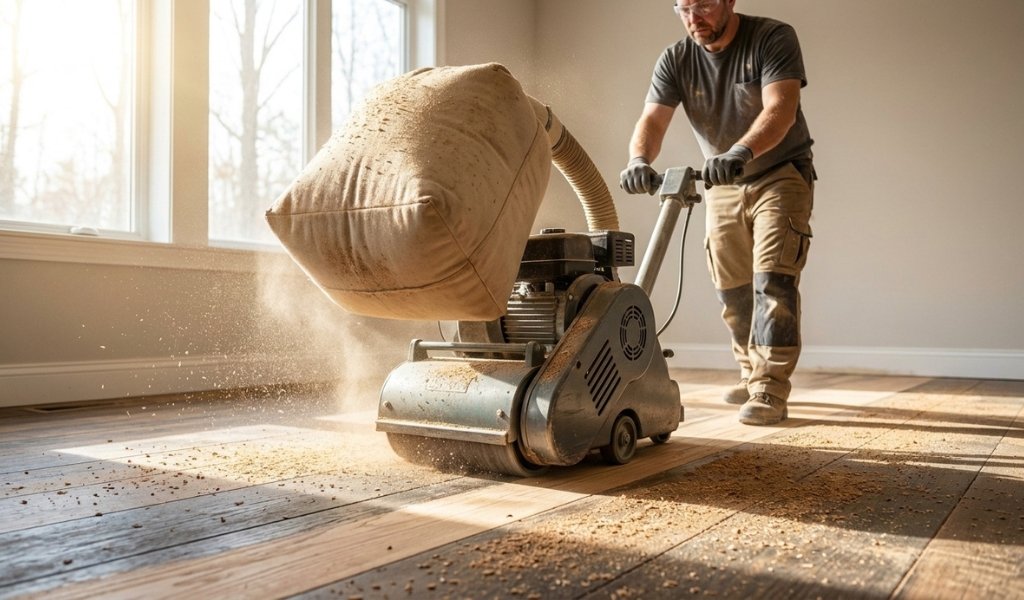
Stop moving and the drum will immediately cut a visible groove into the wooden floor, a mistake that requires significant additional sanding to correct. Experienced flooring contractors use drum floor sanders as their primary roughing tool, starting with coarser grits to strip old finishes before transitioning to finer abrasives for leveling.
For DIYers, the drum sander rental option is widely available through hardware suppliers and specialist equipment hire companies. However, if you’ve never operated one before, a practice run on scrap boards or a section of subfloor is strongly recommended before tackling your main floor surface. The power and speed these industrial wood sanders generate leave almost no margin for hesitation.
Where drum sanders remove, orbital and random orbital sanders refine. These machines move their sanding pads in an elliptical or random orbit pattern, which minimizes the risk of directional scratches and produces a more consistent finish across the entire floor.
A random orbital floor sander is significantly more forgiving than a drum sander. The oscillating pad pattern prevents the machine from cutting deeply in any single direction, which makes it a practical choice for homeowners tackling floor refinishing without prior sanding experience. It’s the best hand sander for floors where light material removal and surface preparation are the primary goals particularly effective on engineered wood flooring with thin wear layers.
Belt sanders occupy a middle ground. Faster and more aggressive than random orbital models but more controllable than drum sanders, belt sanders work well for medium-duty material removal across larger open areas. A walk-behind sander using a belt drive system can cover ground quickly while still allowing the operator to maintain directional control.
For final finishing passes, particularly before applying a Bona or similar premium coating, random orbital sanders paired with fine-grit pads deliver the uniform, dust-free surface that professional results require.
No large floor sanding machine reaches the perimeter of a room. The gap between the main sanding field and the skirting boards, door frames, and tight corners requires a dedicated edge sander.
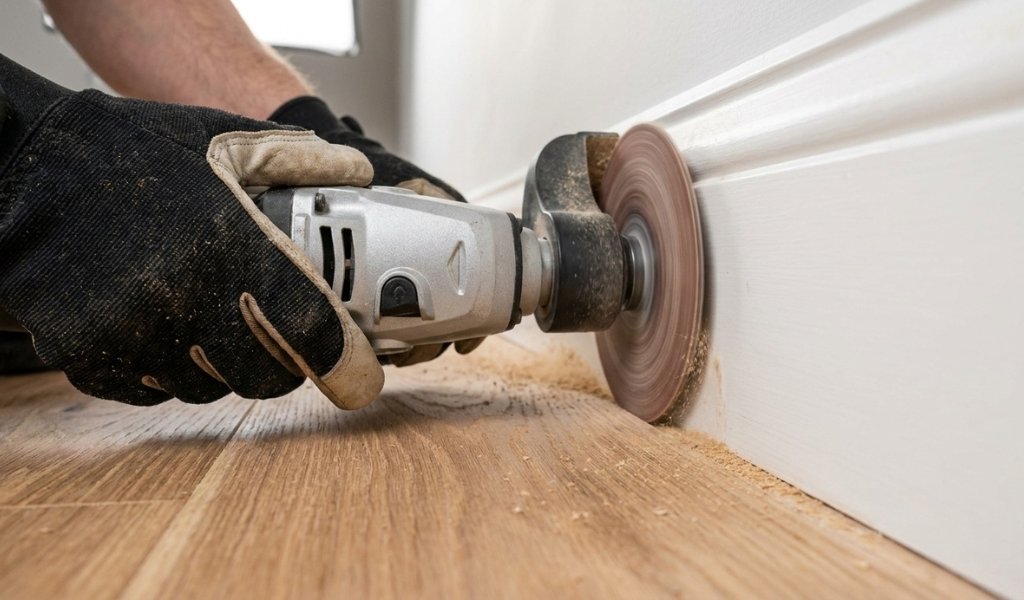
Edge sanders are compact, disc-based machines that spin at high RPM. They handle tight edges and corners where larger sanders cannot reach, and they’re essential for completing the consistent finish across the entire floor that the main machine establishes in the open field. Without edging, you’re left with a visible contrast between the freshly sanded center and the untouched perimeter which is immediately obvious under any finish coat.
For the tightest spaces, internal corners, around door architraves, and against heating vents a detail sander or handheld floor sander finishes the job. These compact tools oscillate in small arcs and can work right into corners where even an edge sander’s disc can’t make full contact. Some flooring contractors also use a hand sander with folded sandpaper for the final touch-up passes in extremely confined areas.
The species and condition of your hardwood flooring are the first variables to assess before selecting any sander. Dense hardwoods like oak, maple, and jarrah resist abrasion; they can handle coarser starting grits without the risk of rapid material loss. Softer species like pine, or engineered wood flooring with a thin veneer, require a gentler approach and often demand starting at a medium grit rather than a coarse one.
Floor condition matters equally. An old floor covered in multiple layers of varnish or paint needs a drum floor sander or belt sander at coarser grits to cut through efficiently. A floor in reasonable shape that simply needs light refinishing can often be handled with a random orbital sander starting at 80 grit. Floors with significant cupping, deep scratches, or uneven boards may require diagonal sanding passes with a drum sander before transitioning to parallel strokes, a technique that increases material removal but demands careful control.
The subfloor condition also influences machine selection. Squeaky or uneven subfloors can telegraph movement into the finished surface; addressing structural issues before sanding avoids wasted effort on a floor that will flex and crack any new coating prematurely.
Floor sanding generates substantial volumes of airborne dust. Without proper dust extraction, fine particles infiltrate your finish coat, create a significant health hazard, and spread throughout the home. Every professional floor sander worth considering whether rented or purchased should integrate with a dust collection system.
Commercial floor sanders typically include a built-in dust containment bag, but connecting the machine to a dedicated shop vacuum or dust extractor provides far superior dust-free results. Some top-of-the-line rental units feature dual-stage dust extraction that captures both coarse particles and fine airborne dust simultaneously, a meaningful upgrade for any floor refinishing project in an occupied home.
Corded machines remain the standard for floor sanding because the power demands of heavy material removal exceed what battery systems can currently sustain across a full refinishing project. When evaluating commercial floor sanders or wood floor sanding machines for sale, prioritize amperage, motor quality, and dust extraction capacity alongside the sanding mechanism itself.
For most homeowners, renting a professional floor sander is the most budget-friendly and practical approach. Drum floor sanders, commercial floor sanders, and edge sanders represent significant capital investment that’s difficult to justify for a one-time project. Rental programs through hardware chains and specialist flooring equipment suppliers provide access to high-quality equipment including giant sander models capable of handling large commercial spaces without the ownership costs.
Buying makes sense for flooring contractors working across multiple projects, or for property investors regularly refinishing hardwood floors between tenancies. The break-even calculation depends on rental frequency: if you’re sanding more than three or four floors per year, purchasing reliable sanding equipment quickly pays for itself in saved rental fees.
When comparing a deck sander for sale alongside indoor floor sanding machines, note that exterior deck sanders are often engineered for rougher, less precision-demanding work. For quality hardwood flooring, always select a machine rated specifically for interior wood floors; the sanding pad design, speed control, and dust extraction standards differ significantly.
Thorough preparation separates a successful floor refinishing project from one that requires remediation. Start by clearing the room completely of furniture, rugs, and any floor coverings. Inspect the floor surface methodically: look for protruding nail heads, damaged boards, deep gouges, or sections with significant moisture damage.
Hammer down any raised nails below the floor surface before any sanding begins. A single nail head catching a sanding belt can tear the abrasive, damage the drum, and leave a scar across the wooden floor in an instant. Check for squeaking boards and secure them with screws countersunk below the surface.
Seal the room from the rest of the home using plastic sheeting over doorways. Despite dust extraction systems, fine particles travel further than most homeowners expect. Remove any floor vents and cover HVAC openings. The goal is a controlled environment that protects both your health and the rest of the property from airborne dust generated during rough sanding.
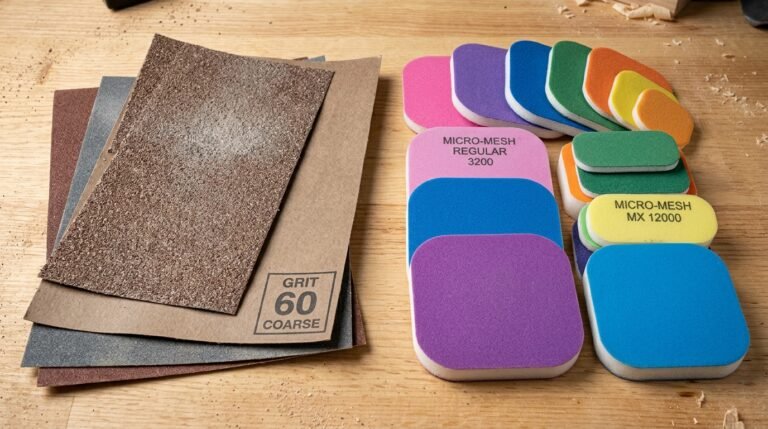
The grit sequence is the technical core of any floor sanding project. Starting at the correct grit and progressing methodically through each stage determines whether the final surface feels uniformly smooth or retains visible sanding marks under the finish coat.
For a floor with heavy coating buildup or significant surface damage, begin with 36 or 40 grit on the drum sander. This aggressively strips old finishes and levels uneven areas. For floors in moderate condition, start at 60 grit. Once rough sanding is complete across the main field and the edges are matched, progress to 80 grit to remove the deep scratches left by the coarse pass.
The critical middle stage runs through 80–100 grit. This range handles the bulk of surface leveling removing the rough-sanding marks while beginning to close the wood grain. Many professional flooring contractors consider this the most important stage because errors here are difficult to correct without returning to a coarser grit.
Finish with 100 or 120 grit for the final pass on both the main sander and the edge sanders.
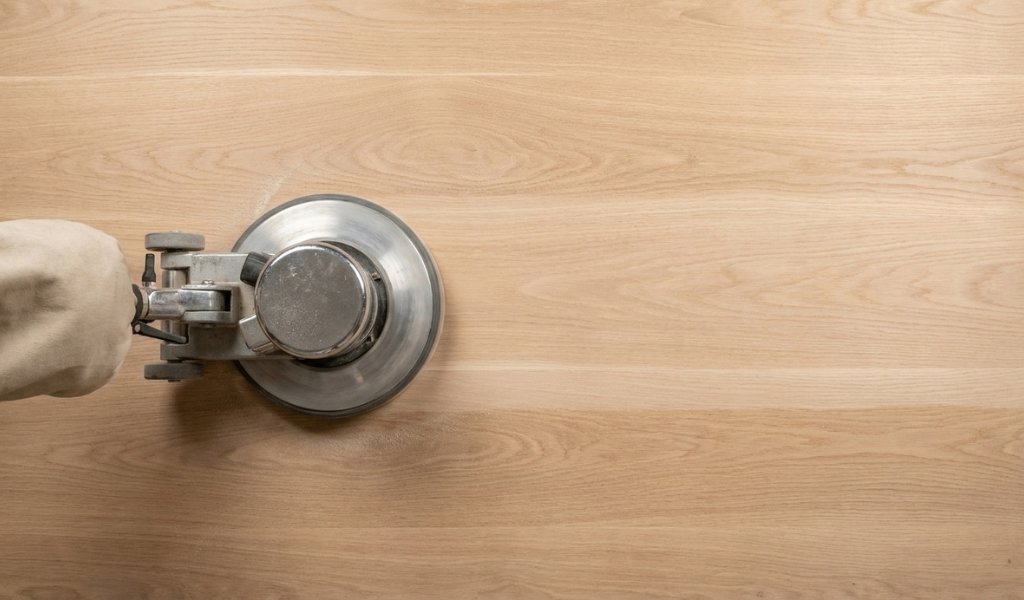
This produces the even surface that accepts a coating evenly across the entire floor. For particularly fine hardwoods or where a high-sheen finish is planned, a final 150-grit pass eliminates any residual marks from the previous stage. After sanding, clean the floor thoroughly, vacuum, then wipe with a tack cloth before any coating application.
Stopping the drum sander mid-pass. Any pause in forward movement while the drum is in contact with the floor causes an immediate gouge. Always keep the machine moving and raise the drum before stopping.
Skipping grits. Jumping from 40 to 120 grit leaves deep scratches that fine grit cannot efficiently remove. Each grit stage exists to erase the marks left by the previous one. Skip a step and those marks survive under the finish coat.
Inconsistent edge sanding. Rushing the edge sanding with mismatched grits leaves a visible halo around the room perimeter. Match your edge sander grit exactly to the current main-floor grit at each stage.
Inadequate dust containment. Fine sanding dust settling back onto the floor before coating application will embed into the finish. Vacuum, tack cloth, and allow the air to settle fully before applying any product.
Starting too coarse on thin wear layers. Engineered wood flooring and older hardwood floors may have very little material above the tongue-and-groove. Check the manufacturer’s specifications for minimum sanding thickness before committing to any aggressive grit.
The best sander for floorboards depends on the project scope and floor condition. For heavy material removal and removing old finishes from solid hardwood, a drum floor sander delivers the most efficient results. For lighter refinishing work, engineered wood flooring, or first-time DIY projects, a random orbital floor sander is more forgiving and still produces a high-quality finish. Most complete floor refinishing projects require a combination: a drum or belt sander for the main field, an edge sander for the perimeter, and a detail sander for corners.
Yes many homeowners successfully sand their own floorboards, particularly with the availability of rental equipment and detailed guidance. The main risks are using the wrong machine for the floor condition, starting with too aggressive grit, and inadequate dust containment. If your floors are solid hardwood in reasonable condition and you’re comfortable operating power tools, DIY floor sanding is achievable. For floors with complex layouts, delicate parquet, or extremely thin wear layers, hiring a professional floor sander is the safer option.
The best way to sand a wood floor is to work systematically through a progressive grit sequence starting coarse enough to remove the old finish efficiently and finishing fine enough to produce an even surface ready for coating. Begin with the drum or belt sander on the main field, match the edge sander work to the same grit at each stage, and complete corners with a detail sander or hand sanding. Maintain consistent dust extraction throughout, clean thoroughly between the final sanding pass and coating application, and never skip grit stages. For most solid hardwood floors, a sequence of 40–60 → 80 → 100–120 grit covers the full refinishing process.