Physical Address
304 North Cardinal St.
Dorchester Center, MA 02124
To provide the best experiences, we use technologies like cookies to store and/or access device information. Consenting to these technologies will allow us to process data such as browsing behavior or unique IDs on this site. Not consenting or withdrawing consent, may adversely affect certain features and functions.


A worn-out deck doesn’t have to stay that way. Whether your boards are rough, stained, or just tired-looking, the right deck sander can bring them back to life. This complete guide to sanding wood covers everything you need to know, from choosing the right sander and sandpaper grit to sanding safely and finishing the job like a pro.
By the end of this post, you’ll know exactly which tools to use, how to avoid common mistakes, and how to get a smooth, clean surface that’s ready for stain or sealer.
A deck sander is a power tool designed to smooth, clean, and resurface wooden deck boards. It uses abrasive material, typically sandpaper, to strip away old finishes, remove surface imperfections, and prepare the wood for a fresh coat of stain or sealer.
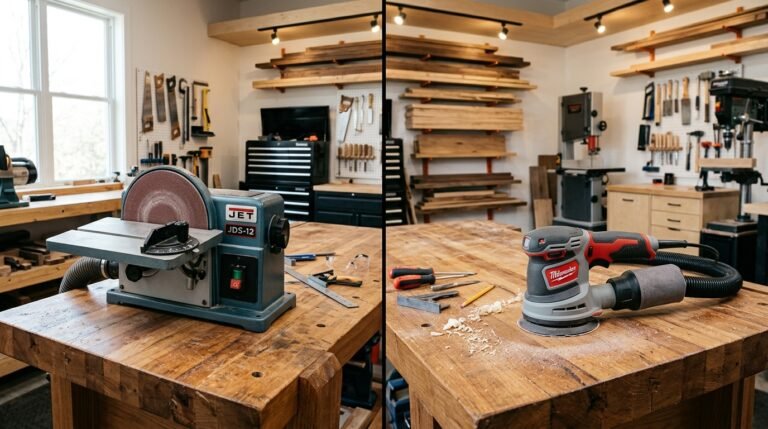
Deck sanders come in several types, including random orbital sanders, belt sanders, and orbital floor sanders. Each one works differently and suits different parts of a deck sanding project. Choosing the right sander for your specific job makes a big difference in the quality of your results and how long the work takes.
At its core, a deck sander works by spinning or vibrating an abrasive pad or belt across the surface of the wood. The friction between the sandpaper and the wood strips away material, whether that’s old paint, rough grain, weathered fibers, or surface stains.
Different sanders move in different patterns. A random orbital sander spins in a circular motion while also moving in small, random orbits. This dual action reduces the risk of leaving visible swirl marks on the wood. A belt sander, on the other hand, runs a continuous loop of sandpaper in one direction at high speed, which makes it more aggressive and better suited for heavy material removal.
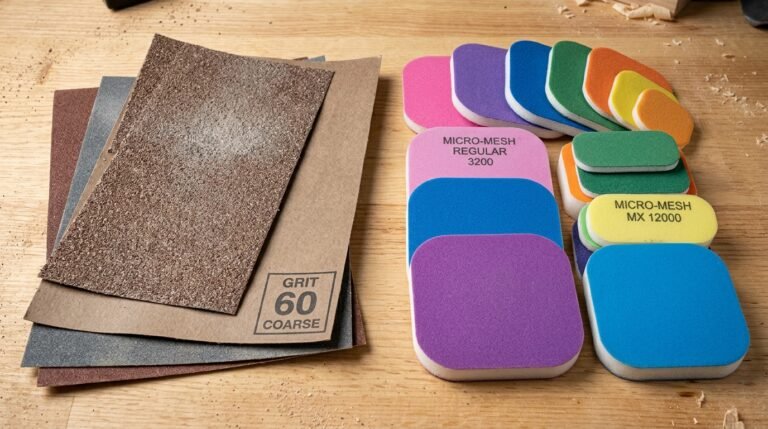
The coarseness of the sandpaper, known as grit, also affects how much material the sander removes. Coarse grits cut fast and deep. Fine grits polish and smooth. Moving from coarse to fine is a key part of any successful deck sanding project.
Wood decks take a beating from the elements. Sun, rain, foot traffic, and moisture all break down the surface over time. Without regular maintenance, boards become rough, splintered, and difficult to seal properly.
Sanding solves several problems at once. It removes the damaged surface layer, opens up the wood grain for better coating adhesion, and creates an even surface that looks clean and well-maintained. Skipping this step before staining or sealing usually leads to poor results because the finish won’t bond properly to weathered or dirty wood.
Old finishes don’t just look bad; they actively prevent new coatings from sticking. If you apply stain or sealer over peeling or flaking paint, the new coat will lift along with the old one. Sanding strips away old stain and paint, giving you a fresh, clean surface that accepts new finishes properly.
For heavy paint or multiple layers of old stain, starting with 60-grit sandpaper or even a chemical stripper first can save time. Once the bulk of the old finish is gone, you can move to 80-grit sandpaper to smooth things out before doing a final sanding pass.
Over time, sun exposure and moisture cause wood fibers to rise and splinter. This makes the surface rough, uncomfortable to walk on barefoot, and harder to coat evenly. Sanding cuts down those raised fibers and flattens the surface, making it smoother and safer.
This step is especially important before applying any deck refinishing product. A smooth surface ensures even coverage and a more professional-looking result.
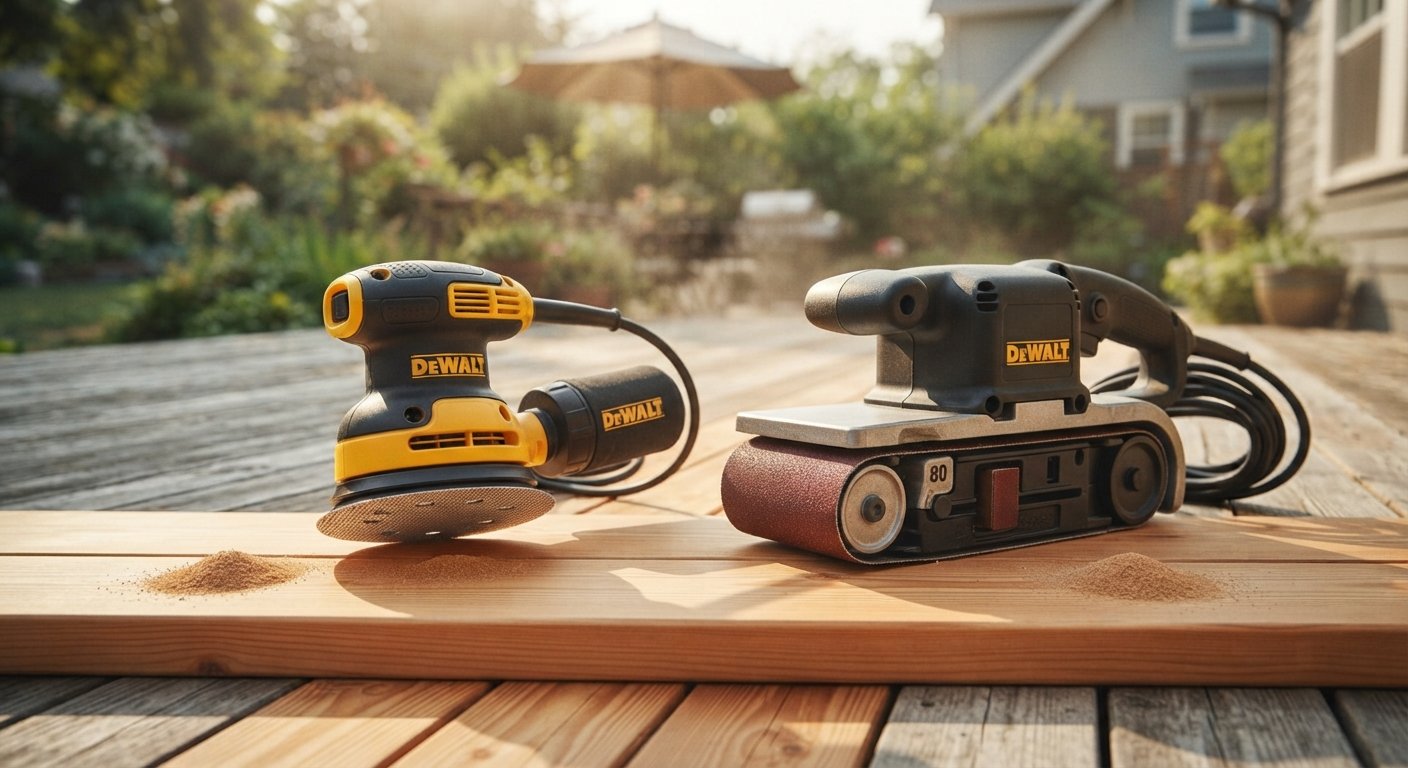
A random orbital sander is one of the most popular tools for sanding a deck, especially for DIY projects. It’s easy to control, relatively lightweight, and produces fewer visible scratches than a belt sander. The random orbital motion means the abrasive moves in multiple directions at once, which helps avoid uneven sanding patterns.
This type of sander works well on medium-sized decks and is great for detail work, edges, and areas around railings. It’s a go-to choice for homeowners because it balances performance with ease of use.
A belt sander is more powerful and faster than a random orbital sander. It runs a loop of sandpaper continuously in one direction, which allows it to remove material quickly. This makes it a strong choice for stripping old finishes or leveling boards that have become uneven.
The downside is that belt sanders require more skill to use. Moving too slowly or stopping in one spot can gouge the wood. They’re best suited for experienced users working on flat deck surfaces where fast material removal is the priority.
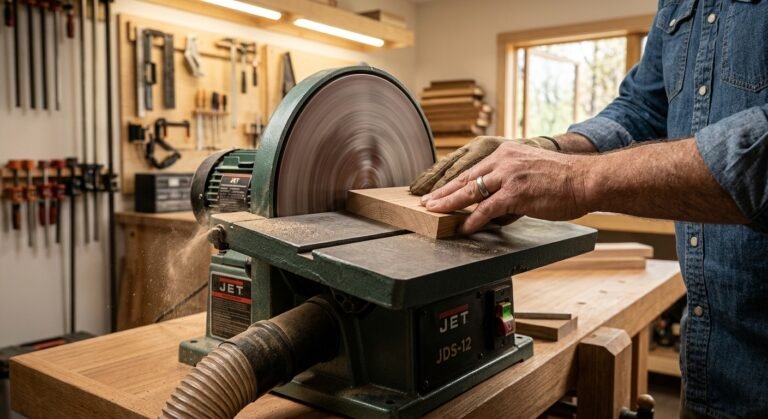
An orbital floor sander, also called a drum sander in some configurations, is the tool of choice for large deck sanding projects. Renting a professional orbital floor sander gives you the power and coverage needed to sand large decks efficiently without spending days on your knees with a smaller machine.
Floor sanders can cover wide planks quickly and work well on flat, open deck areas. However, they’re less effective near edges, railings, and tight spots. Most professionals pair a floor sander with a smaller detail sander or random orbital sander to handle hard-to-reach areas.
The motor power of a sander determines how effectively it cuts through old finishes and tough wood. For heavy-duty deck restoration, look for a sander with a higher amperage rating. A more powerful motor maintains consistent speed under pressure, which leads to more consistent results across the entire deck surface.
Underpowered sanders bog down easily, especially when working with dense hardwoods or removing thick layers of old paint. Choosing the right sander with adequate motor power saves time and reduces fatigue.
Larger sanding pads cover more surface area with each pass, which speeds up the job. For sanding large decks, a wide pad is a clear advantage. Smaller pads give you more control and are better for edges, corners, and areas around posts or railings.
Some sanders accept a weight kit, which adds downward pressure and helps the machine cut more effectively on stubborn surfaces. This can be a useful feature for deck sanding projects involving thick or deeply weathered wood.
Efficient dust collection is one of the most overlooked features when choosing sanding equipment. A good dust collection system keeps your work area cleaner, reduces airborne particles, and helps you see the surface clearly as you work.
Most quality deck sanders include a built-in dust bag or a port that connects to a shop vacuum. Pairing your sander with a shop vacuum significantly improves dust management. Look for models with easy-access dust bags and straightforward sandpaper changes to make the job less frustrating overall. Operator comfort matters too, especially for larger decks where you’ll be sanding for hours.
Coarse grits, typically in the 40 to 60-grit range, are used to strip old paint, stain, and heavily weathered wood. 60-grit sandpaper is a common starting point for most deck refinishing projects. It cuts fast enough to remove old finishes without being so aggressive that it causes deep gouges.
For decks with particularly stubborn coatings or serious surface damage, starting at 40 grit and then stepping up to 60 grit before moving on is a practical approach.
Once the old finish is gone, switching to medium grit sandpaper, around 80-grit, helps smooth out the marks left by coarser abrasives. This step refines the surface and removes any remaining surface imperfections without cutting too deeply into the wood.
80-grit sandpaper is the workhorse of most deck sanding projects. It handles the bulk of the smoothing work and prepares the wood for the final sanding stage.
Fine grits, in the 100 to 120-grit range, are used for the final sanding pass. This stage polishes the surface, opens the wood grain slightly, and ensures the stain or sealer will absorb evenly. Moving to finer grits at the end makes a noticeable difference in how the final coating looks and how well it adheres.
Do not use fine grits too early in the process. Using them before you’ve removed all the old finish or surface damage just clogs the sandpaper and wastes time. Always follow the coarse-to-fine progression for the best results.
Before you start sanding, give the deck a thorough cleaning. Remove dirt, mold, mildew, and any loose debris. A clean surface lets you see exactly what you’re working with and prevents grit from embedding into the sandpaper too quickly. Check for protruding nails or screws and hammer or sink them below the surface so they don’t tear the sandpaper.
Choose your starting grit based on the condition of the deck. A deck with heavy paint buildup may need 40 to 60-grit sandpaper. A deck that just needs light smoothing before restaining might start at 80 grit. Using too coarse a grit on a deck that doesn’t need it wastes time and removes more wood than necessary.
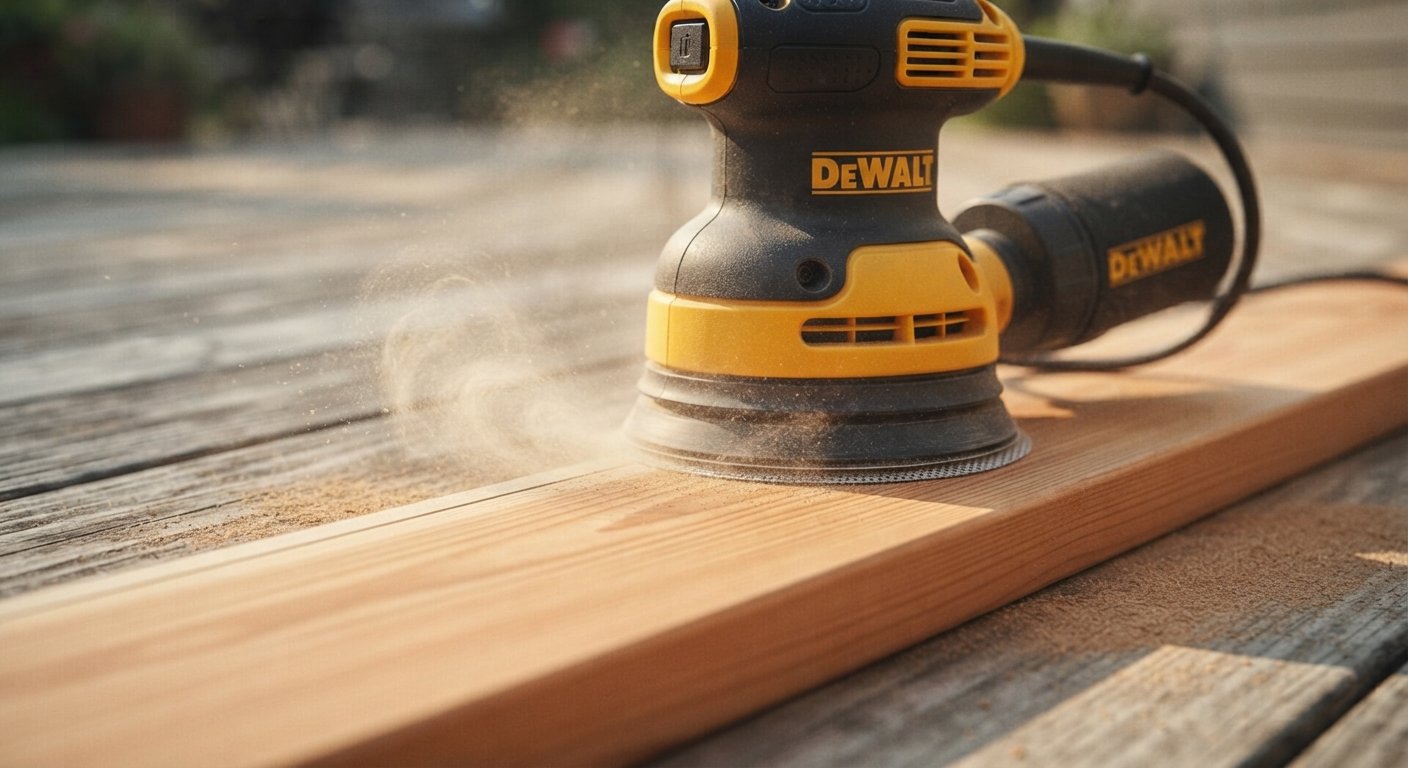
Always sand in the direction of the wood grain. Sanding across the grain leaves visible scratches that become even more noticeable once you apply stain or sealer. Use steady, consistent pressure and keep the sander moving at all times to avoid creating low spots or uneven sanding patterns.
After completing the initial sanding pass, change the sandpaper to a medium grit and go over the deck again. Then finish with a fine grit for the final sanding pass. Following these steps ensures a surface that’s smooth, clean, and ready for coating.
The most common mistake people make when sanding deck boards is using too much pressure or too coarse a grit for the wood type. Treated wood, in particular, can be softer and more prone to gouging than hardwoods.
Keep the sander moving at all times. Stopping in one spot, even briefly, creates a visible dip in the wood. Use a gentler touch near edges and tight spots where the sander’s footprint overlaps the edge of a board. For areas where a floor sander can’t reach, a detail sander or random orbital sander handles touch-up work effectively.
Always follow the manufacturer’s instructions for the sander you’re using, and match the sandpaper to the wood type and the specific condition of the deck’s material. Consistent pressure and smooth, even passes are the keys to getting clean, damage-free results.
Clear everything off the deck before starting. Patio furniture, planters, grills, and any other items should be moved completely out of the work area. Sweep away loose leaves, dirt, and debris so you’re starting with a clear surface.
Use a deck cleaner or a diluted bleach solution to scrub away mold, mildew, and ground-in dirt. A pressure washer works well for this step, but keep the pressure moderate to avoid raising wood fibers unnecessarily. A clean deck sands more evenly and produces cleaner results.
This step is critical. Sanding wet wood is one of the most common mistakes in deck maintenance. Wet wood fibers clog sandpaper almost immediately, reducing effectiveness and wasting abrasive. Moisture also causes the wood to swell, which means the surface you sand when it’s wet will look different once it dries.
Let the deck dry for at least 48 hours after cleaning before you start sanding. In humid conditions or after heavy rain, allow more time.
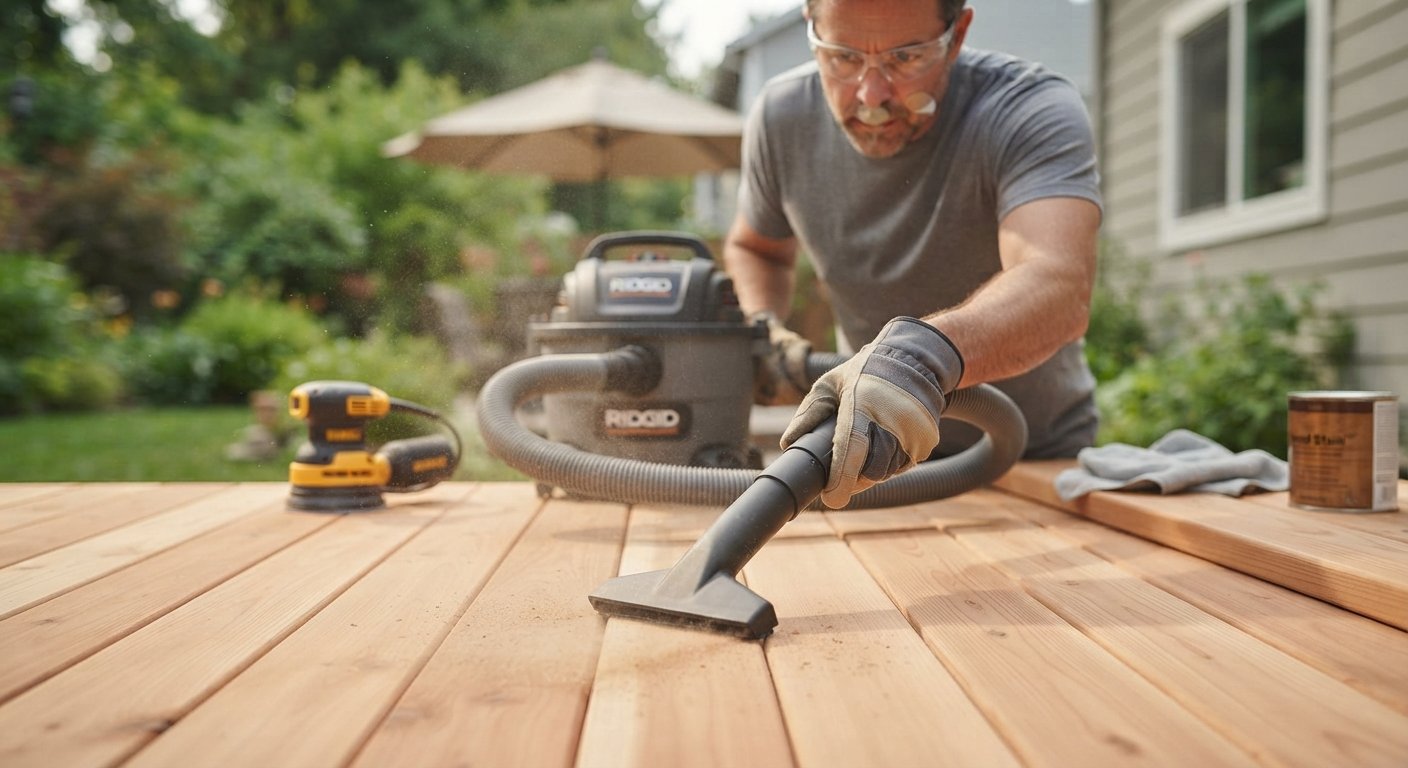
Once sanding is complete, remove all dust thoroughly before applying any finish. Use a shop vacuum to pull up the bulk of the dust, then wipe down the surface with a tack cloth or a slightly damp rag. Dust left on the surface will mix with the stain or sealer and create a rough, uneven finish.
Walk the deck and run your hand along the boards to feel for any remaining splinters or rough spots. If you find any, a quick touch-up with fine-grit sandpaper handles them easily. Also check for any boards that are cracked, warped, or rotting. Replace those before applying your finish.
Once the deck is clean, smooth, and fully dry, it’s ready for staining or sealing. Apply your chosen product according to the manufacturer’s specific instructions. Pay attention to recommended drying times between coats and ensure even coverage across the entire deck surface. Proper sanding is what makes deck refinishing products work as intended. Adhesion depends on a clean, open wood grain, and that’s exactly what a well-sanded deck provides.
Sanding produces a significant amount of fine dust. Always wear safety glasses and a dust mask or respirator rated for fine particles. This is especially important when sanding older decks that may have been treated with chemicals or painted with lead-based products.
As mentioned earlier, sanding wet wood is counterproductive. The sandpaper clogs fast, the results are uneven, and you risk damaging the wood. Always ensure a safe, dry working environment before you begin.
Using the wrong grit is one of the most common mistakes in any deck sanding project. Starting too fine means you won’t remove old finishes effectively. Starting too coarse means you’ll waste time fixing scratches in later steps. Stick to the coarse-to-fine progression and match the starting grit to the actual condition of your deck.
Aggressive sanding removes too much wood too quickly. This is especially risky with a belt sander or floor sander. Use consistent pressure, keep the machine moving, and let the abrasive do the work rather than forcing it. Taking your time during the final sanding stage leads to far better results than rushing.
Sanding a deck takes time and the right tools, but the results are worth it. A properly sanded deck holds stain better, looks cleaner, and stays in better condition for longer. Whether you’re doing regular deck maintenance or a full deck restoration, following the steps in this guide will help you get it right the first time.
Start with the right sander for the job, choose the correct sandpaper grit, prep the surface properly, and take your time. The goal is a smooth, clean surface that lets your chosen finish perform at its best. With the right approach, sanding your deck is one of the most effective things you can do to protect and refresh your outdoor space.
What type of sander is best for a deck?
A random orbital sander is the best choice for most homeowners sanding a deck. It’s easy to control, versatile, and less likely to leave marks than a belt sander. For large decks, renting an orbital floor sander will save significant time and effort.
What is the best tool to sand a deck?
The best tool depends on the size and condition of your deck. A random orbital sander works well for most residential decks. A professional orbital floor sander is better for large deck sanding projects where speed and even coverage are priorities.
What is the quickest way to sand a deck?
The quickest way to sand a deck is to rent a floor sander for the large open areas and use a detail sander or random orbital sander for edges and tight spots. Starting with the correct coarse grit and working efficiently in straight lines with the grain also speeds things up considerably.
What sander do you use for decking?
Most deck professionals use a combination of tools. An orbital floor sander handles large, flat areas quickly. A random orbital sander covers edges, around posts, and any hard-to-reach areas. This approach ensures even sanding across the entire deck.
Do I need to sand my deck before staining?
Yes. Sanding before staining is highly recommended. It removes old finishes, opens the wood grain, and creates a clean surface that allows the stain to penetrate and bond properly. Skipping this step usually results in a patchy, short-lived finish.
How long does it take to sand a deck?
The time depends on the deck’s size and condition. A small to medium deck in good condition can typically be sanded in a few hours. A larger deck or one with heavy paint buildup may take a full day or longer. Proper preparation beforehand, including cleaning and drying, also affects the total time.
Can I use a regular sander on a deck?
Yes, a standard random orbital sander works on decks. For small decks or touch-up work, it’s a practical option. However, for full deck refinishing or sanding large deck areas, a floor sander will save significant time and produce more consistent results.

Disclaimer: This site is owned and operated by Tools Tale. toolstale.com is a participant in the Amazon Services LLC Associates Program, an affiliate advertising program designed to provide a means for sites to earn advertising fees by advertising and linking to Amazon.com. This site also participates in other affiliate programs and is compensated for referring traffic and business to these companies.