Physical Address
304 North Cardinal St.
Dorchester Center, MA 02124
Physical Address
304 North Cardinal St.
Dorchester Center, MA 02124

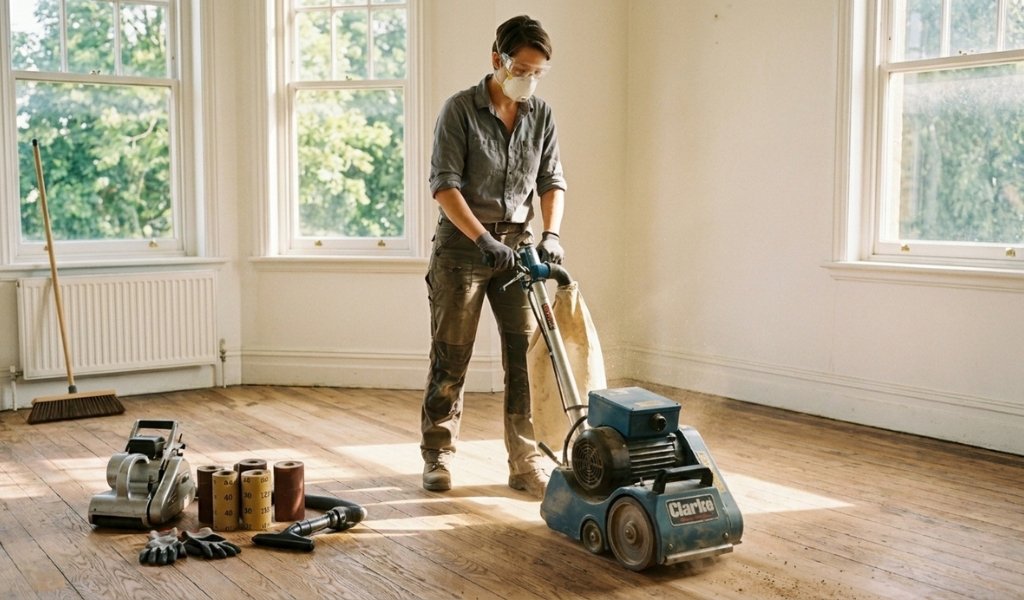
Hardwood floors are built to last decades but wear and tear eventually catches up with even the most durable wood. Scratches accumulate. The old finish turns dull. High-traffic areas start to show their age. The good news? Refinishing hardwood floors yourself is entirely achievable, and the results can be dramatic.
Before diving into the process, it helps to understand what is sanding at its core: it’s the technique of using abrasive materials to smooth, strip, or reshape a surface. For hardwood floor sanding, this means systematically removing the old finish, leveling imperfections, and preparing bare wood for a fresh protective coat. Done correctly, it can add decades of life to your floors.
This guide walks you through every stage of a hardwood floor refinishing project from clearing the room and selecting the right sanding equipment, to applying the final coat of polyurethane. Whether you’re tackling old hardwood in a historic home or refreshing solid hardwood in a modern space, these step-by-step instructions will give you the knowledge and confidence to get the job done right.
Preparation is the foundation of a successful refinishing project. Rushing this stage leads to costly mistakes that show up later after the finish is already applied.
Start by thoroughly inspecting the entire floor. Look for protruding nail heads, loose boards, deep gouges, or sections with significant rot or structural damage. Use a nail set to drive any raised nails below the surface leaving them proud will tear your sanding belt mid-pass and potentially damage the drum.
If the floor has deep cracks or gaps between boards, fill them with a color-matched wood filler before you begin sanding. Allow it to cure fully according to the manufacturer’s directions.
Next, remove all furniture, rugs, and décor from the room. Pull off the base shoe molding (the small trim piece at the base of the wall) rather than the full baseboard; this gives your edger room to sand right up to the wall without damaging the trim. Label each piece so reinstallation is straightforward.
Seal interior doorways with plastic sheeting and painter’s tape to contain dust. Even with dust collection bags on your sander, fine particles travel far. Turn off any forced-air HVAC systems to prevent dust from circulating through the house.
Finally, clean the floor with a dry dust mop or vacuum to remove surface debris. The cleaner the starting surface, the smoother the sanding process.
Choosing the right sanding equipment is critical. Here’s what you’ll need for a standard hardwood floor refinishing project:
Rent your drum sander from a reputable equipment supplier. Inspect it before leaving check that the sanding drum is in good condition and the dust bag is clean.
Load your drum sander with coarse-grit sandpaper 36 or 40 grit is standard for floors with a thick old finish or significant surface damage. For floors that only need light refinishing, you may be able to start with 60 grit.
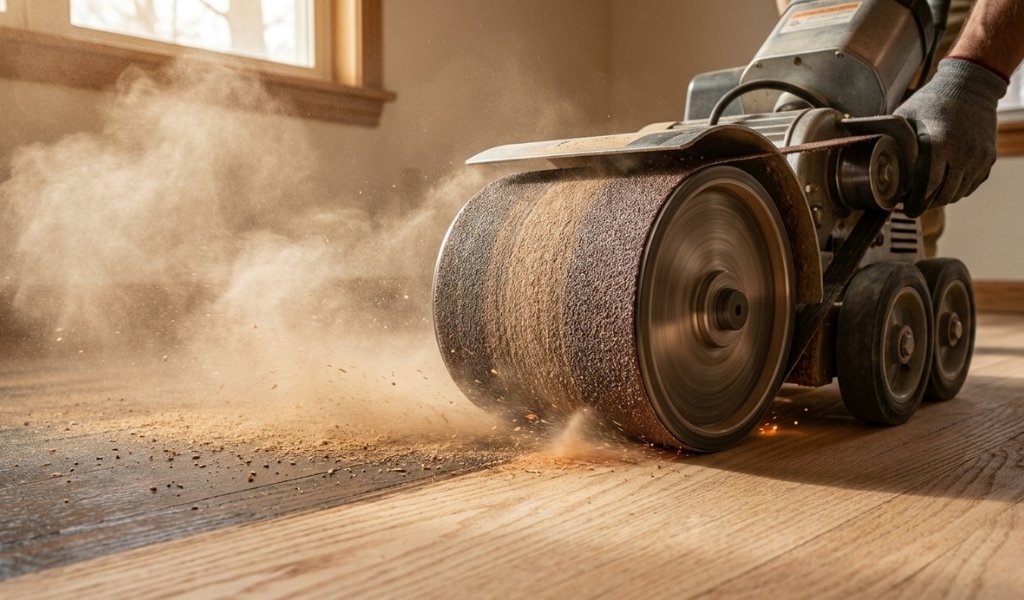
Begin sanding in the direction of the wood grain, never across it. Start about one-third of the way into the room and move forward steadily. When you reach the far wall, tilt the machine back to lift the drum, turn around, and sand the section you started from, overlapping by a few inches.
The most important rule with a drum sander: keep it moving at all times when the drum is in contact with the floor. A stationary drum sander will gouge a deep depression into your hardwood within seconds. Maintain a slow, consistent walking pace never stop mid-pass.
Work in parallel rows across the floor, overlapping each pass by two to three inches.
For parquet floors or boards laid on a diagonal, you may need to sand at a 45-degree angle to the grain on the first pass, then finish with the grain direction.
After completing the rough drum sanding pass across the room, switch to your edge sander. Load it with the same grit sandpaper you used on the drum sander to keep the removal rate consistent across the whole floor.
Use the edger to sand around the edges of the room in a sweeping arc motion.
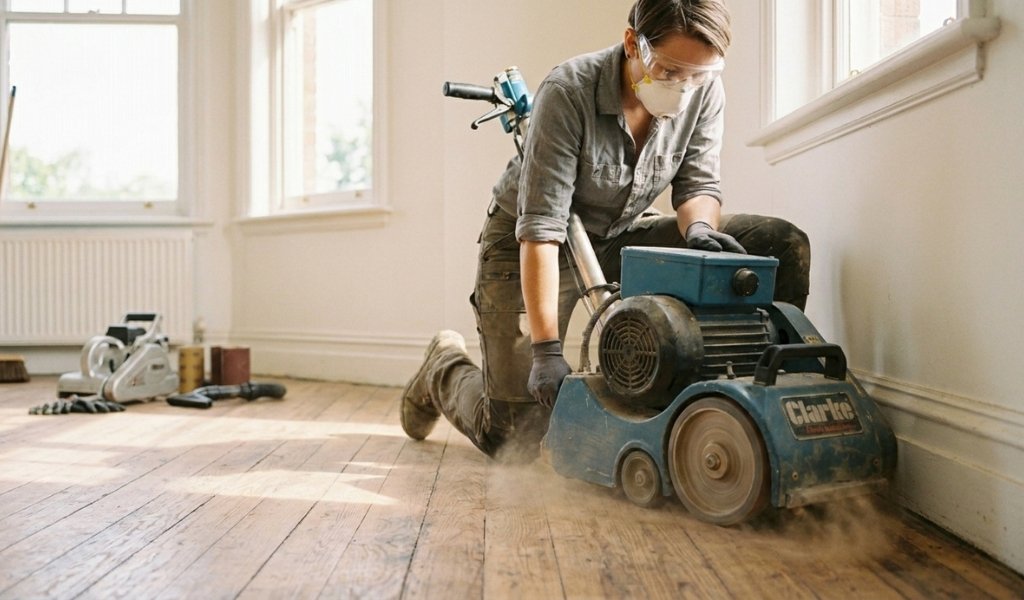
Work along the grain of the wood where possible. The edger’s circular motion naturally leaves arc-shaped sanding marks, so avoid dwelling in one spot keep the machine moving steadily.
Pay close attention to corners. The edger won’t reach all the way in, so use a hand sander or pull out a detail sander for those tight spots. A sharp floor scraper can also work well in corners where abrasives can’t reach effectively.
Once you’ve completed the coarse pass with both the drum sander and edger, vacuum the entire floor thoroughly. Step back and inspect the surface in raking light. Hold a lamp low to the floor to expose any high spots, chatter marks, or transitions between the drum-sanded field and the edge-sanded perimeter.
Switch to 60–80 grit sandpaper for the medium cut. Run the orbital sander or rotary sander across the entire floor, focusing particularly on blending the edge work with the field. This pass removes the heavy sanding marks left by the coarse grit and begins to reveal the character of the wood grain beneath.
Take your time during this stage. Rushing the medium cut and jumping straight to fine grit will lock in scratches that become glaringly visible once the finish is applied.
The fine cut is where your floor transforms from rough-sanded wood into a surface ready for finishing. Load 100–120 grit sandpaper into your drum sander and run another pass across the entire floor. Follow up with the edge sander at the same grit around the perimeter.
For floors receiving a stain or a water-based finish, consider a final sanding pass with a 150–220 grit sanding screen attached to a buffer or orbital sander. This final sanding step removes any micro-scratches and opens the wood grain evenly, which is particularly important for uniform stain absorption.
After the fine cut, hand sand any remaining trouble spots tight corners, around door jambs, or areas with unusual grain direction. Always sand in the direction of the wood grain during the final sanding stage to avoid cross-grain scratches.
Cleaning between each grit stage isn’t optional, it’s critical. Coarse sandpaper grit left on the floor during a fine sanding pass will cause deep scratches that are nearly impossible to remove without dropping back down to a heavier grit.
After each stage, vacuum the floor twice once to remove the bulk of the dust, and once to pick up what the first pass missed. Pay attention to the edges and corners where dust accumulates. Follow the vacuum with a tack rag wiped across the entire floor to lift any remaining fine particles. Make sure the floor is clean before loading new sandpaper and proceeding to the next stage.
After the final sanding pass, vacuum meticulously, use a tack rag, and then wipe the floor with a slightly damp cloth (for water-based finishes) or a dry cloth (for oil-based finishes) to ensure the surface is spotless before applying any finish or stain.
Drum sanding is unforgiving. The sanding drum spins at high speed, and if the machine sits still even for a second it will cut a concave depression into your hardwood floor that requires significant additional sanding to remove.
To prevent gouging:
Sanding belts and discs wear out faster than most first-timers expect. A fresh belt cuts aggressively and cleanly; a worn belt glazes over and generates heat that can scorch the wood surface.
Change your sanding belt when:
For a standard room, plan on using multiple belts per grit stage. Stock up before you start running out mid-project means a dust-covered trip to the hardware store.
Never skip grits in the sanding sequence. Moving from 36 grit straight to 100 grit leaves deep scratches that the finer grit can’t remove efficiently. Each progressive grit removes the scratch pattern from the previous one skipping steps compresses the timeline but ruins the result.
Corners are the bane of floor sanding projects. No power sander, not even a detail sander can get completely flush into a 90-degree corner. The solution is a sharp floor scraper.
Hold the scraper at a low angle and pull it toward you along the grain of the wood. Apply firm, even pressure. Scrapers work best when sharp; a dull blade tears the wood fibers rather than cutting them cleanly. Keep a sharpening stone on hand and touch up the blade edge regularly.
For areas around door casings, radiator pipes, and built-in cabinets, use a combination of a detail sander and hand sanding with folded sandpaper. Work methodically and check your progress frequently. These areas are small but highly visible, so they deserve careful attention.
The finish you choose affects the final appearance, durability, and drying time of your refinished hardwood floors. The two most common options are water-based and oil-based polyurethane.
Water-based polyurethane:
Oil-based polyurethane:
For most DIY homeowners refinishing solid hardwood floors, oil-based polyurethane offers superior long-term durability and a rich, traditional wood finish appearance. Water-based finishes are better suited to lighter woods like maple or ash where preserving the natural color is a priority.
If you want to change the color of your floor, apply stain before any sealer or topcoat. Use a lambswool applicator or a clean cloth to wipe the stain onto the bare wood in the direction of the wood grain. Work in manageable sections. Wipe off any excess stain before it dries, as pooled stain creates blotchy, uneven color.
Allow the stain to dry completely typically 8–24 hours depending on the product before applying any sealer or topcoat.
For a sealer coat, apply a thin layer of your chosen polyurethane as a first coat, thinned slightly if required by the manufacturer. This seals the bare wood and provides a base for subsequent coats.
Once the sealer coat dries, lightly sand the entire floor with a 220-grit sanding screen or fine sanding pad. This step sometimes called “buffing between coats” scuffs the surface to improve adhesion for the second coat. Vacuum and tack rag the floor again before proceeding.
Apply your second coat of polyurethane, working in the direction of the wood grain.
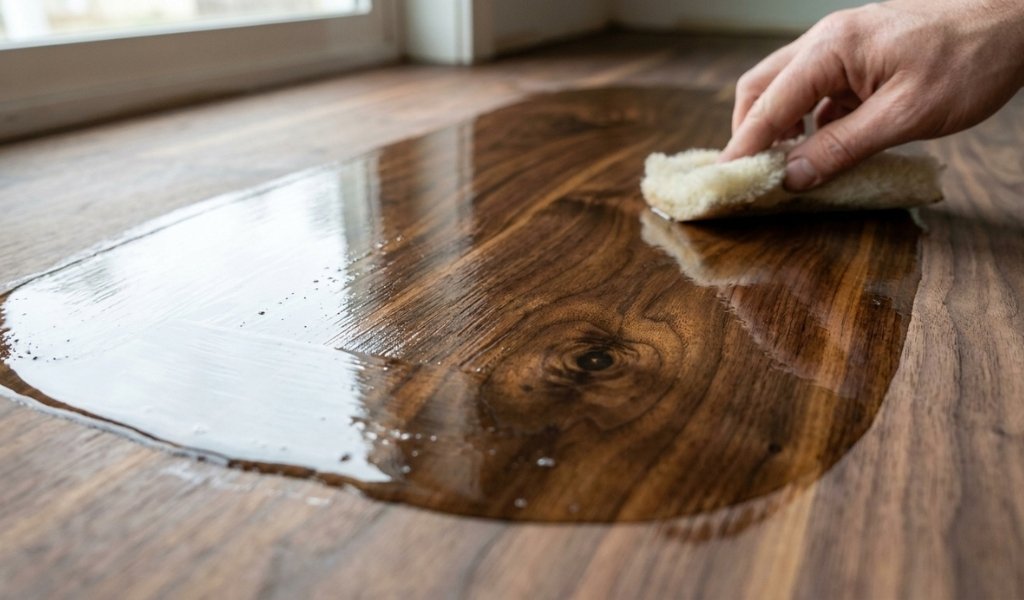
For high-traffic areas or extra durability, apply a third coat, again lightly sanding between coats. The final coat should not be sanded, apply it cleanly and allow it to cure fully before returning furniture to the room (typically 24–72 hours for walking, and up to two weeks for full cure before placing rugs or heavy furniture).
Sanding and refinishing hardwood floors is a viable DIY project for most homeowners, provided you rent the right equipment and follow proper technique. The drum sander requires some practice to use without causing damage, so it’s worth doing a test pass in a closet or inconspicuous area first. If your floors have significant structural damage, cupping, or severe water staining, a professional assessment is worthwhile before you begin.
Most solid hardwood floors can be sanded and refinished four to six times over their lifespan, depending on the thickness of the wood. Signs that your floor needs refinishing include deep scratches that penetrate the finish, a dull or worn surface that doesn’t respond to cleaning, graying or blackening of the wood, or visible wear through the finish in high-traffic areas. If the floor feels rough or looks tired even after cleaning, it’s time to sand.
A drum sander is the primary tool for sanding the main field of the floor and is the most efficient sanding machine for covering large areas quickly. An edge sander handles the perimeter around the edges of the room. An orbital sander or rotary buffer is used for the medium-grit blending pass. A detail sander or hand sander addresses corners and tight spots. All four are typically needed to complete a thorough refinishing project.
Never stop the drum sander while the drum is in contact with the floor this causes deep gouges that are extremely difficult to remove. Don’t skip grit levels in the sanding sequence, as this leaves scratches that bleed through the final finish. Avoid sanding across the grain of the wood, which creates highly visible cross-grain scratches. Don’t skip the cleaning and tack rag step between grits, and never apply finish over a dusty or dirty floor surface.
Refinishing is almost always the better choice for solid hardwood floors, both financially and aesthetically. A professional-quality refinishing job typically costs a fraction of new flooring installation, and refinished hardwood often looks better than new engineered flooring alternatives. Replacement makes more sense when the wood is structurally compromised, when too many previous sandings have thinned the boards below a safe threshold, or when the floor has widespread water damage that sanding cannot address.