Physical Address
304 North Cardinal St.
Dorchester Center, MA 02124
Physical Address
304 North Cardinal St.
Dorchester Center, MA 02124


Getting a smooth, professional finish on wood is harder than it looks. You can choose the most expensive stain or lacquer on the market, but if you skip the prep work, the final result will show it. That is where sanding sealer comes in. This product plays a quiet but important role in the wood finishing process, and understanding how to use it correctly can make a big difference in the quality of your work.
This guide covers everything you need to know about sanding sealer, from what it is and how it works, to how to apply it and avoid the most common mistakes. Whether you are finishing a piece of furniture, refinishing cabinets, or working with bare wood for the first time, this guide will walk you through the process step by step.
Before going further, it is worth mentioning that sanding is a fundamental part of woodworking. If you are new to the craft, check out What is Sanding? A Beginner’s Guide for a solid introduction to sandpaper grits, sanding techniques, and surface preparation. Having that foundation will help you get more out of this guide.
Sanding sealer is a clear, fast-drying coat applied to bare wood before the final finish goes on. It is designed to fill in the small pores of the wood, raise the grain slightly, and create a smooth base coat that makes sanding much easier before the top coat is applied.
Unlike regular wood finish, sanding sealer contains a zinc stearate additive. Zinc stearate acts as a lubricant during sanding, which helps the sandpaper glide more smoothly across the surface without clogging up quickly. This is what makes it easier to cut back the surface between coats and achieve that flat, even result that is hard to get with standard finishes.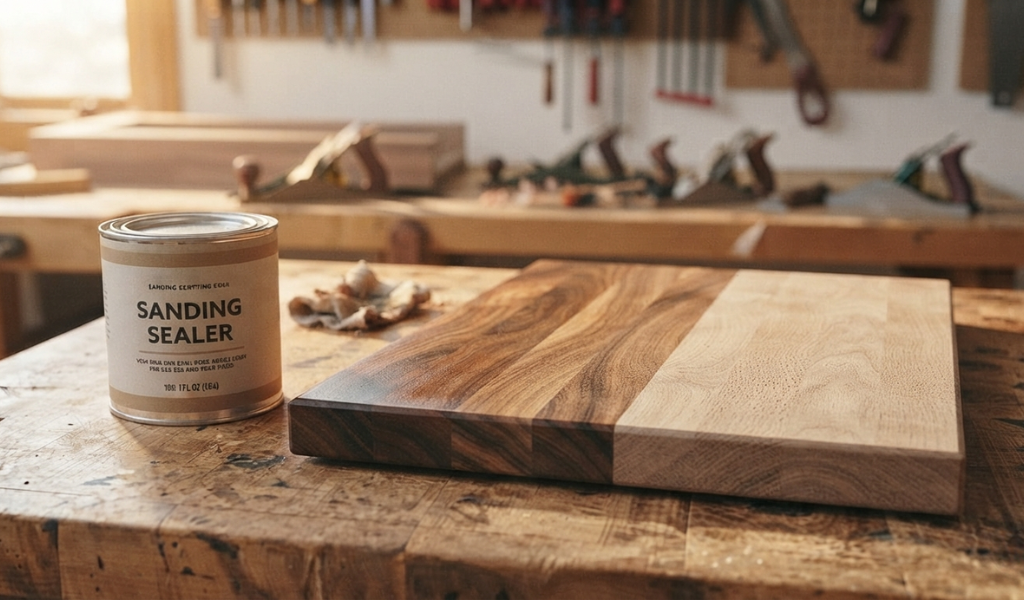
Sanding sealer is available in both water-based and oil-based versions. Water-based sanding sealers dry faster, have lower VOCs, and clean up easily with water. Oil-based sanding sealer takes longer to dry but tends to penetrate deeper into raw wood. There are also shellac sanding sealers, which are compatible with most topcoats and are a popular choice for fine furniture work.
Brands like Zinsser make well-known sanding sealer products that are widely used by both hobbyists and professionals. Zinsser’s shellac-based sealer, for example, is known for bonding well to bare wood and providing a reliable base for lacquer and other clear finishes.
When you apply sanding sealer to bare wood, the liquid soaks into the open pores of the wood and hardens as it dries. This does two things. First, it seals the pores in the wood so the final finish sits on top rather than sinking in unevenly. Second, it raises the wood grain slightly, which gives you something to sand back down to a perfectly level surface.
The zinc stearate in the sealer acts as a lubricant while you sand. This makes sanding sealer dust easier to work with than the dust from sanding a regular finish coat. The result is a smooth, flat surface that is ready to accept stain, lacquer, polyurethane, or another clear coat without blotching or uneven absorption.
When to Use Sanding Sealer
Sanding sealer works best as a base coat on raw wood, particularly open-grained woods like oak, ash, and mahogany. It is also a smart choice when you are applying lacquer as your final finish, since lacquer sanding sealers bond well with lacquer topcoats. Use it when you want to speed up the sanding process between coats and get a smoother final finish than you could achieve without it.
When Not to Use Sanding Sealer
Sanding sealer is not always the right call. Because of the zinc stearate content, using too many coats can actually weaken the bond between layers, leading to peeling over time. Avoid using it under oil-based polyurethane unless the product specifically states it is compatible. It is also unnecessary on tight-grained woods that have already been sanded smooth.
Raw wood, even after a thorough sanding, is rarely as smooth as it looks. The fibers on the surface absorb moisture from the air and from finishing products, which causes them to swell and stand up. This is commonly called grain raise, and it leaves a rough, slightly fuzzy texture on the surface after the first coat of finish dries.
A coat of sanding sealer locks those fibers down. Once the sealer dries, you can sand the surface lightly with fine-grit sandpaper to cut off the raised grain and leave a surface that is level and smooth. This step makes a visible difference in the final finish, especially on furniture where appearance matters.
Open-grained woods like oak, walnut, and mahogany have large pores that can cause problems with an uneven finish. Without sealing the wood first, stain can absorb more heavily in some areas than others, leading to a blotchy or inconsistent color. The finish itself can also look uneven, with certain areas appearing shinier where the pores are deeper.
Sealing the wood pores with sanding sealer creates a more uniform surface. The sealer fills in the pores of the wood and provides an even base, so stain and topcoat go on consistently across the entire surface.
Before you open the can, the wood needs to be properly prepared. Start by sanding the bare wood with progressively finer grits of sandpaper, finishing with 150-grit or 180-grit. The goal is to remove any mill marks, scratches, or uneven areas before sealing the wood.
Once you are done sanding, clean the wood thoroughly. Remove all sanding dust with a vacuum, a tack cloth, or a clean rag slightly dampened with mineral spirits if you are using an oil-based sealer. Any dust left behind will get trapped under the sealer and create a rough surface. Wear latex gloves during this process to keep oils from your hands off the wood surface.
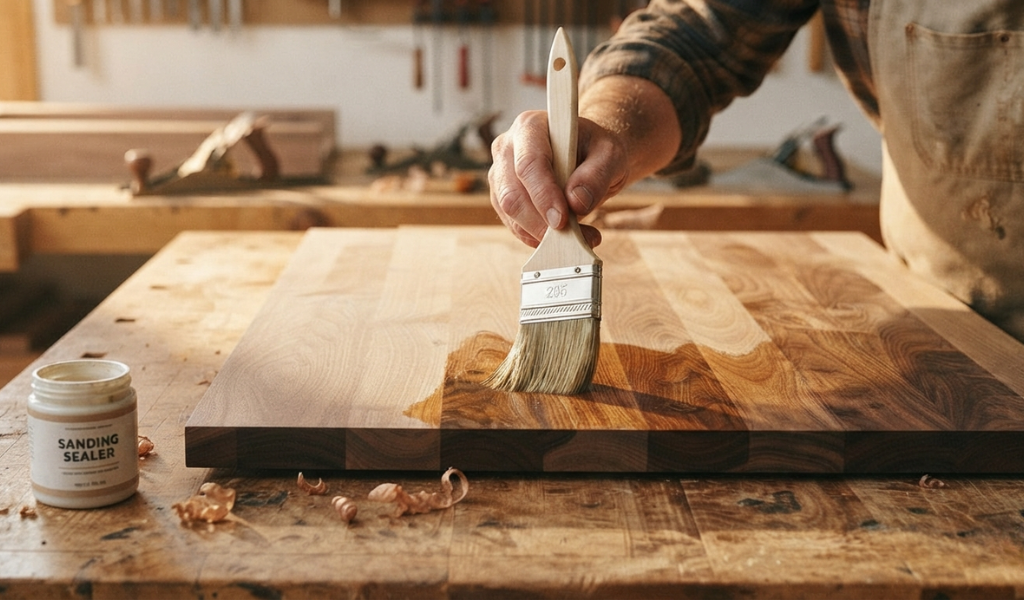
Gently mix the sanding sealer before applying it. Shaking the can can introduce bubbles into the product, which you do not want on the wood surface. Using a brush, roller, or spray gun, apply a thin, even coat of sanding sealer across the entire surface. Work in the direction of the wood grain and avoid going back over areas that have already started to dry.
The first coat does not need to be thick. A thin, even coat will penetrate the wood better and dry more uniformly than a heavy application. If you apply too much, you risk runs, sags, and an uneven surface that requires more sanding to correct.
Drying times vary depending on the product type. Water-based sanding sealers typically dry within 30 minutes to an hour, while oil-based versions can take several hours. Always follow the manufacturer’s instructions on the label. Do not rush this step. Sanding before the sealer is fully dry is one of the most common mistakes in the finishing process, and it creates a gummy, difficult-to-manage surface.
Once the first coat is dry, sand it back lightly, apply a second coat if needed, and allow that to dry as well before moving on to your topcoat.
The grit of sandpaper you use on sanding sealer matters more than most people realize. Too coarse a grit will scratch through the sealer and into the wood below. Too fine a grit will not cut the surface efficiently and can load up with sanding sealer dust quickly.
For most applications, 220-grit sandpaper is the right starting point for sanding between coats of sealer. It is fine enough not to cause deep scratches but coarse enough to cut the surface back efficiently.
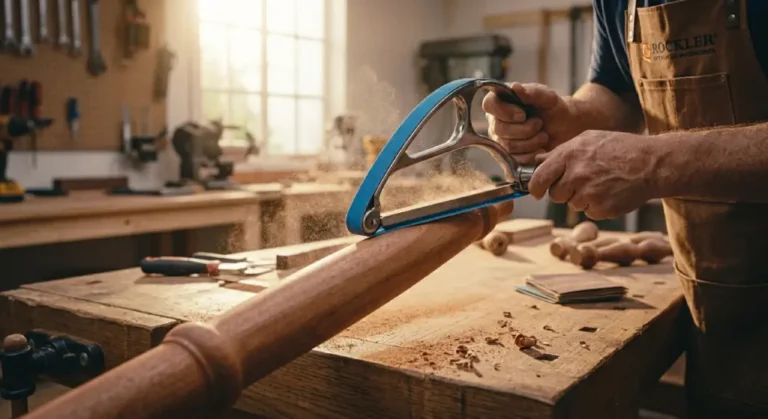
After each coat of sanding sealer has dried fully, do a good bit of sanding with fine-grit sandpaper. The goal is not to remove all the sealer, just to knock down the raised grain and any small imperfections. Sand with the grain, using light, even pressure. After sanding, remove all sanding sealer dust before applying the next coat or moving on to the topcoat.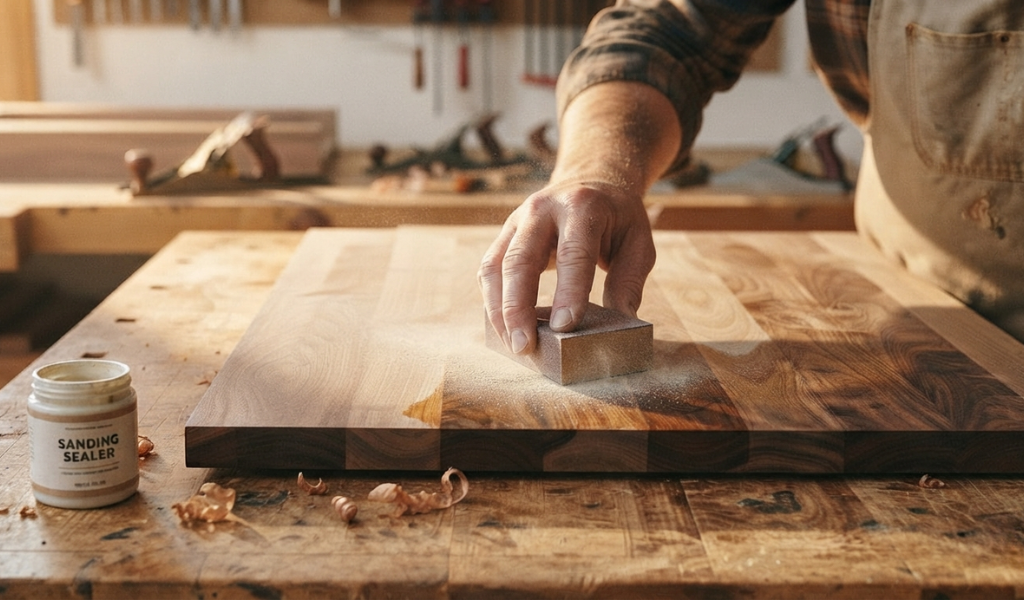
It is easy to get carried away when you are trying to get a surface perfectly smooth. However, over-sanding can cut through the sealer completely and expose the bare wood below. If that happens, you will need to apply another coat of sealer and start again. Sand gently and check your progress frequently, especially on edges and corners where the sealer layer is thinnest.
After the first coat of sanding sealer, start with 220-grit sandpaper. This grit is fine enough to smooth the surface without cutting too deeply into the sealer. For bare wood with a lot of grain raise or rough texture, you could start with 180-grit before moving up to 220-grit for the finish sanding.
For the final smoothing before the topcoat, use 320-grit or even 400-grit sandpaper. At this stage, you are not trying to remove material. You are simply refining the surface and making sure it is perfectly flat and smooth. A fine-grit sanding at this stage makes a big difference in how the lacquer, varnish, or polyurethane looks once it goes on.
Sanding sealer and primer are sometimes confused, but they serve different purposes. A primer is designed to improve the adhesion of paint or finish to a surface, especially when painting over a non-porous substrate. It builds up a base layer and helps paint bond more effectively.
Sanding sealer, by contrast, is specifically formulated for bare wood. Its job is to fill in pores and raise grain so the surface can be sanded to a smooth, level finish before the topcoat goes on. The zinc stearate content makes it easier to sand, which is not a feature you typically find in a standard primer.
Use sanding sealer on raw or bare wood when you plan to apply a clear finish like lacquer, varnish, or polyurethane. Use a primer when you are painting wood and need good adhesion between the paint and the surface. In some cases, particularly with porous or stained surfaces, both products might be used at different stages, though this depends on the specific project and the products involved.
Wood conditioner is applied to bare wood before staining, particularly on softwoods like pine, fir, and alder that tend to absorb stain unevenly. The conditioner partially seals the wood so the stain absorbs more consistently across the whole surface, reducing blotching.
Unlike sanding sealer, wood conditioner is not meant to be sanded back. It is a pre-stain treatment, not a base coat for a clear finish.
Use wood conditioner when your goal is to achieve an even stain color on porous or blotch-prone wood. Use sanding sealer when you want a smooth base coat for a clear finish and need to reduce grain raise between coats. If you are both staining and applying a clear finish, you might use a wood conditioner first, followed by stain, and then sanding sealer before the topcoat.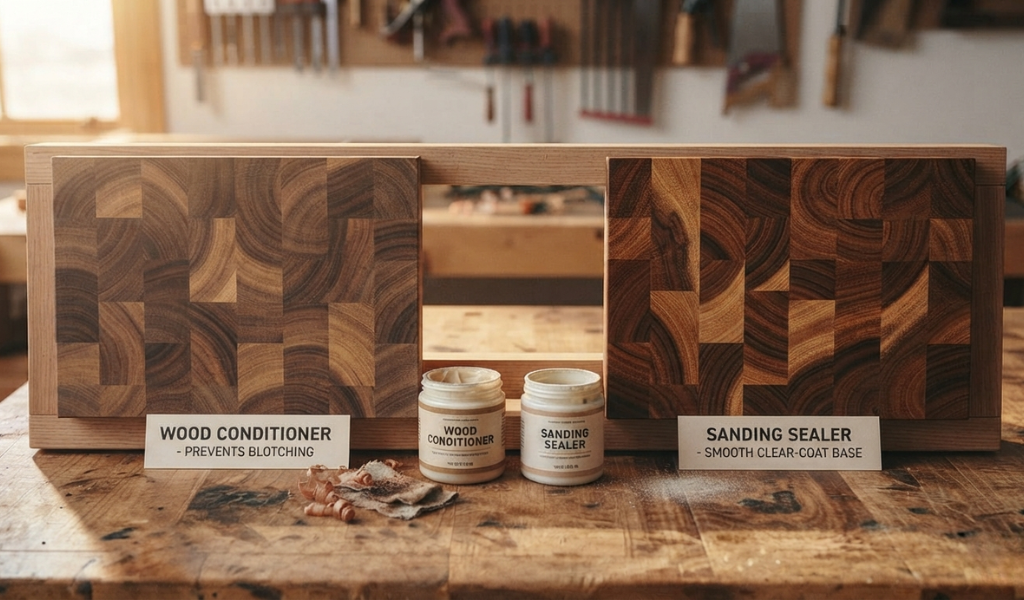
Thicker is not better with sanding sealer. Applying too heavy a coat leads to runs and sags on vertical surfaces, and it takes much longer to dry. Heavy coats are also harder to sand back evenly. Stick to thin, consistent coats and apply a second coat if needed rather than trying to get full coverage in one pass.
This is perhaps the most common mistake. Sanding sealer that has not fully dried will gum up your sandpaper almost immediately and leave a sticky, uneven surface. Always wait for the full recommended drying time before sanding, and give the product extra time in humid or cold conditions since both slow down the drying process.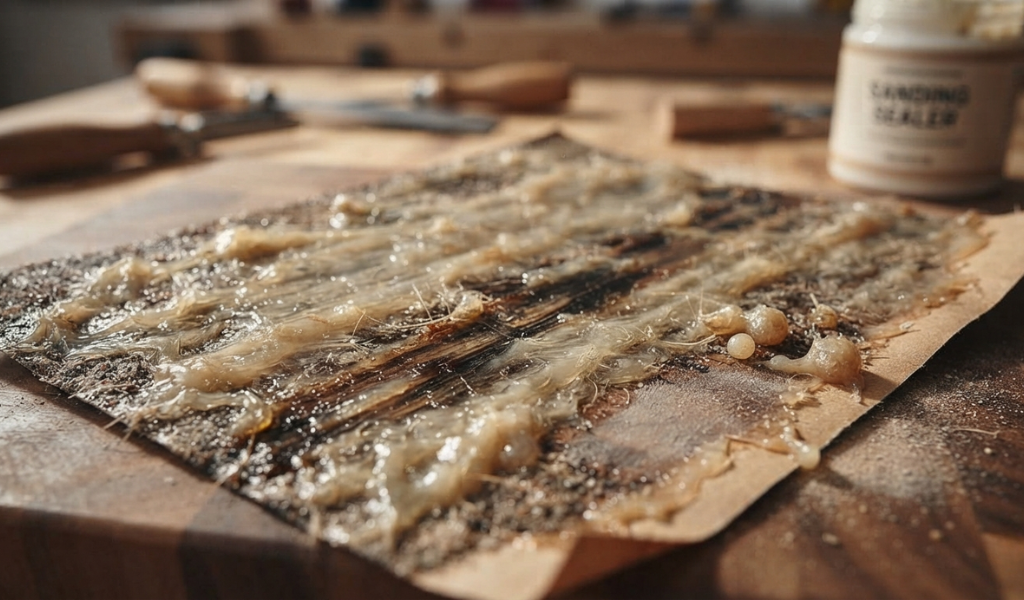
Using too coarse a grit on dried sanding sealer will leave scratches that show through the final finish. Using too fine a grit on a rough or heavily grained surface wastes time and effort. Matching your sandpaper grit to the stage of the finishing process saves time and produces better results.
Sanding sealer is one of those products that does not get much attention, but the results speak for themselves. Applied correctly, it sets the foundation for a finish that looks smooth, professional, and long-lasting. Skip it on the wrong project and you will likely notice uneven sheen, blotchy stain absorption, or a rough texture that no amount of topcoat can fully fix.
What is sanding sealer used for?
Sanding sealer is used to prepare bare wood for a clear finish. It fills in the pores of the wood, reduces grain raise, and creates a smooth base coat that is easy to sand before the topcoat is applied.
Do you really need sanding sealer?
It depends on the project. On open-grained woods like oak, walnut, and mahogany, or when applying lacquer as the final finish, sanding sealer is highly recommended. On tight-grained woods that have already been sanded smooth, it may not be necessary.
Do you need to sand after sanding sealer?
Yes. Sanding after each coat of sanding sealer is an important part of the process. Light sanding with 220 to 320-grit sandpaper removes raised grain and creates a flat, smooth surface for the next coat or the final topcoat.
What can I use instead of sanding sealer?
Shellac is a common alternative to sanding sealer and bonds well with most finishes. Dewaxed shellac in particular is compatible with both oil-based and water-based topcoats. A diluted coat of your topcoat finish is another option, though it does not sand as easily as a dedicated sanding sealer.
When should you use sanding sealer?
Use it on bare wood before applying a clear finish, particularly on porous or open-grained woods. It is also useful when you want to speed up the sanding process between finish coats.
What is sanding sealer made of?
Most sanding sealers are made from a clear finish base, either lacquer, shellac, or a water-based formula, combined with a zinc stearate additive. The zinc stearate acts as a lubricant that makes the dried sealer easier to sand.
Is sanding sealer the same as polyurethane?
No. Sanding sealer and polyurethane are different products with different jobs. Sanding sealer is a base coat designed to be sanded back before the topcoat goes on. Polyurethane is a durable topcoat finish. Some polyurethane formulas are not compatible with sanding sealer due to the zinc stearate content, so always check product compatibility before using them together.