Physical Address
304 North Cardinal St.
Dorchester Center, MA 02124
Physical Address
304 North Cardinal St.
Dorchester Center, MA 02124


A tongue and groove ceiling adds warmth and character to any room, but years of dust, old varnish, and sun exposure can leave the wood looking tired and dull. Sanding tongue and groove ceilings is the first step toward bringing that natural beauty back, whether you’re prepping for a fresh coat of stain or simply want to remove a yellowed finish.
Unlike sanding a flat wall or floor, working on a tongue and groove ceiling comes with its own set of challenges. The grooves between boards, the awkward overhead angle, and the risk of damaging the wood grain all make this a project that requires patience and the right approach. This guide walks you through everything you need to know, from choosing the correct sandpaper grit to cleaning up after the job is done, so you can achieve a smooth, even surface ready for a beautiful wood finish.
Before picking up a sander, it helps to understand why this step matters so much. Sanding isn’t just about appearance. It directly affects how well any stain, sealer, or topcoat will perform once applied.
Over time, tongue and groove pine ceilings can develop rough patches, raised grain, or peeling varnish. Moisture from humidity, old coatings that have started to crack, or simple wear and tear all contribute to an uneven surface. Sanding smooths out these rough spots and strips away old, flaking finish that would otherwise interfere with a new coat of stain or paint. If you skip this step, any new product you apply is likely to peel or look patchy within a year or two.
A smooth, clean surface allows stain or sealer to penetrate the wood evenly. When wood grain is rough or covered in old pigment, new stain can’t soak into the wood properly, leading to blotchy, inconsistent color. Sanding opens up the pores of the wood so the finish you choose, whether it’s an oil-based stain or a water-based topcoat, bonds correctly and gives you that natural, freshly finished look.
Sanding a tongue and groove ceiling is more labor intensive than most people expect. The tongue and groove joints between each board create tight seams that are hard to reach with a standard sander. Dust and old finish tend to collect in these grooves, and if you’re not careful, a power sander can gouge the edges where boards meet.
Working overhead adds another layer of difficulty. Your arms tire quickly, visibility isn’t great, and dust falls directly onto your face and eyes if you’re not using the right safety gear. 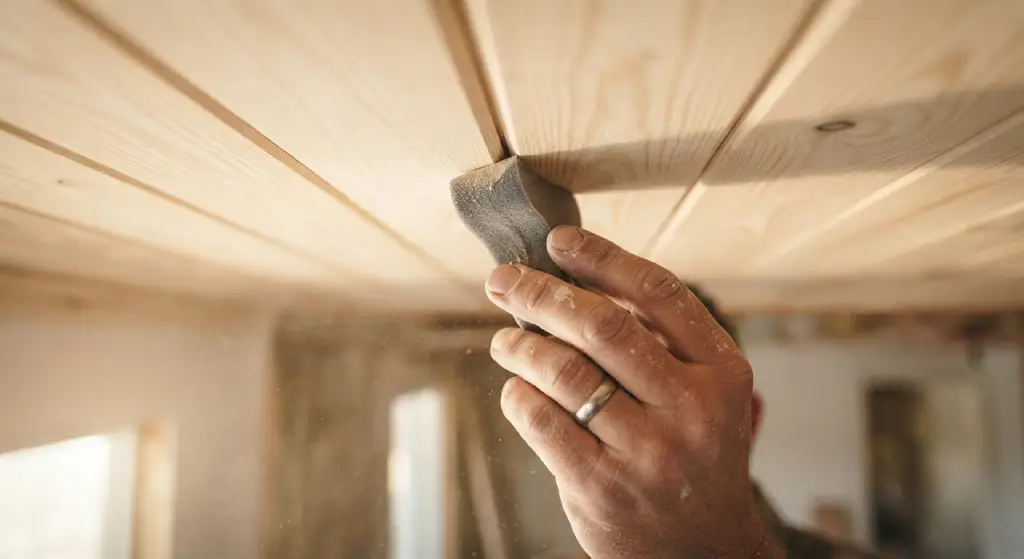 Knotty pine ceilings bring an additional challenge too, since the wood around knots is often harder and more unforgiving than the surrounding grain, requiring extra attention so you don’t end up with uneven spots once stain is applied.
Yes, you can use a power sander on a ceiling, but the type of sander matters. A random orbital sander is generally the safest choice because it moves in a circular pattern that reduces the risk of leaving visible scratch marks or gouges in the wood grain. Avoid using a belt sander on a ceiling, since it removes material quickly and can easily damage tongue and groove boards if you’re not experienced with it.
For most homeowners, pairing a random orbital sander with an extension pole makes the job far more manageable. This setup reduces strain on your arms and shoulders while giving you better control over the pressure you apply. In tight grooves and corners where a power sander can’t reach, a sanding sponge or folded sandpaper by hand will finish the job without damaging the joints.
Having the right tools on hand before you start will save you time and frustration once you’re up on the ladder.
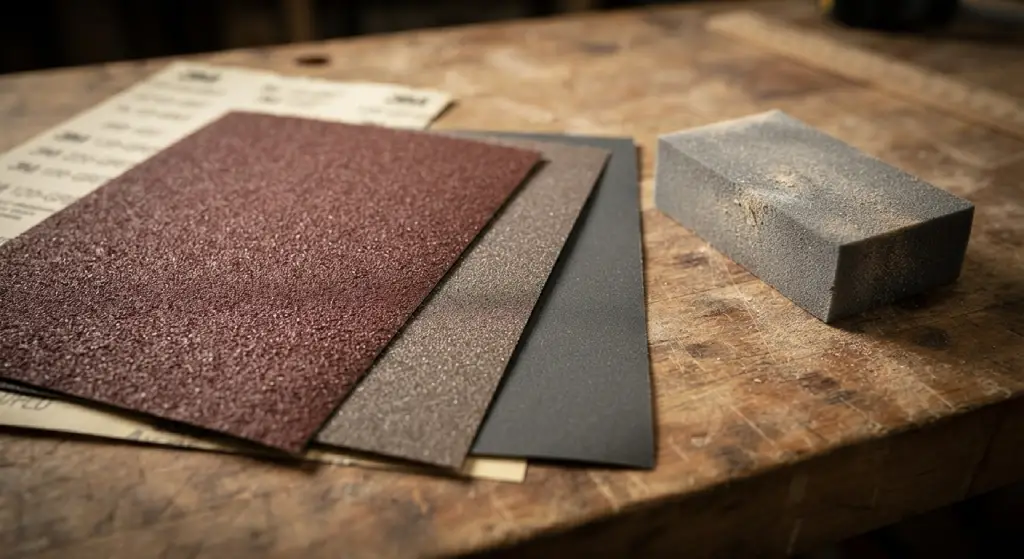
Choosing the correct grit is one of the most important decisions in this entire process. Start with a medium grit, around 100 to 120, to remove old finish and smooth out rough areas. If the ceiling has heavy buildup or deep damage, you may need to begin with an 80-grit sandpaper. Once the surface feels even, move up to a fine grit, such as 150 or 180, to prepare the wood for stain. Finishing with fine-grit sandpaper is essential since it closes up the wood grain slightly and helps prevent blotchy stain absorption.
In addition to sandpaper, you’ll want the following on hand:
If you’re working with cedar, fir, or other softwoods commonly used for tongue and groove boards, keep in mind that softer woods sand down faster, so lighter pressure is often enough to get the job done.
Once you’ve gathered your tools, it’s time to get to work. Following these steps in order will help you avoid common problems like uneven color or visible sanding marks.
Start by clearing the room of furniture, or cover anything you can’t move with plastic sheeting. Dust from sanding settles everywhere, so taping plastic over doorways and covering floors will make cleanup much easier later. Open windows if possible to improve airflow, especially if you’re working for several hours. Set up your ladder or scaffolding so you can comfortably reach every section of the ceiling without overextending.
Begin sanding with your medium-grit sandpaper, working in manageable sections rather than trying to tackle the entire ceiling at once. This gives you better control and lets you check your progress as you go. Apply steady, even pressure, letting the sander do the work rather than pressing down hard, which can create uneven patches or damage the tongue and groove joints.
Always sand in the direction of the wood grain, never across it. Sanding against the grain leaves visible scratches that become especially noticeable once stain is applied, since the pigment settles into those scratch marks and highlights every imperfection. Take your time along the grooves where boards meet, using a sanding sponge or folded sandpaper by hand to clean out any buildup without widening the joints.
Once the entire ceiling has been sanded with your medium grit, switch to a fine-grit sandpaper for the final pass. This step smooths out any remaining roughness and prepares the wood to accept stain evenly. Skipping this step often results in a blotchy or uneven finish, since unsanded wood absorbs stain differently than smooth, properly prepped wood. Run your hand along the surface when you’re done. It should feel smooth and consistent with no rough patches remaining.
Sanding produces a significant amount of fine dust, and any dust left behind will interfere with your stain or sealer. Start by vacuuming the entire ceiling with a shop vacuum fitted with a brush attachment, paying close attention to the grooves where dust tends to settle. Follow up with a tack cloth or slightly damp cloth to wipe away any remaining particles. Avoid soaking the wood with water, since excess moisture can cause the grain to swell or warp slightly.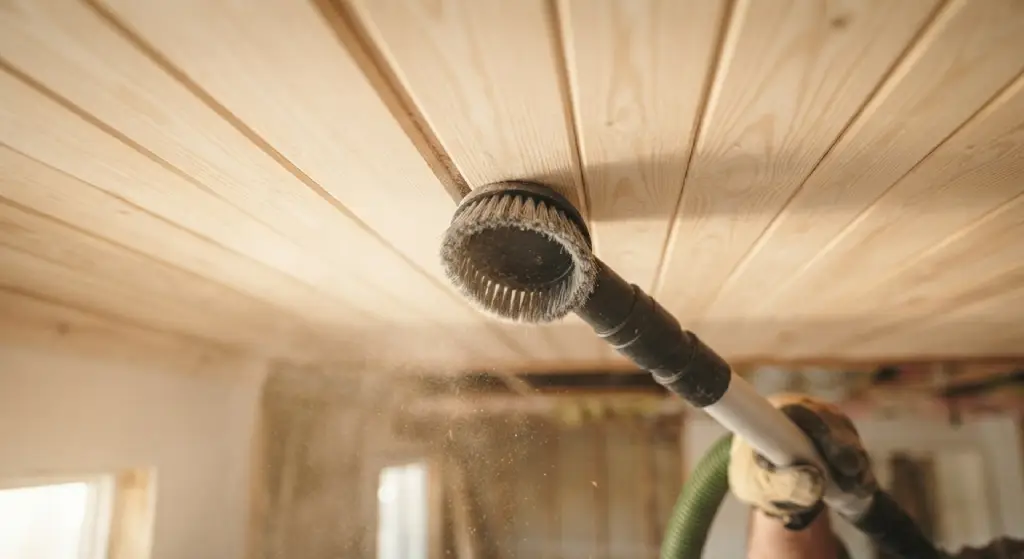
Let the ceiling dry completely before applying any stain or finish. If you’re using an oil-based stain or a water-based product like polyurethane or polycrylic, even small amounts of leftover dust or moisture can cause the coating to peel or develop an uneven sheen.
A few mistakes come up again and again when people sand tongue and groove ceilings for the first time, and knowing about them ahead of time can save you a lot of rework.
One of the most frequent errors is sanding against the wood grain, which leaves scratches that show through stain. Another common issue is uneven pressure, where some areas get sanded more aggressively than others, creating an inconsistent surface that absorbs stain unevenly. Skipping the fine-grit finishing pass is another mistake, since it often results in a rougher final texture than intended.
Many people also underestimate how much dust settles into the tongue and groove joints themselves. If this dust isn’t properly cleaned out before staining, it can cause the finish to look dull or streaky in those spots. Finally, rushing the process by using a single grit throughout, rather than working from medium to fine, usually produces a less polished result and may require redoing sections later.
Sanding a tongue and groove ceiling takes patience, but the payoff is a smooth, even surface that’s ready to showcase a beautiful wood finish. By working through the right grits, sanding along the grain, and taking time to clean every groove thoroughly, you’ll set yourself up for a stain or sealer application that looks professional-grade rather than DIY. Once the ceiling is properly sanded and cleaned, you’re ready to move on to staining or sealing, bringing out the natural look of the wood and giving your room a finish that will look brand new for years to come.
How long does it take to sand a tongue and groove ceiling?
The time required depends on the size of the room and the condition of the existing finish. A small room with minimal old finish might take a few hours, while a larger ceiling with heavy buildup or old varnish could take a full day or more, especially if you’re sanding by hand in the grooves.
Do I need to sand before staining a tongue and groove pine ceiling?
Yes, sanding is necessary before staining. It removes old finish, smooths rough spots, and opens the wood grain so the stain penetrates evenly. Skipping this step often leads to blotchy or inconsistent color once the stain is applied.
What grit sandpaper is best for a tongue and groove ceiling?
Start with a medium grit, around 100 to 120, to remove old finish and smooth the surface. Finish with a fine grit, such as 150 or 180, to prepare the wood for stain and give it a smooth, even texture.
Can I sand a tongue and groove ceiling by hand instead of using a power sander?
Hand sanding is possible but much slower, especially for larger ceilings. Most people use a random orbital sander with an extension pole for flat sections, then switch to hand sanding with a sanding sponge for the grooves and corners that the power sander can’t reach.
Why does my tongue and groove ceiling look blotchy after staining?
Blotchy stain usually results from uneven sanding, leftover dust in the grooves, or skipping the fine-grit finishing pass. Rough or inconsistent wood grain absorbs stain differently across the surface, leading to patchy color.
Is it safe to sand a ceiling overhead without a respirator?
It’s not recommended. Sanding wood produces fine dust particles that can irritate your lungs and eyes, especially when working overhead where dust falls directly down. A dust mask or respirator, along with safety goggles, is strongly advised for this project.
How often should a tongue and groove ceiling be refinished?
This depends on the type of finish and environmental factors like sunlight and humidity. Some finishes hold up well for many years, while others, especially in humid or sun-exposed rooms, may need refinishing every few years to maintain their appearance and protect the wood.