Physical Address
304 North Cardinal St.
Dorchester Center, MA 02124
Physical Address
304 North Cardinal St.
Dorchester Center, MA 02124


If you want to bring an old, tired table back to life, learning how to sand a table the right way is where it all starts. Whether you’re restoring a family heirloom, prepping a thrift store find, or finishing a piece you built yourself, sanding sets the stage for everything that comes after. A table that’s sanded well will hold stain evenly, feel smooth under your hand, and last for years without flaking or peeling finish.
This guide walks you through every stage of the process, from understanding your table’s wood and finish to picking the right sandpaper, sanding in the correct order, and finishing the table so it looks like new. By the end, you’ll have a clear plan you can follow for any table project, no matter the size or shape of the piece you’re working on.
Sanding isn’t just a step you rush through to get to the fun part of finishing. It’s the foundation of the entire project. Skip it or do it poorly, and no amount of stain or paint will hide the result. A rough or uneven surface will always show through, no matter how many coats you apply.
Most tables already have some kind of finish on them, whether it’s varnish, lacquer, paint, or sealant. Over time, this layer wears down, chips, or yellows. Sanding strips away that old finish along with scratches, water rings, and other surface damage. This gives you a clean slate to work with and helps you spot any hidden problems, like small cracks or soft spots in the wood, before you move forward.
A smooth, bare surface is what allows stain, paint, or sealant to soak in evenly. If you apply finish over a bumpy or glossy surface, it won’t adhere properly and may peel or look patchy within months. Sanding opens up the wood grain just enough so the new finish can bond with the surface and create a strong, lasting result.
Before you pick up any sandpaper, take a moment to understand what you’re actually working with. Tables are built from different types of wood, and each one responds differently to sanding. Softwoods like pine sand quickly and can scratch easily, so you’ll want to use lighter pressure and finer grits sooner. Hardwoods like oak, maple, or walnut take longer to sand but hold up better to heavier pressure and coarser grits.
It also helps to figure out what kind of finish is currently on the table. A glossy, hard shell usually means varnish or polyurethane, while a painted surface will need a different approach, especially if there are multiple layers built up over the years. If you’re not sure what finish is on your table, test a small, hidden area first. This helps you plan the right grit sequence and avoid damaging the wood underneath.
Having the right tools on hand before you start makes the entire project go faster and gives you more control over the result. Here’s what to gather before you begin.
You’ll need a range of sandpaper grits to move through the process properly. A standard plan includes coarse grit (60 to 80), medium grit (100 to 150), and fine grit (180 to 220). Having these 3 grit stages on hand covers most table projects, from stripping old finish to creating a smooth, ready-to-finish surface.
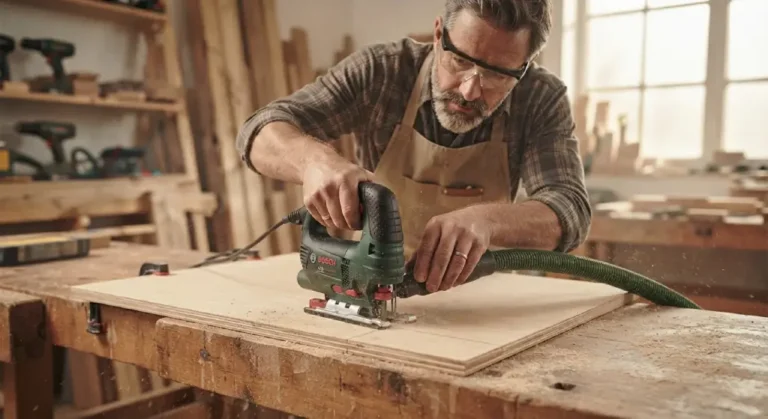
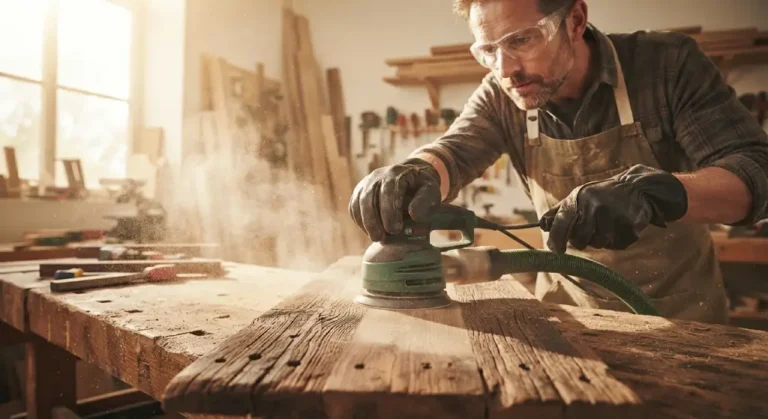
For tools, a random orbital sander is the best choice for large, flat areas like a tabletop, since it sands evenly and reduces the risk of leaving marks. For table legs, edges, and detailed areas, sanding by hand or using a small detail sander gives you better control. Keep a sanding block on hand for hand-sanding flat sections, and consider a sanding sponge for curved or carved areas.
Sanding creates a lot of fine dust, so protective gear matters. A dust mask or respirator keeps you from breathing in particles, and safety glasses protect your eyes, especially when sanding overhead or at an angle. If you’re using a power sander for an extended period, earplugs can help too, since the noise adds up.
For cleanup, keep a shop vacuum, tack cloths, and a few clean rags nearby. You’ll use these throughout the project, not just at the end, to keep the work area and table surface free of dust and debris.
With your tools ready and a plan in place, it’s time to start sanding. Following these steps in order gives you a smooth, even result and helps you avoid common problems like gouges or uneven color absorption later on.
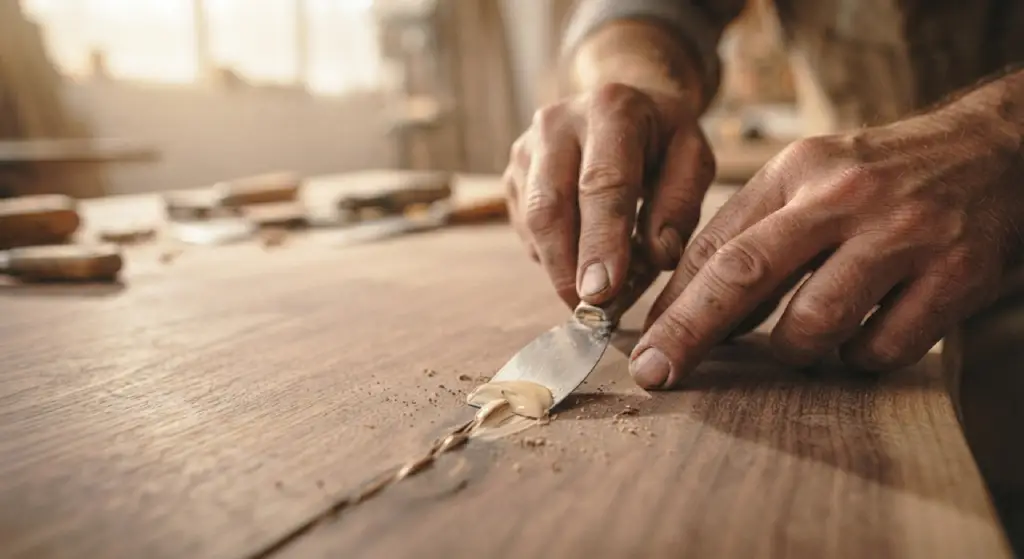
Start by wiping down the entire table with a damp rag to remove dust, grease, and grime. Let it dry completely before sanding. While cleaning, inspect the table closely for cracks, loose joints, or holes that need to be filled. If you find any holes or deep gouges, now is the time to fill them with wood filler and let it cure fully before you start sanding, so the repaired area sands down flush with the rest of the surface.
Begin with coarse grit sandpaper, somewhere between 60 and 80 grit, to strip away the old finish and smooth out major imperfections. Work in small areas at a time, applying even pressure and letting the sandpaper do the work rather than pressing too hard. If you’re using a power sander, keep it moving at all times to avoid creating dips or uneven spots in the wood.
This stage takes the most time and effort, especially on large tabletops or tables with multiple coats of old finish. Be patient here, since a thorough job at this stage makes every step after it easier.
Once the old finish and major flaws are gone, switch to a medium grit, around 100 to 150, to smooth out the scratches left by the coarse paper. After that, move to a fine grit, typically 180 to 220, to prepare the surface for finishing. Each grit stage should remove the marks left by the one before it, resulting in a progressively smoother surface.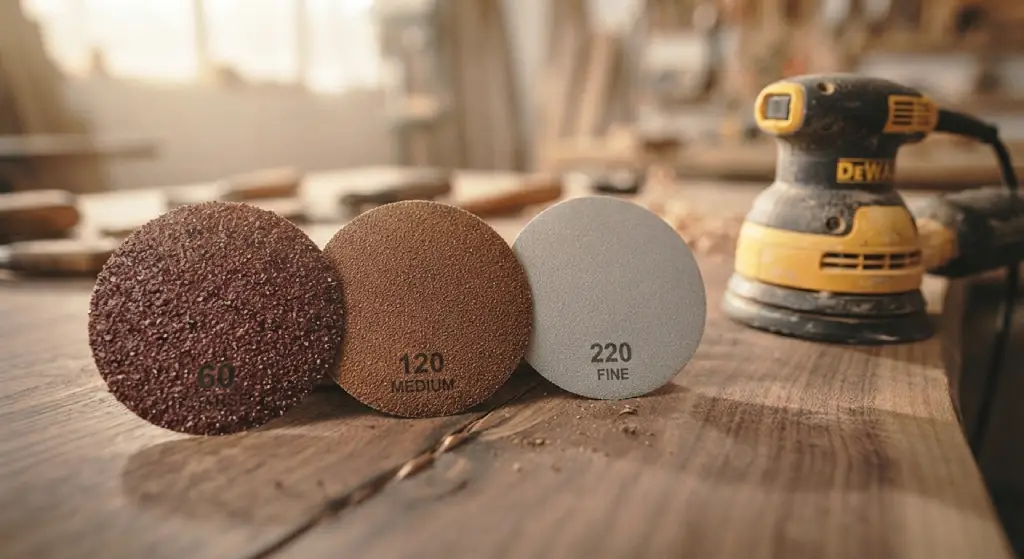
Skipping grits or jumping straight from coarse to fine paper often leaves visible scratches that show up once you apply stain or paint. Taking the time to move through each grit in order gives you a much stronger, more professional result.
Always sand in the same direction as the wood grain, never across it or in circles with hand sanding. Sanding against the grain creates tiny scratches that become very obvious once stain is applied, since the stain settles into those marks and highlights them. If you’re using a random orbital sander, this is less of a concern since the circular motion is designed to minimize visible scratch patterns, but it’s still good practice to do a final pass by hand, with the grain, before moving to the finishing stage.
Once the table feels smooth and even across the entire surface, you’re ready to move into the finishing stage. This part of the process locks in all the work you just did, so it’s worth taking your time here too.
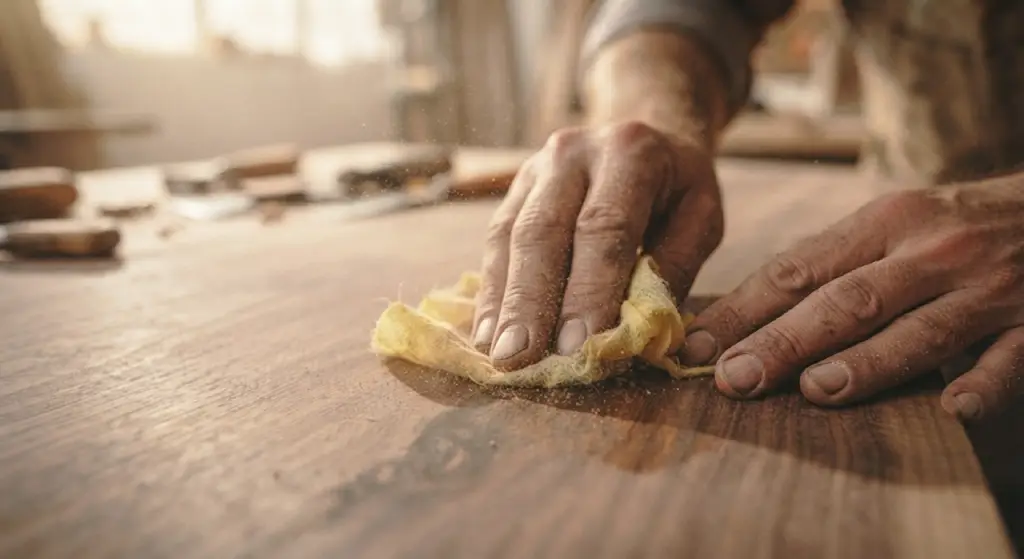
Before applying any finish, remove every bit of sanding dust from the table. Use a shop vacuum with a brush attachment to pick up loose dust from the surface, in corners, and along edges. Follow this with a tack cloth to catch the fine particles a vacuum might miss. This step matters more than people expect, since any leftover dust will get trapped under your finish and create a rough, bumpy texture once it dries.
With a clean, dust-free surface, you can now apply your chosen finish. If you’re staining the table, apply it with a clean rag or brush, following the wood grain, and wipe off excess stain after a few minutes for an even tone. If you’re painting, use a primer first if the wood is porous or if you’re covering a dark stain. For a natural wood look, a clear wood finish like polyurethane or tung oil protects the surface while letting the grain show through. Whichever option you choose, apply thin, even coats and let each one dry fully before adding the next.
Even with a solid plan, a few mistakes come up often enough that they’re worth calling out directly. Skipping grit stages is one of the most common issues, since it leaves visible scratches that only show up after finish is applied. Sanding unevenly, especially pressing harder in one spot, can create low areas that stand out once stain highlights the color difference across the tabletop.
Another mistake is rushing through dust removal before finishing. Any dust left behind gets sealed into the finish, creating a gritty texture that’s hard to fix without starting over. Using the wrong grit for the job also causes problems. Coarse paper used too late in the process can leave deep scratches that fine grits can’t fully remove, while fine paper used too early will barely touch old finish or stubborn imperfections.
Finally, sanding power tools too aggressively or holding them in one spot for too long can create dips or burn marks in the wood, especially on softer woods. Keeping the sander moving and using light, even pressure helps you stay in control and avoid damaging the surface.
Before any refinishing project, whether you’re restoring an old piece or giving new furniture a custom look, a final cleaning pass sets you up for success. Vacuum the entire table, including legs and the underside of the top, to catch any dust that settled during sanding. Wipe down the whole piece with a slightly damp cloth, then let it dry completely.
Check the surface one more time under good lighting, running your hand across it to feel for rough patches or spots you may have missed. This is also a good time to confirm the table’s stability, checking that all joints are tight and legs are level, since a wobbly table is much easier to fix before the finish goes on than after. Once everything feels smooth, solid, and clean, you’re ready to move forward with staining, painting, or sealing the table.
Sanding a table takes patience, but the process itself isn’t complicated once you understand the order of steps and why each one matters. Starting with a clear plan, choosing the right sandpaper grits, and working through the stages in order gives you a smooth, even surface that’s ready for a finish that will actually last. Whether you’re restoring an old piece passed down through your family or giving a new build its first finish, the time you put into sanding pays off in the final result.
If you’re planning your next furniture project, use this guide as a reference each time you start a new table, and you’ll build confidence with every piece you complete.
What grit sandpaper should I start with when sanding a table?
Start with a coarse grit between 60 and 80 if you’re removing old finish or dealing with noticeable damage. If the table only needs a light refresh, you can often start with a medium grit instead.
How long does it take to sand a table?
This depends on the table’s size and how much old finish needs to be removed. A small table might take one to two hours, while a large table with multiple layers of old finish could take a full afternoon or longer.
Can I sand a table without a power sander?
Yes, hand sanding works well for smaller tables or detailed areas like legs and edges. It just takes more time and effort compared to using a power sander on a large, flat tabletop.
Do I need to sand a table before painting it?
Yes, sanding removes old finish and creates a surface that paint can grip onto. Skipping this step often leads to paint peeling or chipping shortly after it’s applied.
What should I do if I find holes or cracks while sanding?
Fill any holes or cracks with wood filler before continuing to sand. Let the filler cure fully, then sand it down flush with the rest of the surface so it blends in smoothly.
Why does my table feel rough after sanding?
This usually means some dust was left on the surface, or a grit stage was skipped. Vacuum and wipe the table down with a tack cloth, and check that you moved through each grit properly.