Physical Address
304 North Cardinal St.
Dorchester Center, MA 02124
Physical Address
304 North Cardinal St.
Dorchester Center, MA 02124


Every woodworker eventually learns the hard way that a beautiful finish depends less on the stain or topcoat and more on what happens before either ever touches the wood. Choosing the right sandpaper grit, and moving through a grit sequence in the correct order, determines whether your project looks professionally finished or shows every scratch it ever picked up along the way.
This guide breaks down exactly how sandpaper grit works, walks through the ideal grit progression for wood, and explains how to adjust that sequence for different wood types and finishes. For a deeper dive into grit numbers and abrasive standards, our sandpaper grit guide covers the technical side in detail, while our broader guide to sanding techniques covers tools, safety, and workspace setup. Together, these resources round out everything you need to know before picking up a single sheet of sandpaper.
By the end of this article, you’ll understand not just which grit numbers to use, but why the sequence matters, how different woods and finishes change your approach, and which sanding techniques give you the smoothest, most consistent results possible.
Before you can choose the right grit for any project, it helps to understand what the numbers on a sheet of sandpaper actually mean and how the sanding grit spectrum is organized.
Sandpaper grit refers to the size of the abrasive particles bonded to the sanding sheet’s backing. The grit number indicates roughly how many particles fit within a one-inch span of the mesh screen used to sort them during manufacturing.
Here’s the key relationship to remember: the higher the number, the smaller and more densely packed the abrasive particles, and the finer the resulting scratch pattern. The lower the number, the larger and more widely spaced the particles, and the more aggressively that sheet cuts into a wood surface.
A 40-grit sandpaper carries large, coarse particles designed for fast material removal. A 400-grit sheet carries fine, tightly packed particles meant for polishing rather than removal. Understanding sandpaper grit at this basic level is the foundation for choosing the right grit at every stage of a project, whether you’re shaping rough lumber or smoothing a final coat of lacquer.
The full range of sandpaper grit sizes typically spans from around 24 grit at the extreme coarse end to 2000 grit or higher at the ultra fine end used for polishing. For most woodworking, the practical range you’ll actually use sits between 40 grit and 400+ grit, broken into three broad categories:
Each category exists for a reason. Coarser grit removes wood quickly but leaves visible scratches behind. Finer grit removes very little material but leaves a smooth surface ready for finishing. Choosing the right sandpaper for the job means matching the grit size of the abrasive to what your surface actually needs, not simply grabbing whatever sheet is closest at hand.
Once you understand how grit numbers work, the next step is learning how to move through them in the correct order. A proper grit sequence is what separates a professional-looking piece from one riddled with visible scratches under the finish.
Coarse grit sandpaper in the 40 to 60 range is reserved for jobs that demand serious material removal: stripping old paint or varnish, flattening a badly cupped board, leveling a glued-up panel, or shaping rough-sawn lumber into a usable form.
At this stage, the abrasive particles are large and cut fast, but they also leave deep scratches in the wood surface. That’s expected. Coarse sanding is a means to an end, not a finishing step. Start here only when the surface genuinely requires heavy material removal. Reaching for 40 or 60 grit on a surface that only needs light leveling just creates extra work for later grits.
Medium grit sandpaper bridges the gap between rough shaping and true smoothing. Starting at 80 grit, you begin erasing the deep scratch pattern left by coarser grit. By the time you reach 120 grit, the wood surface should be free of visible defects, mill marks, and coarse abrasion lines.
This is also where you’ll address specific problems: raised grain, shallow dents, dried glue squeeze-out, and minor surface irregularities. 100 grit often serves as a useful mid-step for hardwoods that need a bit more leveling before jumping to 120. A well-prepared surface at 120 grit is clean, consistent, and ready for the final smoothing stages.
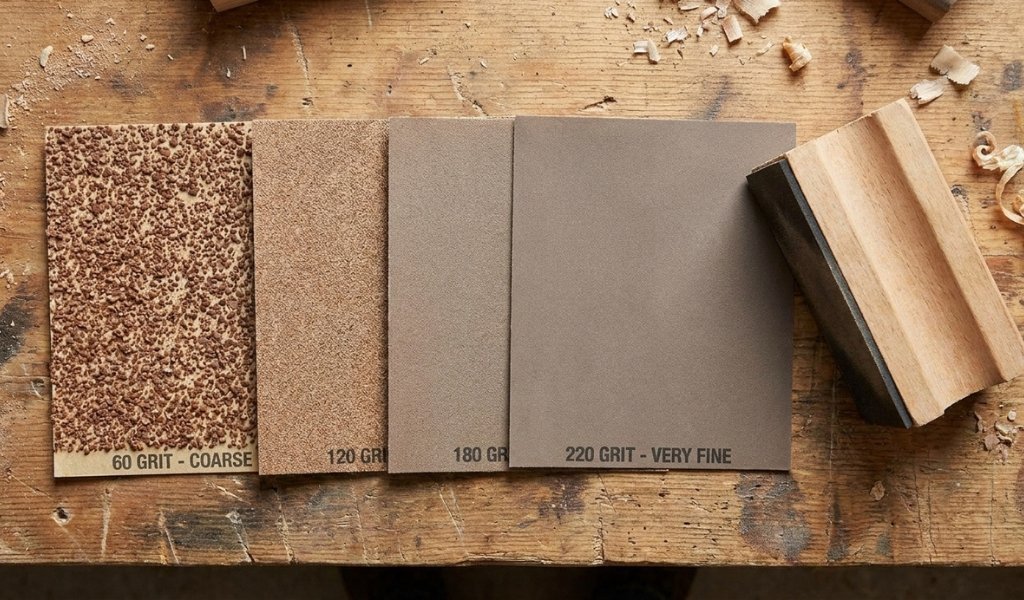
Fine grit sandpaper, spanning 150, 180, and 220 grit, is where surface quality is truly established. Each of these grits removes the scratch pattern left by the previous coarser grit, gradually refining the wood surface until it’s genuinely smooth to the touch.
220 grit is typically the finest grit used on bare wood before applying a stain, sealer, or clear finish. It creates a smooth, even surface without closing the wood’s pores so tightly that stain or finish can’t penetrate. This final sanding pass matters enormously for how evenly your project accepts color and sheen.
Grits above 220, including 320 and 400 grit, aren’t meant for bare wood at all. They’re reserved for sanding between coats of finish, such as varnish, lacquer, or polyurethane, to knock down dust nibs and brush marks between applications.
Ultra fine grits beyond 400 move into true polishing territory, used to buff a cured finish to a glass-like sheen. If you’re working through multiple coats of finish, a light pass with 320 or 400 grit between each coat, followed by a wipe-down to remove dust, produces a noticeably smoother final result.
Not every project follows the exact same sanding grit chart from start to finish. The type of wood you’re working with, along with the finish you plan to apply, should influence where you start and where you stop.
Dense hardwoods like oak, maple, and walnut can tolerate a full grit progression, often starting at 80 grit and working all the way through 220 grit before finishing. Their tighter grain structure holds up well to fine sanding without losing its ability to absorb stain evenly.
Softwoods like pine and cedar behave differently. Their more open, less dense grain structure means sanding beyond 180 or 220 grit can actually burnish the wood surface, closing the pores and creating a barrier that prevents stain from penetrating evenly. For softwoods, starting at 80 grit and stopping at 180 grit is often the safer, more effective approach.
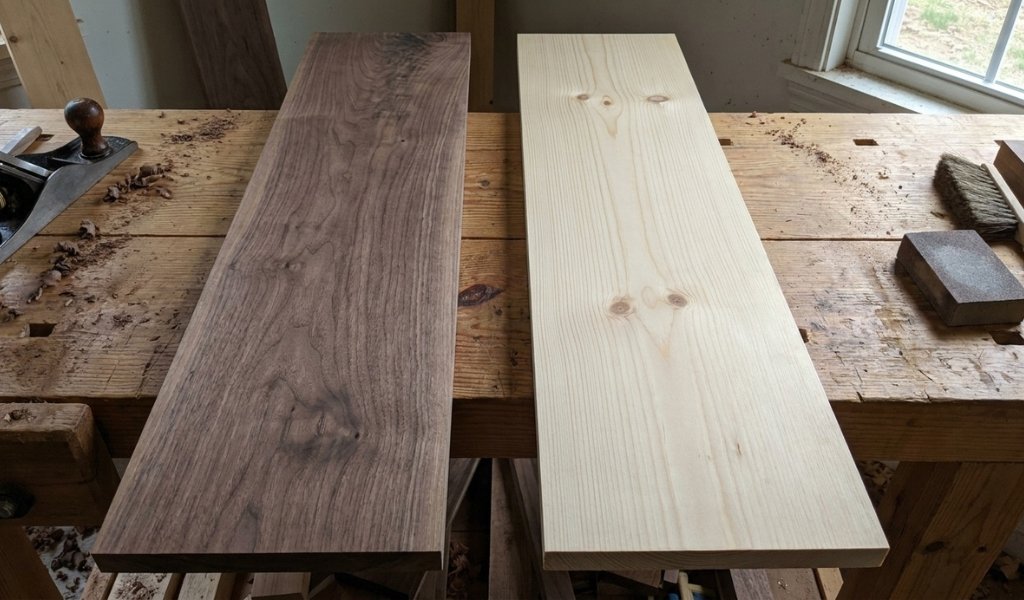
The finish you’re preparing for should guide your final grit choice. Wood destined for paint doesn’t need the same fine grit sandpaper treatment as wood going under a clear coat, since paint hides minor surface imperfections that a clear finish would expose. 150 to 180 grit is often sufficient before priming for paint.
Wood being prepped for stain benefits from a finer touch, typically finishing at 220 grit, since stain highlights every scratch and inconsistency left in the wood surface. For clear coats like varnish or lacquer, that same 220-grit final sanding on bare wood, followed by light 320-grit passes between coats, produces the smoothest, most polished results.
If there’s one rule every woodworker should commit to memory, it’s this: never skip grits in your sanding sequence. Each grit level exists to remove the scratches left by the one before it. Jumping from 80 grit straight to 220 grit leaves deep gouges and scratches that no amount of fine sanding afterward will fully erase.
Those scratches don’t disappear. They telegraph directly through your stain or finish, appearing as visible lines and blemishes on an otherwise smooth surface. Skipping grits might feel like a shortcut, but it almost always costs more time in the end, since you’ll likely need to backtrack to a coarser grit to properly remove the scratches you left behind.
Choosing the right grit is only half the equation. How you apply that sandpaper, and which tools and methods you use, plays just as large a role in your final results.
Hand sanding gives you precise control over pressure and direction, which makes it ideal for detail work, edges, and final smoothing passes where consistency matters most. A sanding block helps distribute pressure evenly across flat surfaces, preventing the uneven dips that come from sanding with bare fingers.
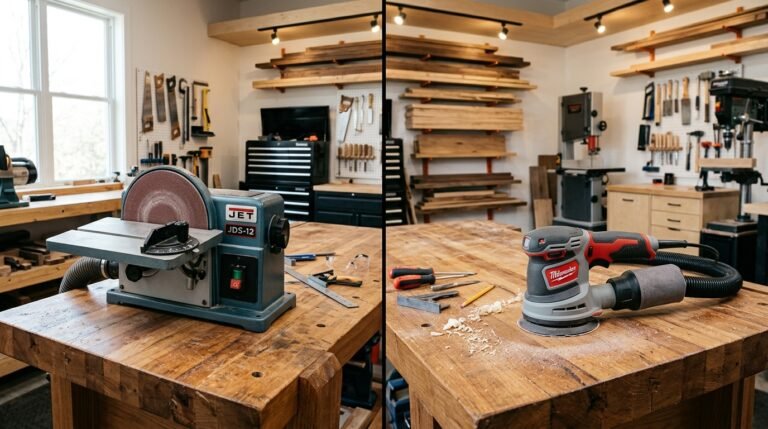
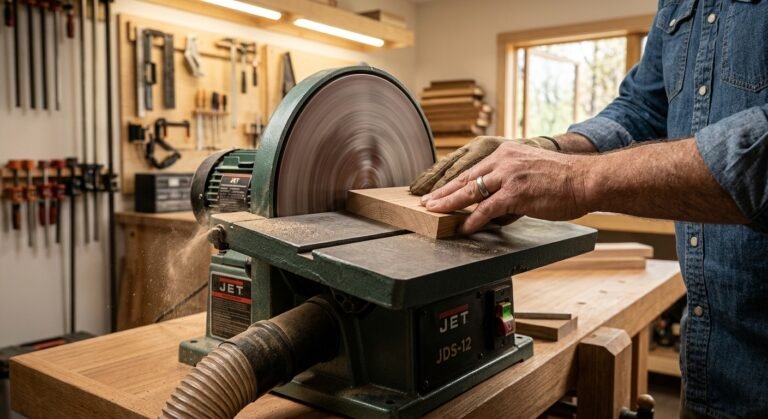
Power sanding, using tools like a random orbital sander or belt sander, dramatically speeds up material removal on larger surfaces. A sander is especially useful during the coarse and medium grit stages, where speed matters more than fine control. Many woodworkers combine both approaches: power sanding through the coarse and medium grits, then switching to hand sanding for the final fine grit passes to ensure a clean, even scratch pattern before finishing.
Wood fibers run in a specific direction, and sanding relative to that direction has a major impact on your results. Sanding with the grain produces fine, nearly invisible scratches that lie flat and blend into the wood surface. Sanding across the grain creates deep, cross-grain scratches that become glaringly visible once stain or finish is applied, even if they look fine on raw wood.
Always finish each grit stage with a pass along the grain, particularly during your final sanding at 180 or 220 grit. This single habit prevents one of the most common and most avoidable sanding mistakes.
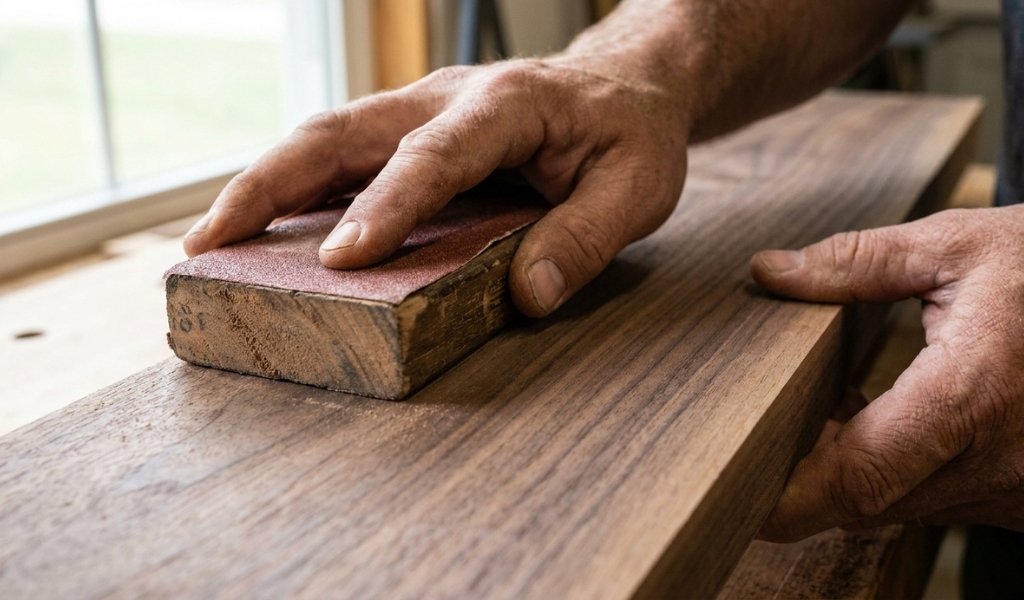
Dry sanding is the standard approach for all bare wood preparation. Introducing water at this stage raises the wood grain and causes uneven absorption, working directly against the smooth, even surface you’re trying to create.
Wet sanding comes into play after a finish has been applied and cured. Adding water or a lubricant like mineral spirits reduces friction, prevents the sandpaper from clogging, and produces an exceptionally smooth surface. Wet sanding is typically done with fine to ultra fine grits, from 400 grit up through 2000 grit, and is most common when polishing lacquer, varnish, or other clear coats to a high-gloss shine.
A typical progression for bare wood moves from 80 or 100 grit for initial leveling, through 120 grit for defect removal, then 150 and 180 grit for refinement, finishing at 220 grit before applying a stain or finish. Softwoods often stop at 180 grit, while hardwoods can safely go to 220 grit.
Sanding grit refers to the size of the abrasive particles on a sandpaper sheet. The number indicates how many particles fit within a standardized one-inch mesh screen during manufacturing. Lower numbers mean larger, coarser particles; higher numbers mean smaller, finer particles.
60 grit isn’t too coarse for the right job, but it’s too coarse for most standard sanding tasks. It’s best reserved for heavy stock removal, such as stripping old finishes or flattening severely rough or damaged wood. For general surface preparation, starting at 80 or 100 grit is usually sufficient and creates less rework.
The recommended progression typically runs 60 or 80 grit, then 100 or 120 grit, then 150 grit, then 180 grit, finishing at 220 grit for bare wood preparation. Each step should remove the scratch pattern left by the previous grit without skipping stages.
220 grit is the standard final grit before applying stain to most hardwoods. For softwoods with more open grain, stopping at 180 grit is often better, since sanding softwood too fine can burnish the surface and prevent even stain absorption.
Skipping grits leaves the scratch pattern from the coarser grit intact beneath the finer grit’s surface. These scratches remain largely invisible on raw wood but become highly visible once stain or finish is applied, often requiring you to sand back down to a coarser grit to correct the problem.
Grit progression isn’t complicated once you understand the logic behind it: start with the grit that matches your surface’s condition, move through each stage without skipping steps, and finish at the grit that best suits your wood type and chosen finish. Every scratch left behind by one grit needs to be removed by the next, and shortcuts in that sequence almost always show up later, usually right when you’re admiring your freshly stained project under good light.
The best way to build confidence with grit selection is simply to practice on scrap pieces of the same wood species before committing to your actual project. Pay attention to how each grit feels and looks as you progress, and you’ll start developing an instinct for when a surface is truly ready for the next stage.